We’re Gonna Need a Bigger Box -
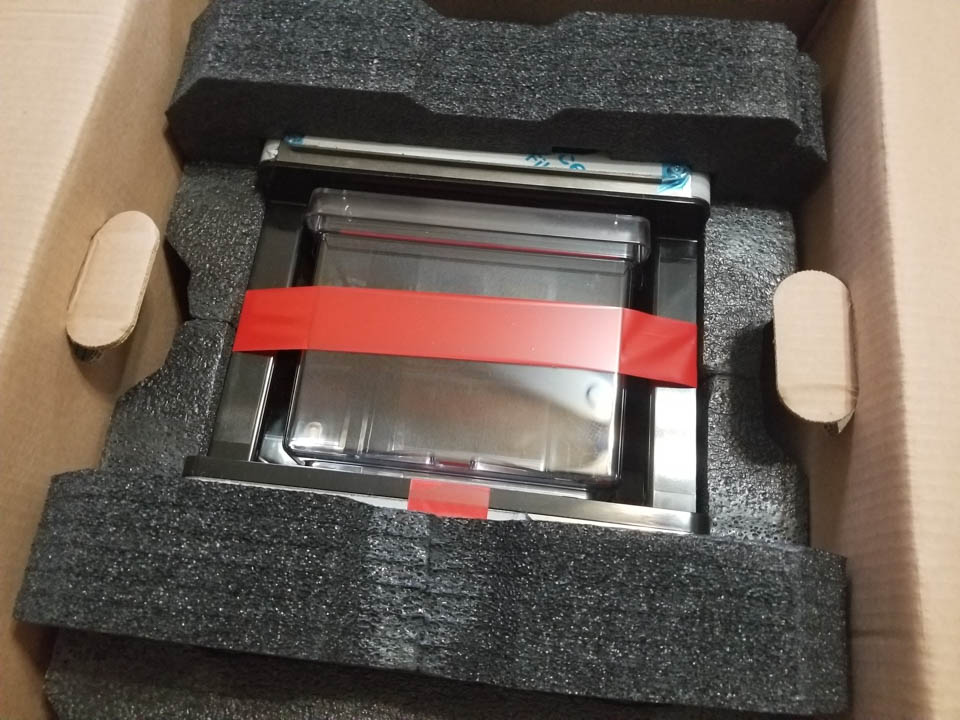
When I first ordered the Pico Pro I was expecting it to come in a large box, but I will still a little surprised by the one that showed up at my door. Inside of it were multiple smaller boxes containing all of the goodies that you get with the Pico Pro. In the largest of the boxes was the Pico Pro itself. It was safely tucked away in protective foam to help prevent damage to your new favorite toy in shipping. You also get two 1.75 Gallon ball lock, Cornelius Kegs and an accessory box. Inside the accessory box you will find;
two red fast fermentation adapters
one standard fermentation air lock
two keg wands
one party tap
one racking tube
one Sous Vide adapter
one brewing lid
one brewing lid plug
one keg cleaning brush
one dip tube cleaning brush
one solid detergent (for deep cleaning)
one Keg Cozy
one CO2 regulator
The two kegs were much nicer than I anticipated and had rubberized top handles and bottoms (the kegs appear to be made by AIH, but I do not have full confirmation on that). In fact, everything that came with the Pico Pro appears to be of very good quality.
 |
 |
 |
The Pico Pro -
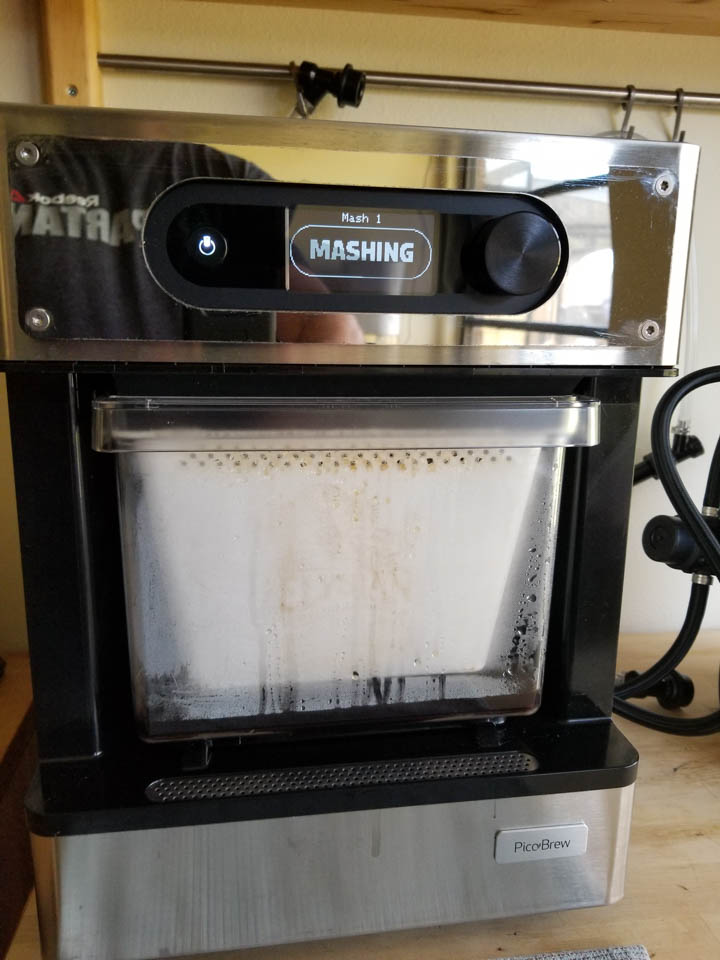
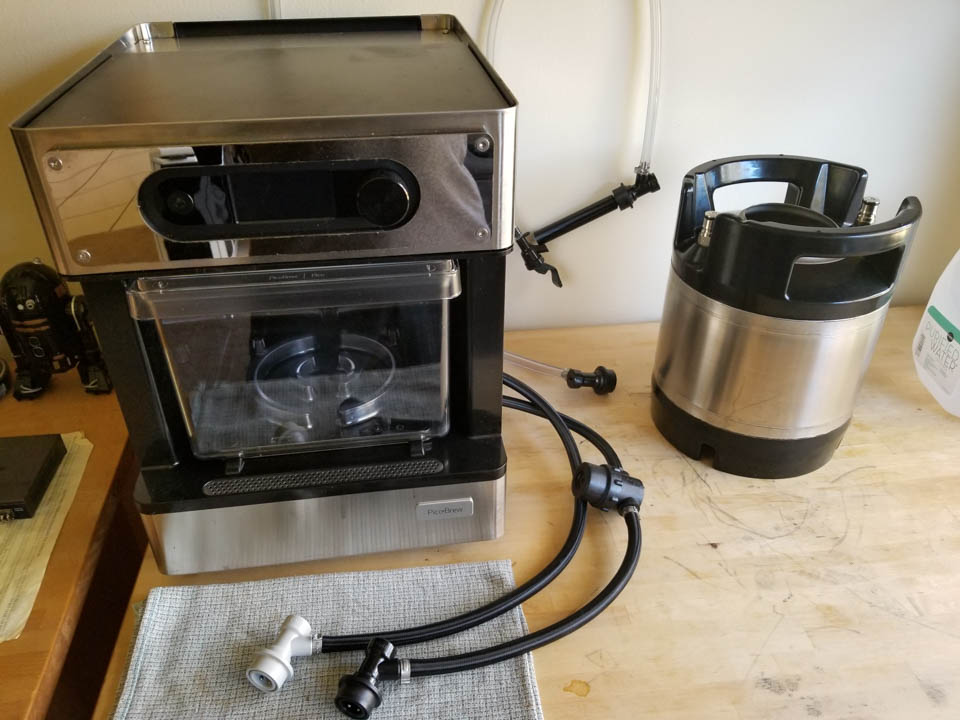
The Pico Pro unit itself is a large(ish) and seems to be very well built. The model we chose was the Pro which means you get a gleaming stainless-steel exterior which wraps almost entirely around the device. This gives it a clean and “unbroken” look to the Pico Pro.
 |
 |
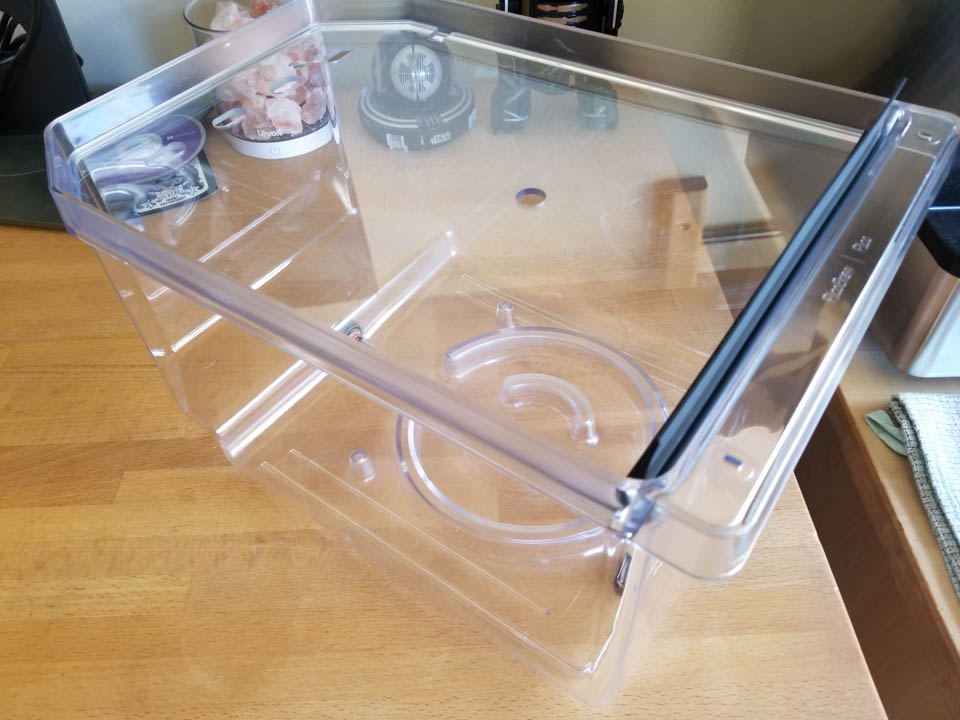 |
On the front face (near the top) is a protrusion where you will find the power button, LED display and control knob. Beneath that is the step-filter. The step-filter itself is a large, clear plastic container where you put your Pico-Packs for brewing. You can also use this for a sous-vide basin if you chose to.
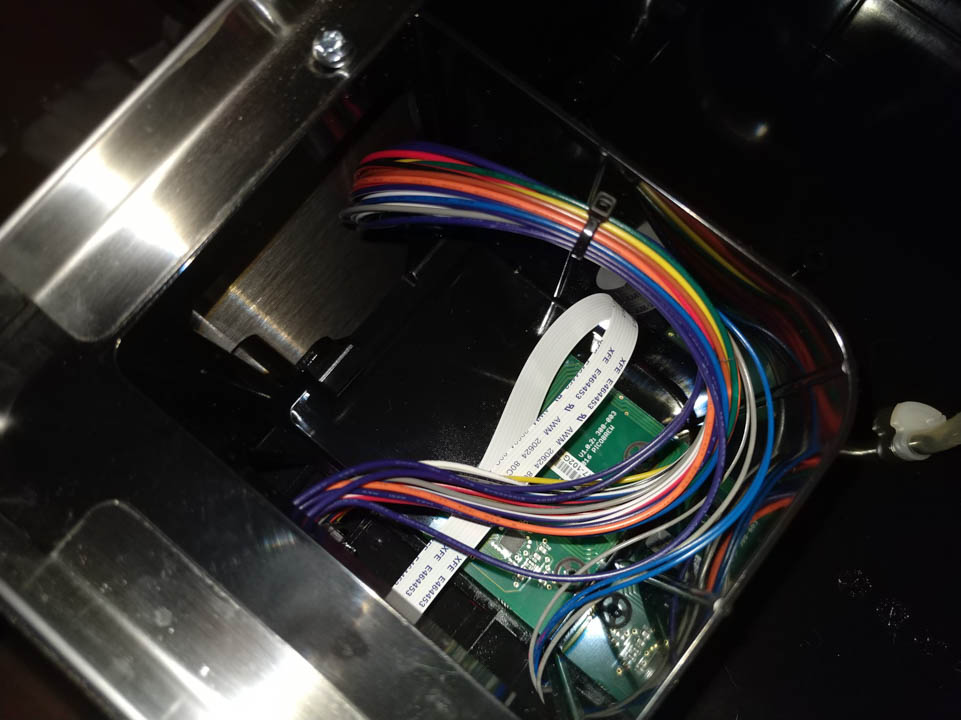
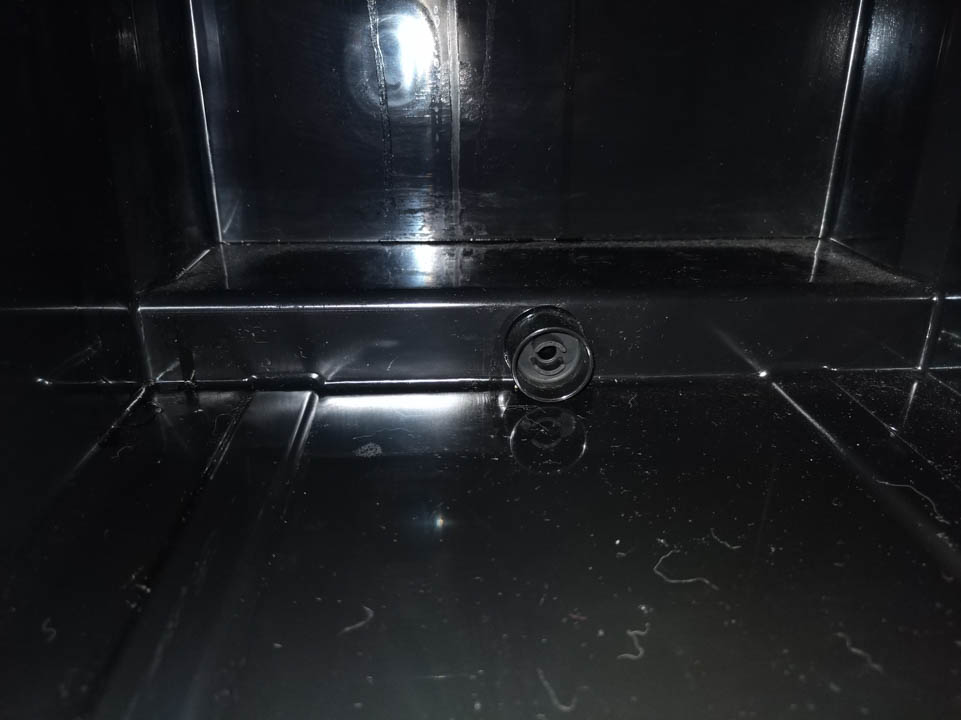
Inside the area where the step-filter sits there are some important items. The first is right under the top of the opening. This is the sensor for the id tags on the Pico Pack. It lets the Pico Pro know what it is brewing so it has the right temps, mashing stages/times and of course adds the hops into the wort correctly. At the bottom is a magnetic sensor that lets the Pico know that the Step-filter is in place so it can operate. Along the back is a drain that the step-filter connects with to prevent it from overflowing. This last piece, although not technology related is very important. You need to make sure the drain is clear so that you do not end up with wort all over your brewing area.
 |
 |
 |
On the top of the Pico Pro is a reservoir that can hold about a gallon of water. During the mashing and heating stage some water is pulled from this reservoir to help heat the mash and also to provide extra water that might be needed due to any evaporation. This reservoir usually ends up being a little more than half full when brewing is complete, but you still will want to fill it each time you brew.
The main device connects to the brewing/fermenting keg via two rather short hoses (This is not a special keg, just what you will call the keg that is set to receive the wort from the Pico and the keg that you will put your yeast and additives in for fermentation). From what we can tell the length of the hoses is to ensure that the small pump in the Pico Pro is not over taxed (the same issue limits the use of larger kegs with the product for racking etc). The hoses end in quick connect adapters. One black and the other grey. The grey is for the “in” side of the keg and the black for the “out”. Each of these connectors is a slightly different size. This is supposed to help prevent you from putting the wrong hose on the wrong post, but from what I have been reading this still happens all the time (as the labeling is black raised lettering on black. The black hose has an inline filter to catch and stray grain particles and keep them out of your beer.
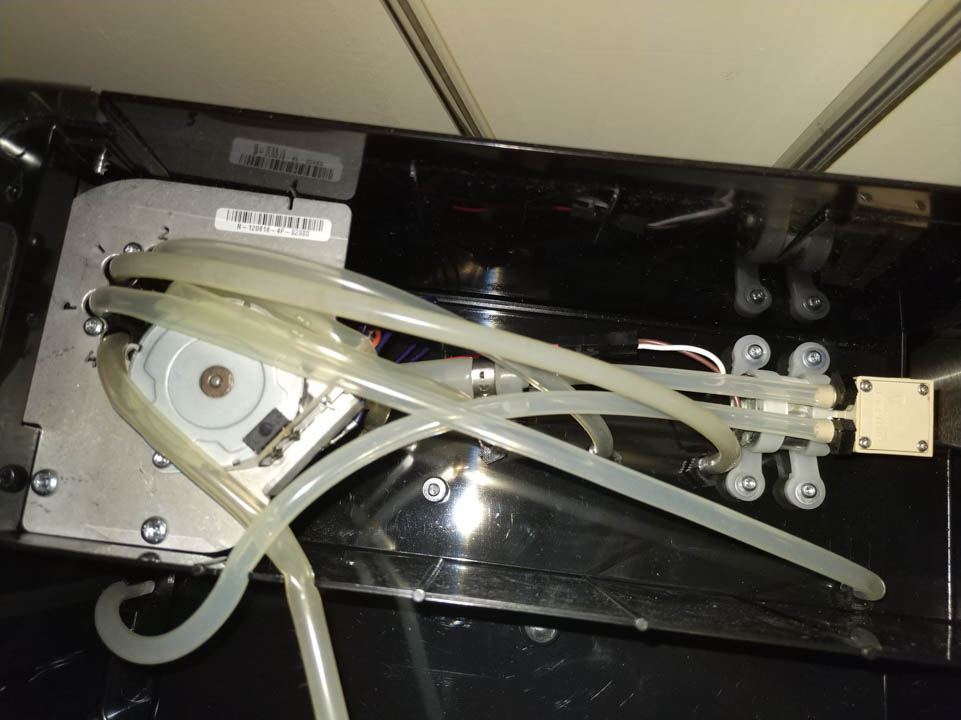
Now that we are finished talking about surface features let’s talk a little about the internal workings of the Pico Pro. At its core the device is just a convenient way to boil grain. It takes water from both a reservoir and an attached brewing/fermenting keg (one gallon plus six cups or distilled water in the brewing keg).
There are pumps, heaters and 802.11n 2.4Ghz wireless included as part of the tech bundle. I do wish Pico would improve on this as an ethernet port and an improved wireless radio (say 801.11ac 2.4/5Ghz) would be a much welcome addition. Believe it or not, I have heard a few people that are not inspired by the product because of its low-quality wireless radio. That being said it is a workable solution if not the best one for both security and performance.
We did take a peak at some of the internal workings, but as I bought this with my own funds, I did not feel like voiding my warranty at this stage.
The Set Up -
There is some set up you are going to need to do before you dive into making your first keg of beer. Fortunately, this is pretty easy to get through. First you need to connect your Pico Pro to your wireless network so it can talk to the internet. Once it is done connecting the display will show a registration code. After you see the code you will want to browse to Picobrew.com/newpico and create an account (if you do not already have one). This will let you connect your Pico Pro to your account in the cloud so that you can monitor the progress of your beer while it is brewing. The after a quick rinse of the system (described in the manual), you are ready to dive into your first batch of beer.
Brewing Beer with the Pico Pro -
We are going to breeze through this a little bit as the fact that the Pico Pro makes beer has been done to death. Currently to brew beer with the Pico Pro you need what is called a Pico Pack. This is a pre-packed grain bill from one of about 500 recipes you can buy from Pico or one of your own that you make using their freestyle craft brew page on the Pico website. I, personally, have tested both including an amber ale that ended up as a passable Fat Tire clone that I cobbled together. The prices for the different packs vary from about $20 to as much as $40. If you buy more than $60 worth of packs you get free shipping, which is actually a bigger deal than you think when you consider that each pack is about nine pounds of grain. You will also need about 3 gallons of distilled water for each batch you brew.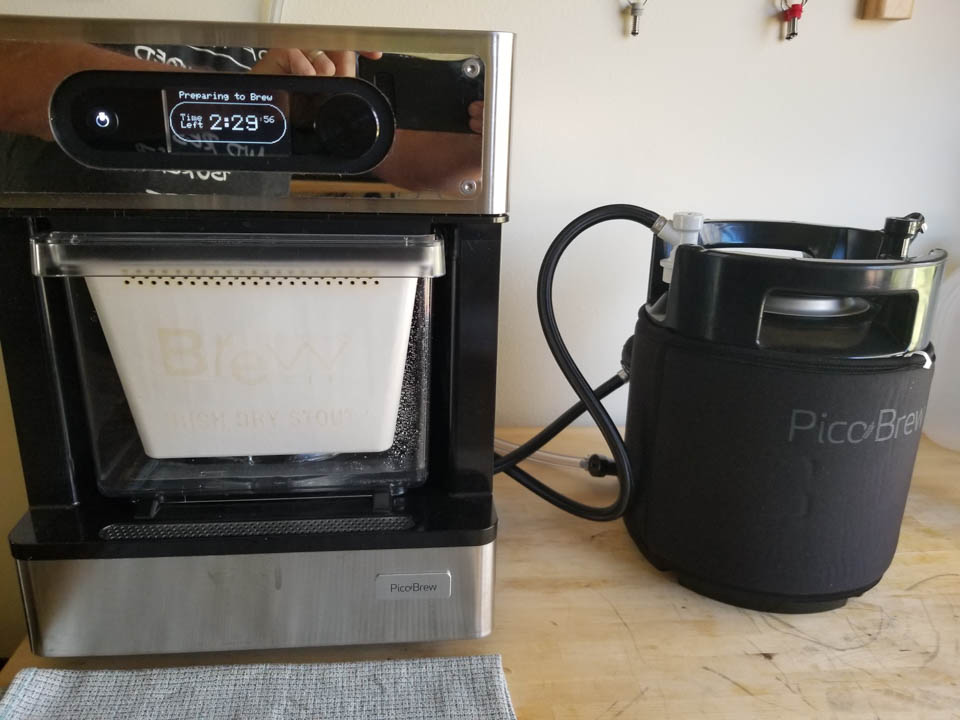
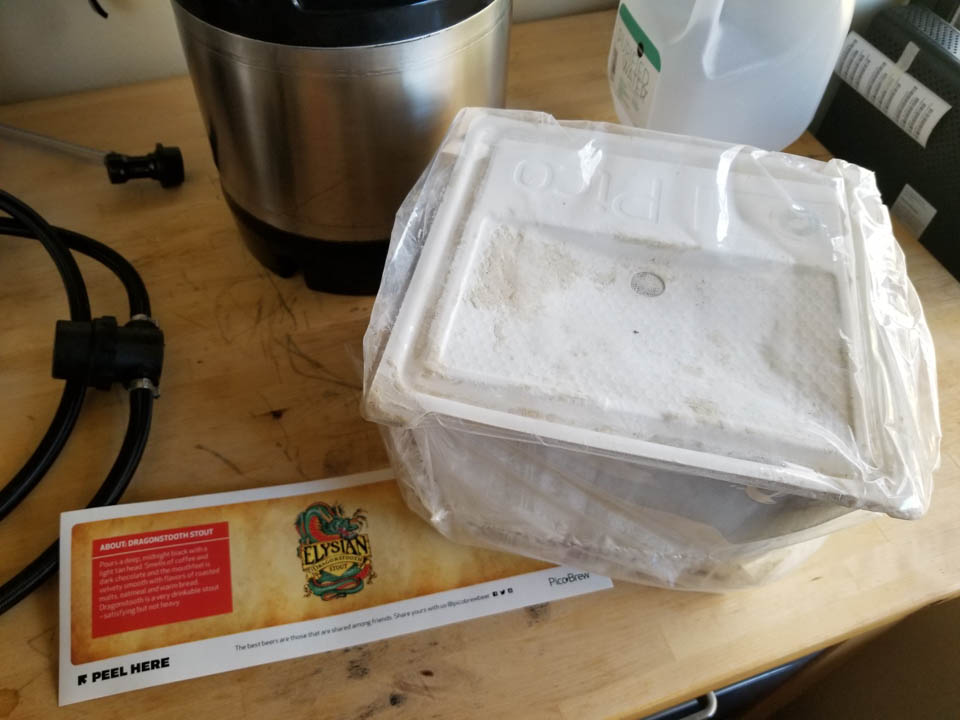
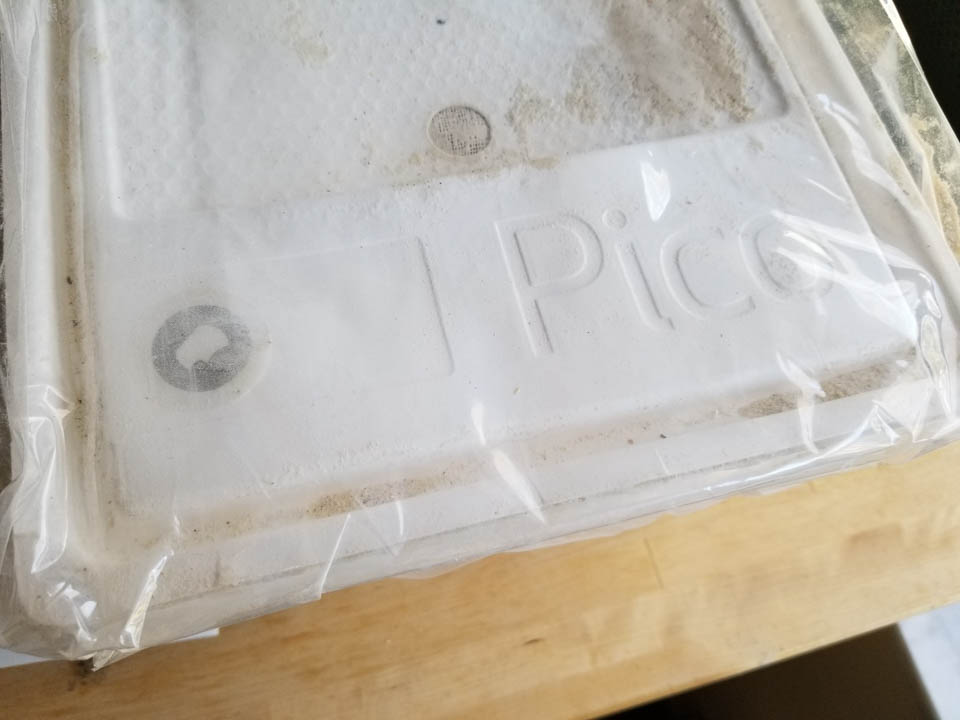
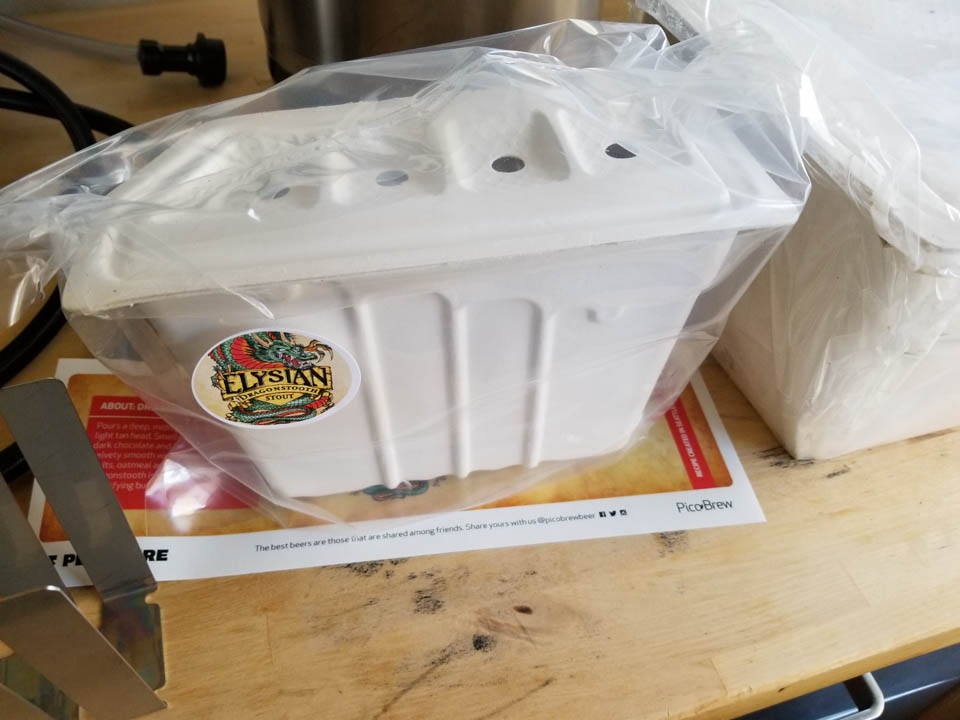
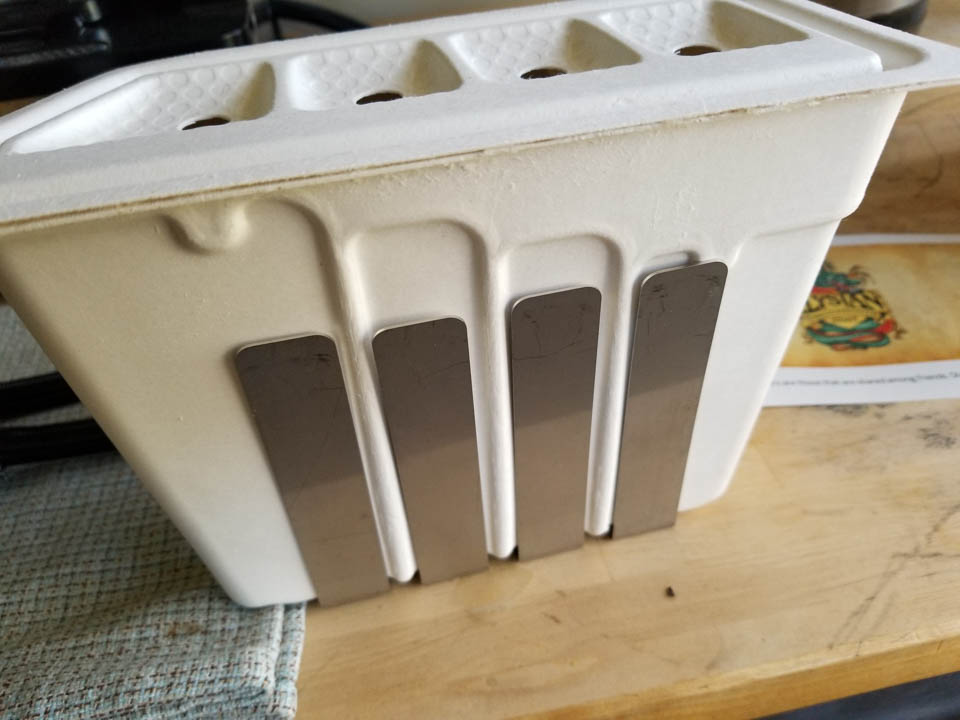
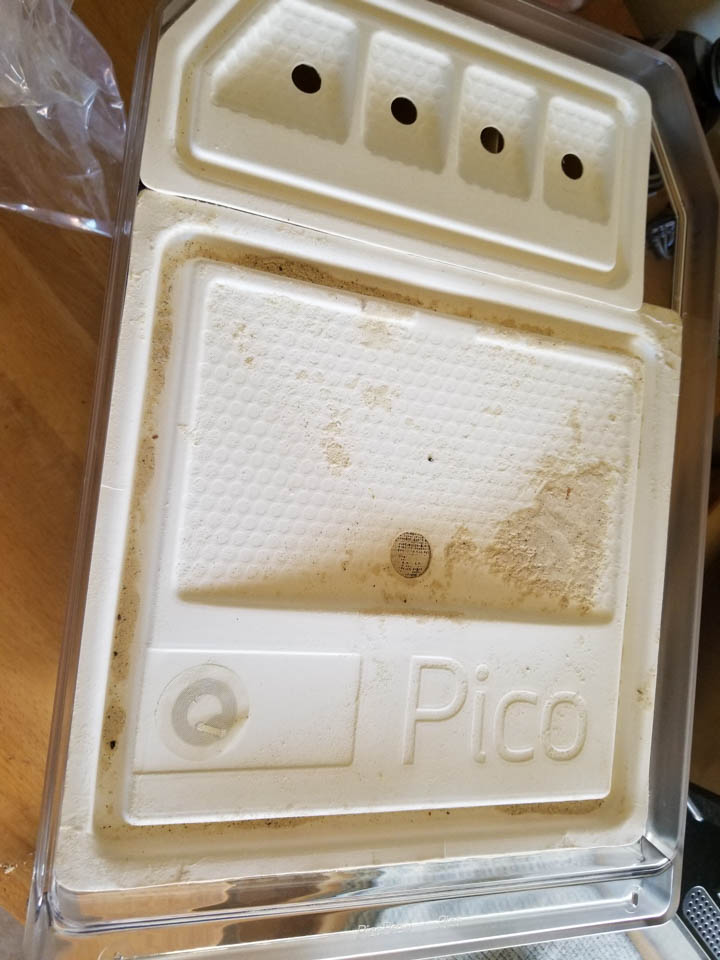
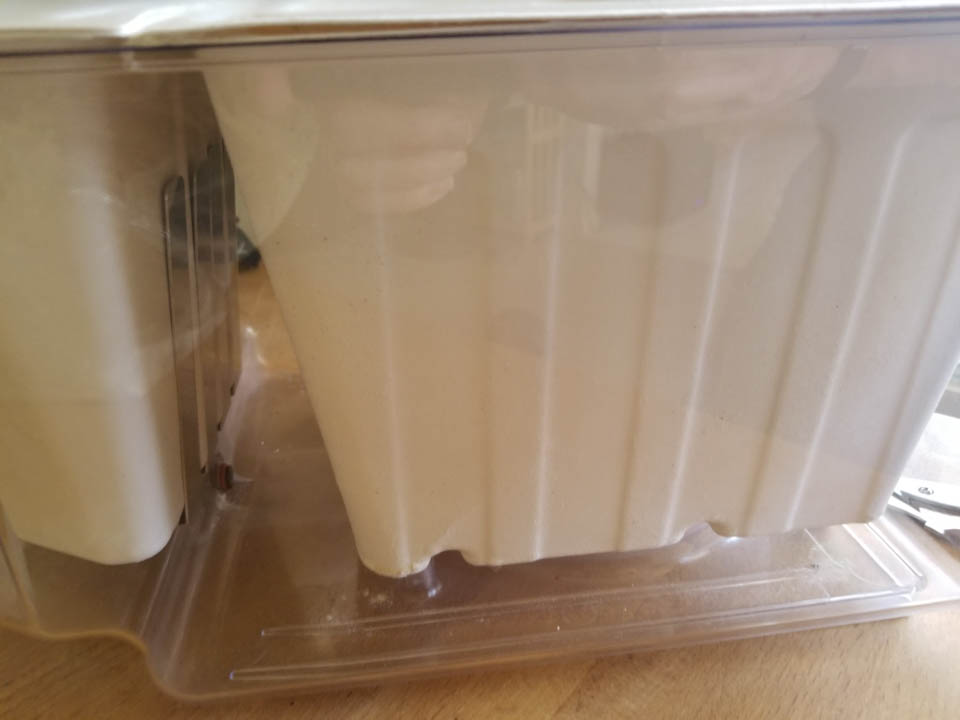
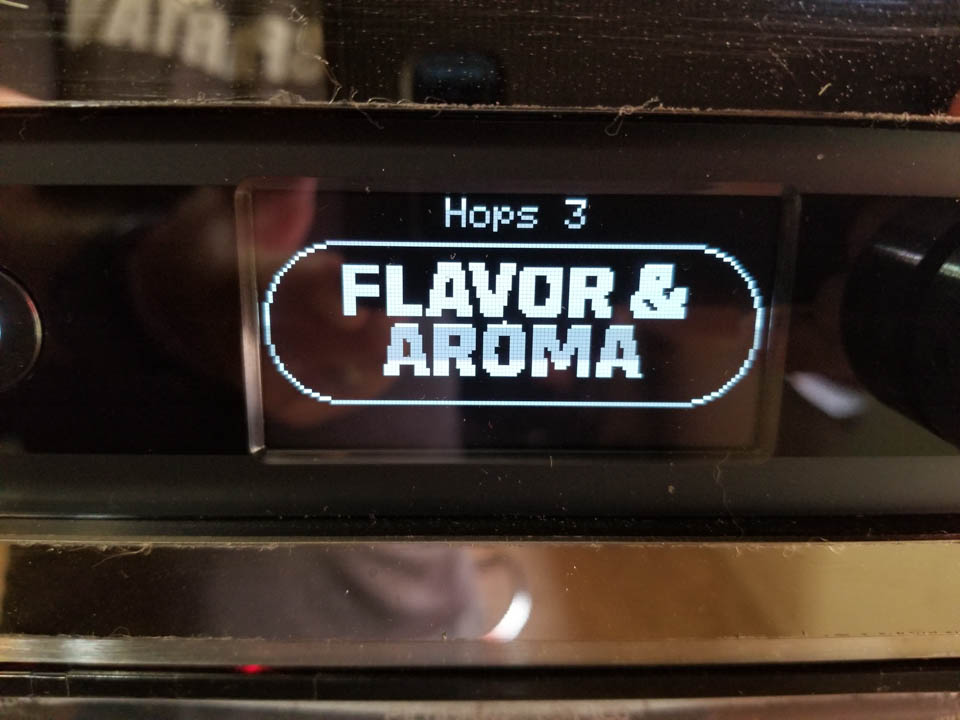
The main part of the pack is the grain bill and any additives that are needed for the wort (including water additives). The second part of the pack is the hops pack. This is also a very important part of your beer. You drop the gain pack into the front of the step filter and, after putting the hops pack into the hops cradle, you drop the hops pack behind it and push it to the left for proper positioning.
 |
 |
 |
 |
 |
 |
One this is completed you pull out the keg you want to use for brewing/fermenting and pour one gallon plus six cups of distilled water into it. You then pull the keg cozy over the keg to help keep heat in and prevent accidental burs (the keg will get rather hot). The last step before you hook the keg up is to put in the rubber keg seal onto the keg leaving the center hole open. From there you connect the grey “in” hose to the IN side of the keg and the black “out” hose to the OUT side of the keg.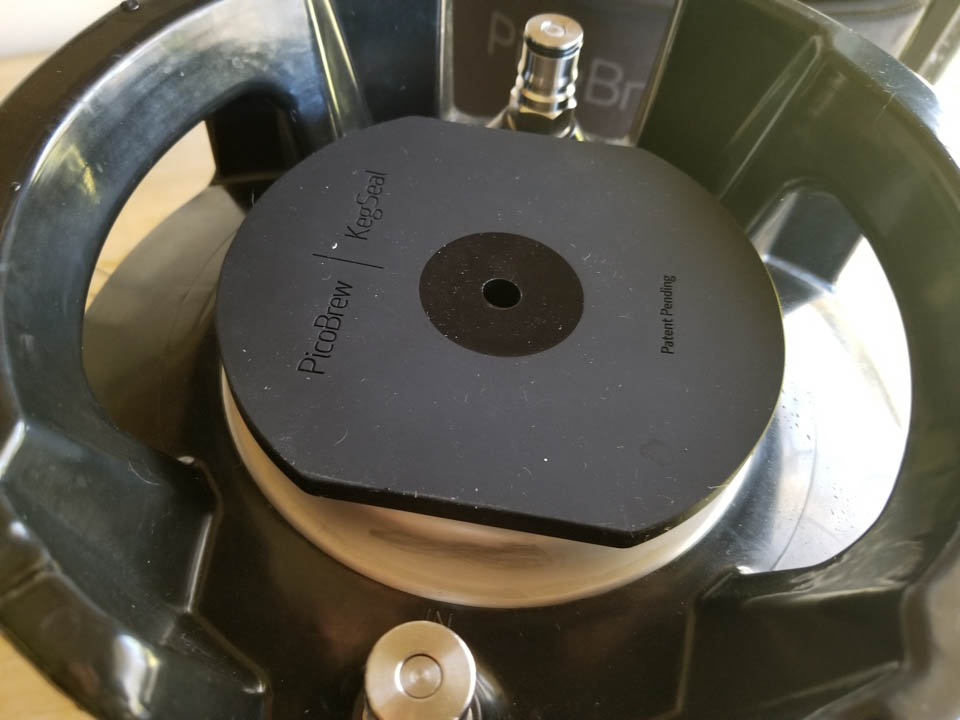
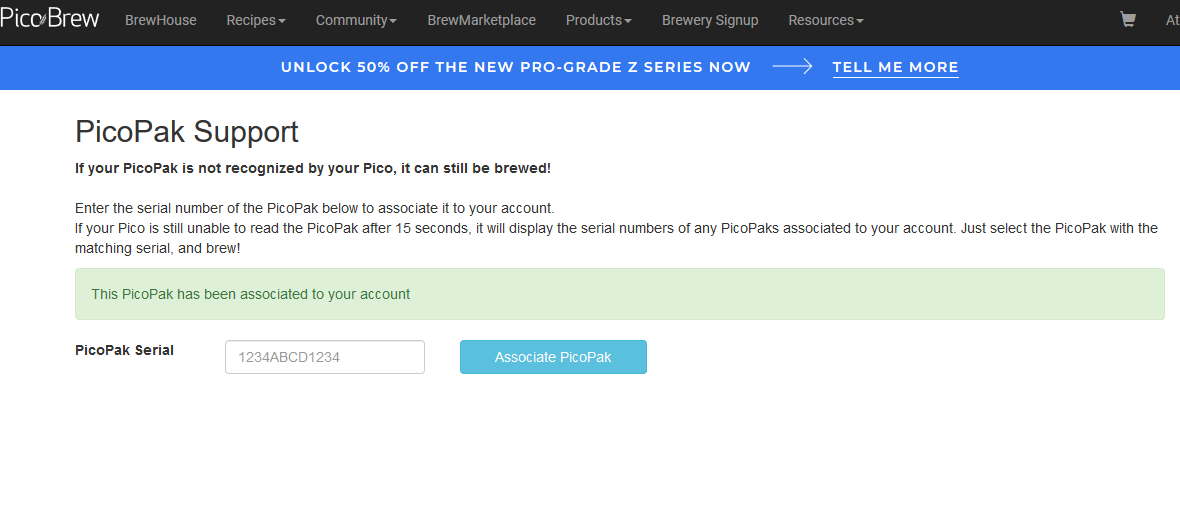
The last preparation step is to pour one gallon of distilled water into the water reservoir and close the top lid. Make sure that you have fully inserted the step-filter into the opening and turn on your Pico Pro. The Pico Pro will power up, connect to the internet (and to Pico’s Cloud servers) it will use the ID tag on the grain pack to pull down the brewing steps it needs to brew. If the Pico Pro cannot read the ID tag, do not worry. You can manually enter the serial number on the side of the box the pack came into so that you can get things under way.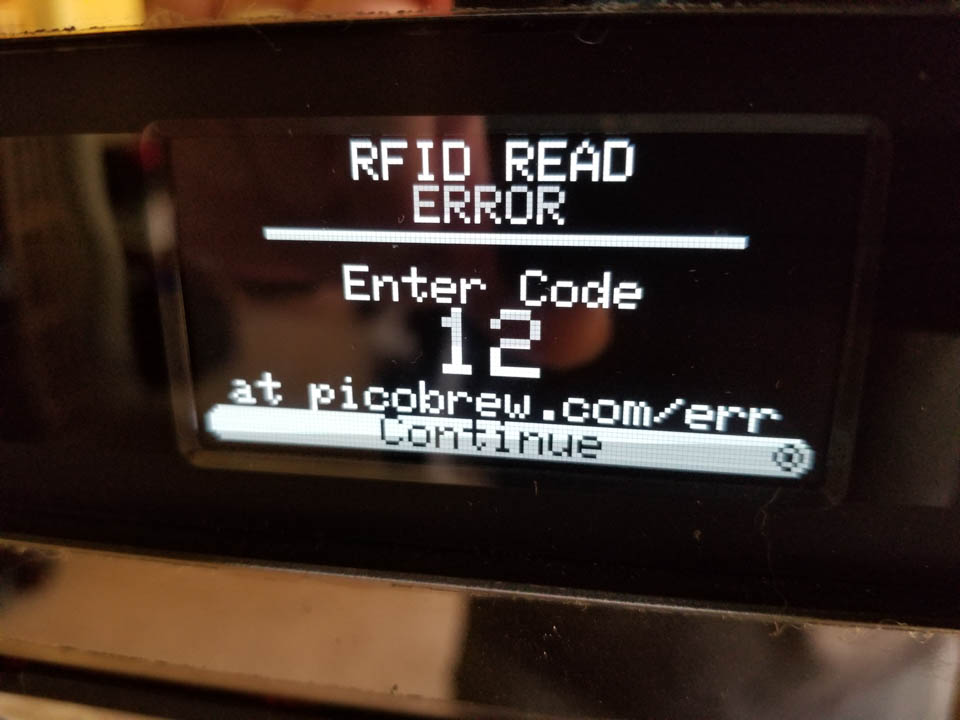
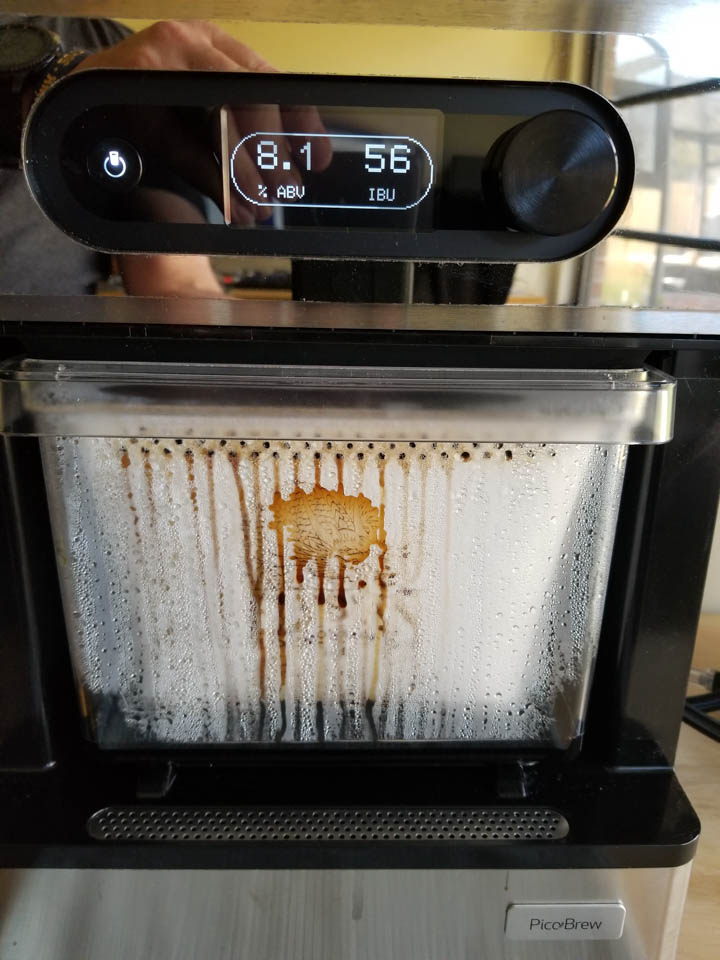
Depending on the beer you are brewing you can adjust the bitterness and ABV at the start of a brew. These settings do not have an impact on every pack you use though and I have not found any particular packs that say they support this feature. I have tinkered with setting it to max ABV and at standard and I have been unable to tell the difference to be honest with you.
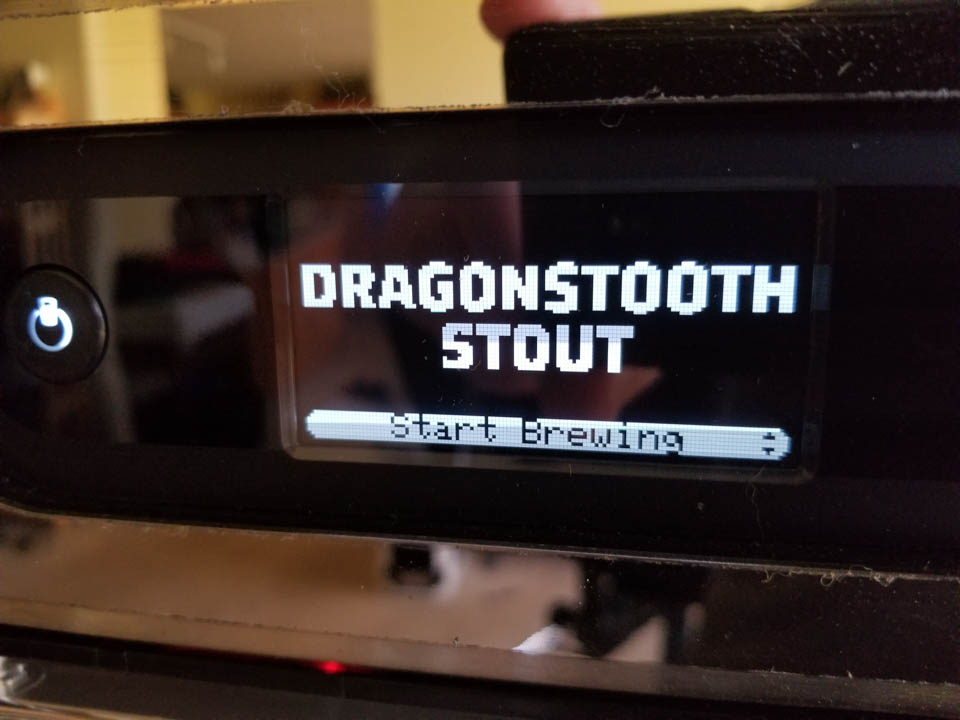
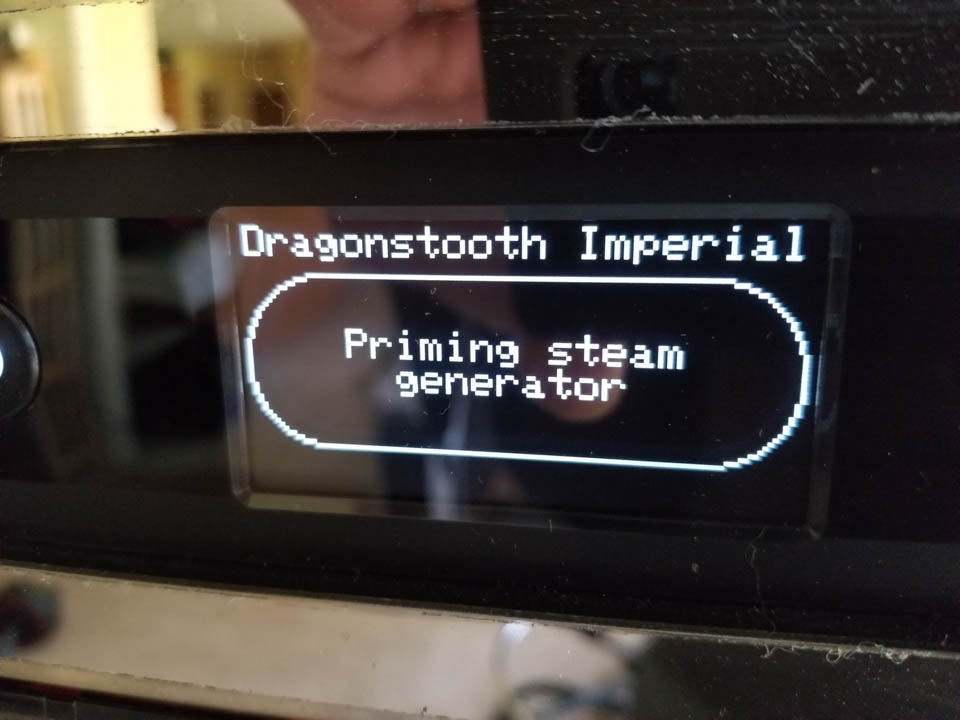
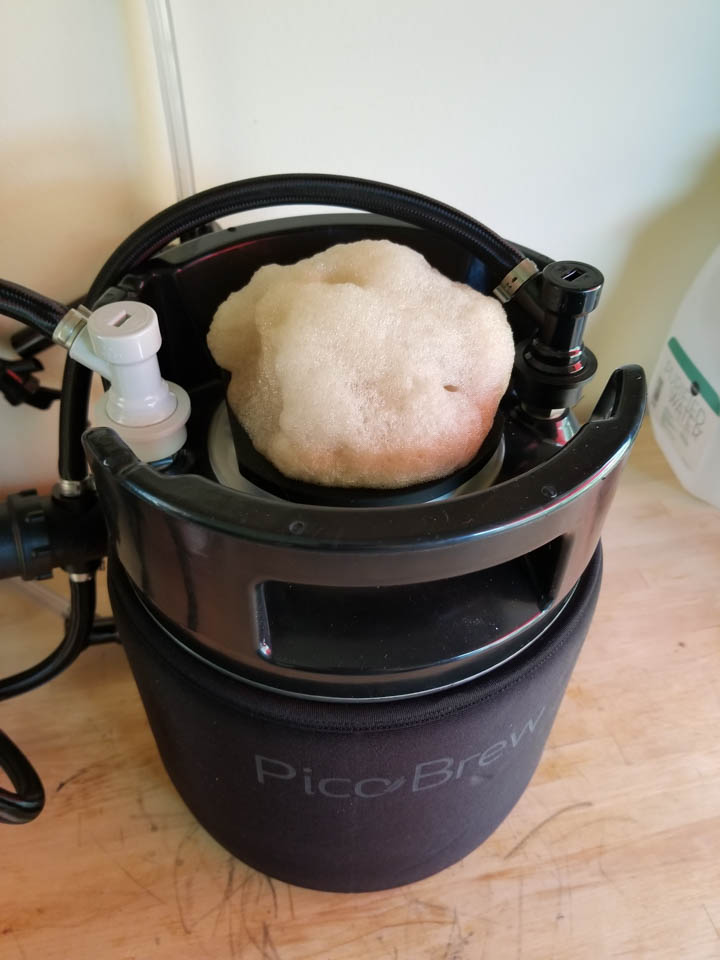
After hitting the start button you have about 3-4 hours of hissing, loud noises and a little clanking (the Pico is NOT quiet) until you have the beginnings of your beer called Wort. Now you get to remove the cozy, plug the hole in the keg seal with a red stopper, and let your wort sit cooling to room temp for about 24 hours.
 |
 |
 |
 |
 |
 |
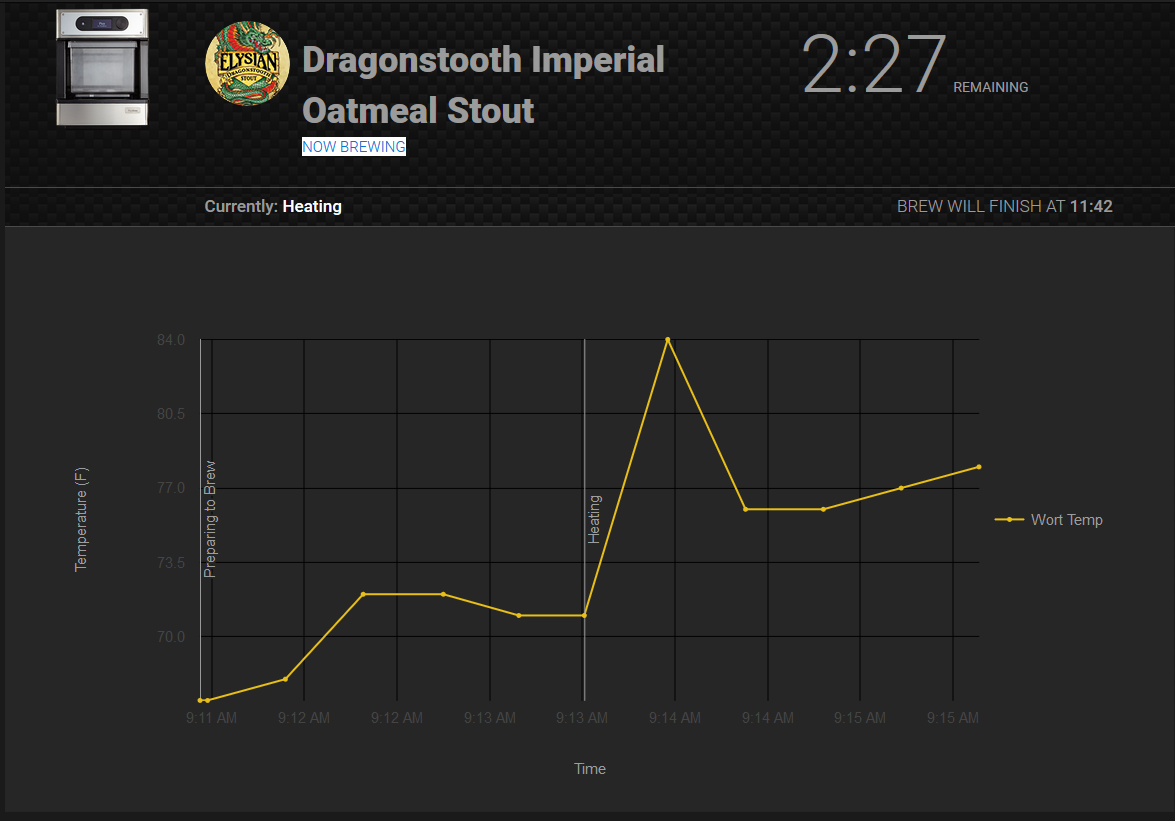
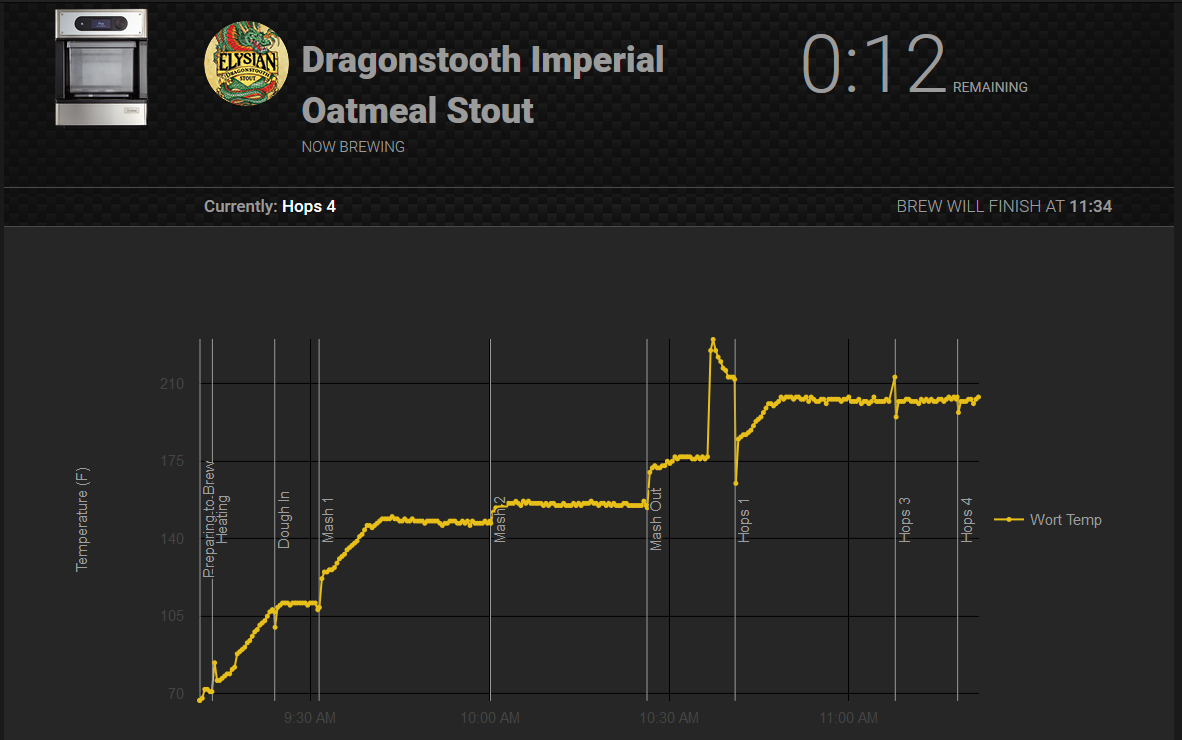
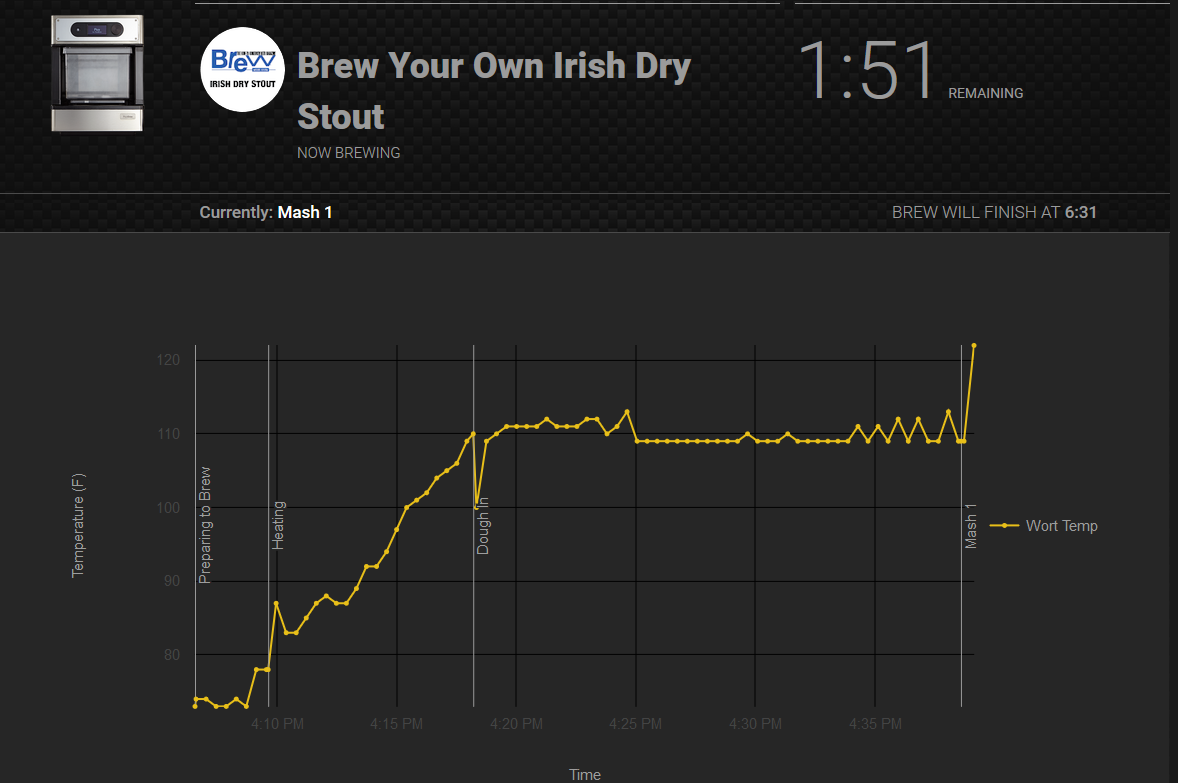
You can also track you brew online
 |
 |
 |
Now you get to clean the Pico for its next use (all of those steps are show on the display and covered in the manual)
Fermentation (where the fun happens) -
Just because the Pico Pro is done does not mean we are ready to raise a glass… well I mean you can raise a glass if you have some other beer to drink, but not what is in the keg. Included with your Pico Pack is going to be some dry yeast and a sugar packet. Once the wort is cooled, we get to aerate it and add our yeast. To aerate simply stir with a large, clean spoon for about one minute and then you are read to add the yeast.
Now, here is where things get fun. If you read the manual it will say to dump the whole packet into the keg. The problem with that is the packet is meant for a 5-gallon batch. Here you are only brewing about 1.7 gallons max. Dumping in too much yeast is not really a good thing. Most of the people I have talked to (some of which include mater brewers) say use about ½ teaspoon in your wort. If you are looking to add more sugars to it (like dark corn syrup) you might double that amount, but not by much as you do not want the yeast to be too aggressive during fermentation. Once the yeast is added just close the top of the keg with the keg lid (not the rubber one) make sure that the red fast fermentation valve is in place and give it a shake to get the yeast mixed in with the wort. You can also use your own preferred brand of yeast (ask around about this as there are many opinions on the best yeast for each type of beer).
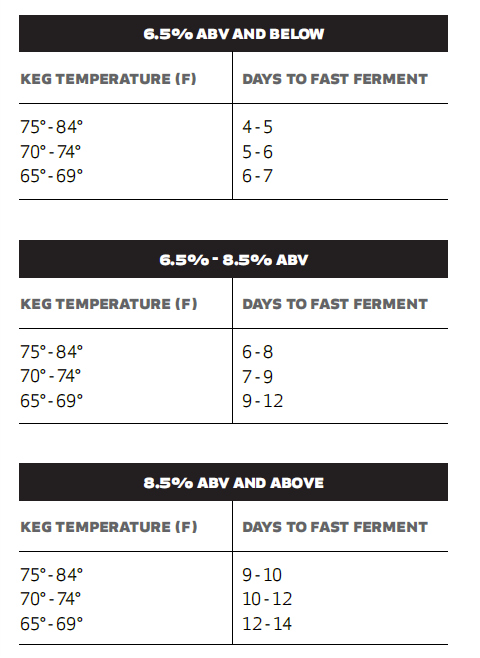
Now there are two type of fermentation supported by the Pico Kegs. One if Fast Fermentation. This is where you generally keep the temperature higher during fermentation to reduce the number of days needed to ferment the beer. The Pico Manual has a nice chart of how many days are needed at different temperature ranges for different ABV levels. These are guidelines and will give you good results if you follow them (during fast fermentation).
For standard fermentation you will not use the metal keg lid, but the rubber keg seal and the included airlock. The air lock is usually filled with some type of alcohol to ensure that CO2 can get out, but not contaminates get in.
Regardless of the type of fermentation you chose, you will need to put your keg into a temperature-controlled container. I use an old student fridge and a seed heater plugged into an Ink Bird. The Ink Bird lets me set the temp I want to maintain and using a connected temperature sensor, that I attach to the keg using insulated tape, it can turn on the refrigerator or the heating mat as needed. It is a very inexpensive way to control the temp of your fermenting beer.
I also have found that you can play around with the flavor of your beer during fermentation. You can add in wood chips soaked in bourbon or whiskey to add a barrel aged flavor or you can simply add in the whiskey or bourbon directly to the fermenting beer depending on if you want the woody notes or not. I have added all types of flavors to my beer including vanilla, coffee (as beans and brewed coffee), whiskey, bourbon, and more. You can really have fun with this, but I would recommend that you go light on any flavors you add with no more than 2-2.5 Oz of any one type and not more than about 4 OZ total for all flavors going in (due to the small size of the batch). In most cases I will add flavors about 3-4 days into my fermentation. (I use a 7-day cycle of 4 days at 62 degrees and 3 days at 72). If you like to experiment, I highly recommend setting up a beer log to track what you did so you can reproduce the results you want.
Cold Crash, Racking/Bottling, and Carbonation –
Once you have ended your fermentation cycle (however long you chose) you will want to move your fermenting keg to a refrigerator where it will cool rapidly. This allows the yeast to settle along with other sediment and by-products that you do not want in your beer. Typically, 3-4 days is more than enough, but I have also allowed some beers to sit for 2 weeks if I was going to bottle them.
After cold crashing you need to move your fermented beer to a new and clean keg. Follow the directions in the manual to clean the serving keg and then either use the Pico to rack the beer (move it to a new keg or bottles), or use the CO2 adapter to do the same thing. Personally, I would not waste the CO2 and would let the Pico do the work.
If you are bottling your beer you will need conditioning tablets or drops (in addition to a bottling tube/wand). This will activate inside the beer to produce CO2 and carbonate your final product for consumption. You can also use the sugar pack that came with your Pico pack to do the same thing in your keg. Sugar carbonation will take between 10-14 days to complete either way (bottle or keg).
Conversely you can force carbonate your beer in the keg using the included CO2 regulator and a CO2 bottle (not included) the CO2 needs to be food grade so be careful where you get it (I just buy mine from Pico). Attach the CO2 regulator to the IN post on the keg and (after attaching a CO2 bottle) turn the valve until the gauge reads 24PSI. Put the keg in the refrigerator to chill and soak up the CO2 after about 24 hours turn the regulator dial until the pressure reads 12 and leave it in for 12 or so more hours.
Once your beer is carbonated you are ready to drink.
Overall thoughts on the Pico -
I happen to enjoy brewing and, of course, drinking beer. My issue has always been that I do not want to watch a big pot of boiling grain. I want to be able to track my beer, but not need to stand over it. The Pico Pro fills that need for me. It is a tad limited in scope as I am forced to either use someone else’s recipe or build my own with limited grain, hops and just ONE pre-packaged yeast choice (Safale US-05. This later issue has forced me to be very creative with substitutions for gains and hops. I have also taken to buying the yeast I want to use with my own recipes. This is not that big of a deal, but it is a limitation everyone should know about before getting into a Pico Pro (or Pico C).
Pico has also chosen to lock Pro and C owners out of the chance to sell their own recipes even though you can build them all you want, you cannot sign up for their Brewery unless you own their more expensive Zymatic (now no longer sold) or their new Z (only pre-order and none shipping yet). This is probably more frustrating than the limited grains, hops and yeast selection, but it is their ball game so they get to make the rules there.
The quality of the product (the beer you make) is going to be very dependent on what you do at fermentation time. You can screw up beer during this time and while you will indeed have beer at the end, it might not have the flavor you were looking for. There is good news here though! You can find a Pico group on Facebook with a lot of people to help you in your quest for the best glass of beer. (I am there too and ask for advice and suggestions all the time). This means that you have a nice support group to help you if you have brewing questions. Now if you have technical questions you can as the FB group, or you can reach out to Pico’s support. After having the Pro for more than a few months I can say that the Pico support team is very, very good. They will go the extra mile to help you with your device and get you back to brewing.
Even with the limitations of that Pico puts on the Pro and C I am very happy with my purchase (no regerts). I get to make about a gallon and a half of beer every few weeks that I can share with friends or drink on my own. The process is enjoyable (even with the noise) and upkeep of the Pico Pro is simple. With the current cost of $599 it is a good buy if you are looking to do some small batch beer brewing.
I have never gotten around to testing the Sous Vide function as I wanted the Pico Pro to make beer. That means I cannot comment on how well that part of the device works. From what I have heard it functions admirably.
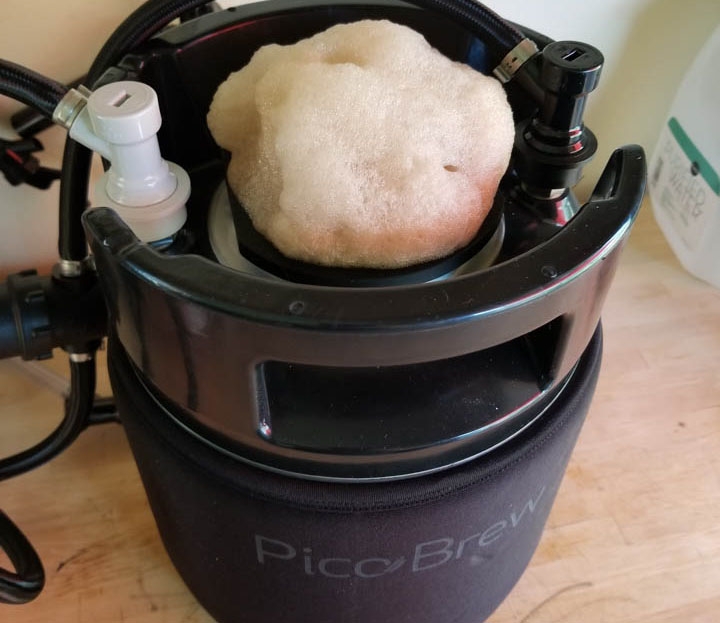
I will close out the review here saying that the Pico Pro is a solid device from a good company. I do wish they would put a little more thought into the connectivity of the product and perhaps upgrade the pumps to deal with larger kegs/longer connecting hoses, but these items do not take away from what the Pico Pro does; make beer. In fact, I am getting ready to pour myself a glass of my favorite recipe (Elysian Dragonstooth Imperial Stout with ¼ cup dark corn syrup added at fermentation and 2.5 Oz of Whiskey added at temp change). You can see the results below, complete with spoon test on the head.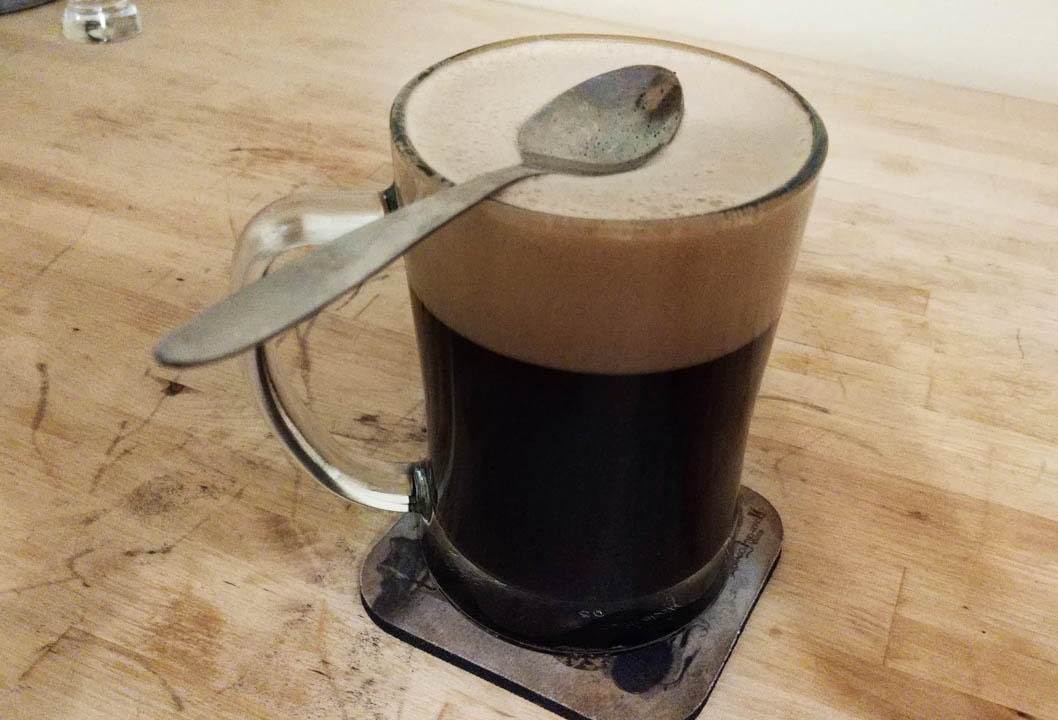
Happy brewing.

