The Box and Goodies -
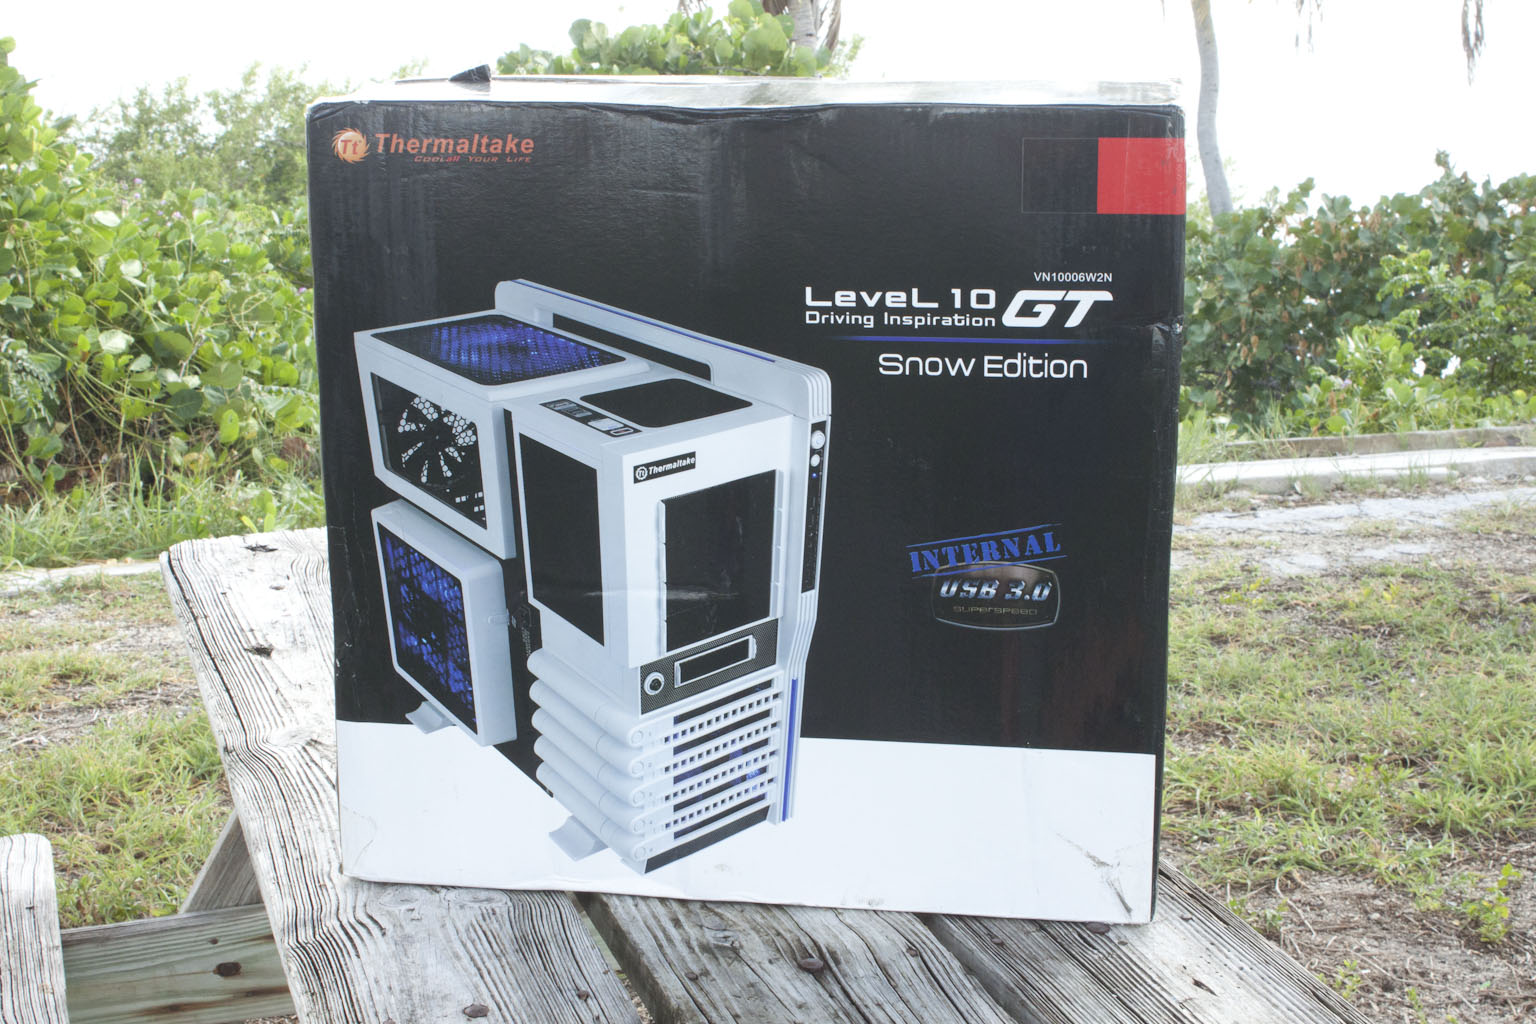
The Level 10 GT’s box was not that interesting. In fact, to be perfectly honest it looked a little cheesy. The picture on the front was not too bad and does give you a good view of the case itself, but the “Snow Edition” was over the top. I get the whole; it’s white and snow is white thing, but to call it the Snow Edition is a little much for me. One item that was welcome to see is the USB3.0 internal connector. This means that if you have a motherboard with an internal header for USB 3.0 you can finally take advantage of this.
 |
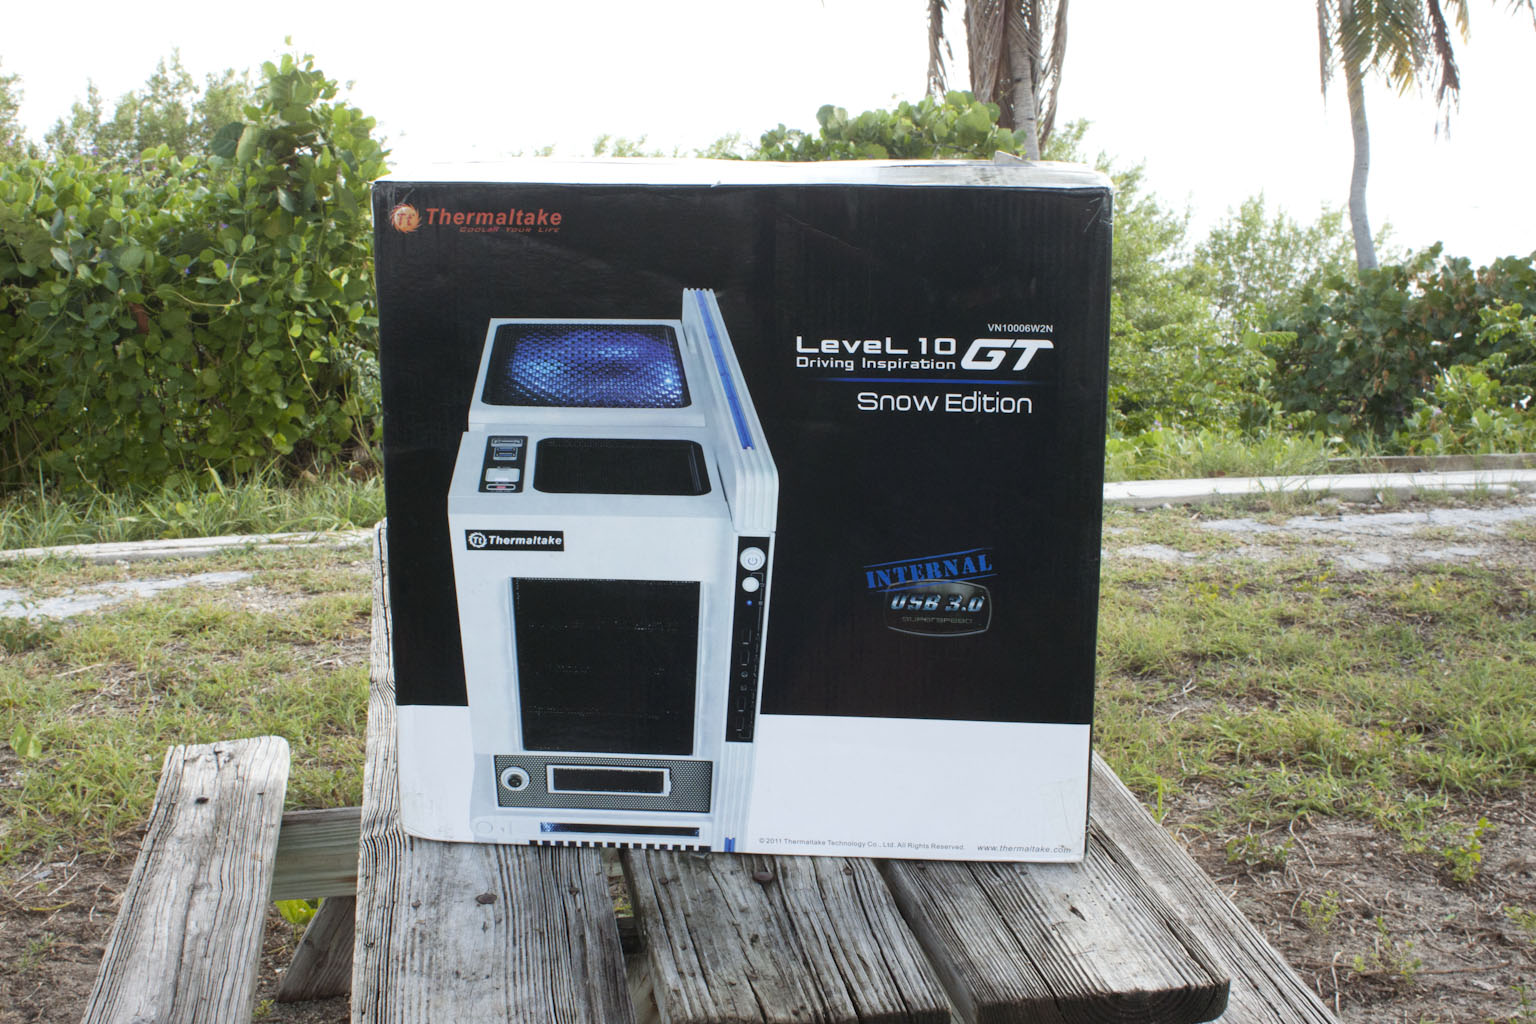 |
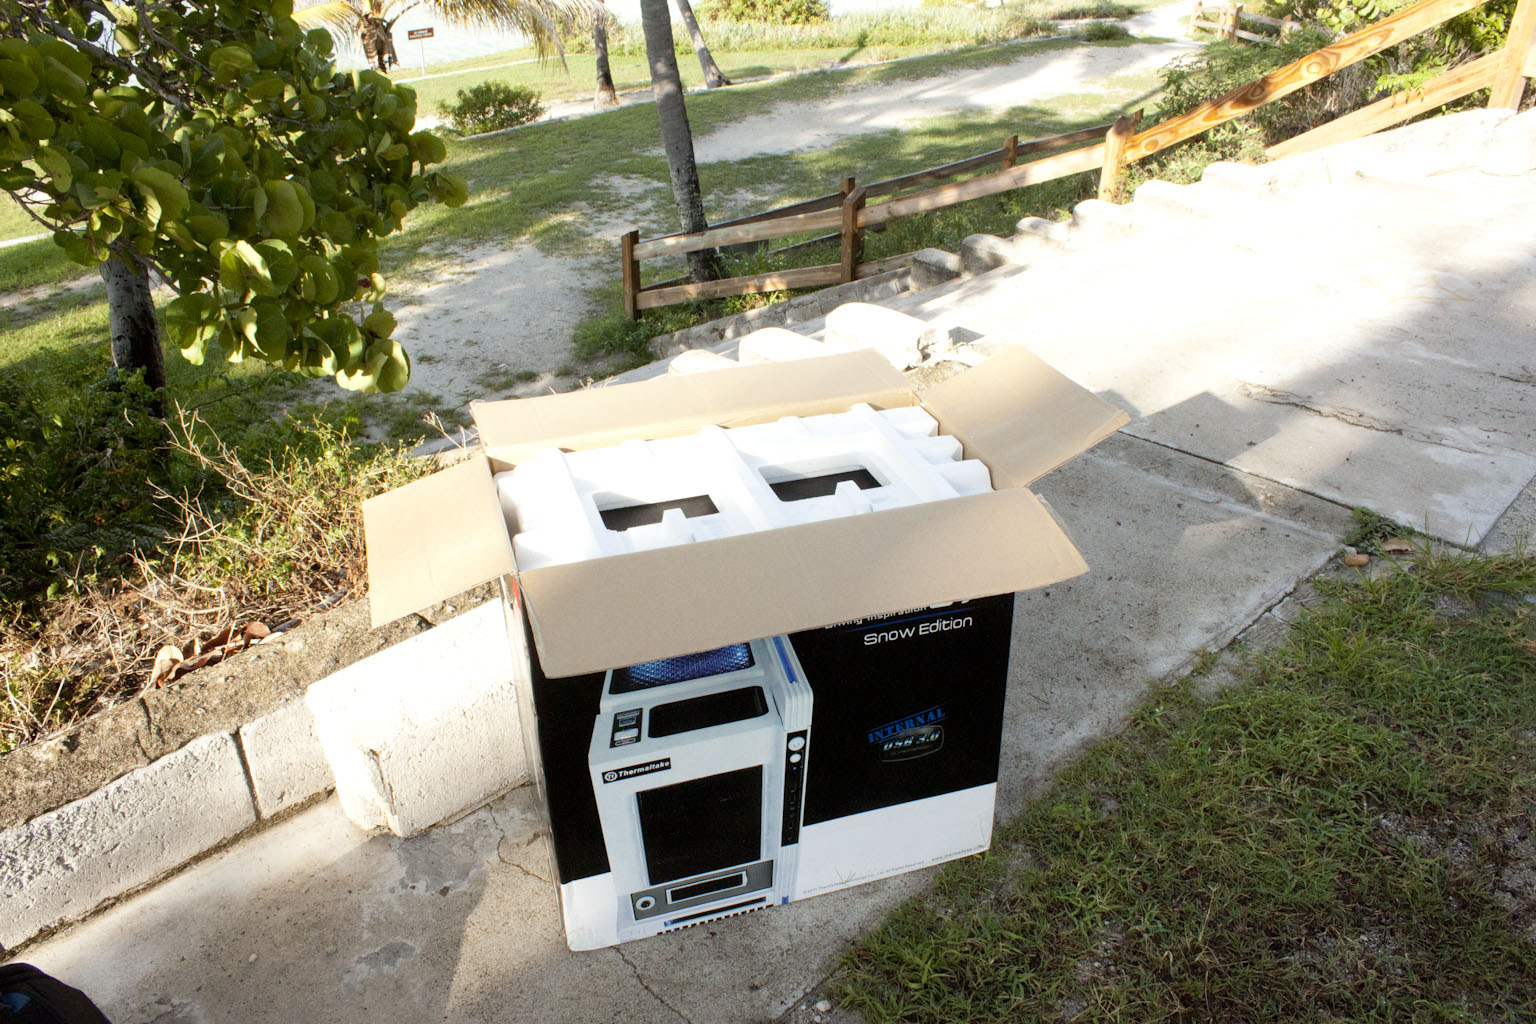
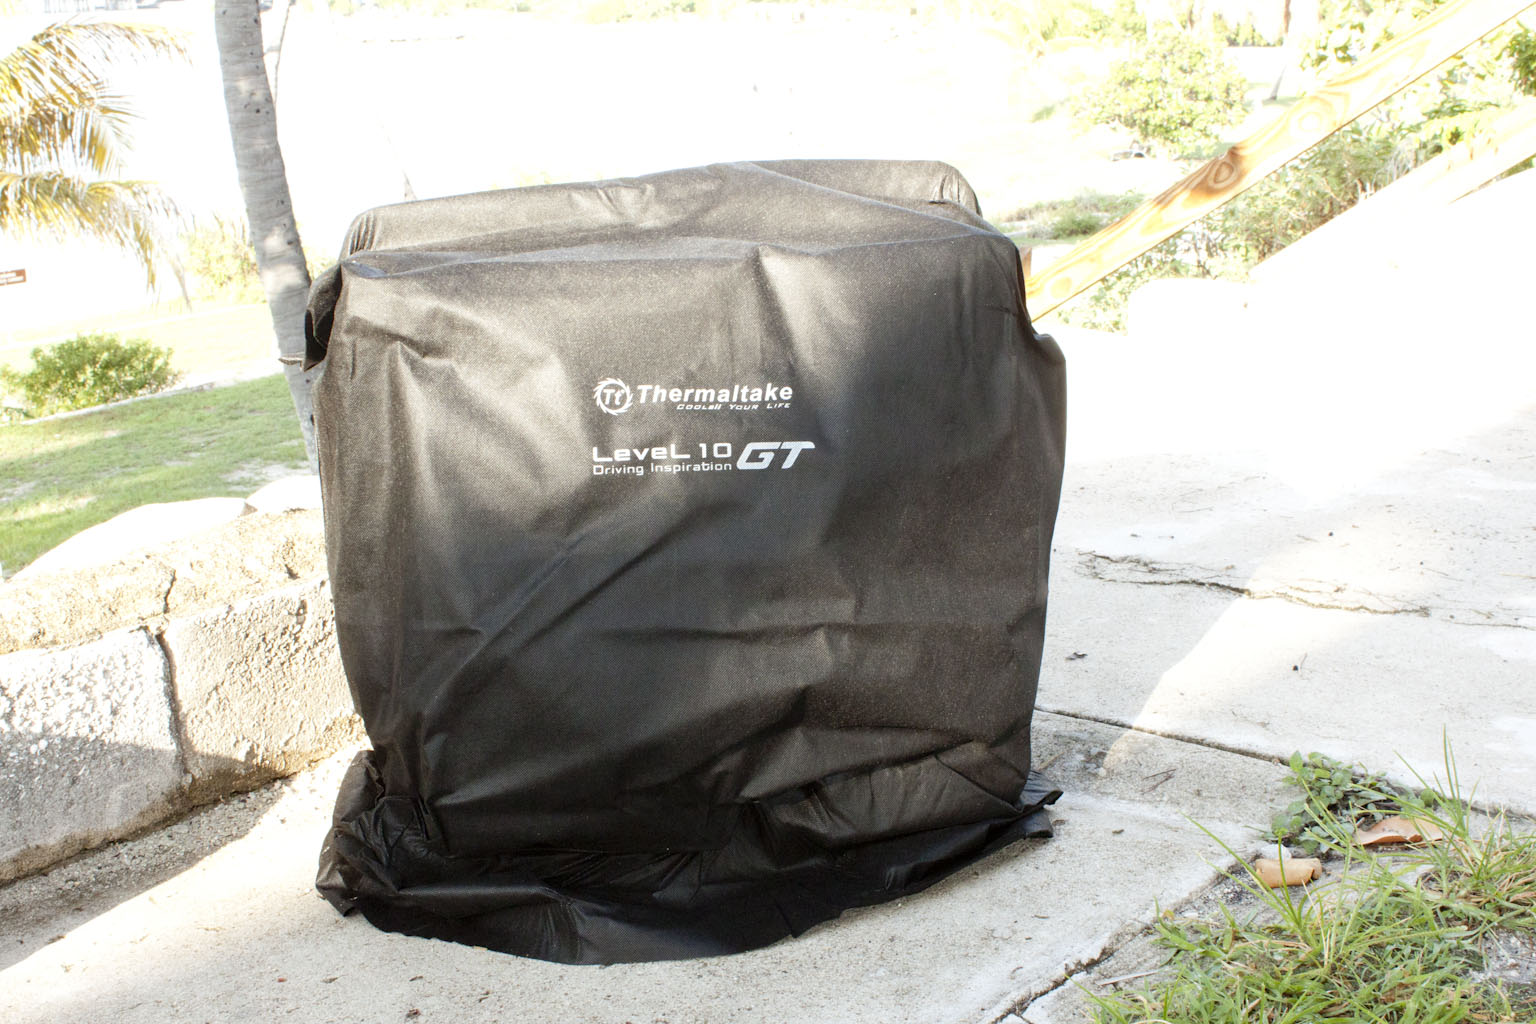
The back of the box is more of the same; a large close up image of the Level 1 0 GT with the exact same verbiage as we found on the front. Inside the box the Level 10 GT is protected by the typical Styrofoam end pieces and something extra. Thermaltake wanted to make sure that your $290.00 investment gets to you un-scratched so they put it inside a cloth bag. Once we took the bag off we were given a nice view of the Snow Edition Level 10 GT in all its glory.
 |
 |
Inside the level 10 GT you will find the accessory package. It is a small black cardboard box that has the typical items needed to get you working with the Level 10 GT right away (things like mounting screws and stand-offs, cable ties, and a manual). One thing that I did find fun was the headphones mount that clips to the outside of the case, but we will talk about that later.
The Level 10 GT Snow Edition -
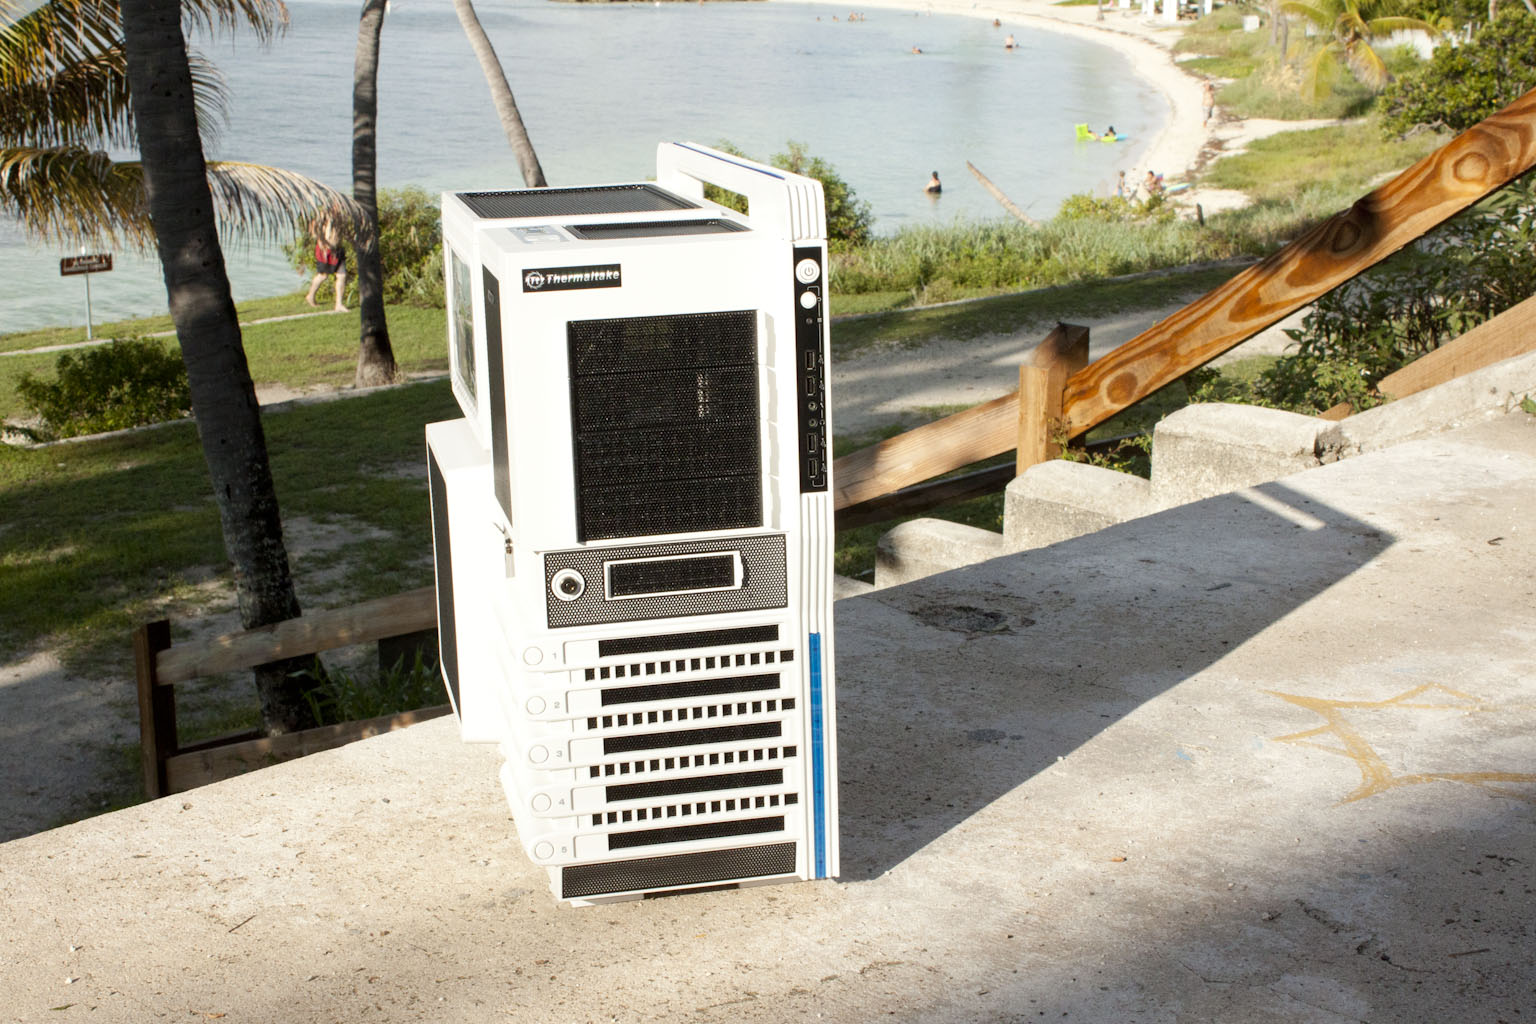
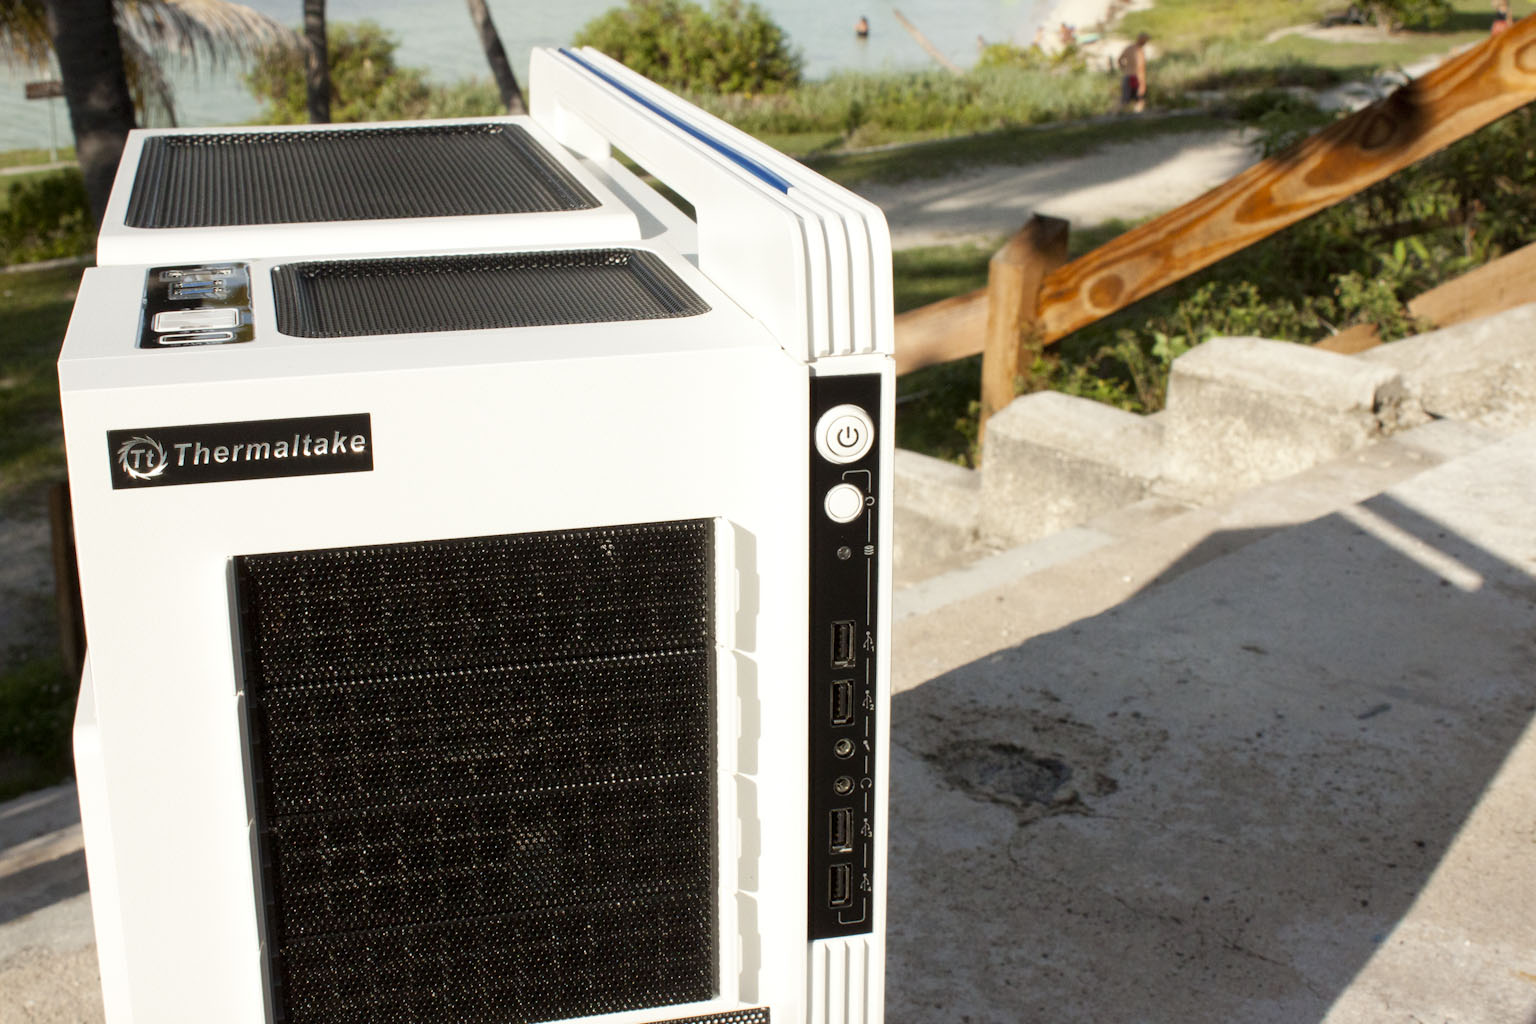
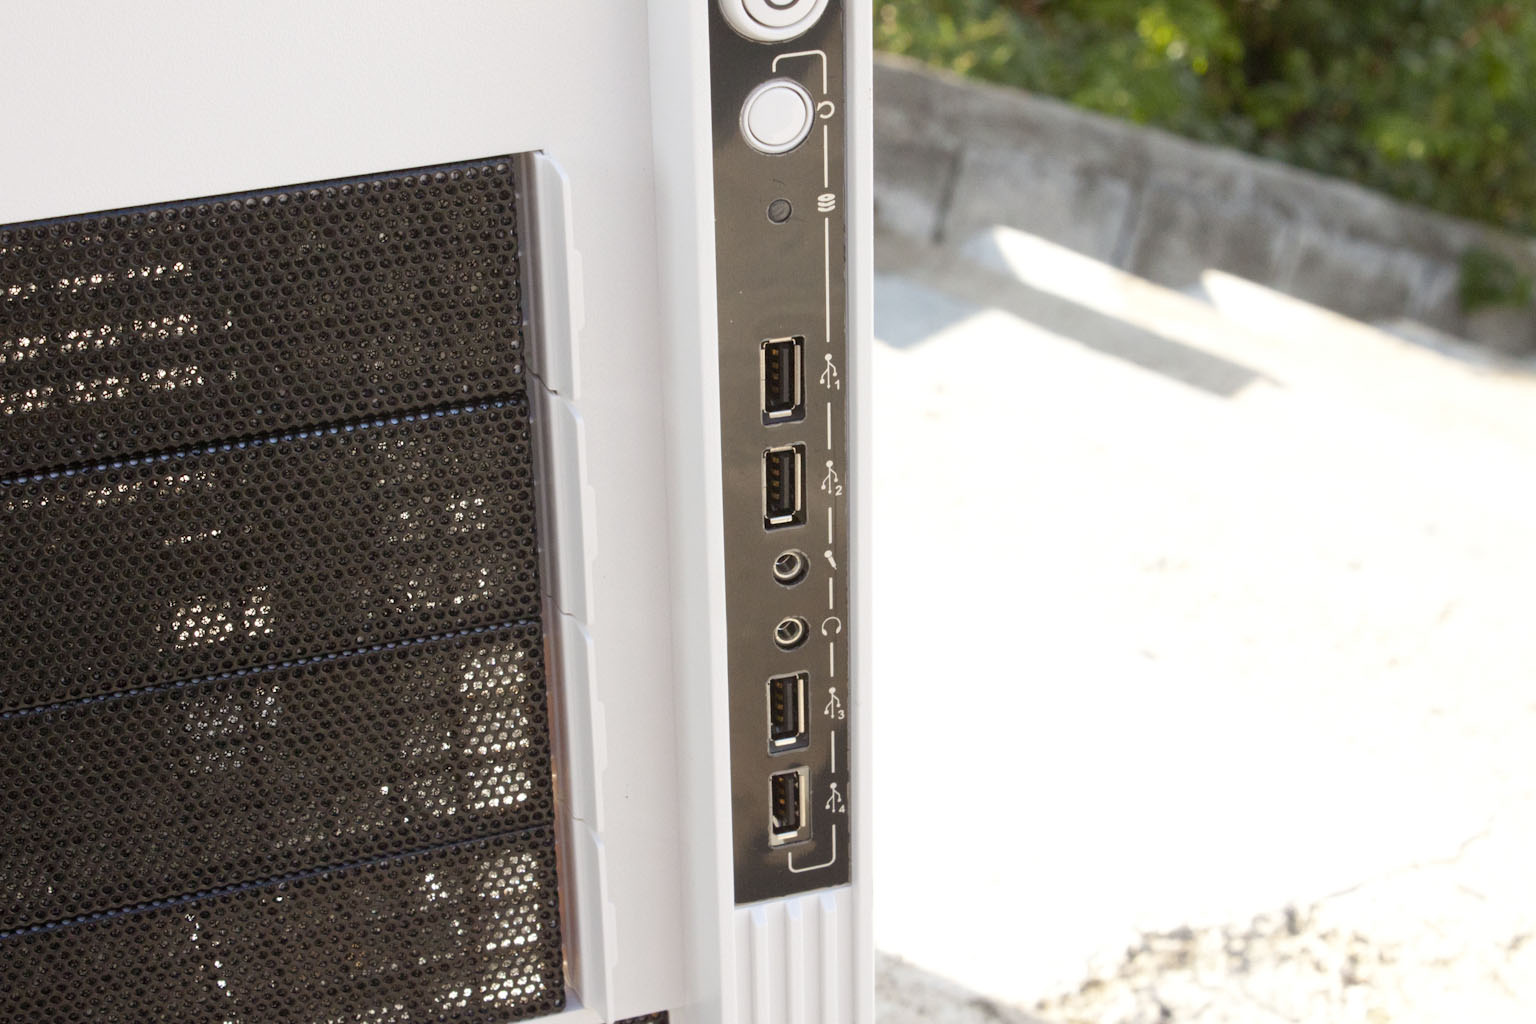
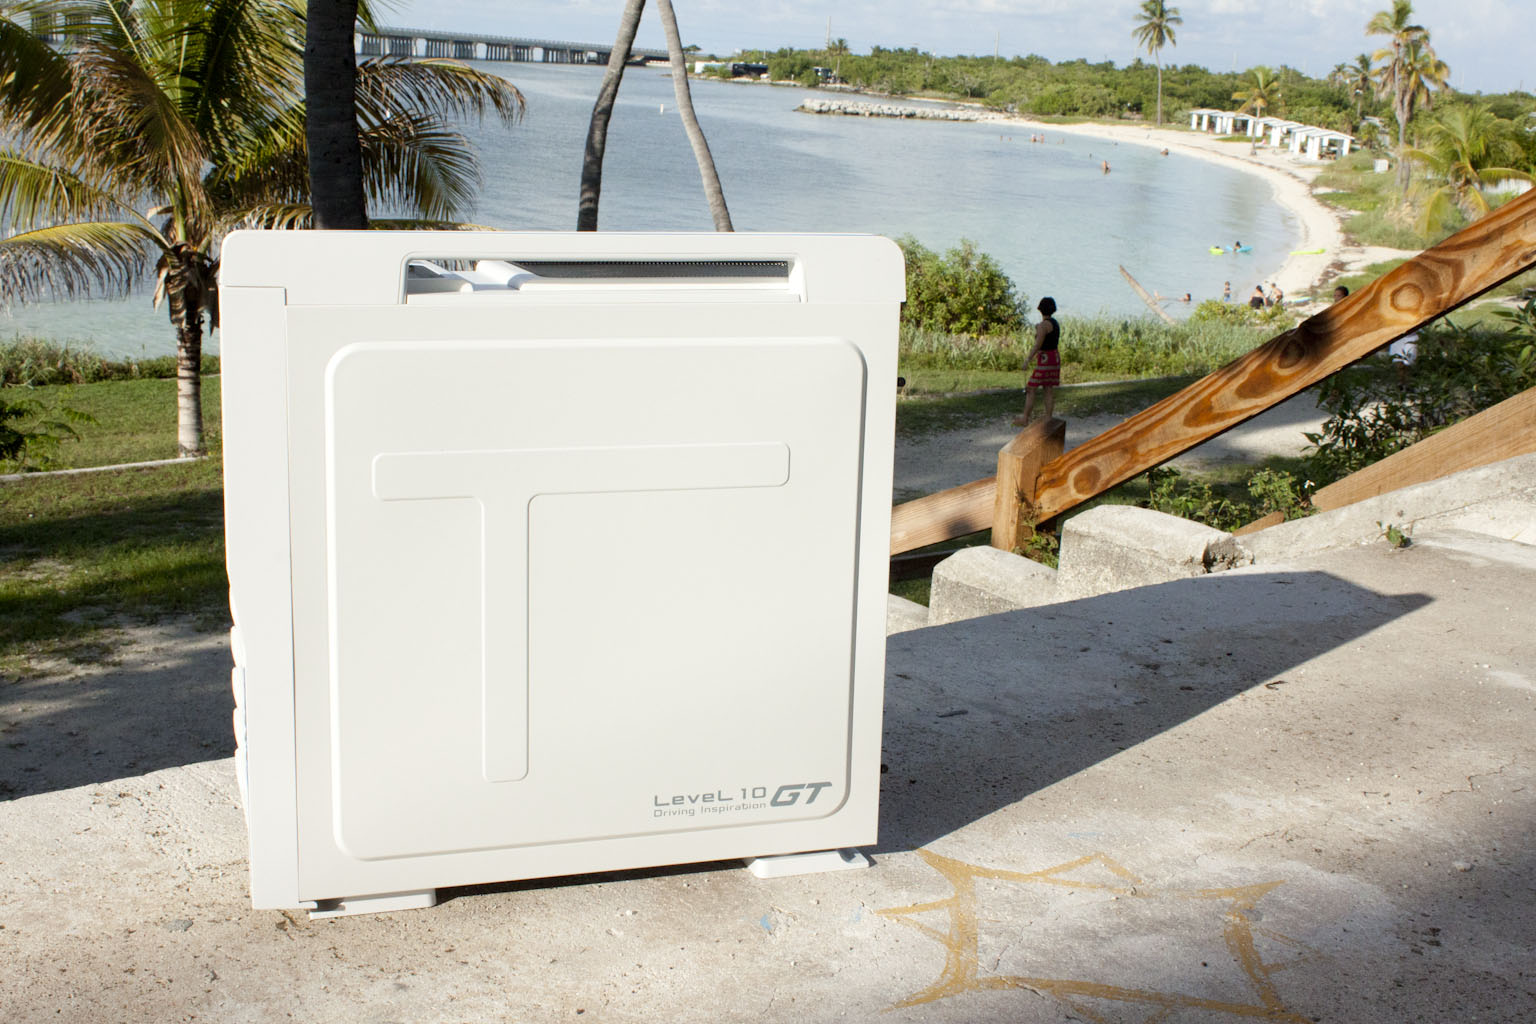
When you first look at the Level 10 GT it looks a tad awkward and ungainly. You can also see the family resemblance to its older brother the Level 10. However, where the Level 10 is has graceful lines and curves the Level 10 GT is blocky; also while the Level 10 makes use of Aluminum for its construction the Level 10 GT has quite a bit of plastic in evidence. Thermaltake has put in areas for cool air to enter the front of the Level 10 GT even if they are broken up somewhat. There is also a barrel lock on the front to keep the drive bays secure. On the right hand side is a “PlayStation” (to quote one of our Facebook Fans) looking vertical bar. Here we find the main control and a group of four USB 2.0 ports. We also get a closer look at the four 5.25-inch drive bays. Each of these is covered by a panel that has a mesh opening for improved airflow.
 |
 |
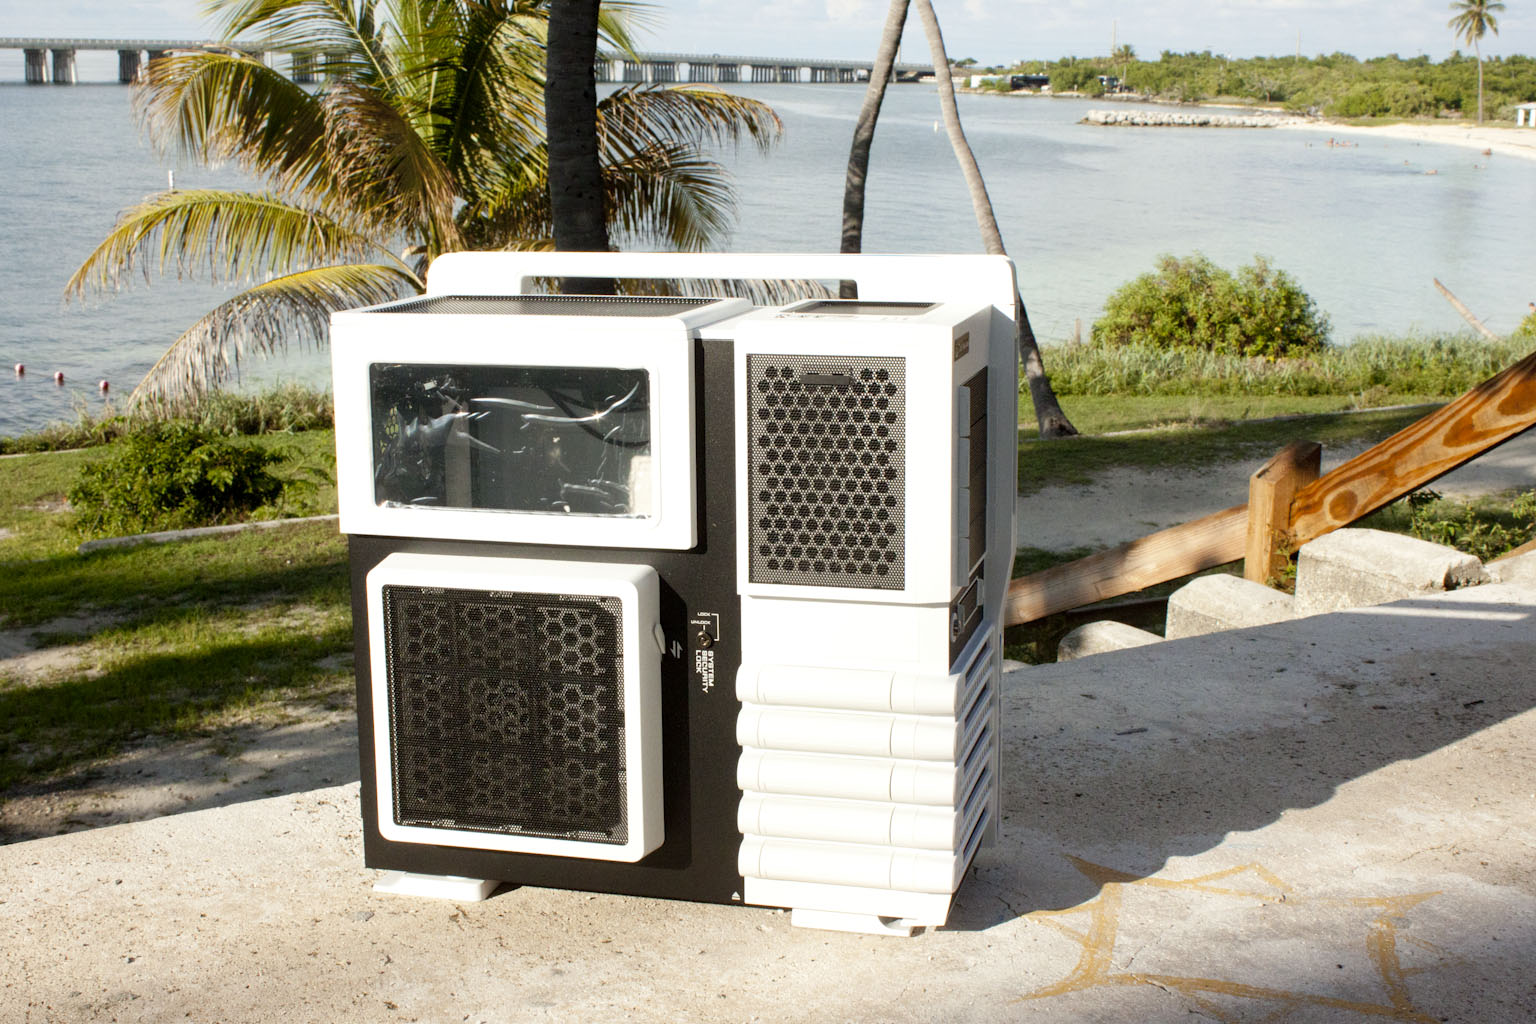
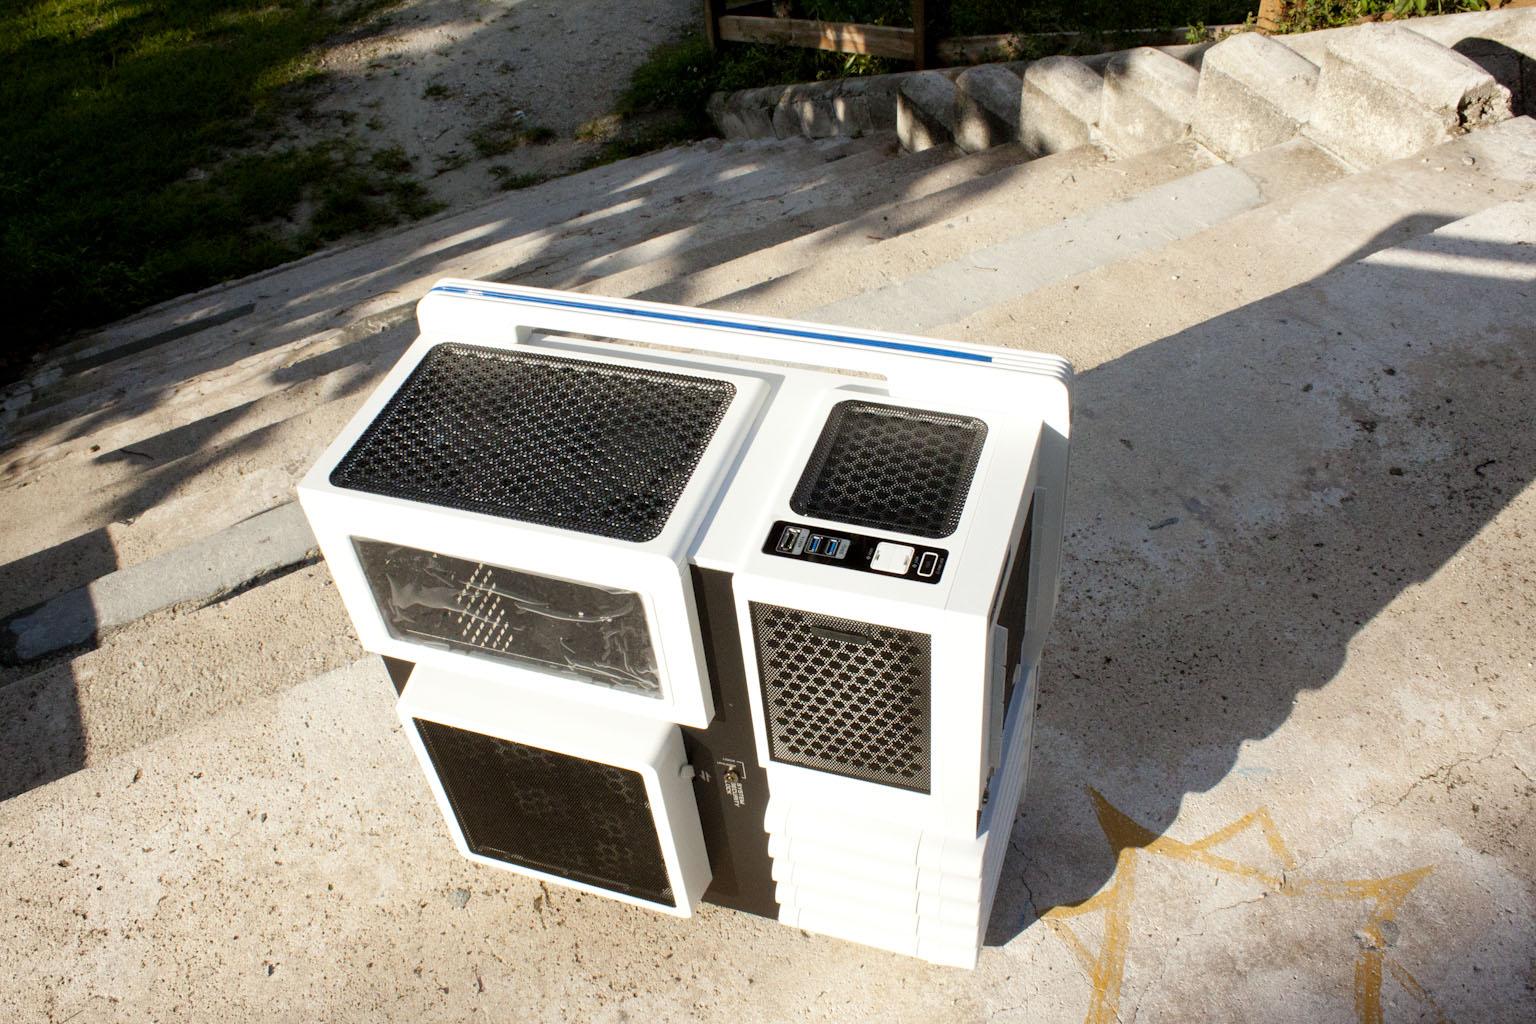
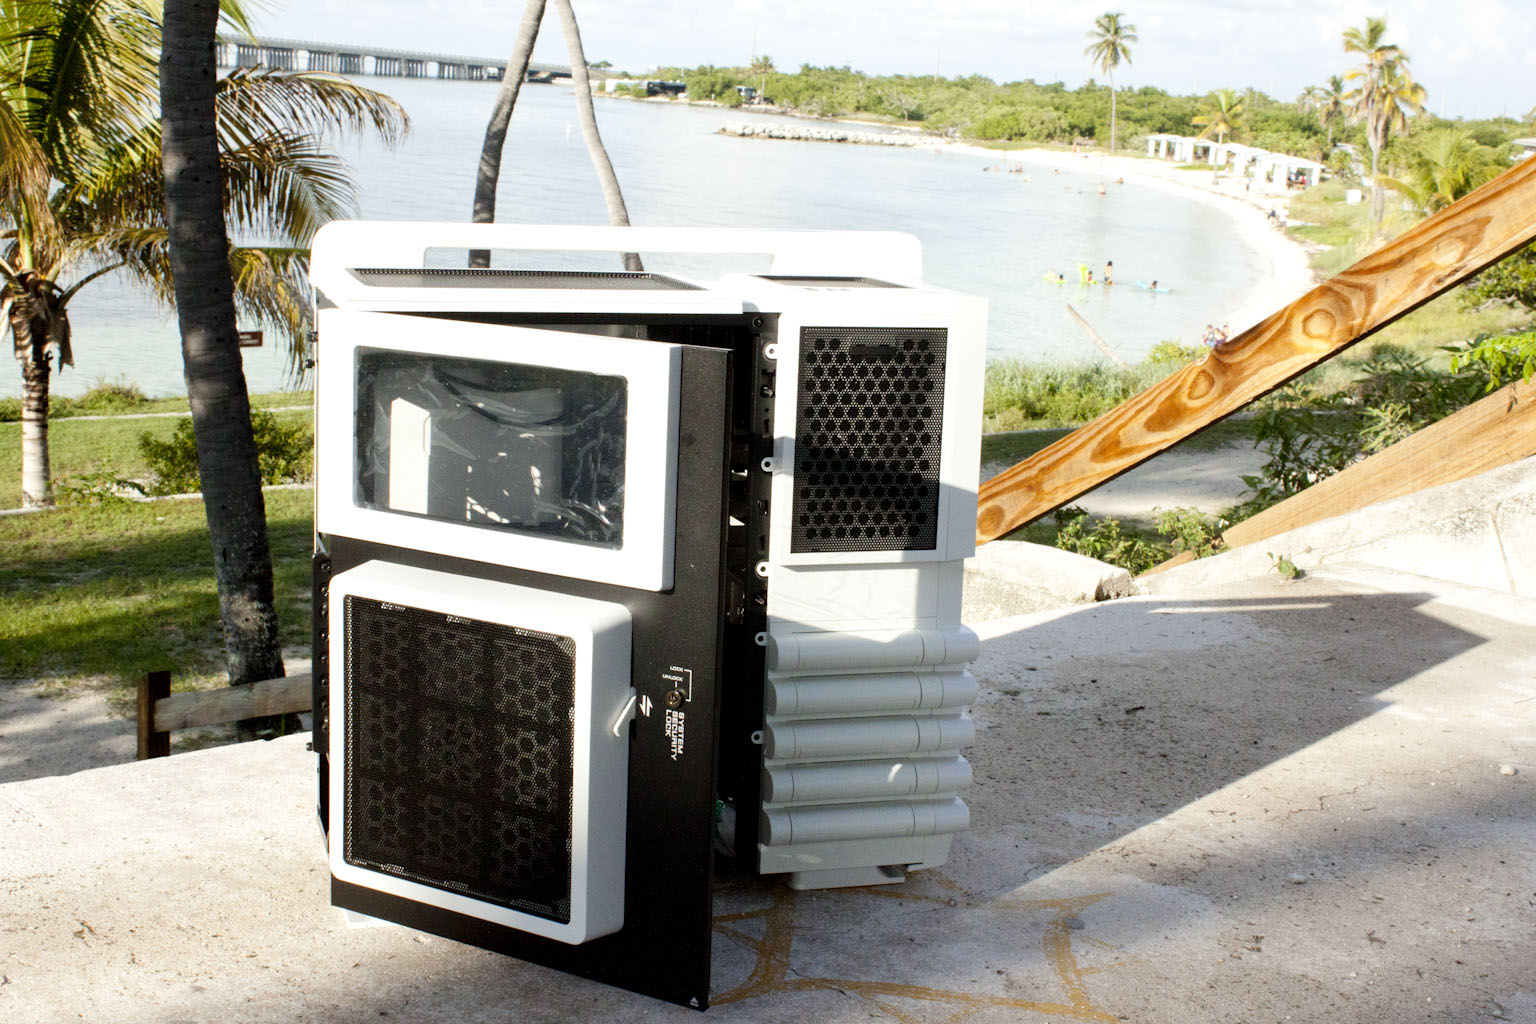
 When we rotate the Level 10 GT 90 degrees we find that some of the awkwardness seems to go away and we are left looking at a case that has some serious potential. Even with a very brief glance we see that Thermaltake has put in good ventilation. There is an open area that should allow for cool air to enter in beside any optical drives you may have in your system. Over the motherboard area is a rather large opening for a 220mm fan to pull air into the Level 10 GT (ok, from this point forward I will call it the L10 GT).This has a removable filter that should help to reduce dust intake. Above this is a small but well placed window allowing you to see some of your hard work. We also see another barrel lock here, this is (of course) to keep the case secure and prevent unwanted casual access (if someone really wants in they will get in). Right next to this is a lever which happens to control louvers for directing air flow up or down inside the L10 GT.
 |
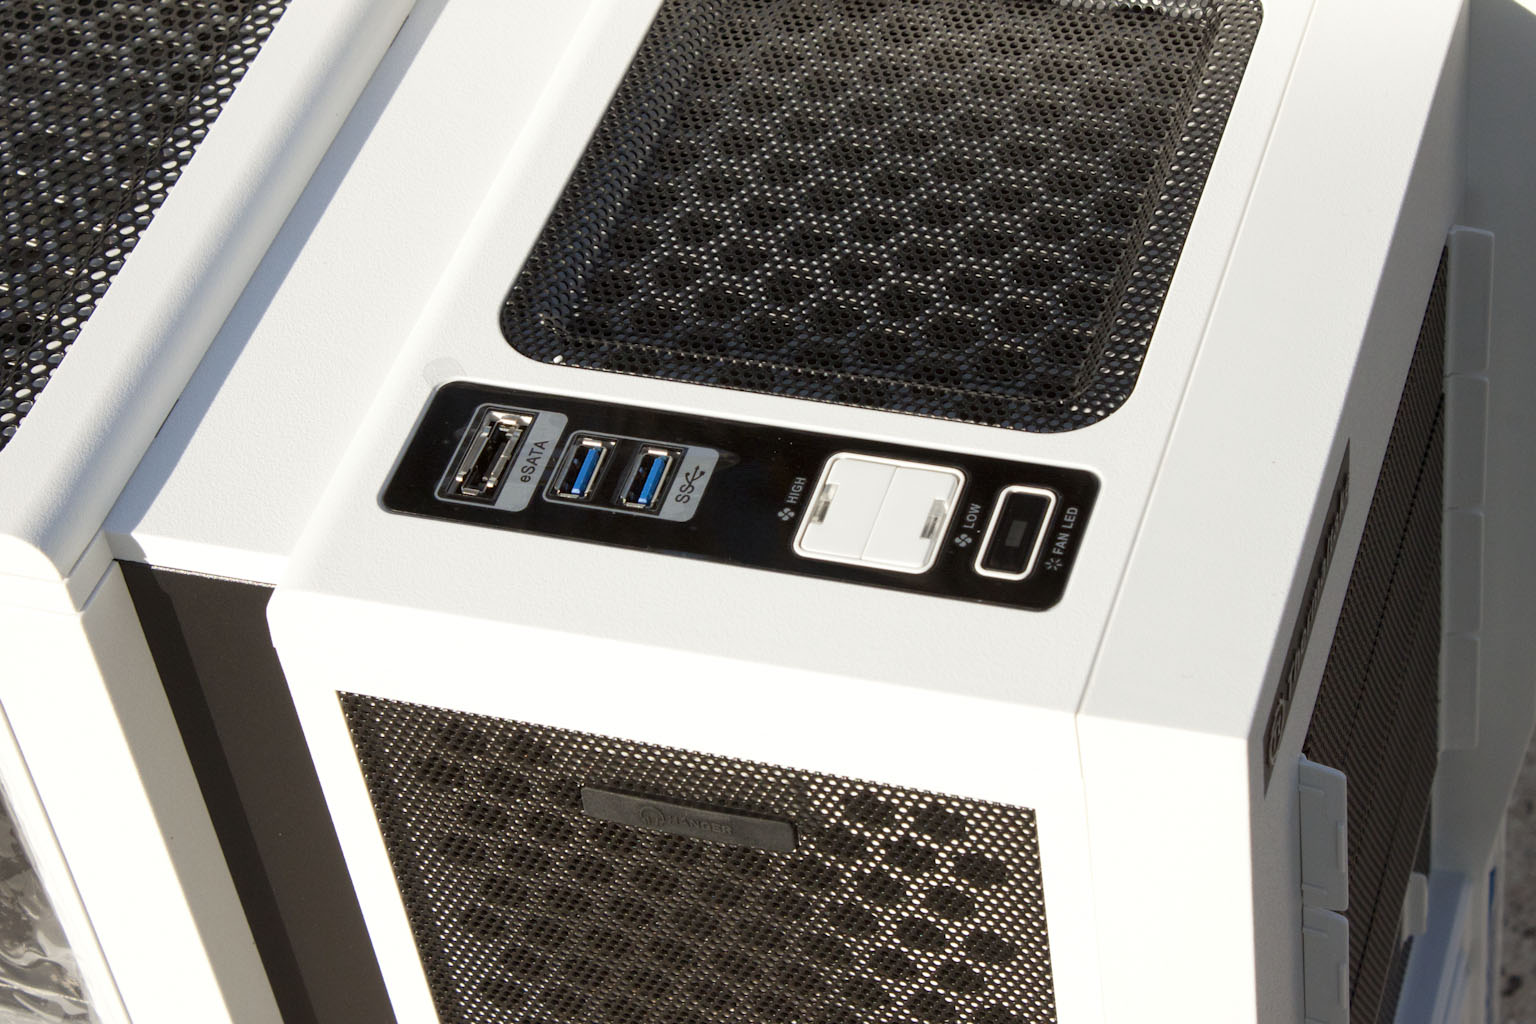 |
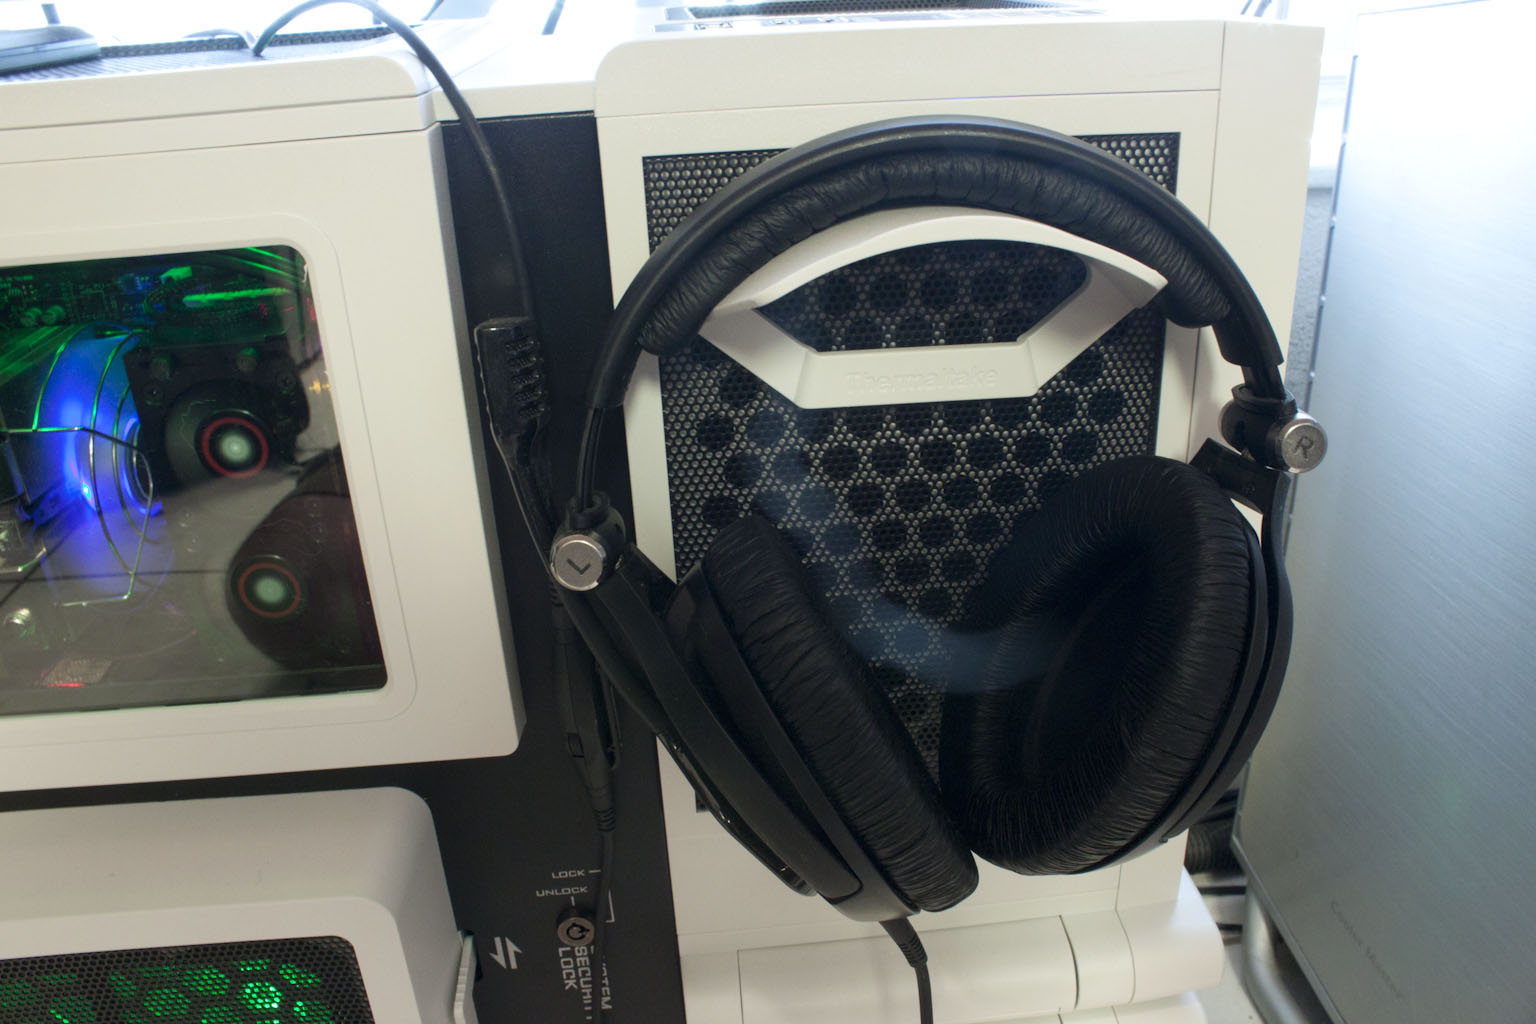
Looking down from the top we find two exhaust ports and what looks like more controls and ports. The exhaust port at the front is fan-less but does help to vent some of warm air out the top of the drive stack. The larger exhaust port does have a fan and does a good job of removing the hot air from the CPU, Motherboard and Peripherals. The controls and ports we talked about turn out to be two USB 3.0 ports (using an internal header) a single e-SATA port and some fan and LED controls. The LED control button allows you to cycle through some interesting choices for lights while the fan speed control runs the fans on high or low. You can also see where that Headphones hanger goes on the side of the L10 GT. 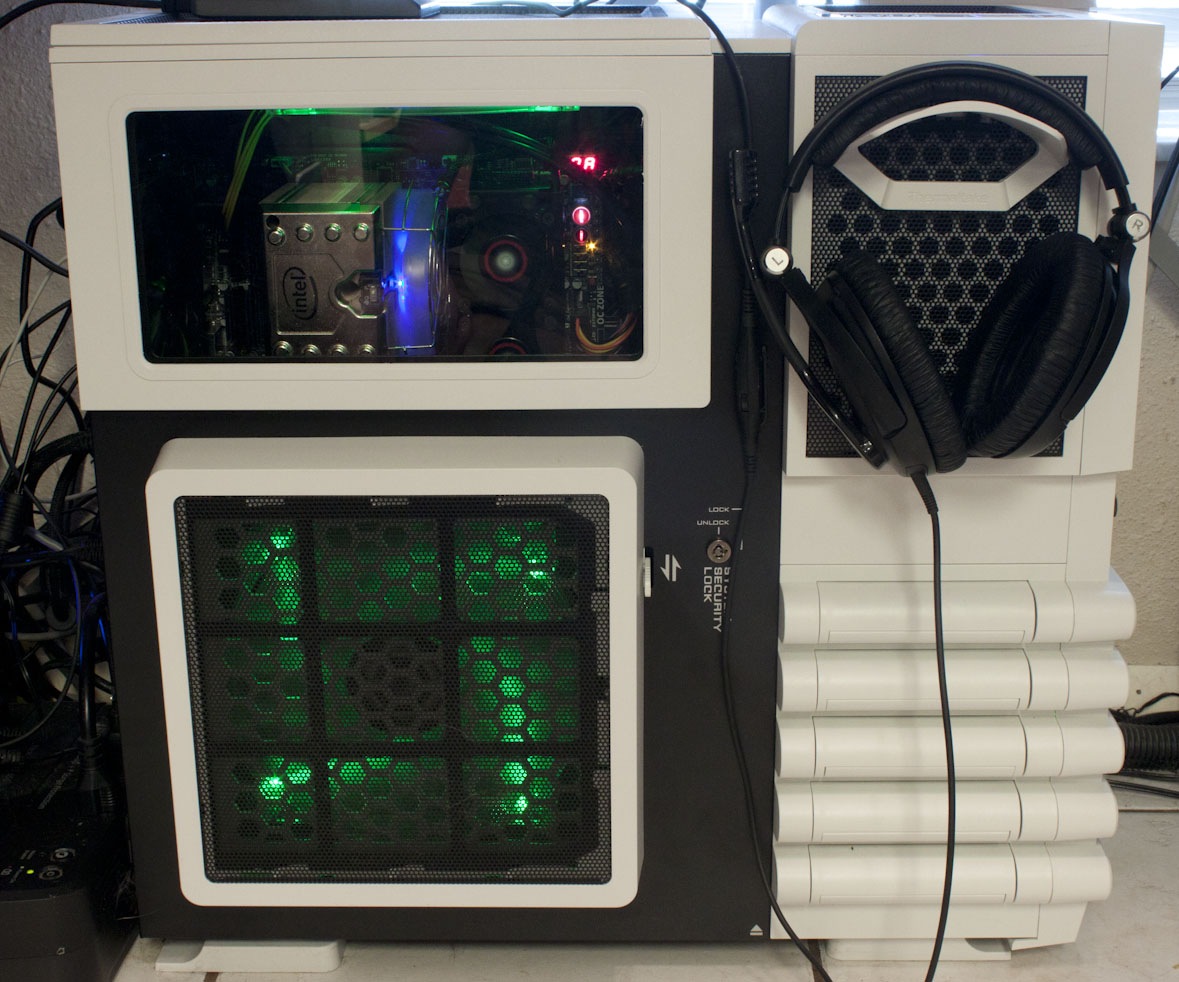
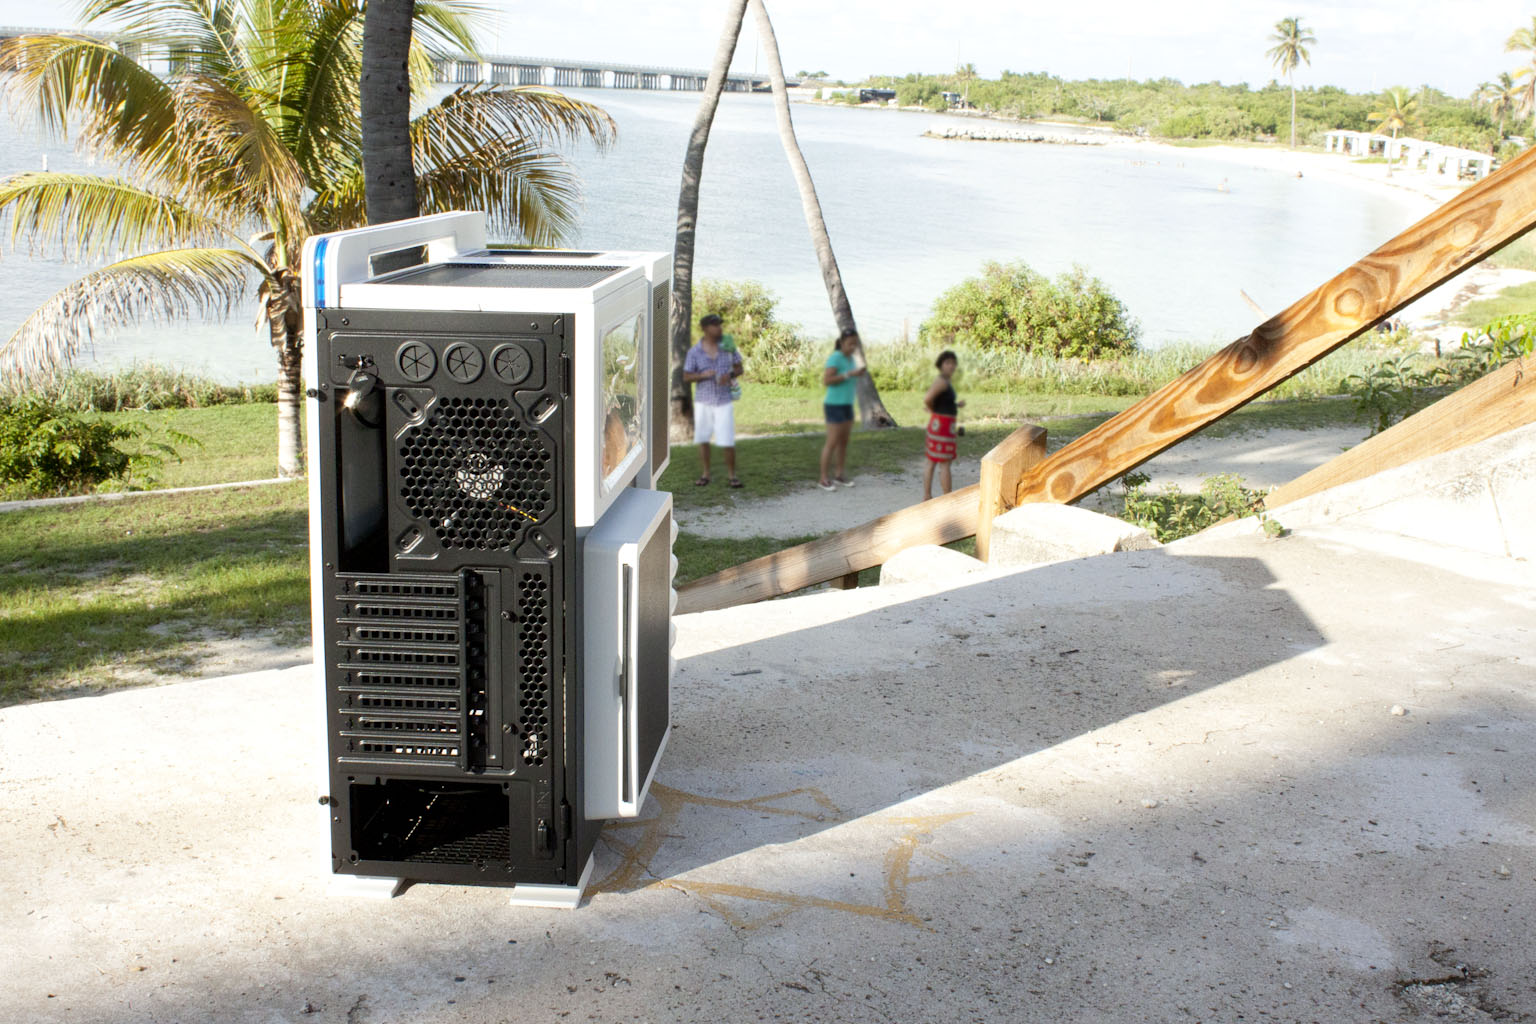
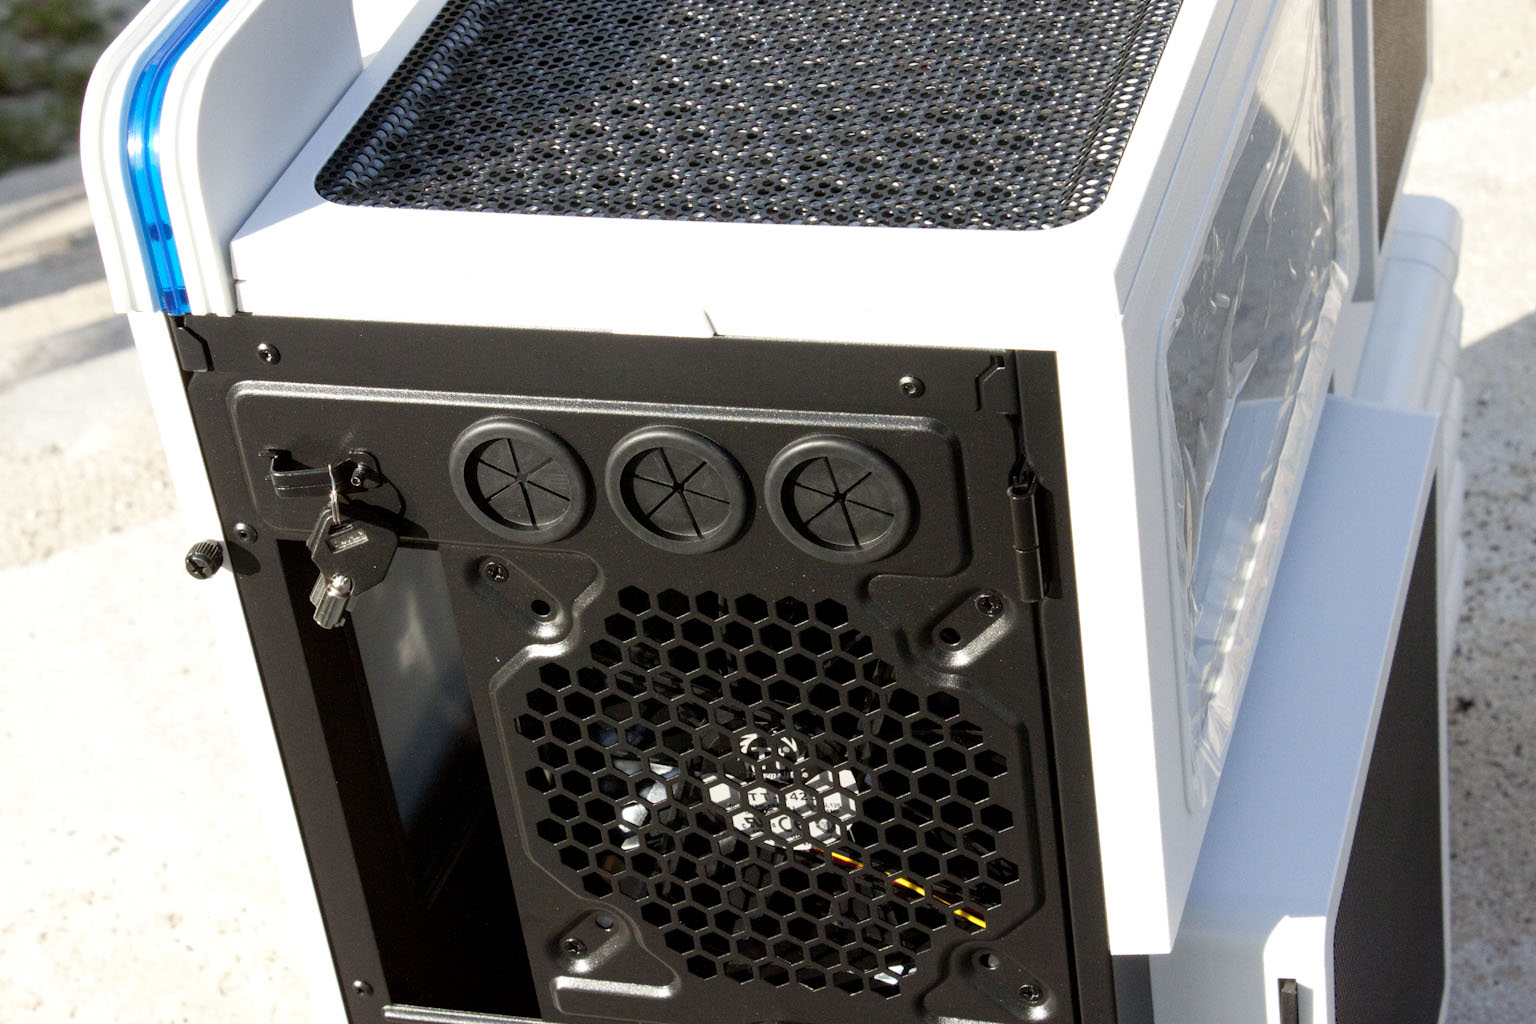
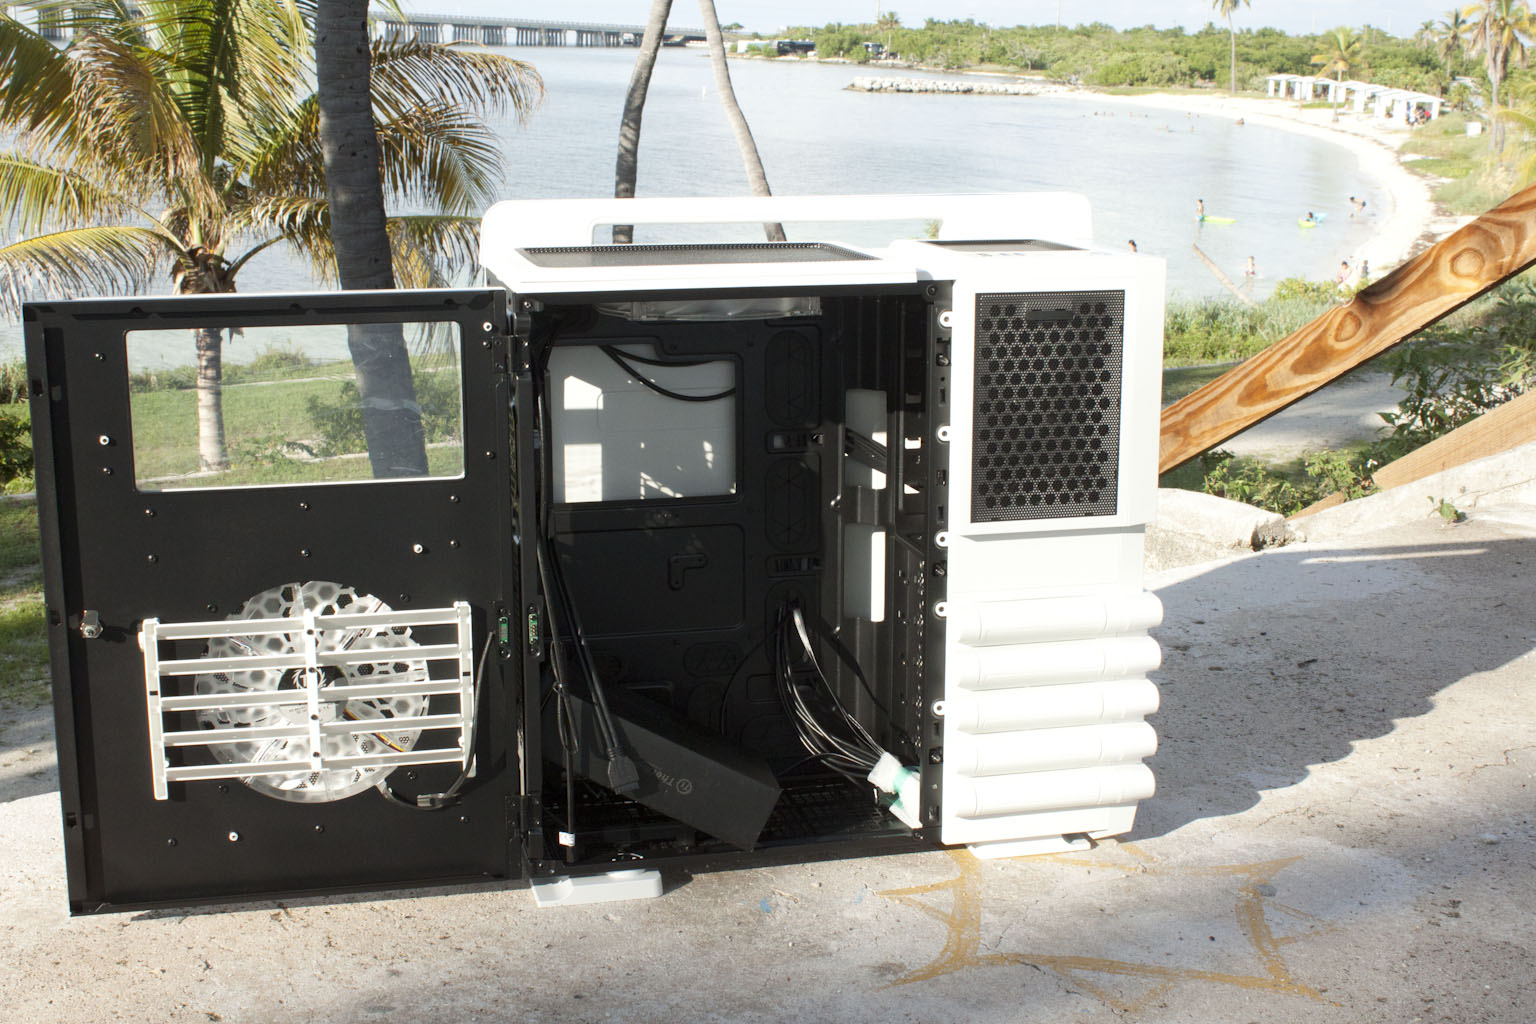
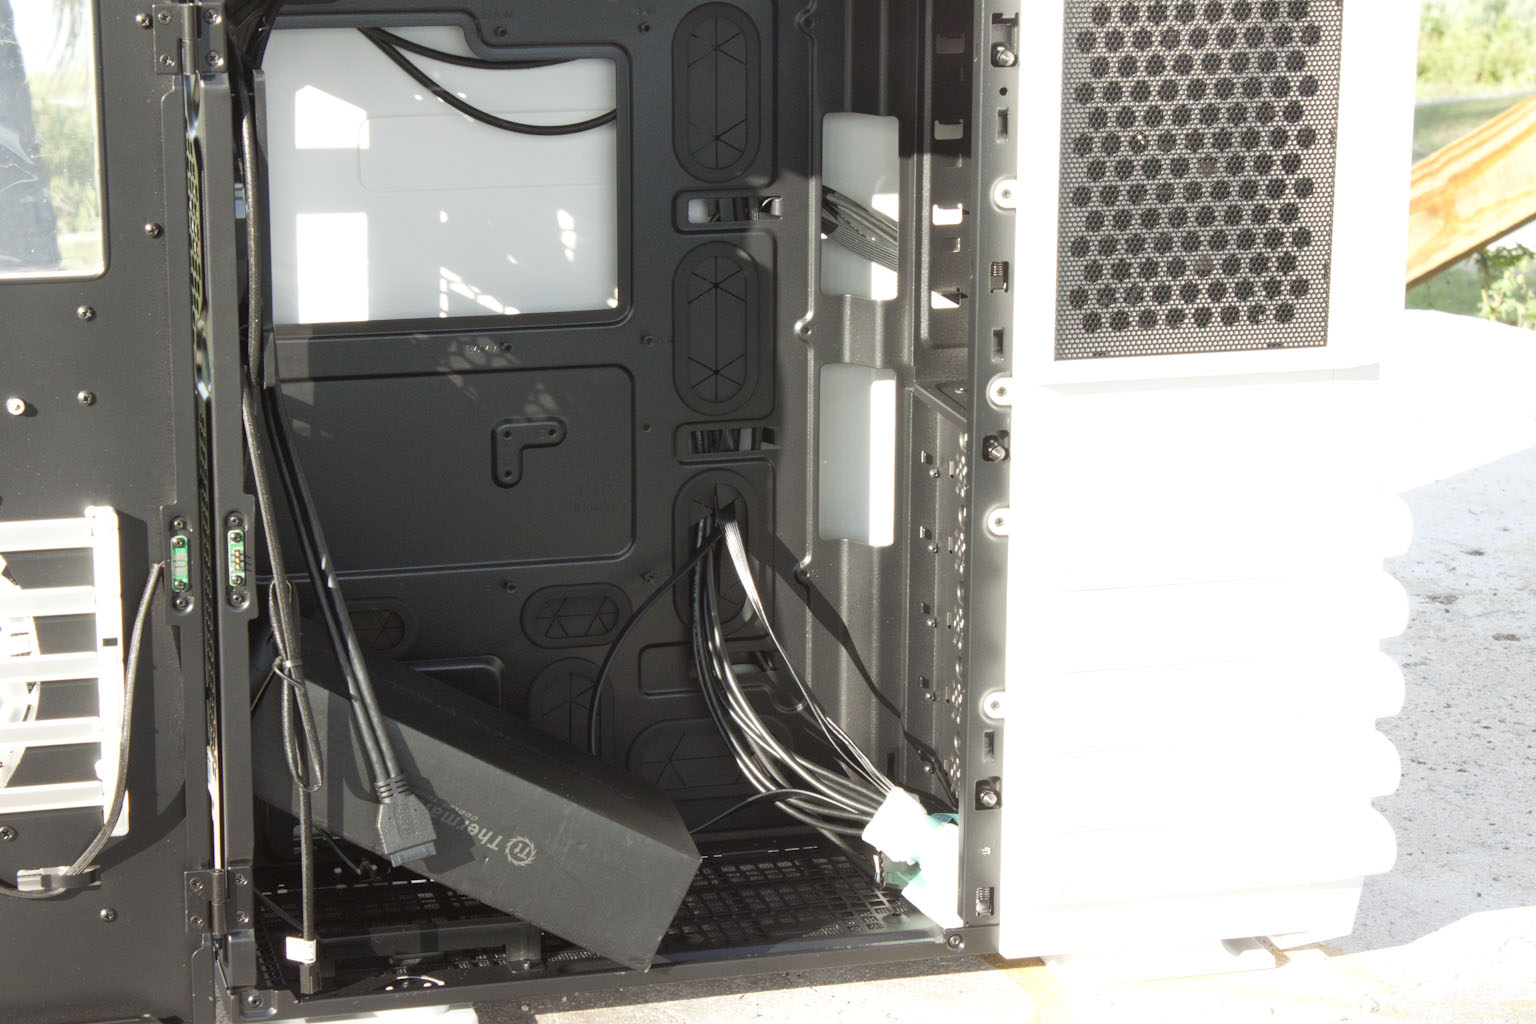
As you can see in the pictures and video above the L10 GT looks pretty good in action. After we marvel at the lights (which were shot in the Lab) we need to head back to the beach and take a look at the right hand panel of the L10 GT. Here is a single large panel that hides away a very spacious are behind the motherboard back plane. This area is great for cable management with multiple rubber lined ports to run your power cables through. Looking at the very back of the L10 GT we find a fairly typical layout here. The PSU is situated on the bottom with a slightly larger than normal number of peripheral ports, but the normal 180mm exhaust fan. There are also three openings for external water cooling accessories.
 |
 |
 |
Now let’s move back around to the front and the drive bays. Here we have five numbered bays that are ready for you to drop almost any sized HDD into. At the back of each tray Thermaltake has put in both power and data pins so that all you need to do is slide the drive in and you are all set. On the back side of this you will still need to connect a SATA data cable but Thermaltake has already connected a power cable to all five. At the end of this cable is a SATA power connector that lets you run all five drives from a single SATA power plug from your PSU There is also a front mounted fan that pulls in cool air over these drive bays. 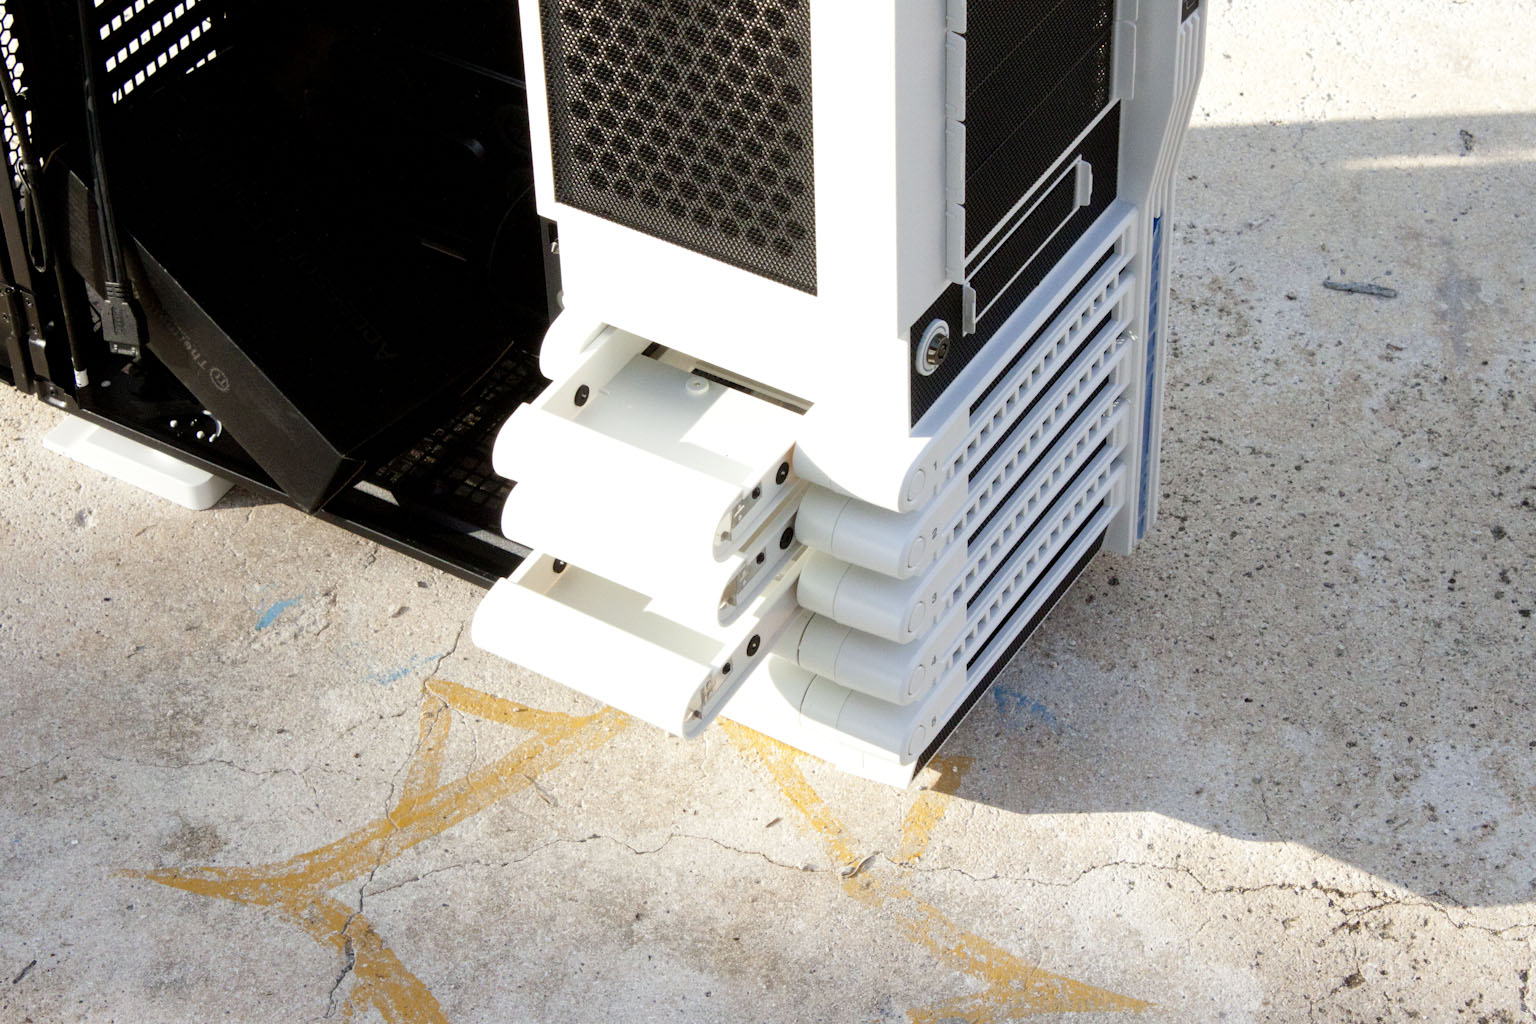
Now that we have been around the case let’s crack open the door and take a look inside. To do this we do have to unlock it and then press a small release button under the case door. You can easily locate this by the small white triangle near the bottom of the drive bays. Once this has been pressed then the case door will swing open. As we mentioned the inside of the L10 GT is very roomy even though it might not look that way at first sight. Thermaltake has also put in a good deal of effort into making cable management easy for just about anyone (including me). The large cut out in the back plane is to make adding a new cooling system in without the need to remove the motherboard. The door fan that we talked about earlier has a nice feature, instead of needing to manually plug it in each time you close the door Thermaltake has setup a contact switch to control the fan, as soon as you open the door it loses power when you close the door it starts back up. Along the bottom Thermaltake has put in another screen to help reduce the amount of dust and other floating particles that gets into your system.
 |
 |
 |
So while the outside might look a little bulky and awkward, inside it is quite nice and I can see that it Thermaltake has put some thought into keeping it clean. Now let’s find out how well it performs.
Performance -
Like most things that I review I tend to look at more than one aspect of performance. For me a case has to offer several things before it makes the cut. One of the first things it has to do is be easy to work with. It can be the best looking case on the planet, but if you cannot get your parts installed properly well then it is useless. The next thing it has to do is keep your parts cool this is the air flow test. Lastly (in my book anyway) it has to look good.
Ease of Build -
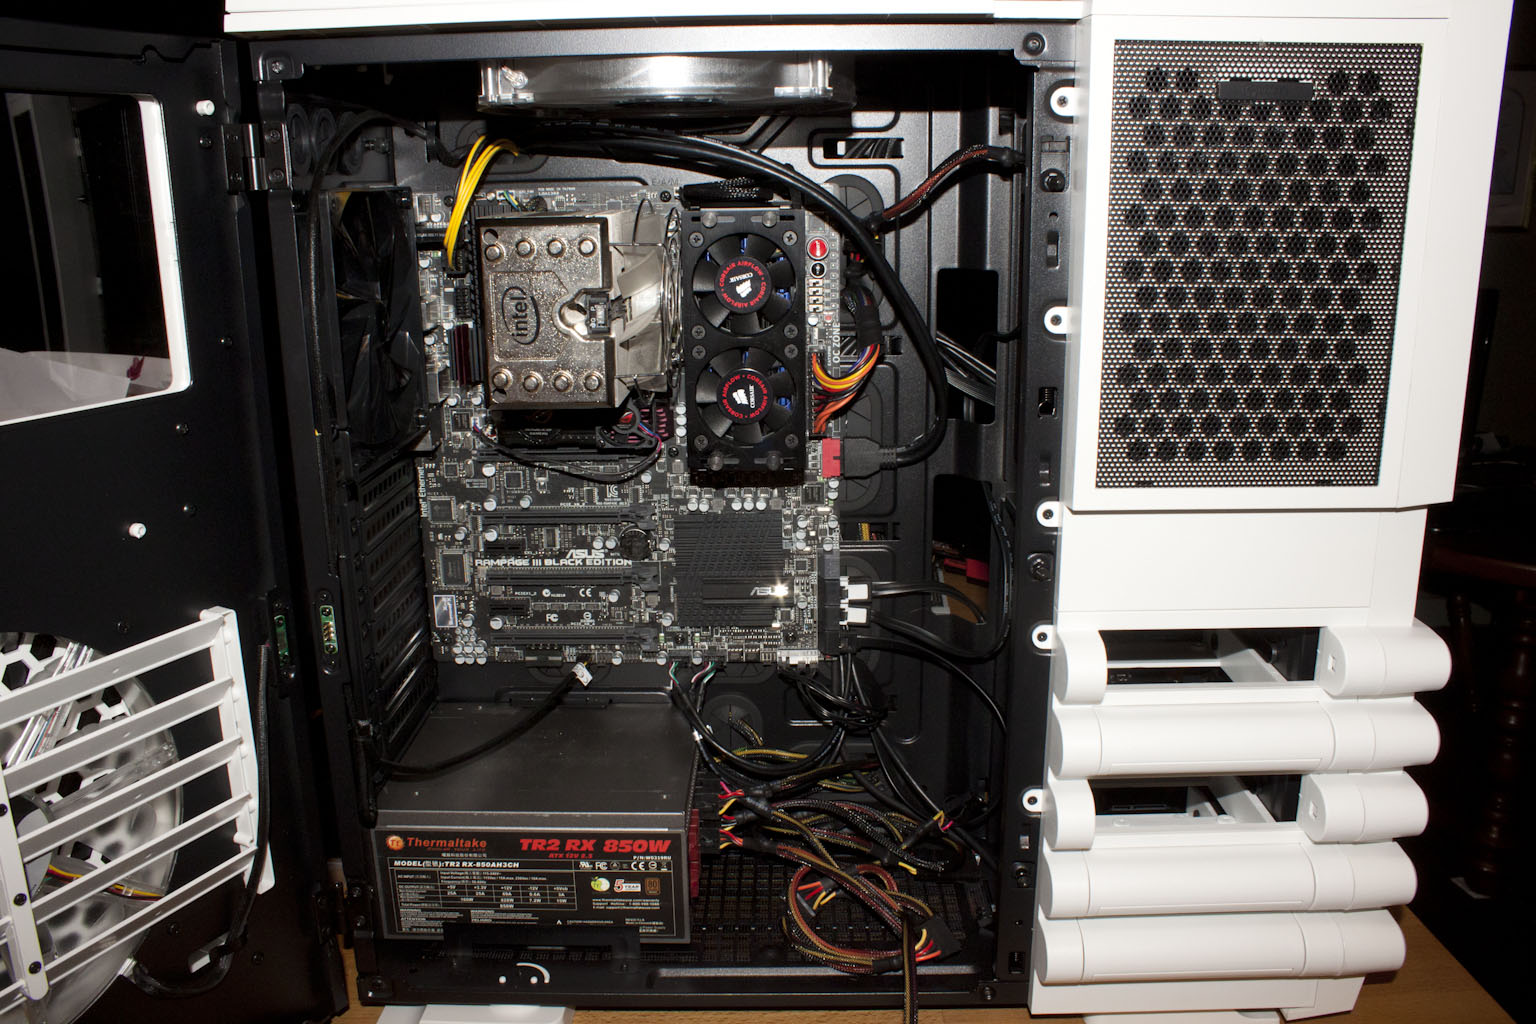
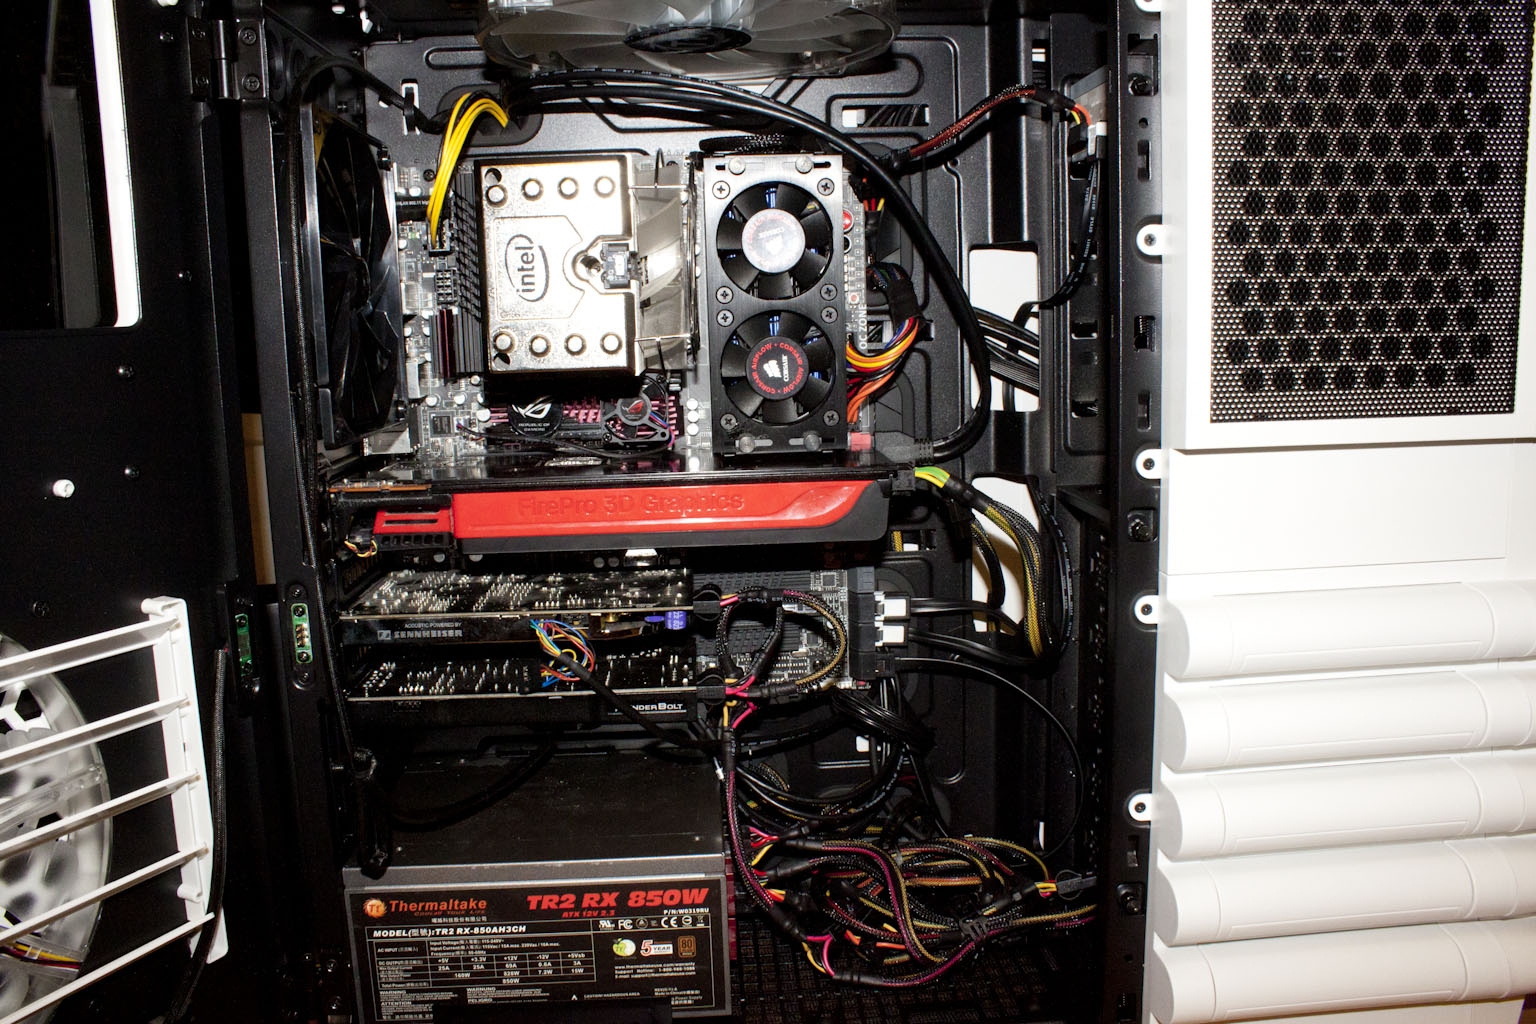
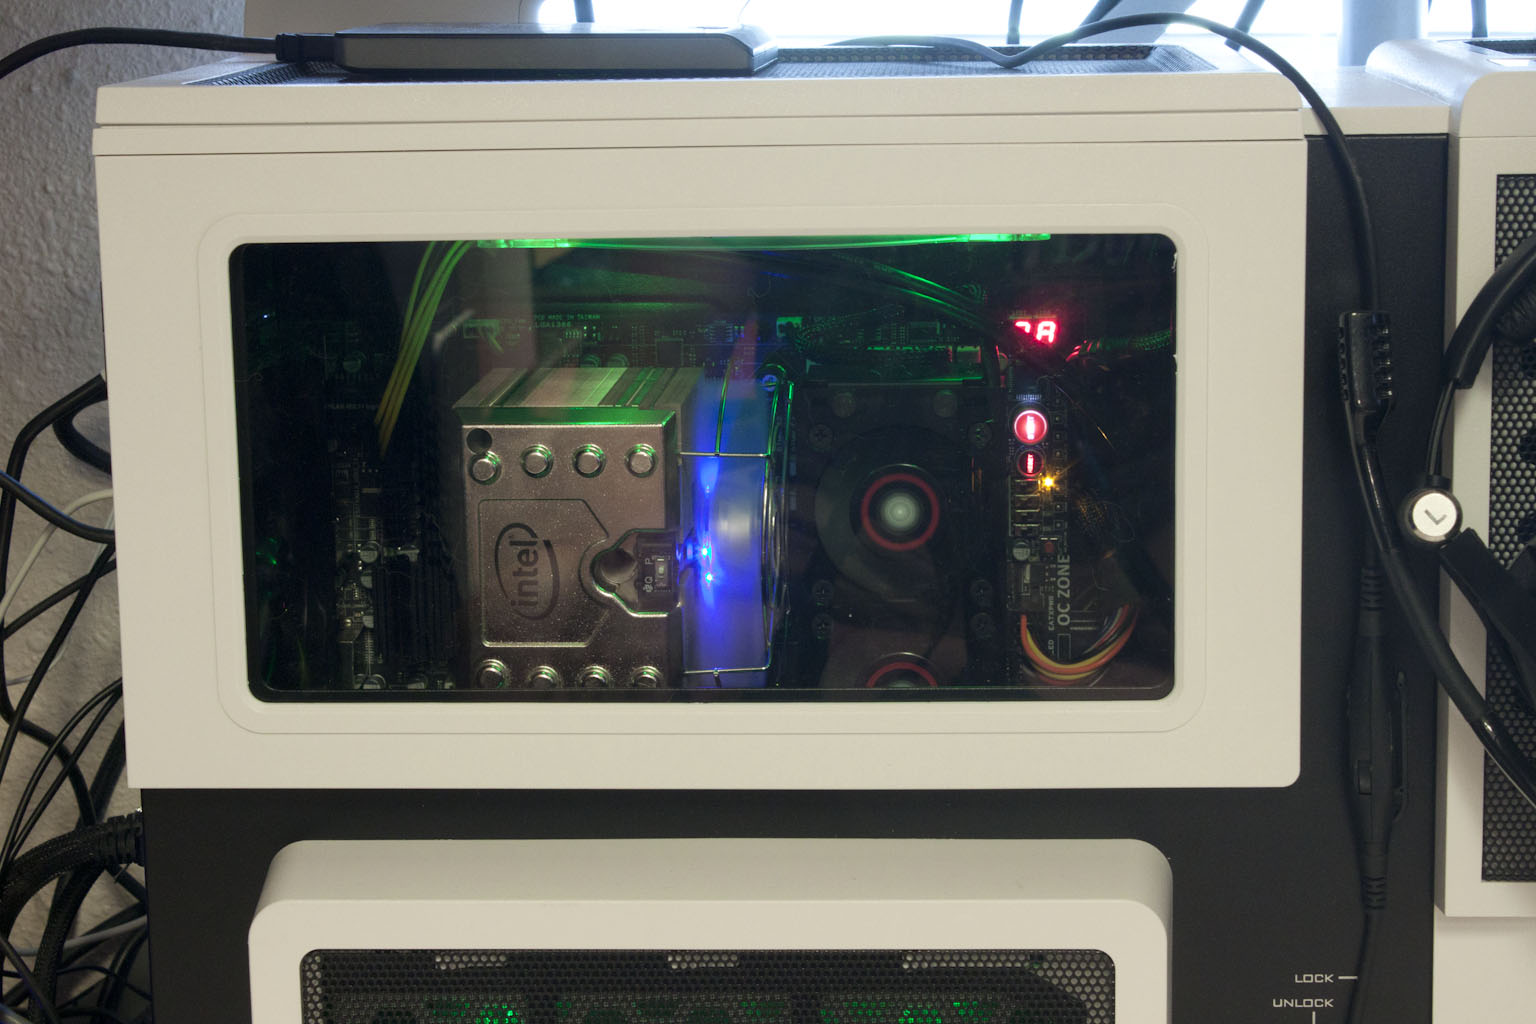
One of the things that comes with a larger case is usually a much easier build. The Level 10 GT has a good deal of space and as such it gives you room for good cable management and also to make sure there is good airflow. The 5.25-inch drive bays are tool-less so all you have to do it run power and a data cable up there and then lock the drive into place. The HDD bays are very simple to work with as well and you can get them working in a matter of minutes. We chose to use the Asus Rampage III Black Edition Motherboard for our base build. This is a slightly oversized motherboard and has more features than we will ever need. For peripherals we are using the Thunderbolt’s KillerNIC interface, but not the audio. We have an Asus Xonar Xense to keep our ears happy. For graphics we are looking at a FireGL Pro 8800, this powers the triple-display Eyefinity that we have been working with. As you can see from the build images everything fits with room to spare. The left over cables lay down in the bottom of the interior with room to spare for airflow while we were able to run the majority of the bulky cables behind the back plane in the space that Thermaltake put there for this. This is one of the cleanest builds that I have done (I do not spend a ton of time on cabling for these reviews) in the short time I spend on the build. If I am able to get things this clean in about 30 minutes, imagine what can be done with some real time put in.
 |
 |
 |
Air Flow -
With the four fans in the L10 GT two intake and two exhaust the air flow is very good. The ability to slightly adjust the direction of the air flow from the side intake fan helps to eliminate pockets of air that often form inside a larger case like the Level 10 GT. Still we do wish there was at least on fan pulling in cool air from under the L10 GT if not two (one in the main part of the case and one under the drive stack. This would have improved cooling quite a bit we think. Let’s not forget that you can also adjust the speed of the fans to increase the amount of air moving through your Level 10 GT so even though there are only three fans you can still move quite a bit of air.
Aesthetics -
Aesthetics is a rough subject; what I think looks good might be unattractive to others. Because of this I usually do not subject you to just my opinion of how good or bad a case looks. I tend to ask a wide array of people and get their input. This should give you a much more broad impression on why people might find this case good looking or not. We use out standard 1-5 (one being terrible and five being awesome) we ask two questions. On a scale of one to five rate the Level 10 GT for coolness and then we ask the same question for overall looks. Then we ask for a one or two word statement that best describes the Level 10 GT for them. I was able to ask a few people about it while I was photographing it in Bahia Honda Key the results were interesting considering the demographic. 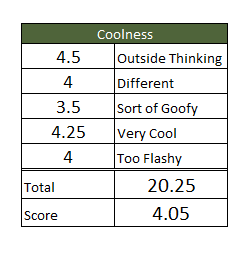
 For me the Level 10 GT is a bit awkward when you look at it from the front. It just does not look right. Now when you turn it sideways all of that changes. The side view looks very clean and has an almost artistic look to it. It is not as clean as the original Level 10, but there is something about it that grows on you. Another item that I am not overly found of is the large amount of plastic used in the Level 10 GT. I know this was to save on costs, but it also gives a slightly cheap look to the drive bays. They really do look like they do not fit properly when you look closely.
Now, all that aside I have to say that the combined whole (when looked at from the side) is just plain cool. The large colored fan that extends out in its own housing and the rectangular window that gives you a peak into the inner workings just makes for a nice visual (as the LEDs from the fans light up the interior). The white color also adds to this effect especially with the actual door being black colored. I have to say that while I like the look of the Level 10 GT Snow Edition, I still think it is a pale comparison to the original Level 10 case.
Value -
Value is another very subjective topic. What is expensive to some might be a deal to others. You can look at this topic in multiple ways. One is raw price and the other is what you get for the money. Each is accurate and both are correct ways to look at price/value. We tend to look at features, performance and real-property when we discuss value. However, we also take into account the raw cash cost of the item.
The Level to GT Snow Edition will take a $290 bite out of your budget, while the more traditional black flavor will set you back around $255. This is quite a lot to spend on a case for a computer even with some of the features of the Level 10 GT. That having been said, you are getting solid construction (although we still feel a little too much plastic was used), good cooling and a VERY roomy case. We imagine that you would even be able to fit in boards like the G-1 Sniper and possibly the X58A-UD9 if you played things right. This is saying a lot because there really are not that many PC cases that can handle these boards and have the air flow to keep things cool. The lockable side panel and drive bays is a very nice touch on top of everything else (internal USB 3.0, Fan Speed Control, etc.).. So while the $290 is a tad much, it is not that terribly far off the mark for what you are getting.
Conclusion -
The Level 10 GT is a solid case with some great features not the least of which is the amount of room inside it. I have worked with other cases this size and while they are usually very roomy they often lack a sense of style and are either a pain to run your cables around or they require extensions to reach everything. The Level 10 GT did not have those issues. The interior design and layout is very well done as is the way that air flows through the case. There are some gaudy parts to it and the look takes some getting used to, but in the end it is a fairly nice looking case with functionality built in. Of course it does have a price tag to match which will be an issue for many potential consumers. Still in the end we have to say that the Thermaltake Level 10 GT is a good gaming case, there is plenty of room for three-way SLI and Crossfire setups and while it might not be as stylish as its older brother the original Level 10 it is a much more cost effective option and one that is not out of most people reach.
Discuss in our Forum


