Overclocking -
Our A55M-DS2 was not a great overclocking board. Despite spending extra time with it we were not able to get it to overclock very well. Even smaller overclocks were plagued with issues whenever we rebooted the system. In the end we started at stock speed and walked up 1MHz at a time until we hit our max stable clock of 2.808GHz. Not much of a jump at all really, but then again this is not what you would call an enthusiast or overclocking motherboard.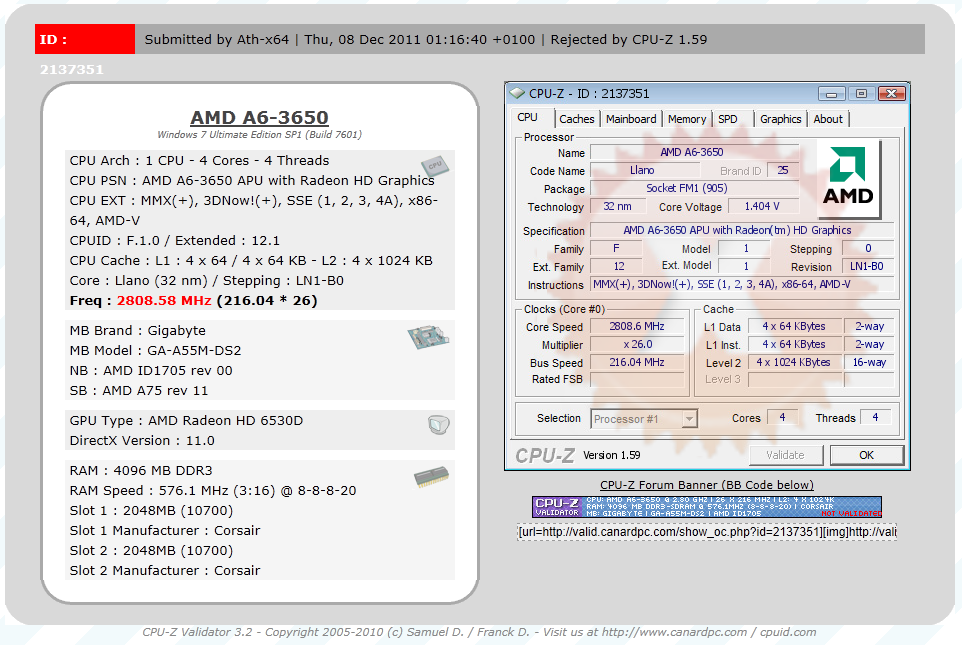
Of course overclocking is a picky subject. I can buy to identical CPUs from the store and they will not always perform the same way under stress. This is the same with motherboards, RAM and GPUs. So again it is important to keep in mind that our results represent a specific hardware configuration. Yours may be similar but will rarely be identical.
Overclocking Tools -
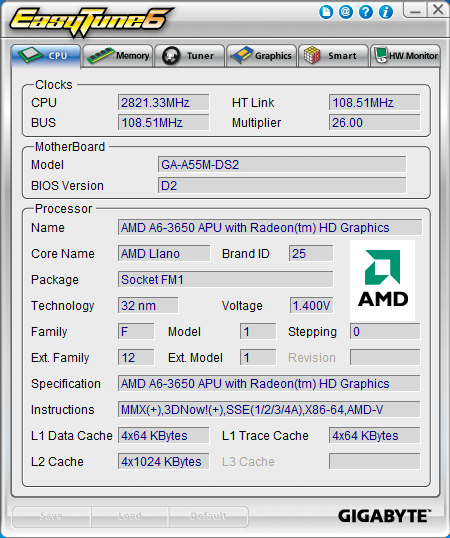
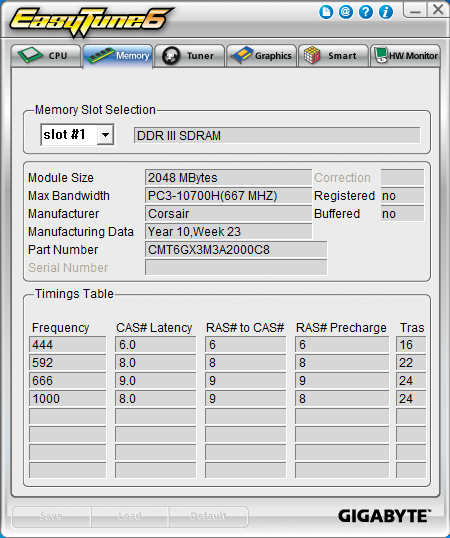
Gigabyte’s tools of choice is EasyTune6. This is a suite of tools that are combined in a single UI. I have to say that in my opinion the UI is a little boring and there are pages that get in the way of what it is intended to do. However, this does not take away from the functionality or the performance; this is just a personal thing. The first two pages get you the same information as you find get from CPUz. It is not until the third page (well really the first page when you open the application) that you get into the real workings of EasyTune6.
 |
 |
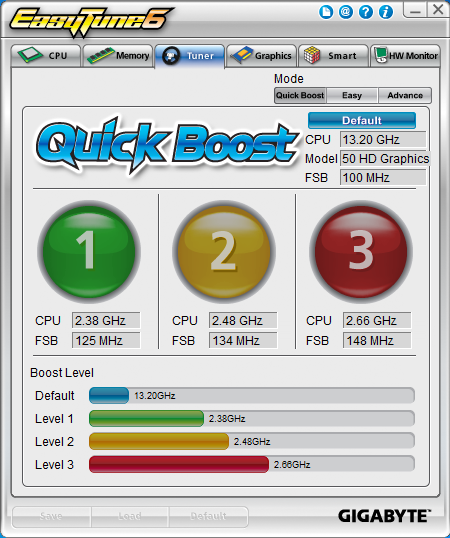
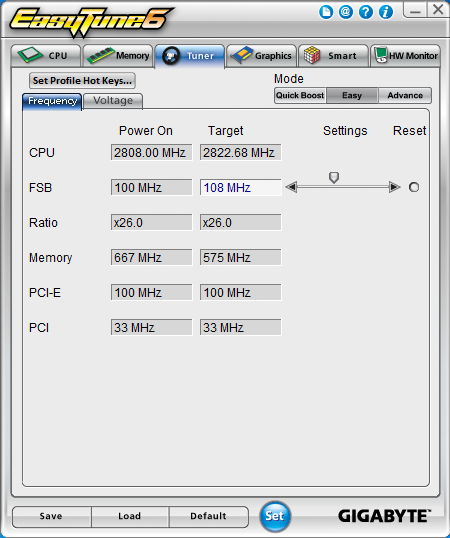
The third page in is the Tuner Page. You start off on the Quick Boost page. Here you have three options for a one stop overclock. The first two are probably places that you won’t want to go if you bought this board and the third; well that is just a pit stop on the way to higher speeds.
 |
 |
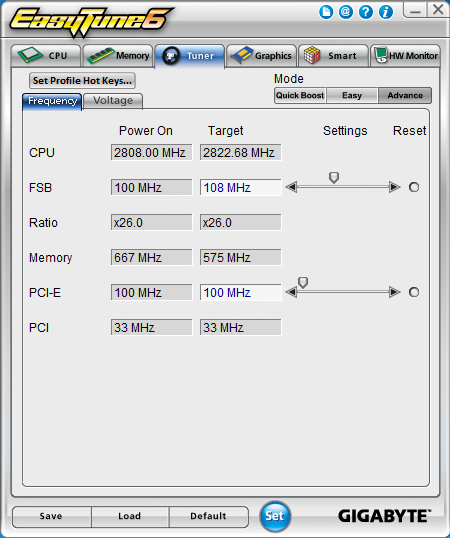 |
If you are looking to do some real damage; you will want to skip over the “easy” button and head right on into the advanced settings pages. Usually you can really tweak things here, but for some reason on the A55M-DS2 things are more limited. You have access to the FSB and PCIe, but not to memory or other frequencies. Ratios are also locked here for some reason.
 |
 |
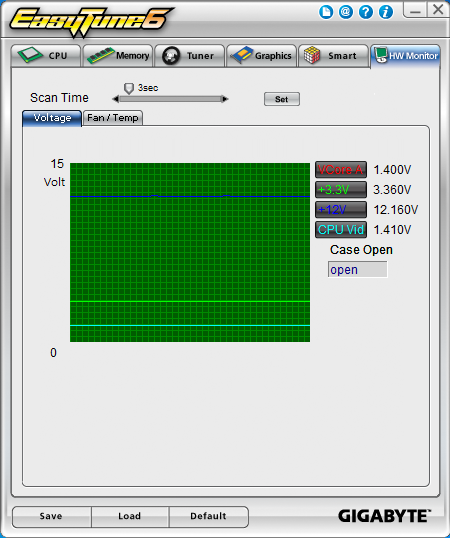 |
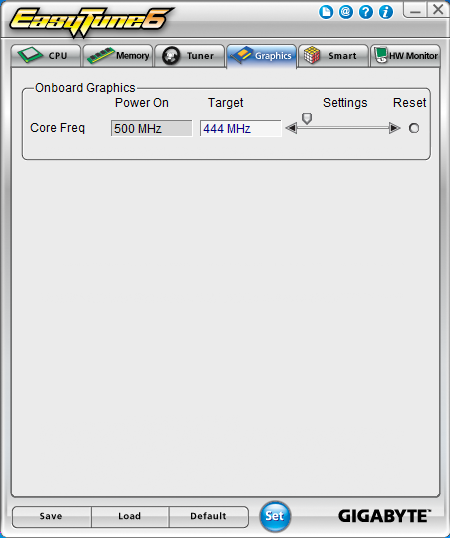
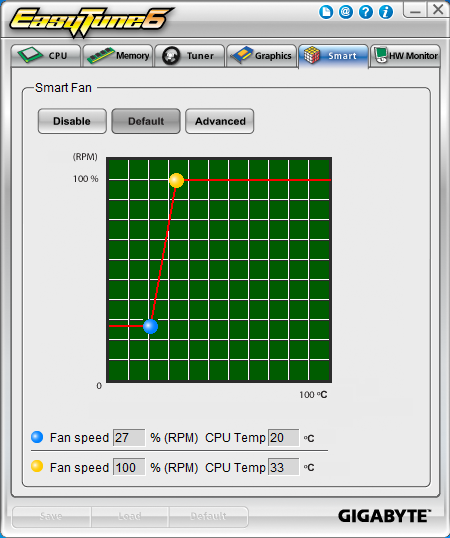
The next three tabs let you OC the GPU (well most of them), setup and work with the Smart Fan settings, and monitor the temperatures and voltages. I have honestly never used the GPU overclocking function but I have tinkered with the smart fans and the H/W monitor.

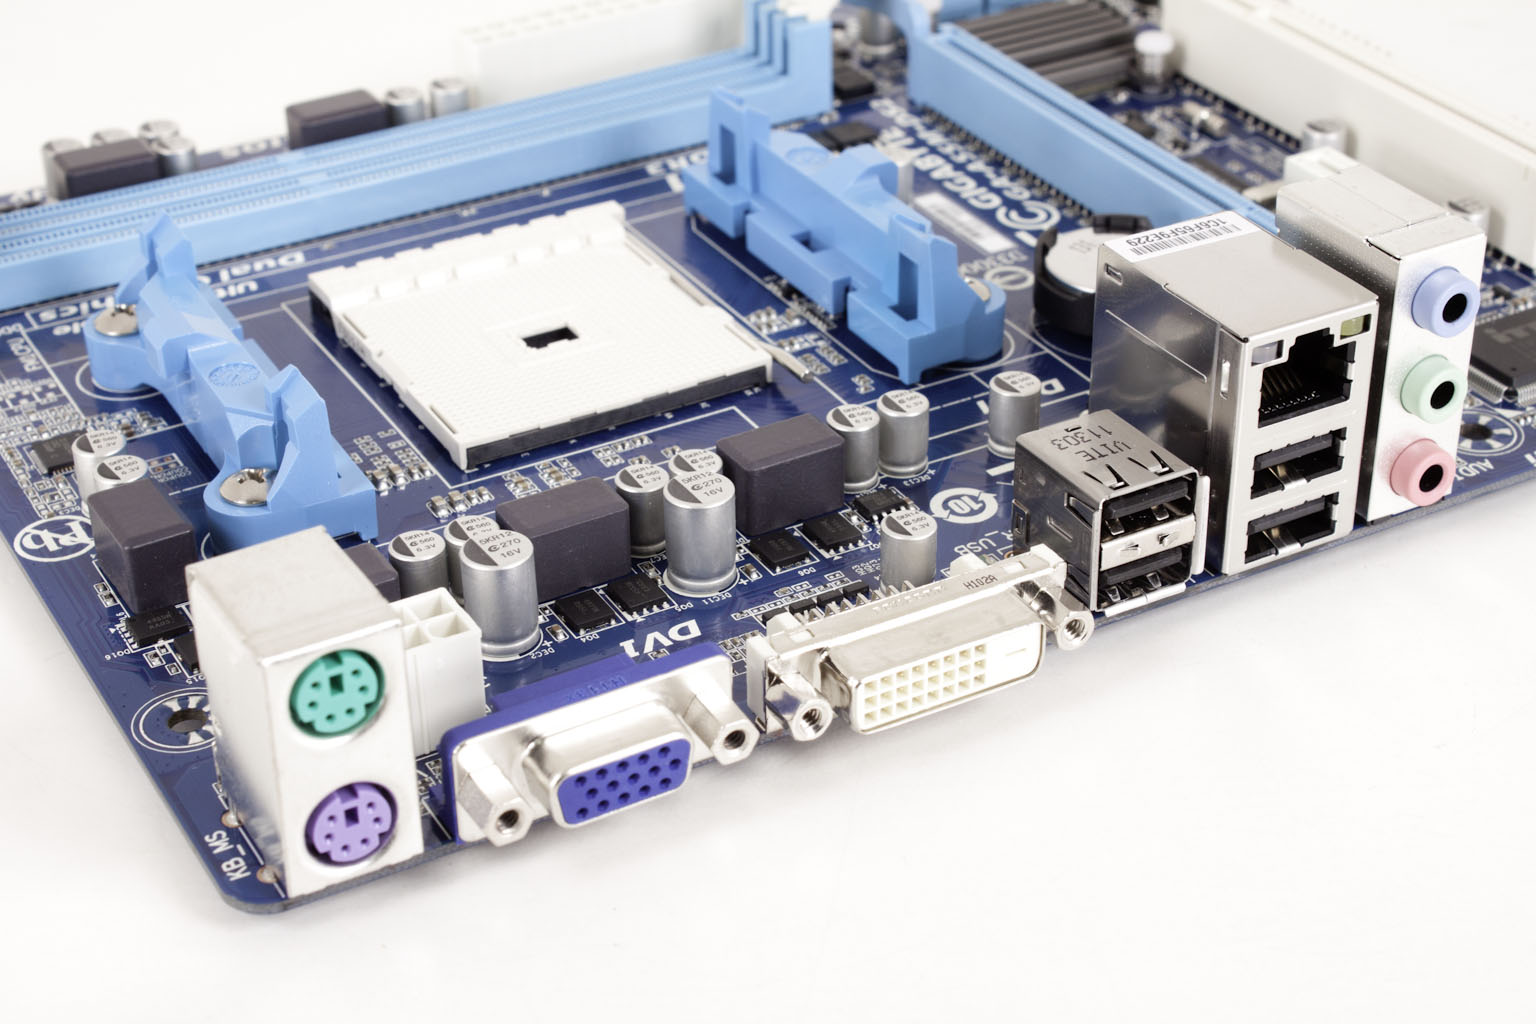 Although AMD’s future is far from certain we do know that they have been pushing towards lower power and lower cost devices. We have seen these in the form of their new APUs and their A75 and A55 chipsets. We have already tested the performance of the A75, now we are ready to take a look at the performance of one of the A55 based motherboards; the Gigabyte A55M-DS2. We have taken a look at the design choices and features so far and have come away with a bit of confusion as to where this product actually fits into the market. Now that we have put the board through our performance tests, let’s see if we can find out exactly where in the market the A66M-DS2 belong and if it is worth your time and money.

