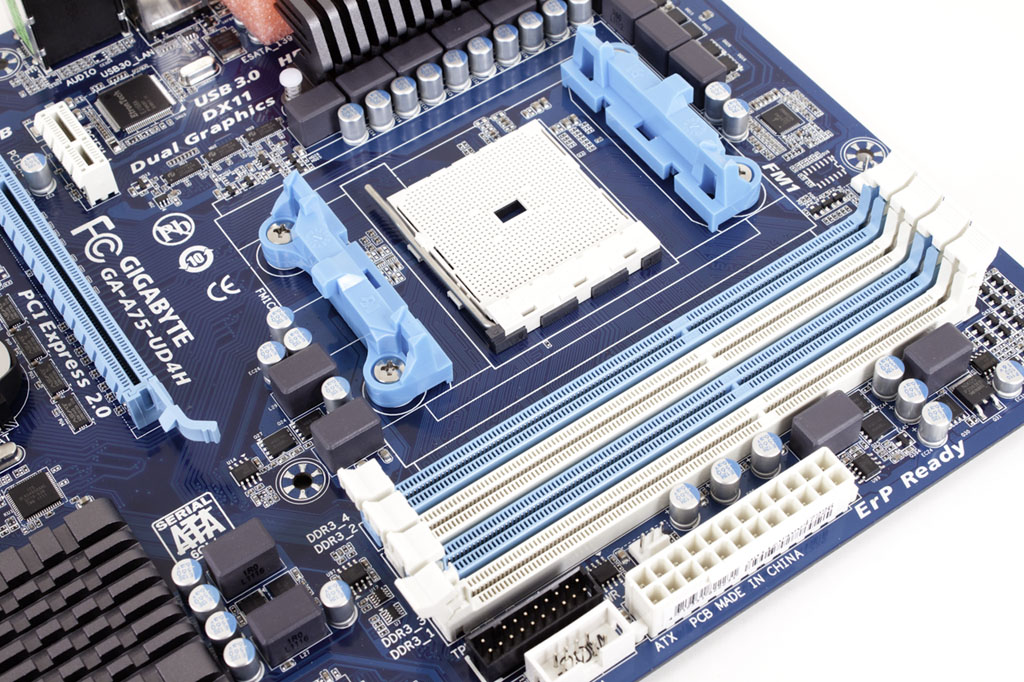
BIOS -
BIOS is an acronym that stands for Basic Input/Output System. It is meant to control your product at a very low level. As of right now there are three regularly used BIOS formats (there are actually more than that but there are three common ones). These are the AMI (American Megatrends Incorporated), Award, and Phoenix. The Gigabyte A75-UD4H falls back to the old style of BIOSes. Instead of the newer UEFI (Unified Extensible Firmware Interface) you get the traditional blue and white “plain text” flavor of BIOS. It is still more than functional, but it does not have the same flare that the newer BIOSes do.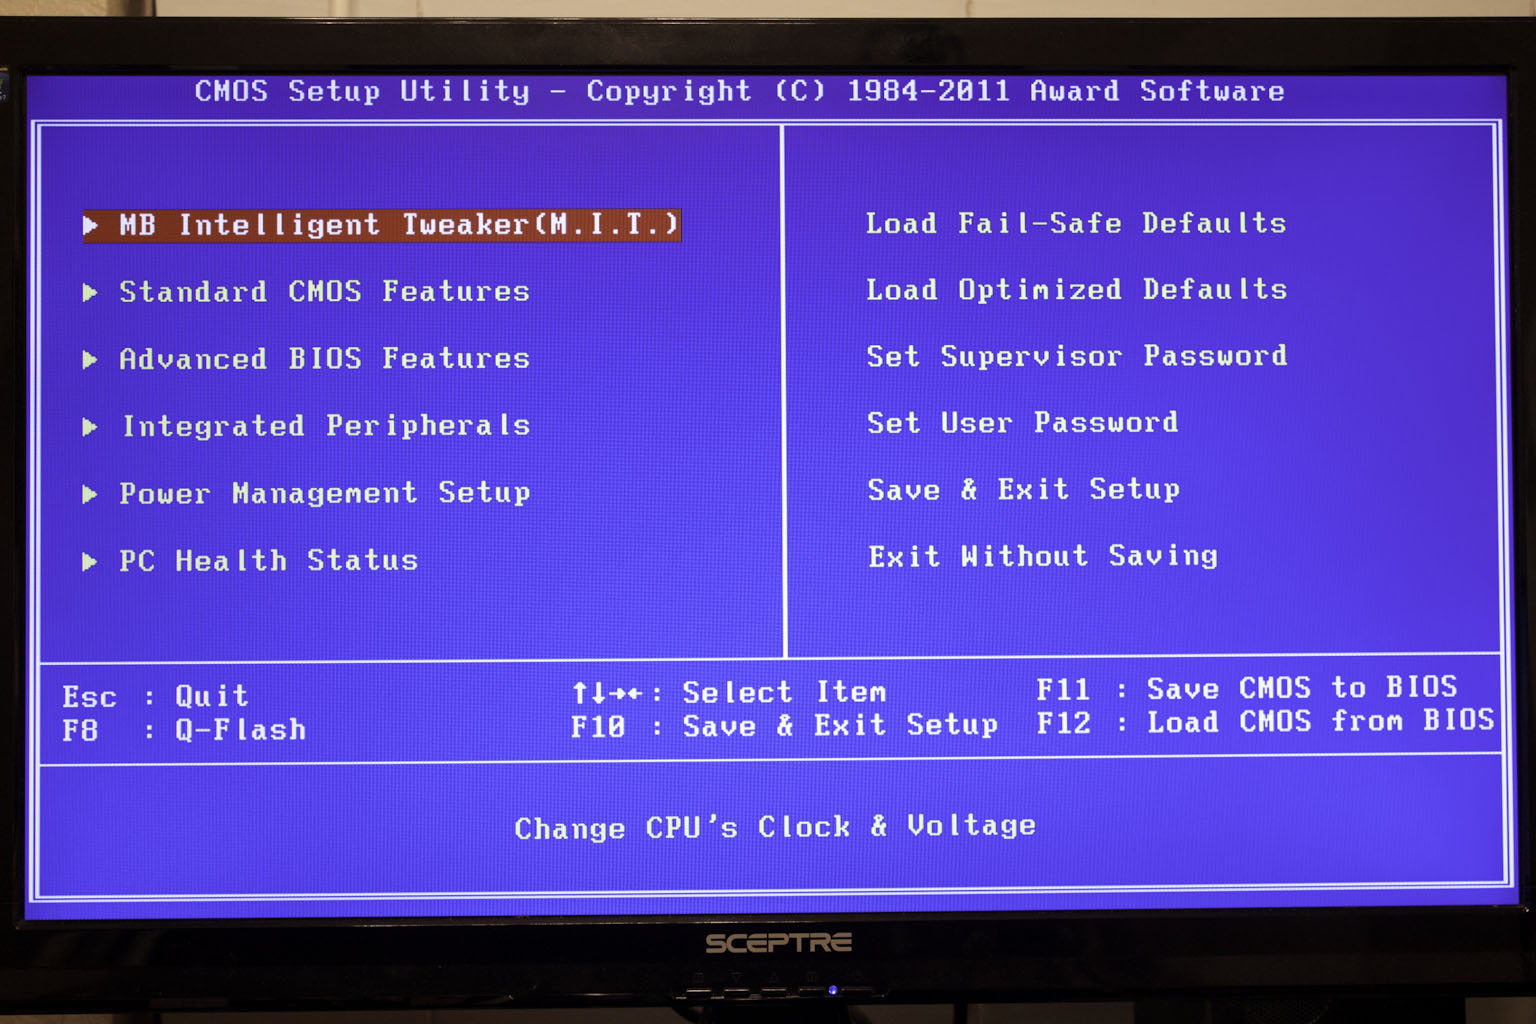
 |
 |
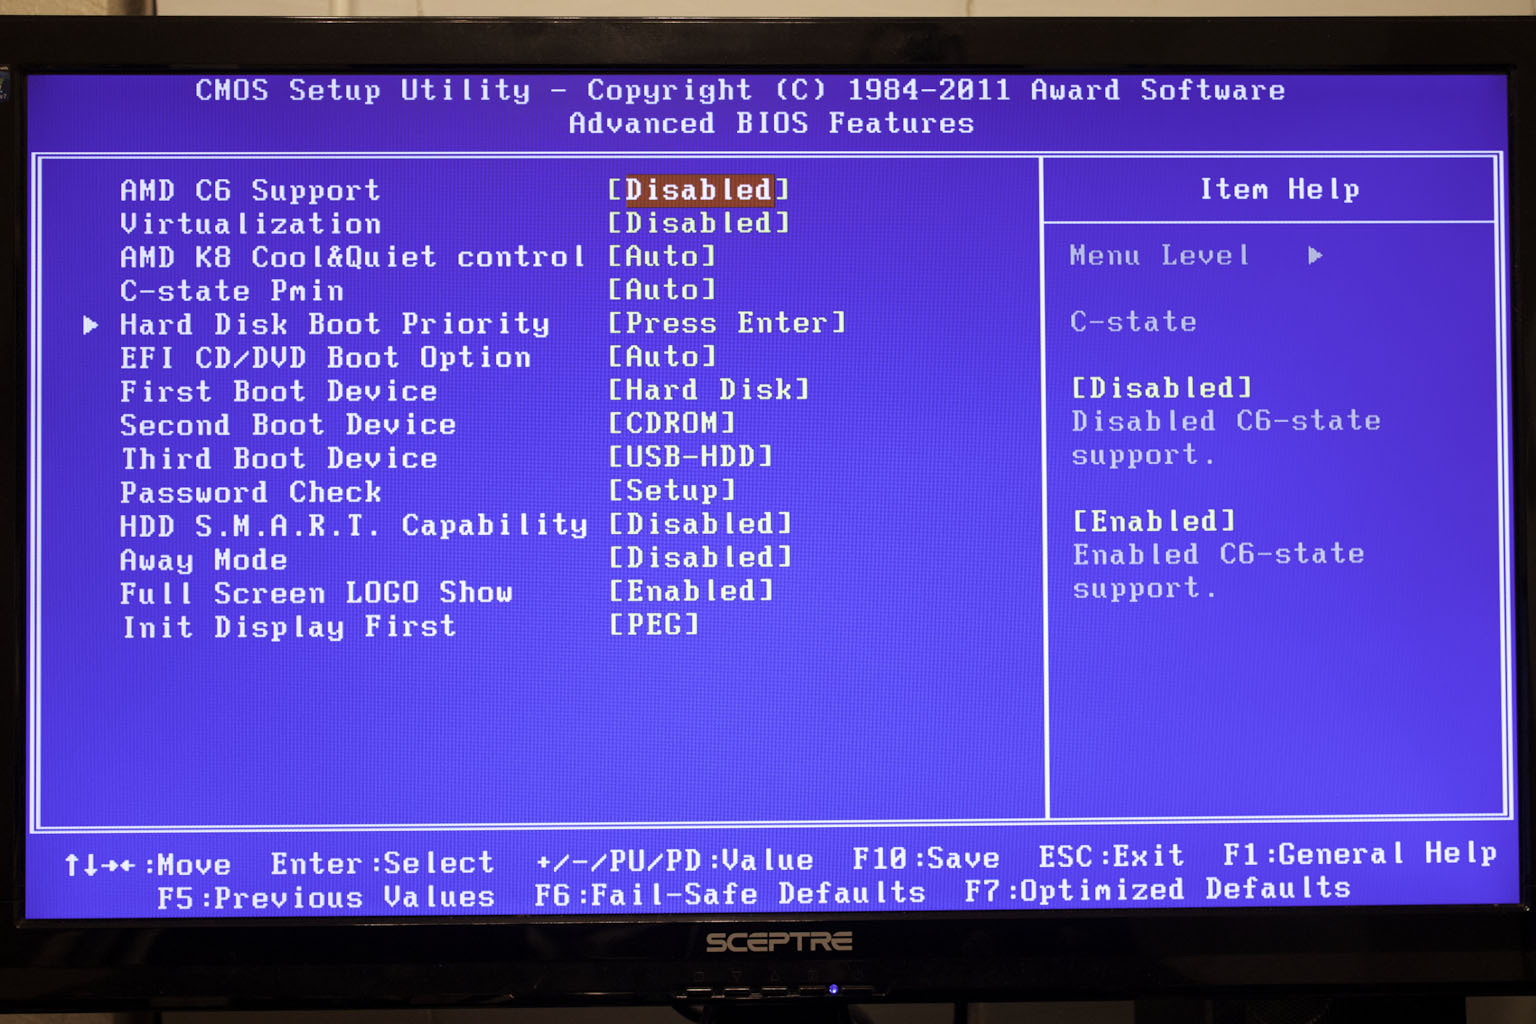 |
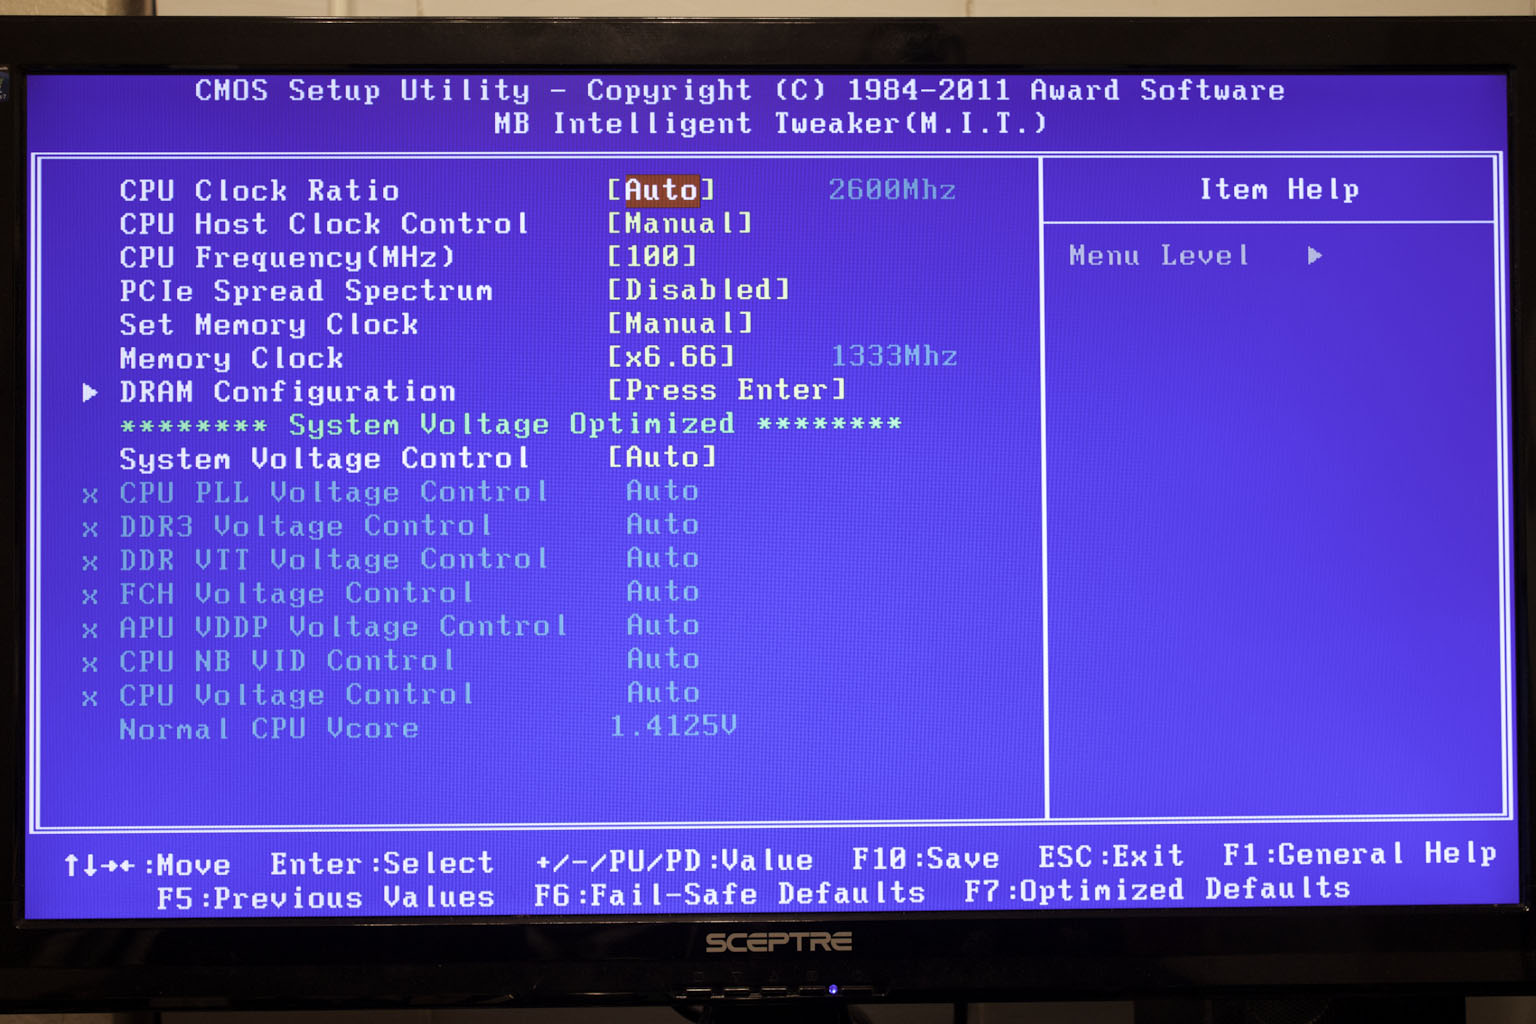
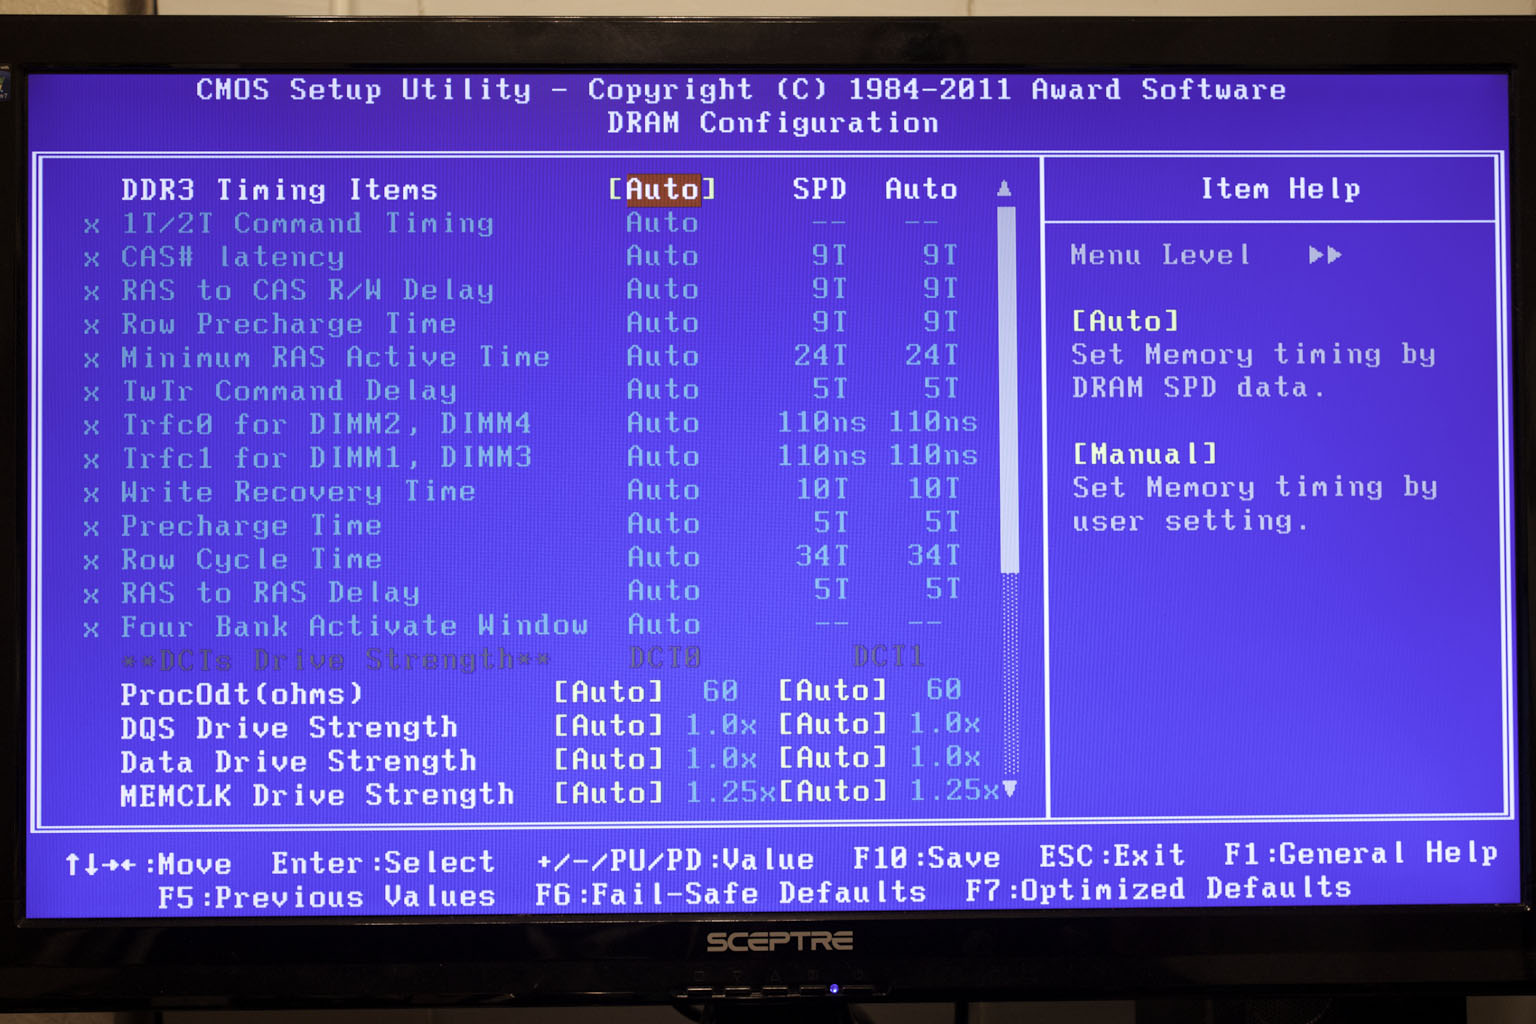
As you can see the BIOS layout is pretty much what you would expect from a Gigabyte motherboard.
There is not much new to talk about from this end, but we will cover some of the highlights. As usual the M.I.T. pages are well laid out and keep to the clean and simple.
 |
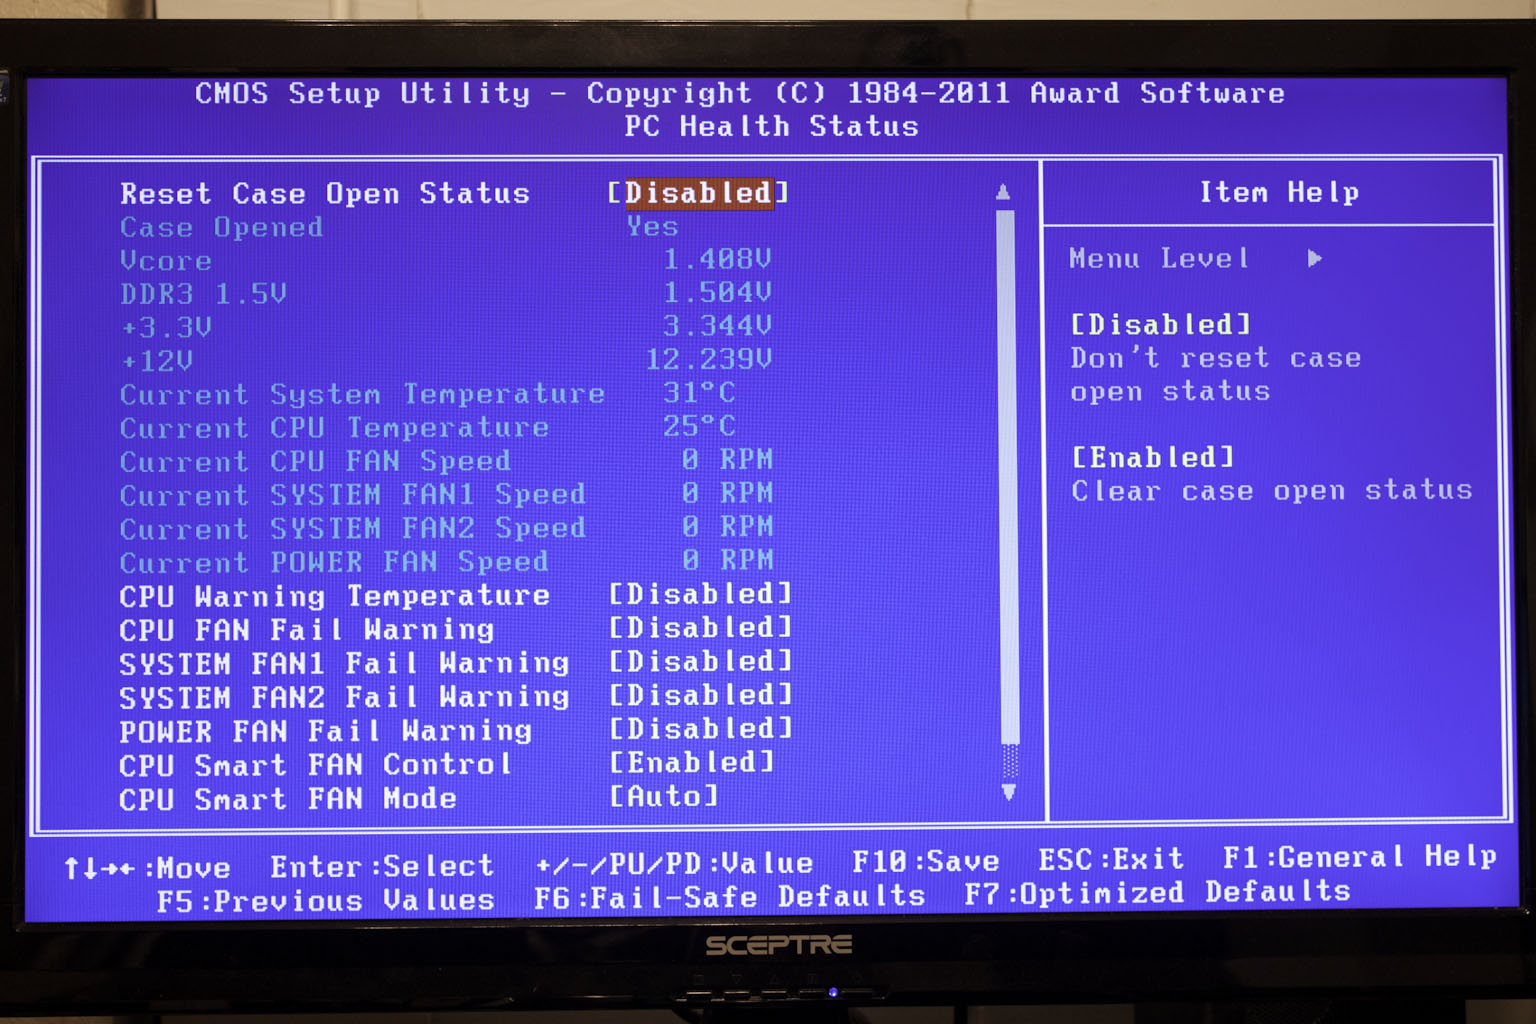 |
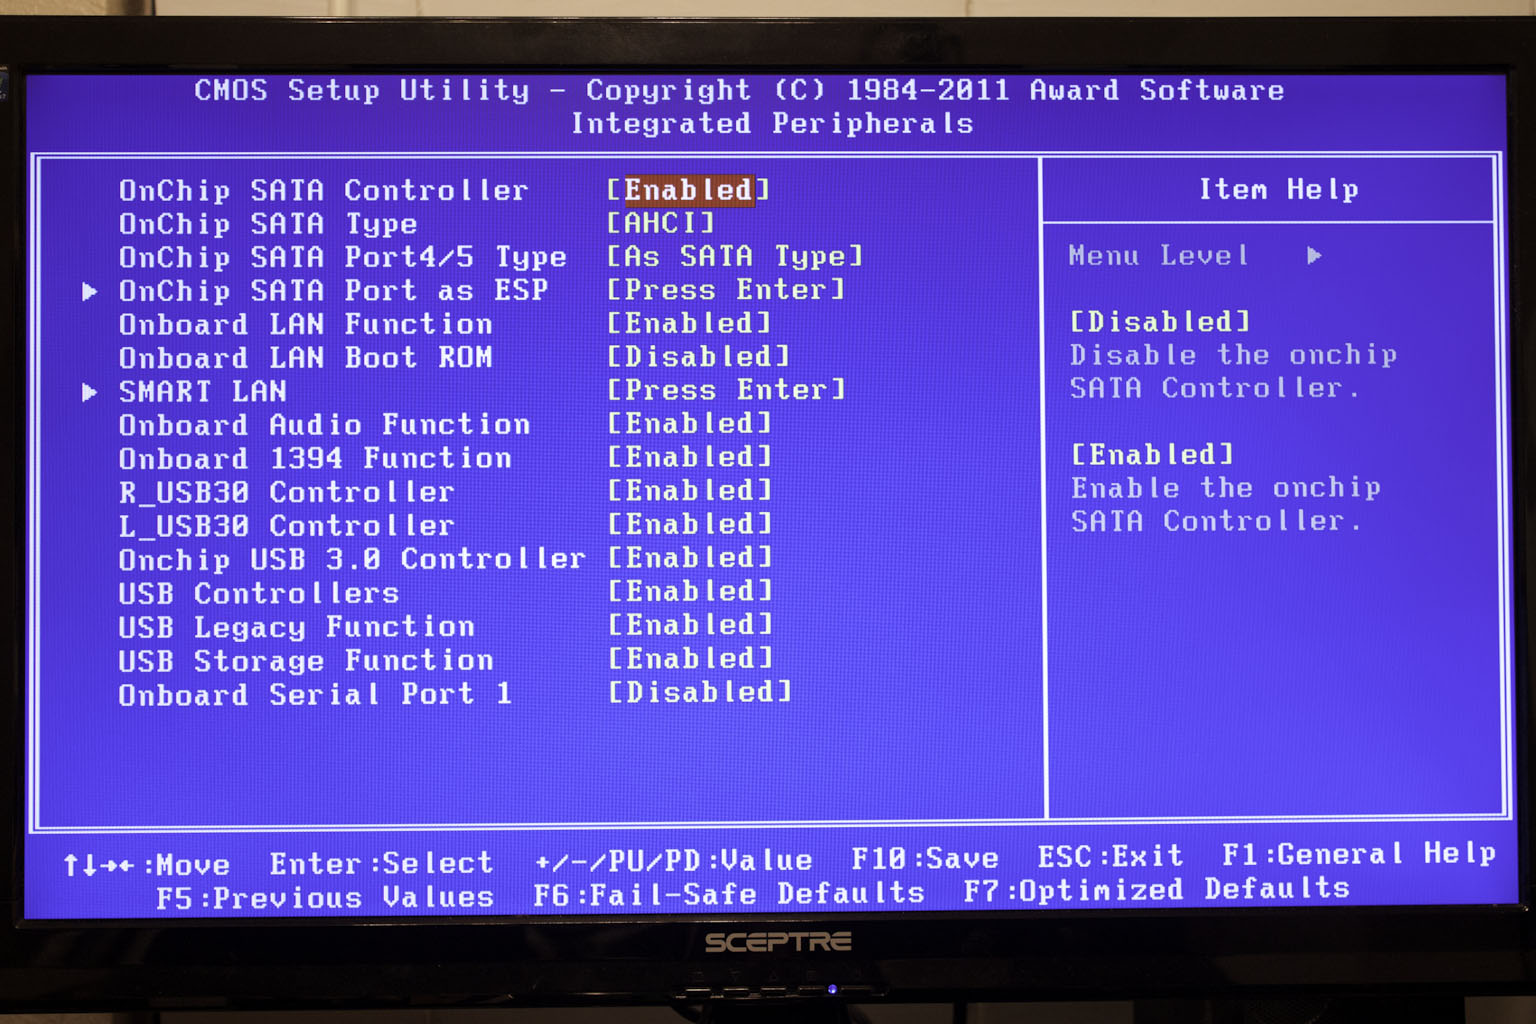
The rest of the BIOS falls into familiar categories like the Advanced BIOS features, Integrated Peripherals, etc. There really is not much to talk about here.
Overclocking -
The AMD Liano CPU was not the easiest to overclock. It took some trial and error to find the speed where we could run all of our application without crashing. In the end we did find one item that was affected by our overclock no matter what the speed. This was the USB 3.0 controller. Interestingly enough we had issues with the USB 3.0 controller on the Intel X79SI motherboard. The most interesting thing is that they are all different brands. The Intel board was using a Renesas Controller while the Gigabyte A75 has both an AMD controller and an Etron. All of these are supposed to be based off of the original NEC design and specification, but we have been noticing more than a few issues with non-NEC controllers. Getting back to the actual overclocking, we found that we were able to crank up our 3650 CPU to 3.240GHz (270MHzX24). Unfortunately ALL of our AMD CPUz validations get rejected these days and we still have not been able to find a good answer for why this is happening.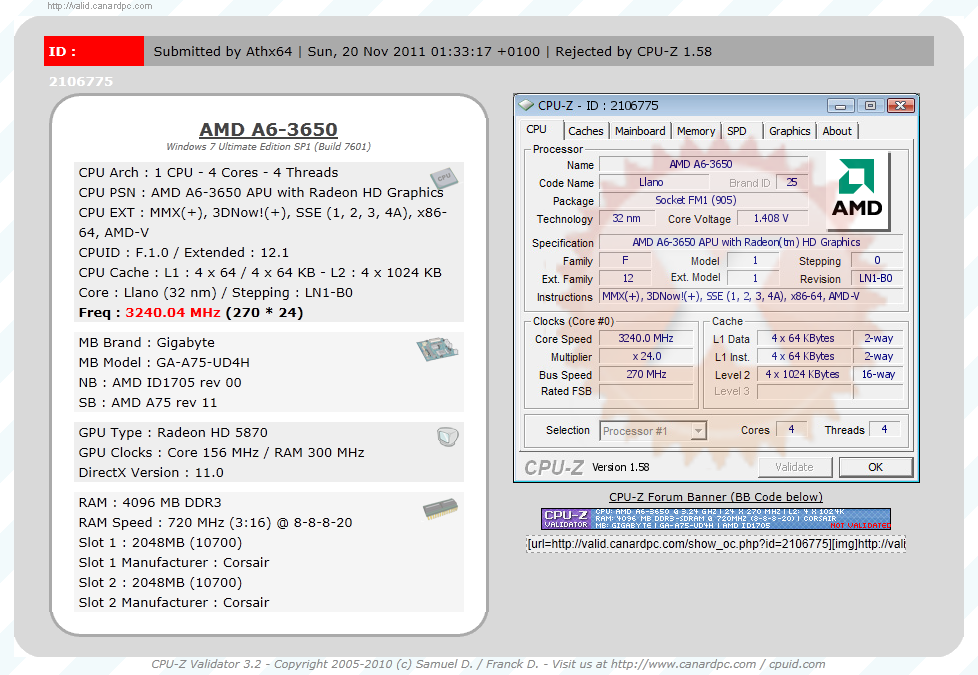
Of course overclocking is a picky subject. I can buy to identical CPUs from the store and they will not always perform the same way under stress. This is the same with motherboards, RAM and GPUs. So again it is important to keep in mind that our results represent a specific hardware configuration. Yours may be similar but will rarely be identical.
Overclocking Tools -
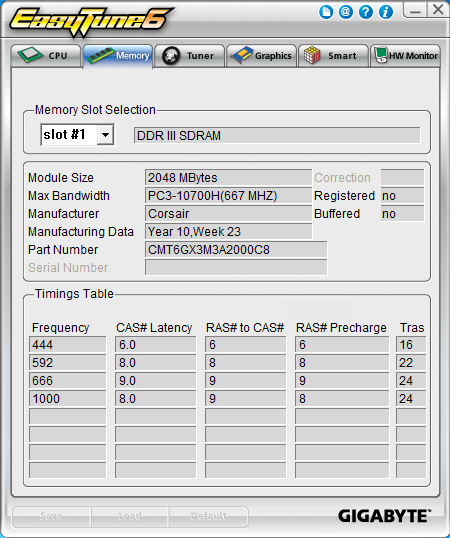
Gigabyte’s tools of choice is EasyTune6. This is a suite of tools that are combined in a single UI. I have to say that in my opinion the UI is a little boring and there are pages that get in the way of what it is intended to do. However, this does not take away from the functionality or the performance; this is just a personal thing. The first two pages get you the same information as you find get from CPUz. It is not until the third page (well really the first page when you open the application) that you get into the real workings of EasyTune6. 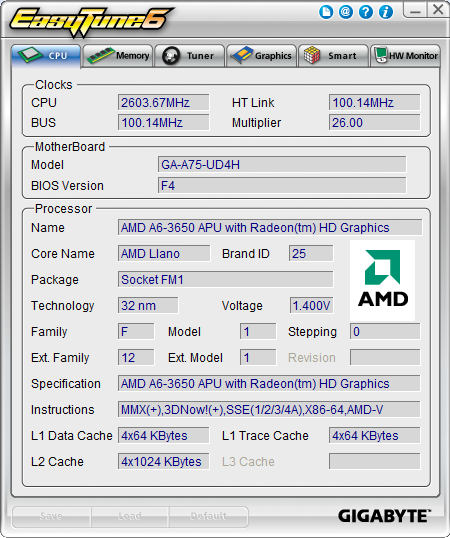
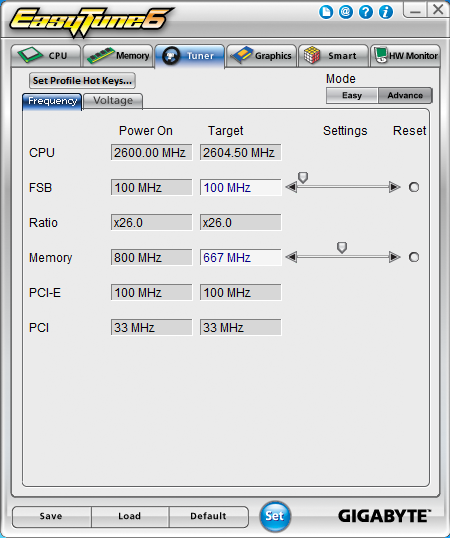
The third page in is the Tuner Page. You start off on the Quick Boost page. Here you have three options for a one stop overclock. The first two are probably places that you won’t want to go if you bought this board and the third; well that is just a pit stop on the way to higher speeds.
 |
 |
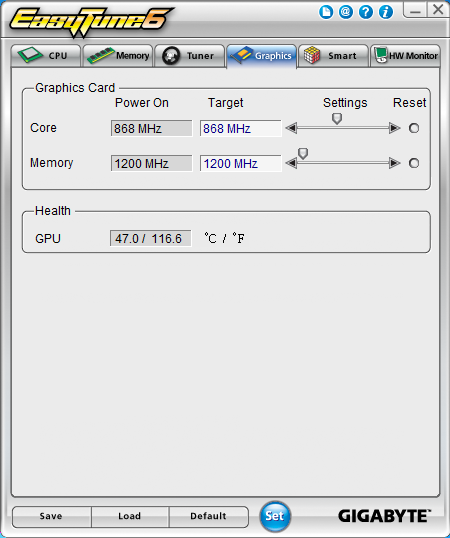 |
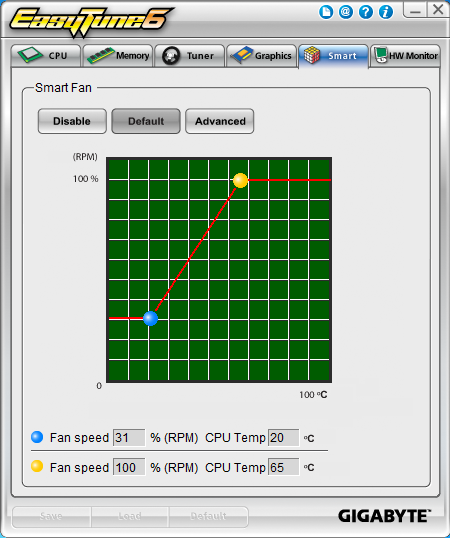
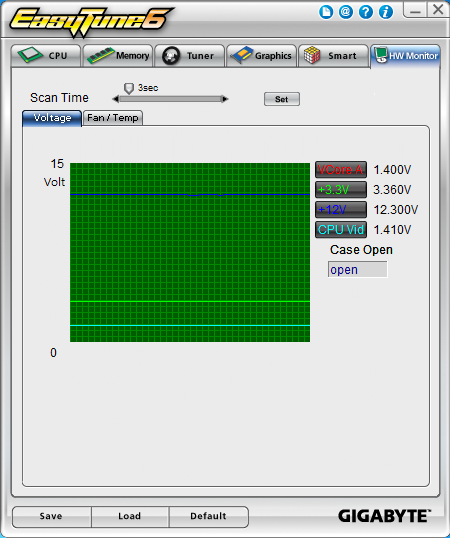
For the people that really bought this board for what it is intended you will want to skip over the “easy” button and head right on into the advanced settings pages. Usually you can really do some damage here, but for some reason on the A75-UD4H things are more limited. You have access to the FSB and Memory, but not to PCIe frequencies. Ratios are also locked here for some reason. The next three tabs let you OC the GPU (well most of them), setup and work with the Smart Fan settings, and monitor the temperatures and voltages. I have honestly never used the GPU overclocking function but I have tinkered with the smart fans and the H/W monitor.
 |
 |

