BIOS -
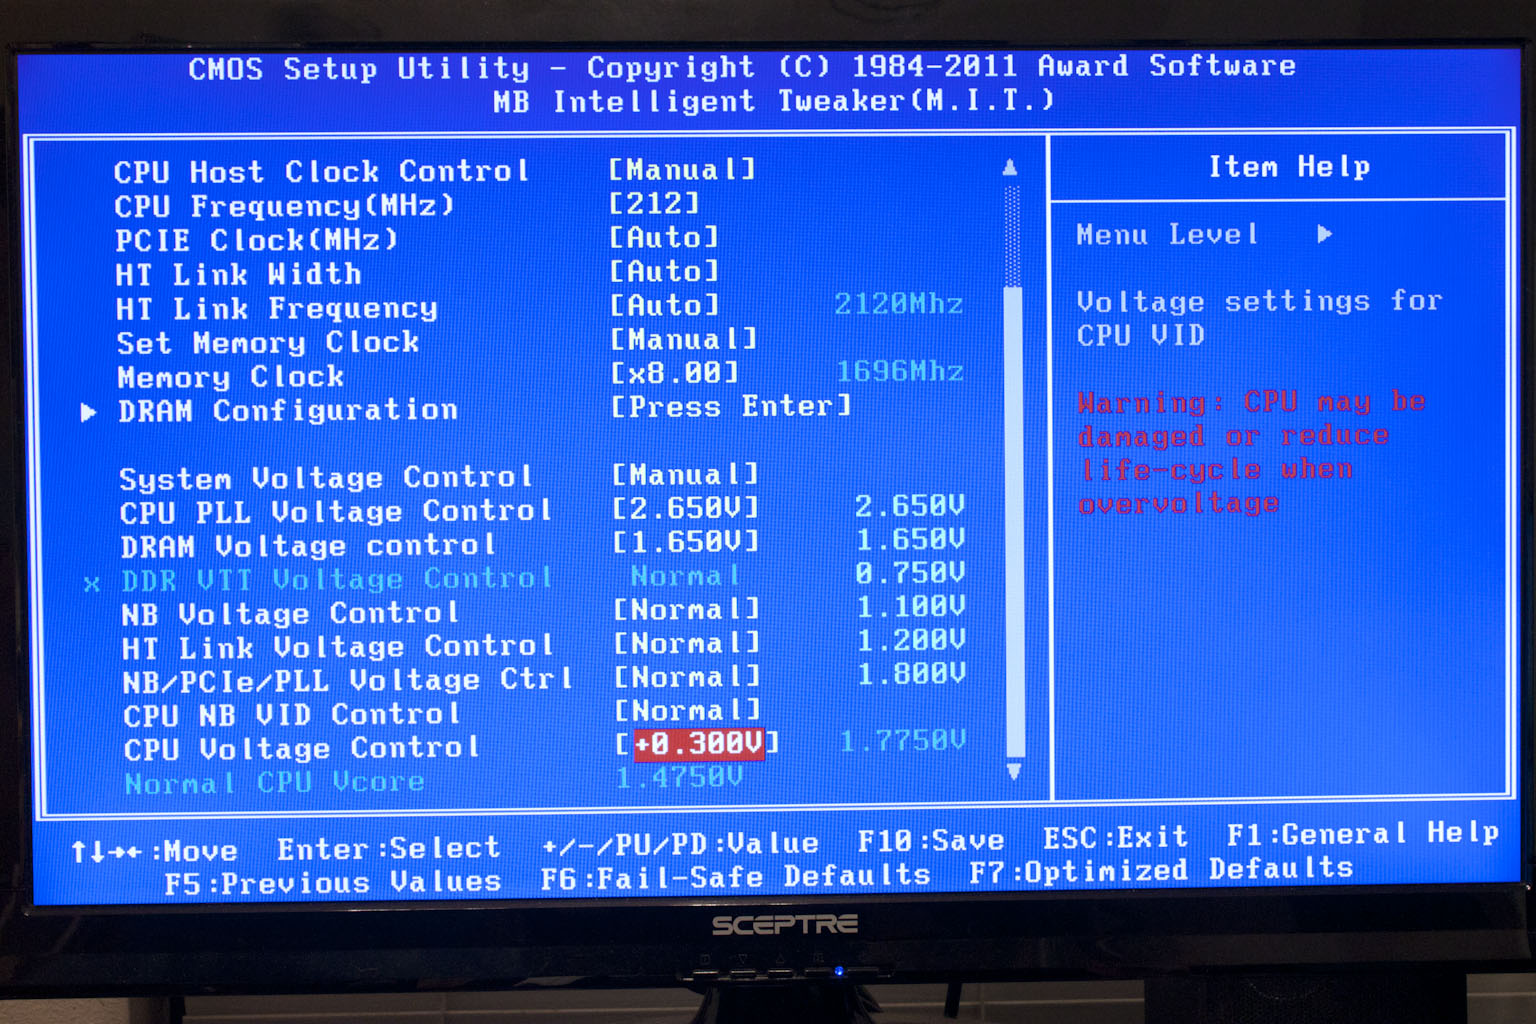
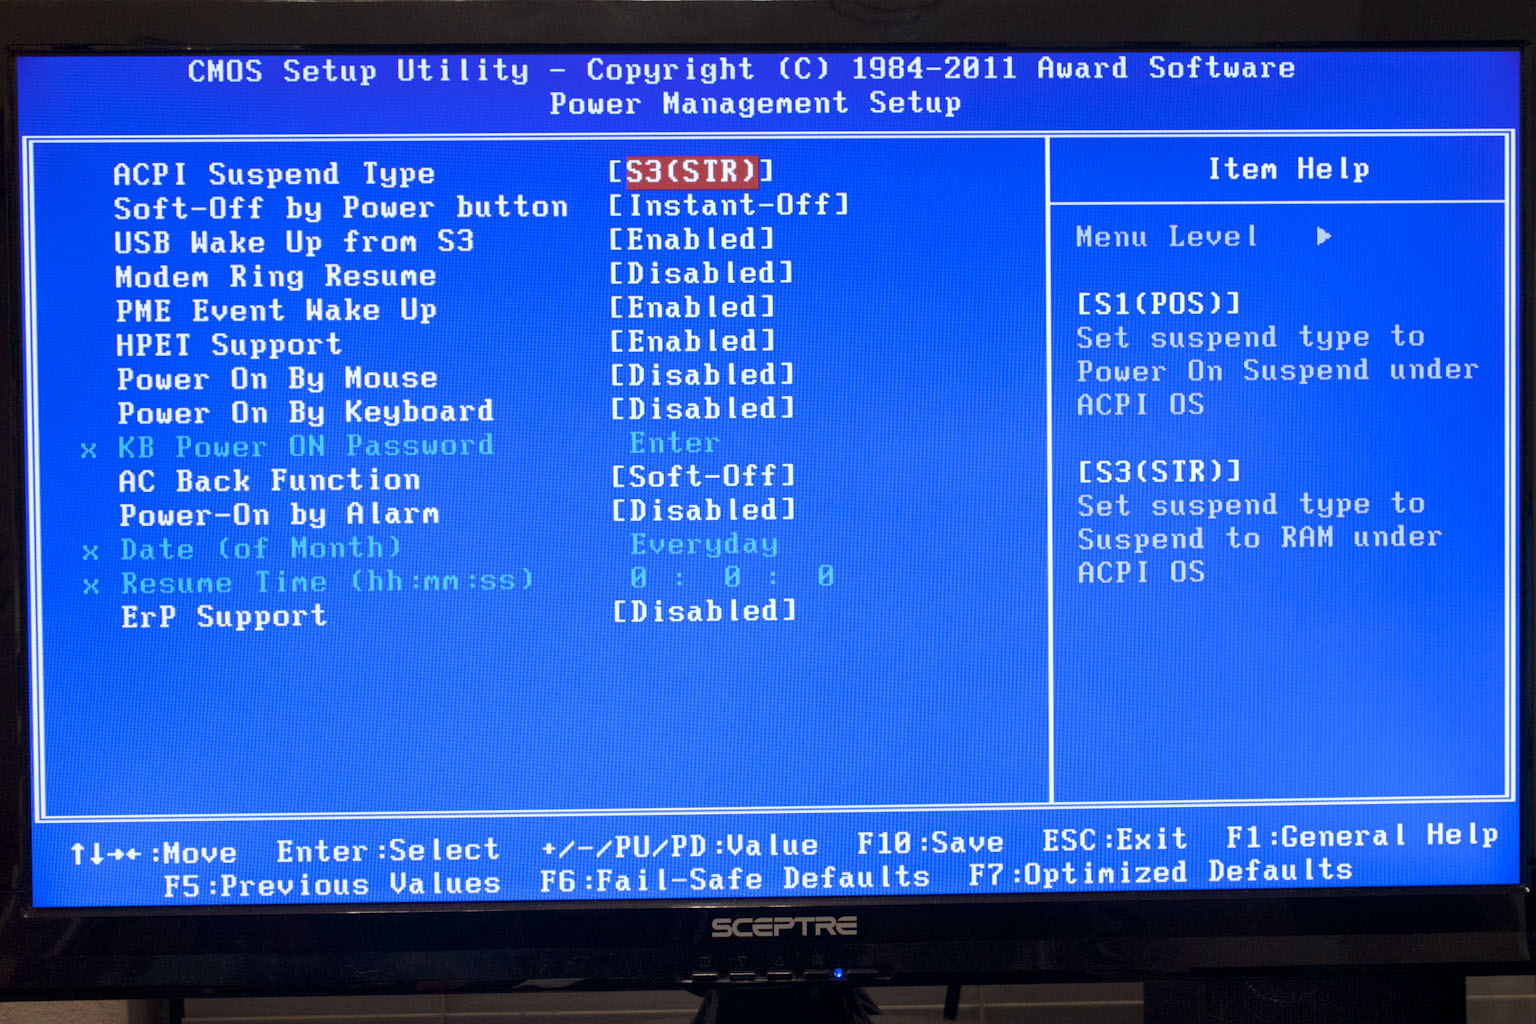
BIOS is an acronym that stands for Basic Input/Output System. It is meant to control your product at a very low level. As of right now there are three regularly used BIOS formats (there are actually more than that but there are three common ones). These are the AMI (American Megatrends Incorporated), Award, and Phoenix. The BIOS on the 990FXA-UD5 is the “old” style with no GUI. For many this is perfectly ok (me too). Gigabyte has always used the award layout to good effect. Their typical layout puts everything in close range for easy tweaking and adjustments. On the 990FXA-UD5 the layout differs quite a bit from the Intel based boards from Gigabyte that we tinkered with. In most of the Intel based boards (and the 890 boards we tested come to think of that) you had multiple pages under the M.I.T. (motherboard intelligent tweaker) page. These are nice in that they really concentrate everything you need into discrete pages with a nice status page. On the 990FXA-UD5 you do not get any of that. Instead you get a little over a page of settings (good ones though). 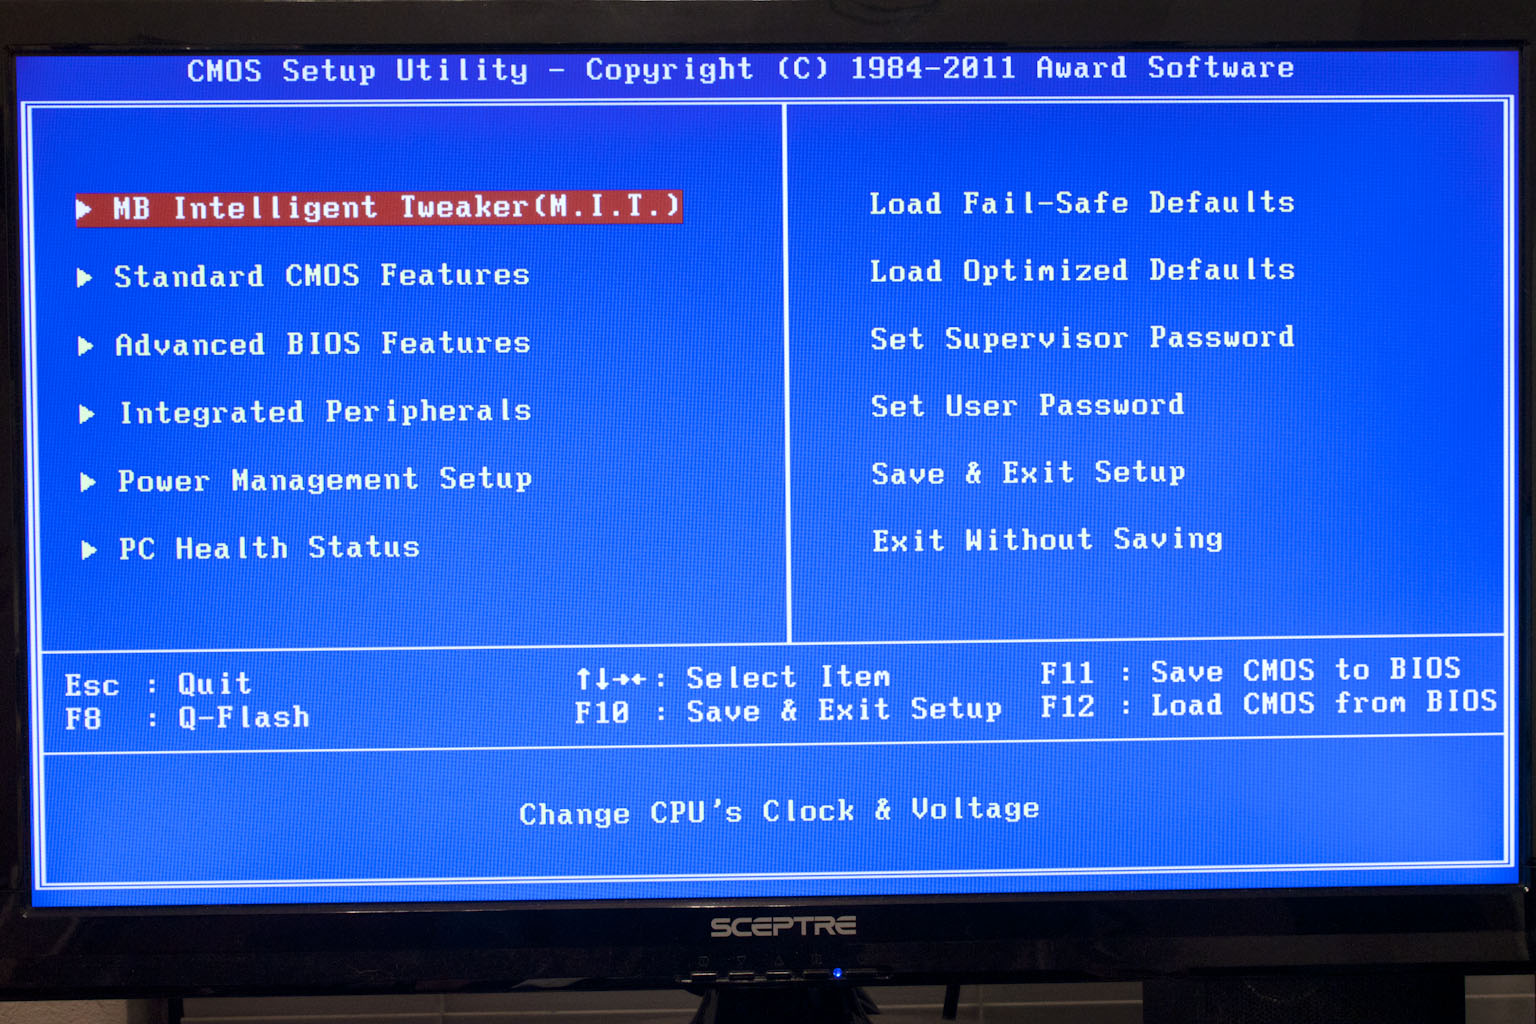
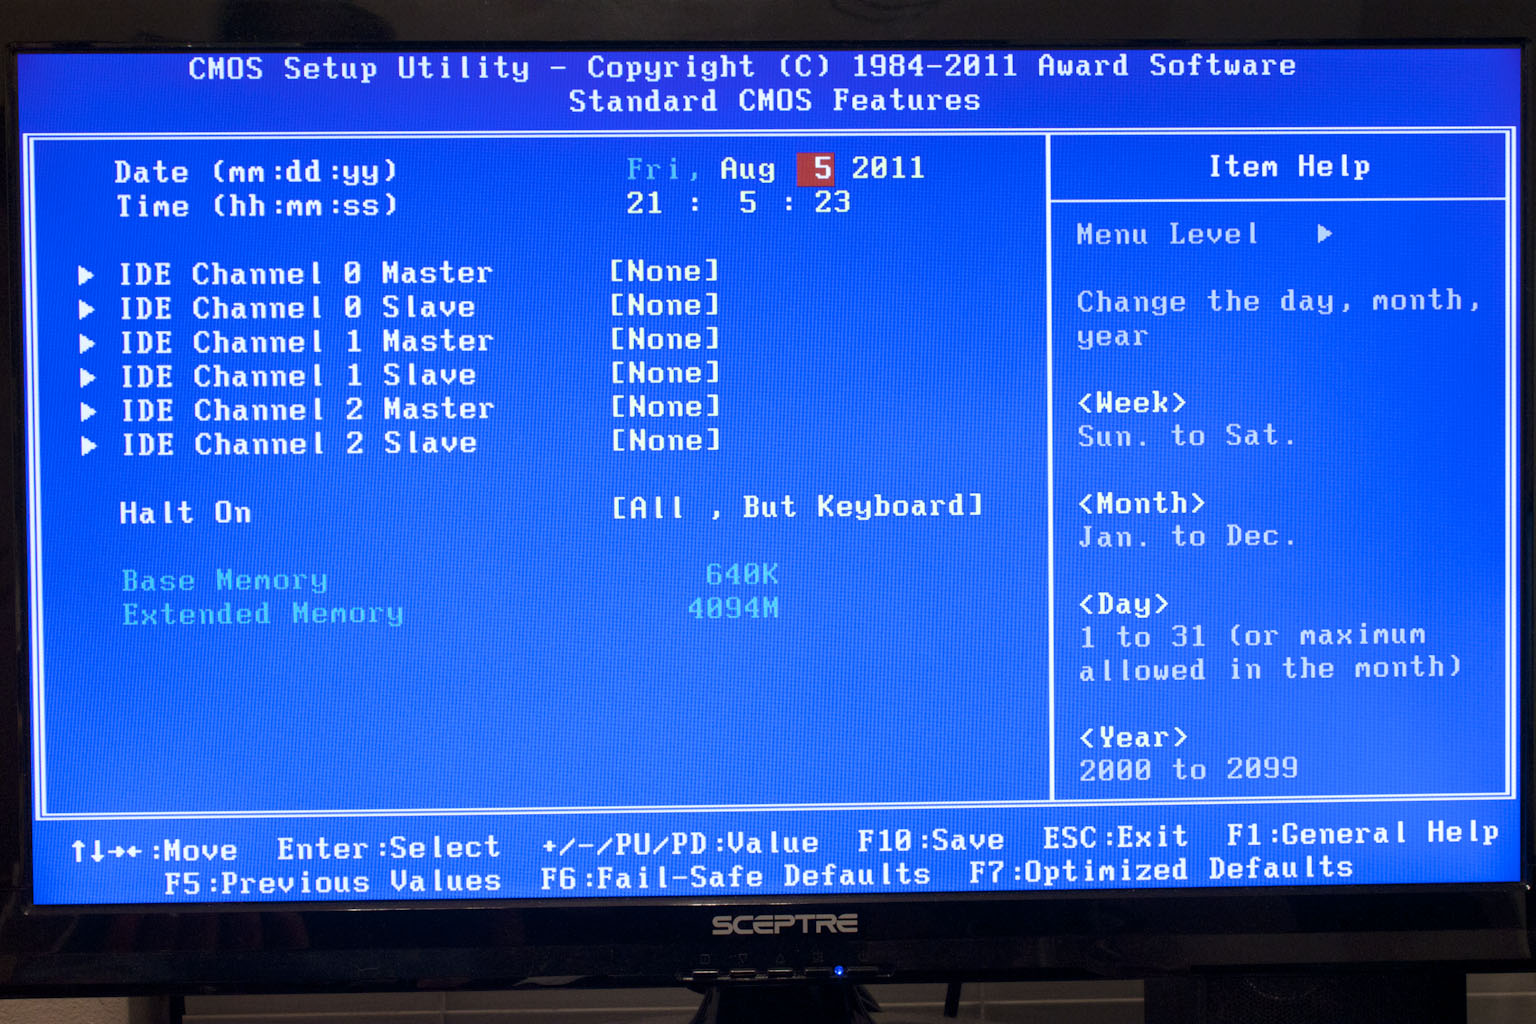
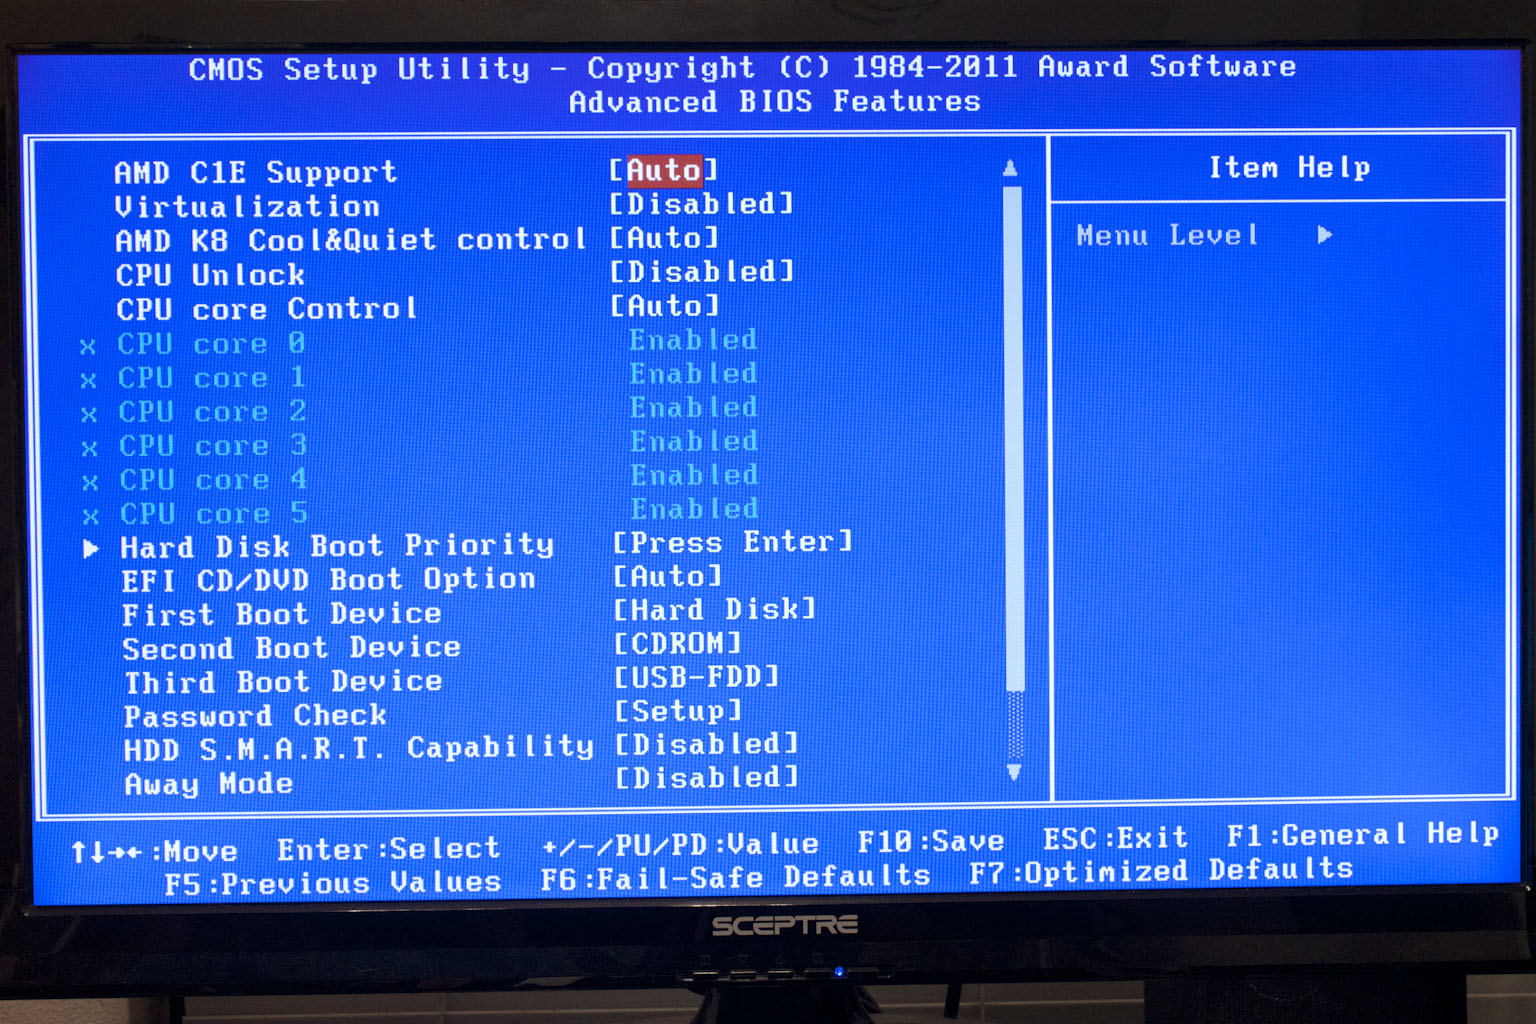
The rest of the BIOS is very typical and will be easily recognizable to anyone that has been tinkering around in a Gigabyte BIOS before. You have the normal settings for drives, CPU features (like AMD’s cool and quiet).
 |
 |
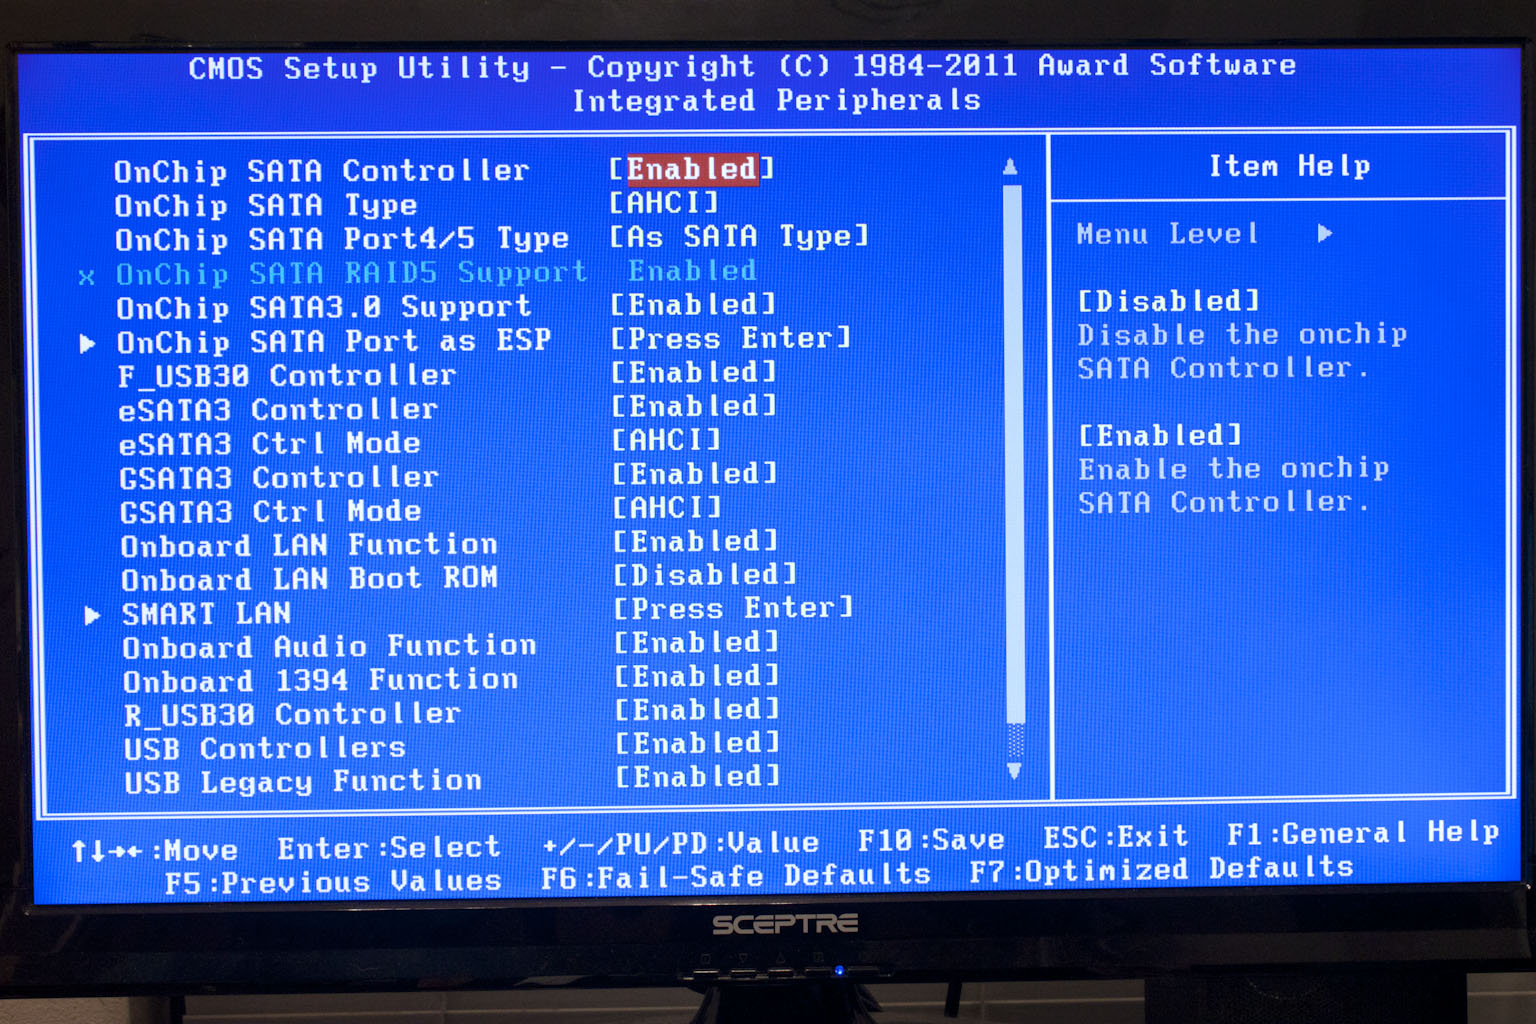
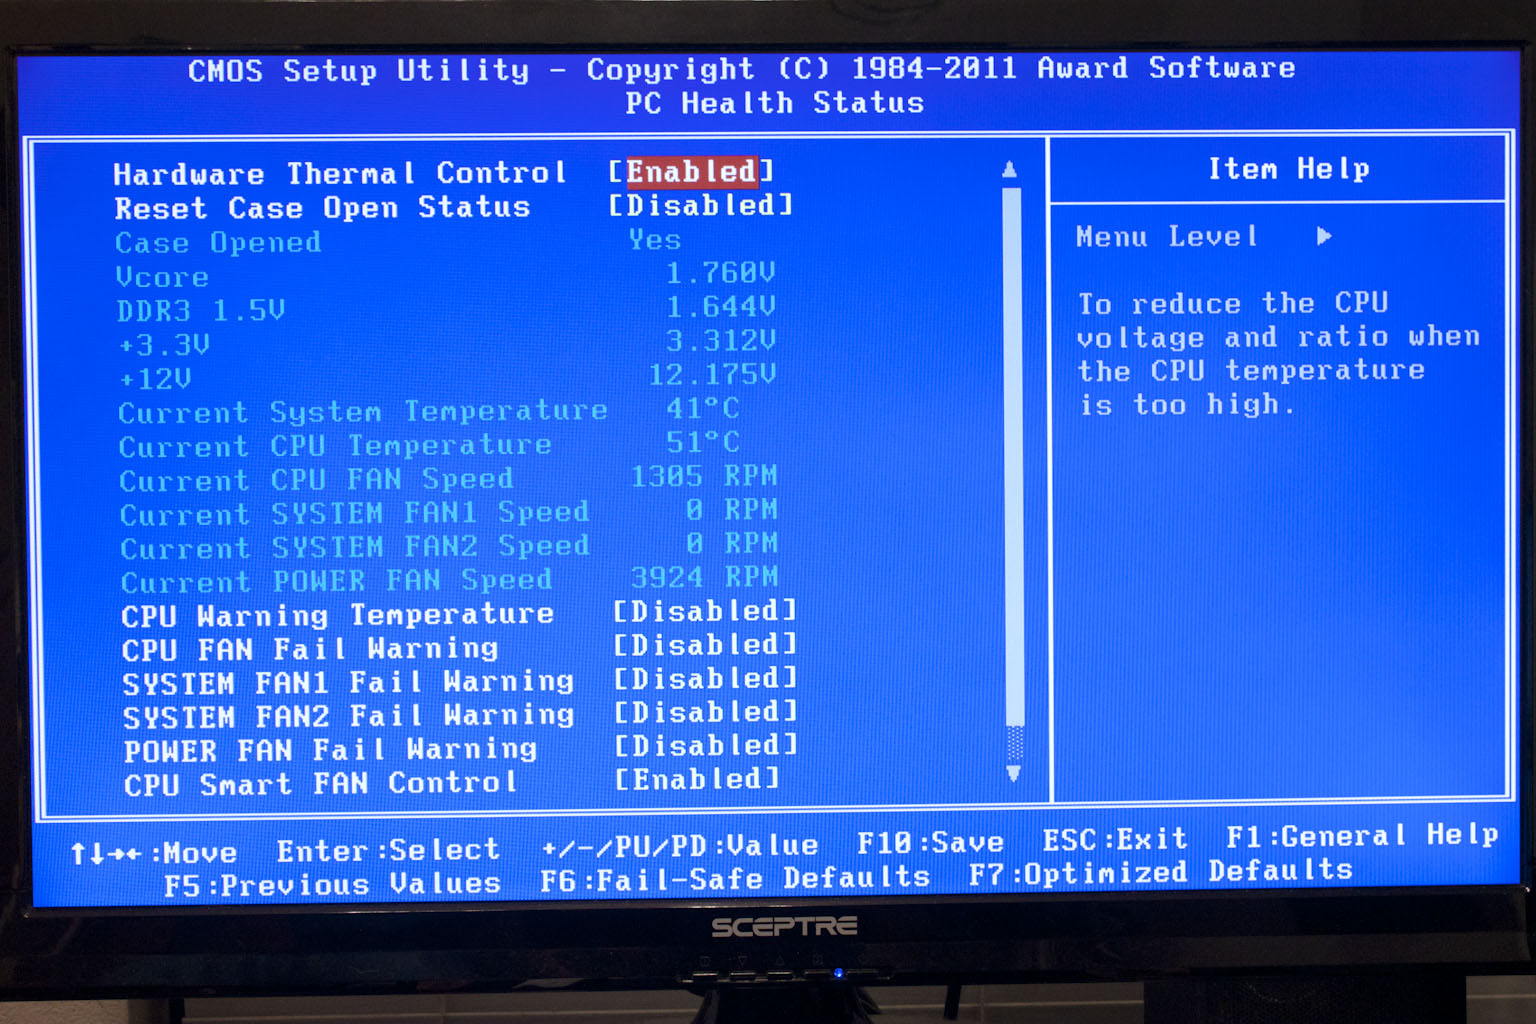
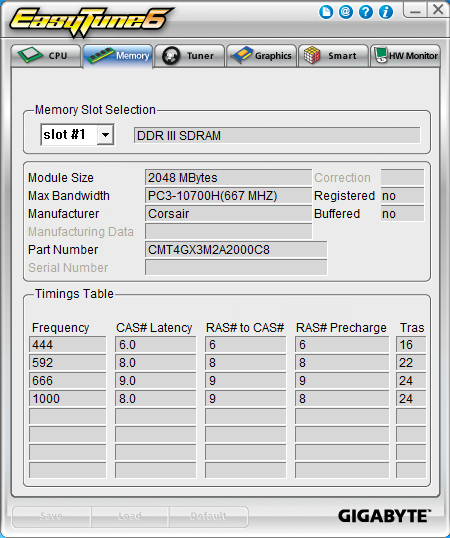
On the Integrated Peripherals page you can really get a good idea of all of the components that are packed into the 990FXA-UD5. Notice there are two distinct USB 3.0 entries. That is because there are two different control chips on the board.
 |
 |
 |
Overall the BIOS is clean, but simple. You do not have that much to wade through but what is there is well designed. Now we need to see if some of the underlying tuning has been done right.
 |
 |
Overclocking -
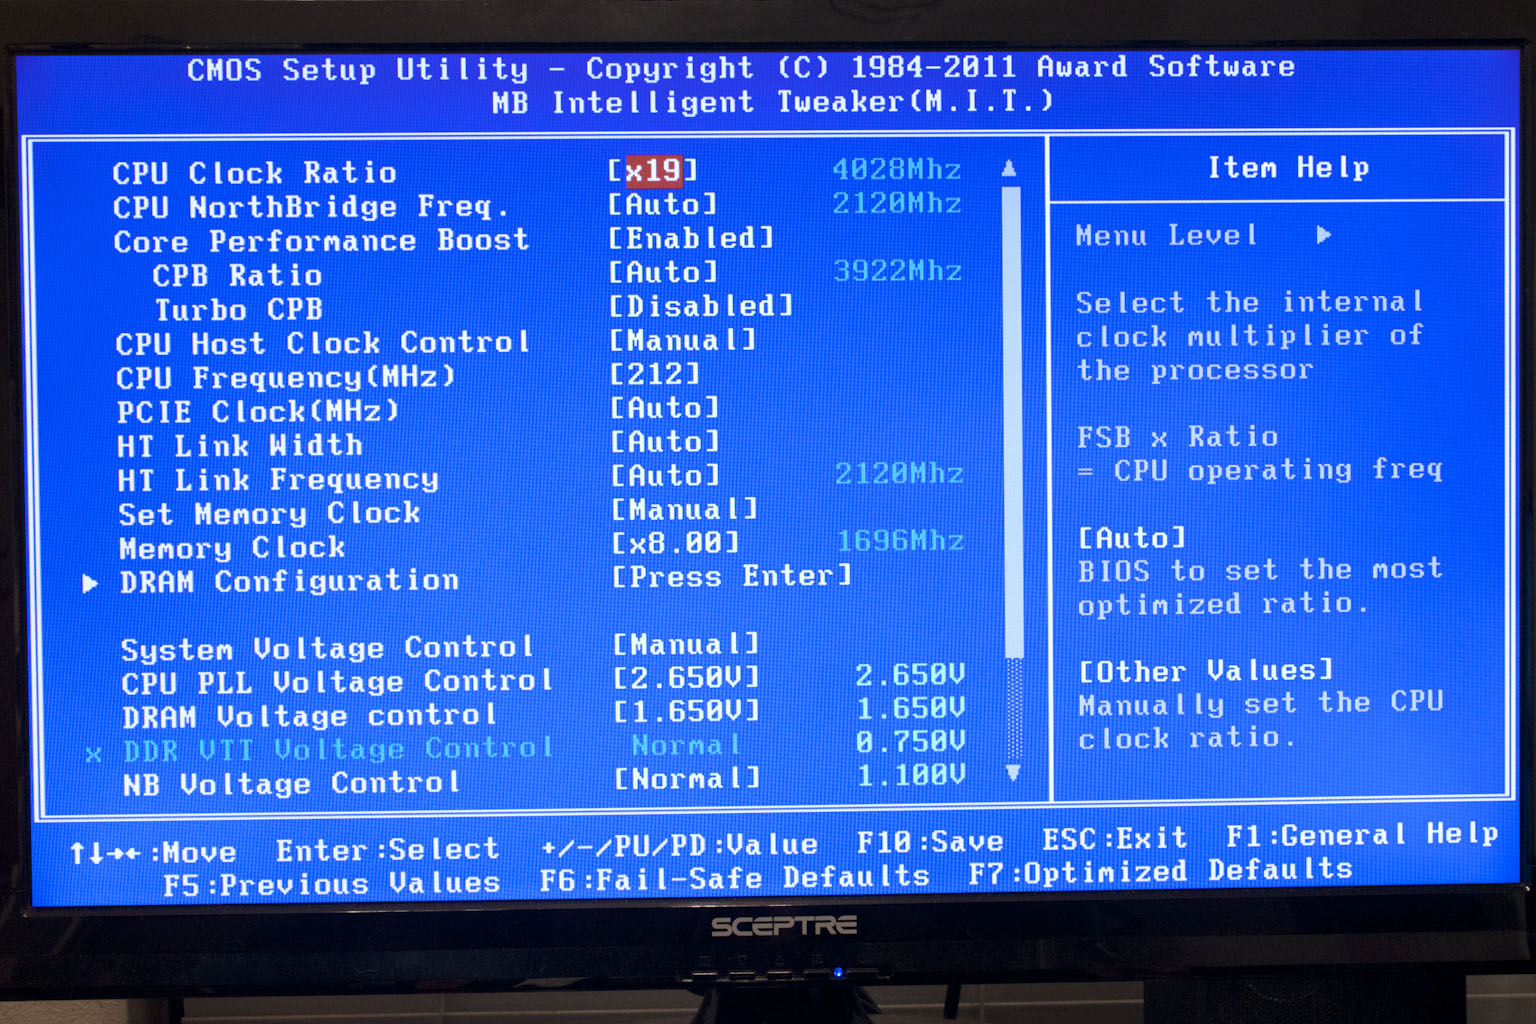
I have never had much success with high overclocks on the newer AMD CPUs. My last overclock of any real note was an AM2 5000+ that I managed to break a world record on (that lasted 6 months). This was with a prototype phase change unit from OCZ, but all of that is ancient history. Lately I have been happy with 500MHz overclocks on AMD CPUs. With the 990FXA-UD5 I was only able to reach a max OC of 4.027GHz (19x212). Strangely enough I am still getting the rejected listing from HWBot whenever I overclock this particular CPU. It makes me wonder if there is something wrong with the CPU and that is part of why I am having the poor overclocks. Perhaps a call to AMD is in order. Still if this is a bad CPU we still managed to get an almost 900MHz overclock on this CPU and the 990FXA-UD5.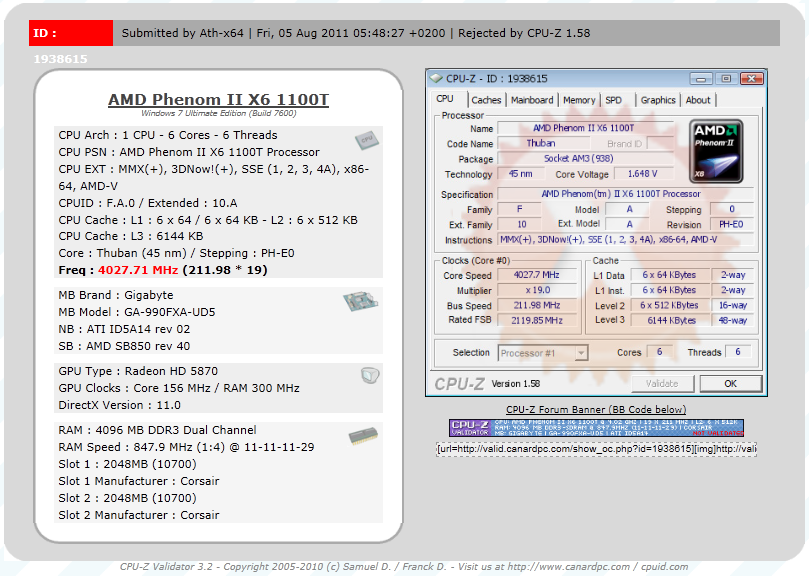
Of course overclocking is a picky subject. I can buy to identical CPUs from the store and they will not always perform the same way under stress. This is the same with motherboards, RAM and GPUs. So again it is important to keep in mind that our results represent a specific hardware configuration. Yours may be similar but will rarely be identical.
Overclocking Tools -
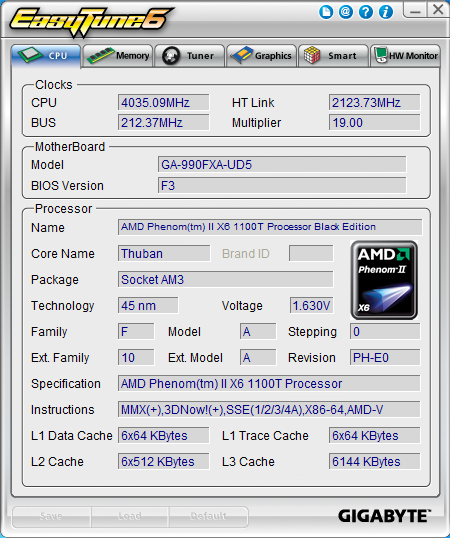
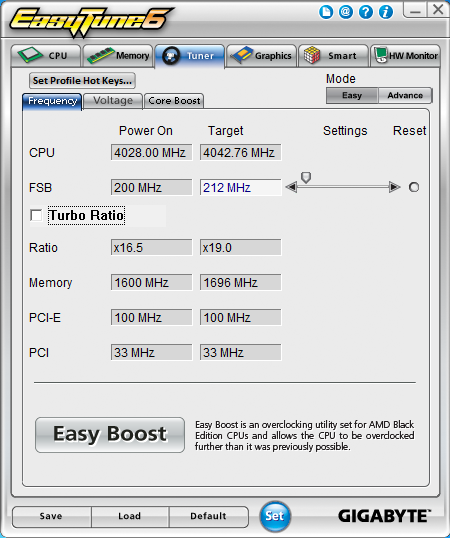
Gigabyte’s overclocking tool is the much talked about EasyTune 6. This piece of software is functional and works well, it is just a little awkward to use. The first two pages are dedicated to the status of the board and any overclock you may have going. To do this Gigabyte uses the same layout as the popular CPUz program.
 |
 |
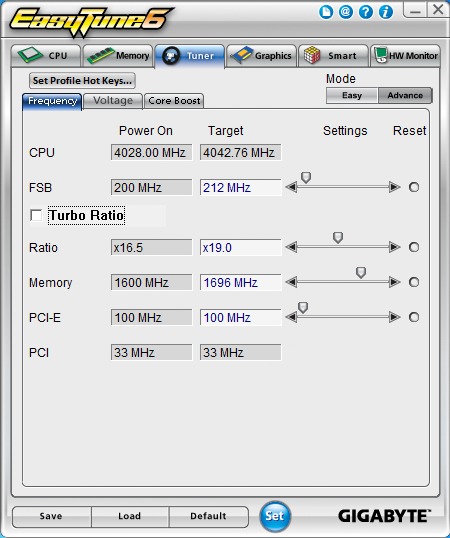
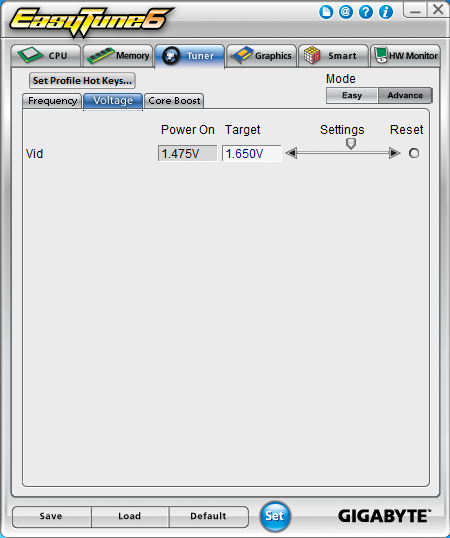
The third page is when things get interesting. Here we find the tuner pages. You start off looking at the easy settings (which include the easy boost button). These are a little on the light side, but if you are new to overclocking they can get you going. Once you change over to the Advanced settings you have access to a few more controls including a single voltage slider for the CPU (like I said the controls are light).
 |
 |
 |
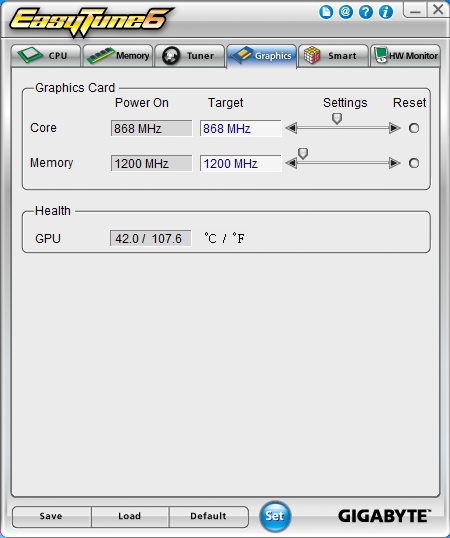
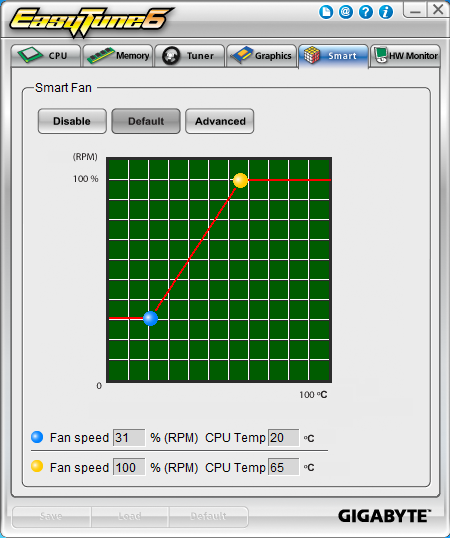
The rest of the application is turned over to a GPU overclocking utility, a smart fan tool and a graphical voltage and temp monitor.
 |
 |
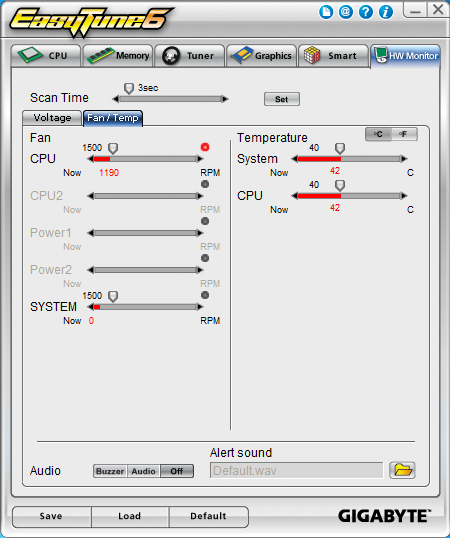 |
It is a nice tool, but let’s face it is need of an overhaul.
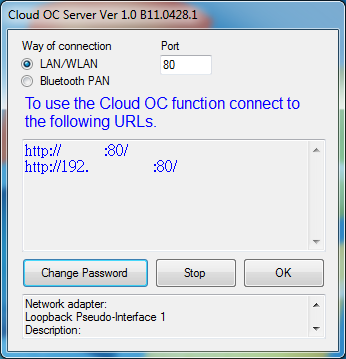
Another cool option for overclockers is the Cloud OC utility. This is an application that turns your system into a webserver. As simple password protected webserver. This webserver is designed to allow you to connect to your system and adjust your overclock. Unfortunately we could not get it to work on ours. We could get to the login screen but it would not let us go any further on our tablet.