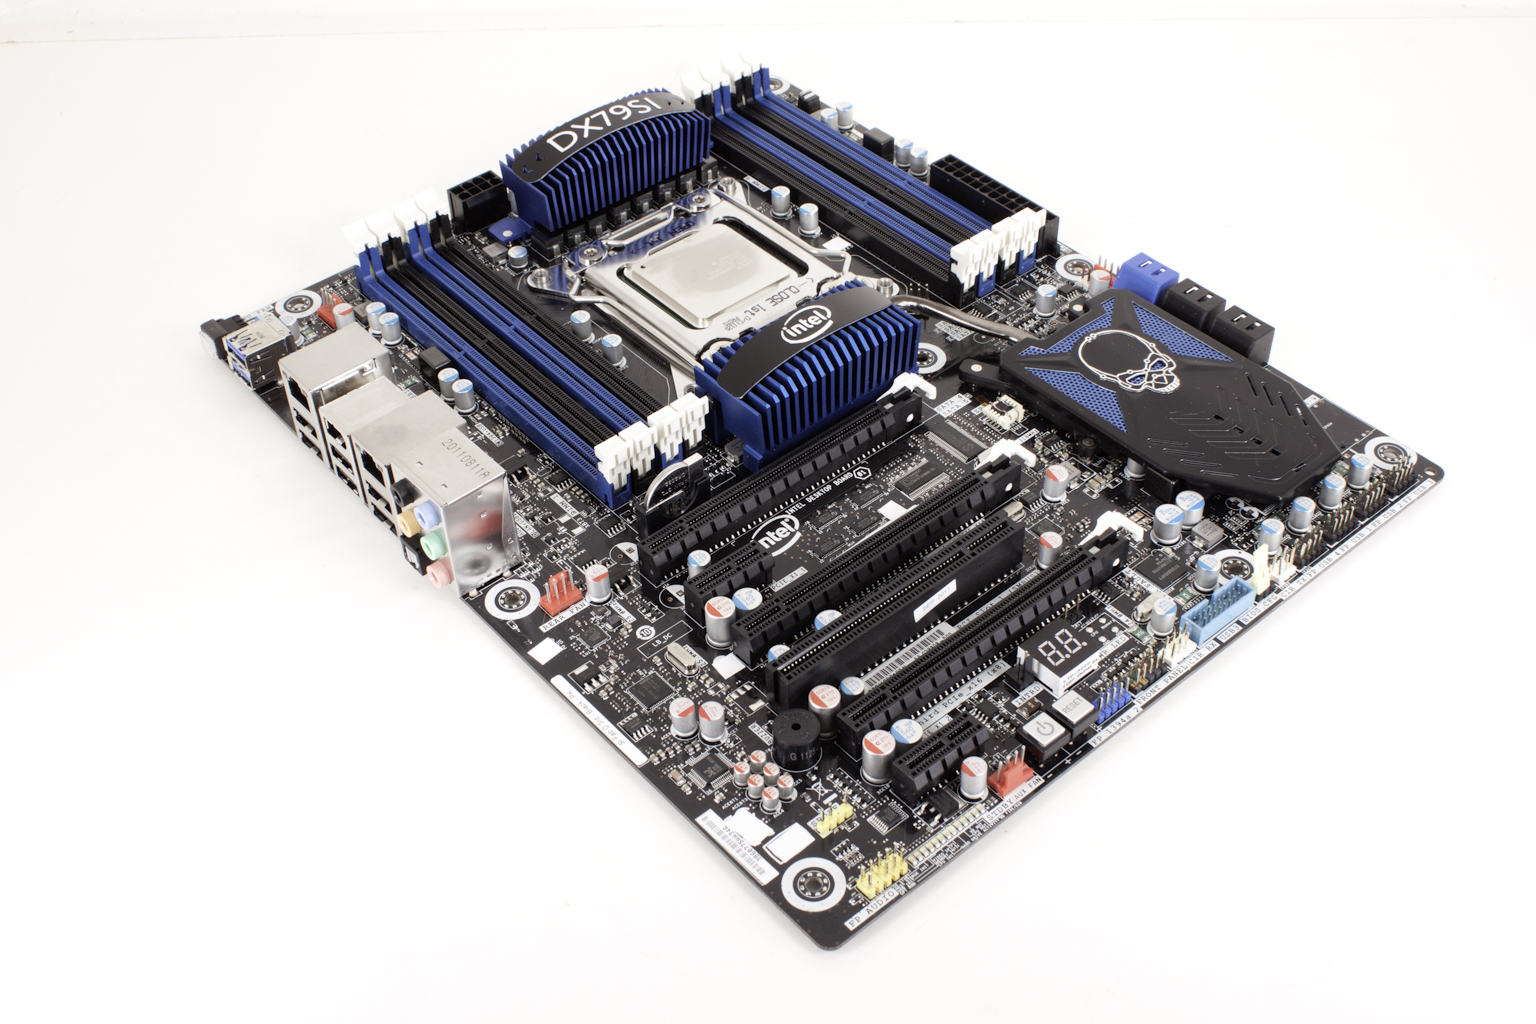
The Test System and Comments -
Our test system is built on an open bench. This has two effects on testing. First it allows us to see everything and also to setup and disassemble the test rigs quickly. Second it means that we cannot gauge the potential air flow found in a normal case. The air is pretty stagnant; some may say this is a great neutral testing method and it can be. However, it does mean that the temperature reading taken off of the components are not accurate to what an average consumer would see. This means that your thermal performance will vary from what we see here.
Ok, now for the little things that pop up during an installation and a weeks’ worth of testing. One of the first things that we ran into was with the Renesas USB 3.0 controller. After the installation of the drivers if we had ANY USB device connected to this controller the system would not boot. It would hang on Error code 58 and would not allow a reset but had to be manually powered down. The second thing related to the USB 3.0 controller showed up during our overclocking tests. We found that anything over 4.3GHz caused the USB 3.0 controller to stop picking up drives that were attached. It simply would not see them. We tried to reinstall the driver, but this caused the system to lockup and then we had a rough time getting it to boot back into Windows. In the end we had to boot into safe mode and remove them from there.
Now all of these issues could be due to the BETA BIOS that we used with the board. Usually we do not like to test with a non-public or shipping BIOS, however since the board is not publicly available we were ok with running this for our initial testing. We are confident that Intel will fix this issue in the time before this hit the market.
Performance testing overview -
Our testing is a little different than most. We combine both synthetic and real-world applications to simulate the types of performance common to the individual products. For motherboards this means that we run roughly six synthetic tests and two real-world. We will be expanding the real-world testing in the near future. But there is more to performance than just the raw numbers. As there are multiple components and sub-components on a motherboard there each item can have a distinct impact on the way the product will perform once you get it in your system. It is important to note not only the actual results but what they mean to you as a potential consumer. We will try to give this information to you. But we do not just cover the performance aspects that are measurable. We also talk about the components that might not have a direct benchmark. These are items like Audio Quality, ease of use and installation.


