The Layout -
The layout of any motherboard is important. Even simple mistakes in component placement or the signal traces can cause major issued in performance and stability. With the ATX form factor we find that this is even truer; the devices we drop onto them demand more and cleaner power while the signal speeds push faster and faster. The Rampage IV Formula (we will call it the RIVF moving forward) is a standard sized ATX motherboard. It follows the same basic layout component placement, but other than that the RIVF is anything but a typical ATX motherboard.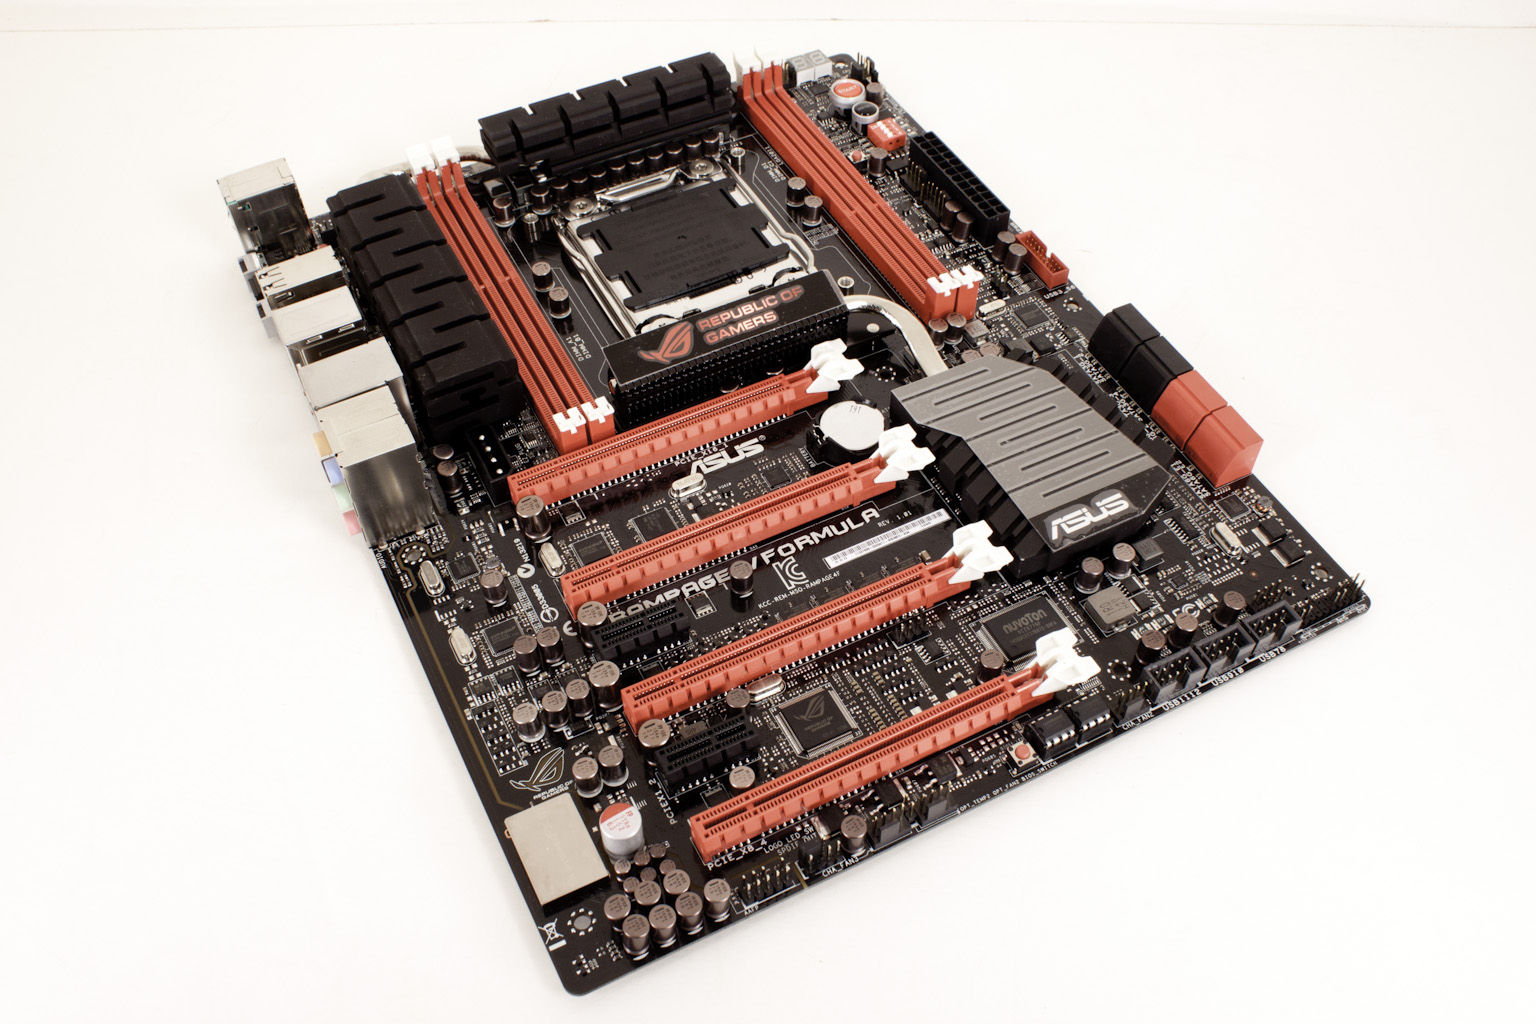
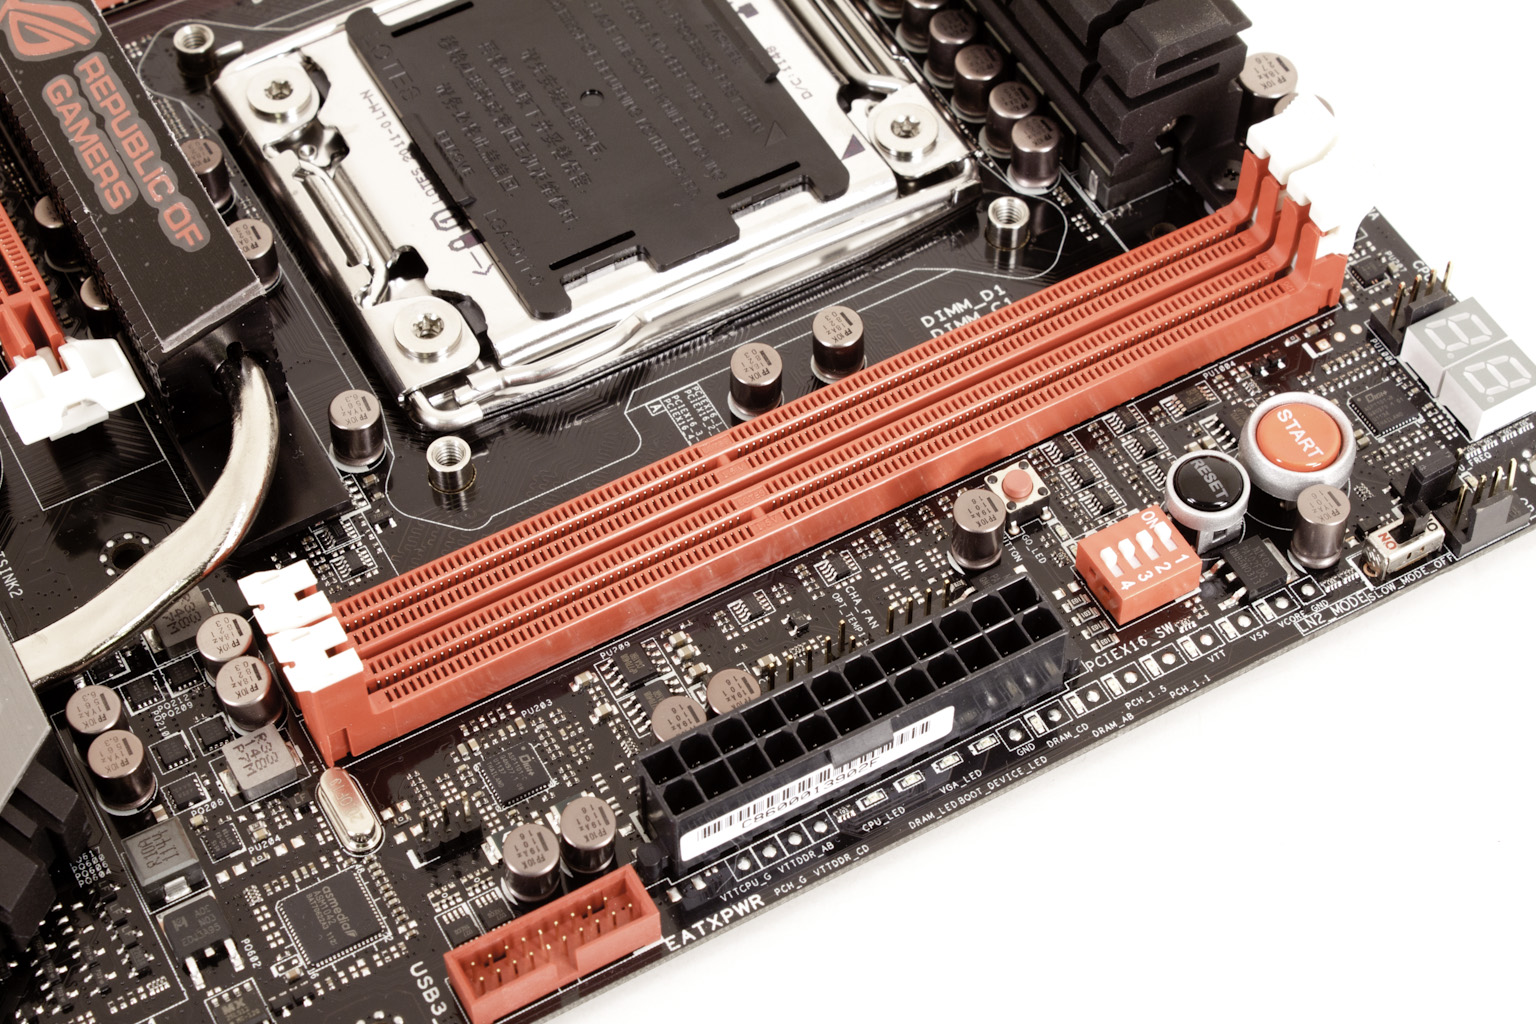
Starting off at our normal launching point we find some of the typical items. The 24-pin ATX power connector, a USB 3.0 header, a pair of diagnostic LEDs, Power and reset controls and... well that is about it. From there things get a little more interesting and we start to see some of the interesting design choices that Asus has made. The line of voltage read points is very well laid out and labeled more clearly than just about any of the other boards we have tinkered with recently. Asus has also thrown in a four switch block that allows you to turn PCIe slots off to help maintain stability during higher overclocks; this is on top of the four 4-pin PWM fan headers that are visible in this image alone.
 |
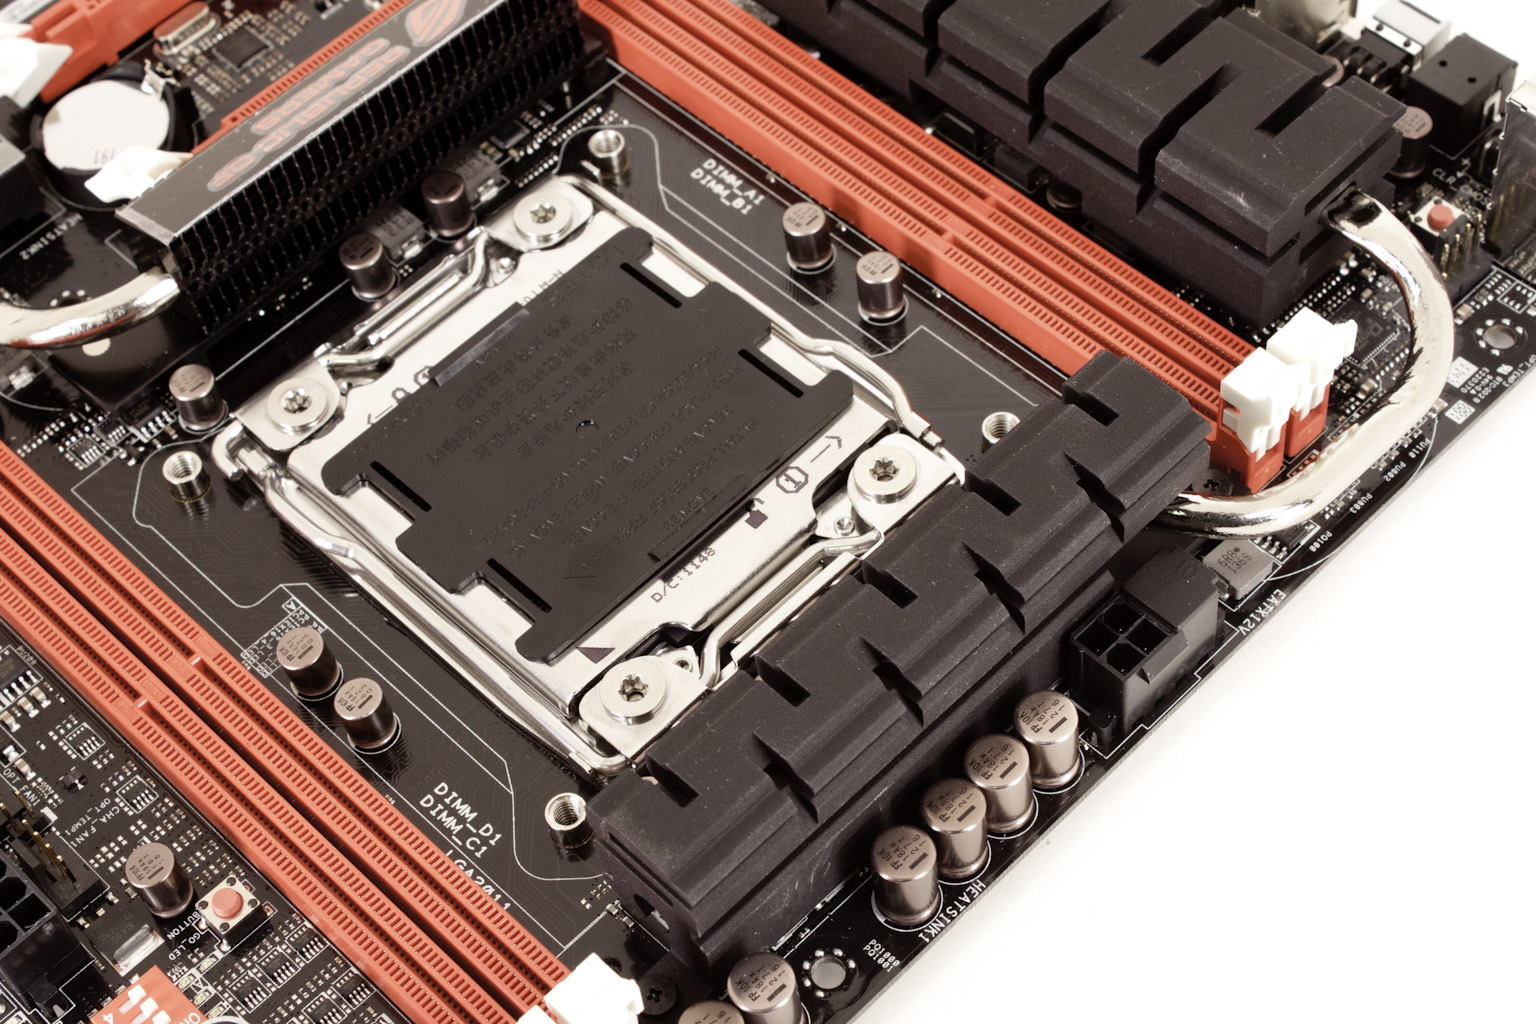 |
Moving on we get a closer look at the CPU socket and also the cooling on the board. This CPU socket has two modes that you can run it in. As we show in the video you can actually remove the back plate from the socket and replace it with the one that Asus includes in the box. This is great if you are using custom cooling (like and LN2 Pot) as you can use a proper mount and insulation. One item we do want to highlight here are the Nichicon Black Capacitors. Asus has been putting these on their ROG boards lately and the choice shows. These are not your typical solid caps, but offer significantly more headroom and performance than want we are seeing on other boards in this range. Then again Asus has always pushed to get better capacitors on their boards going back to the use of FPCAPS on some of their past ROG products. When we talked with Asus about this they let us know that this move was a big step in differentiating ROG products from any other product on the market.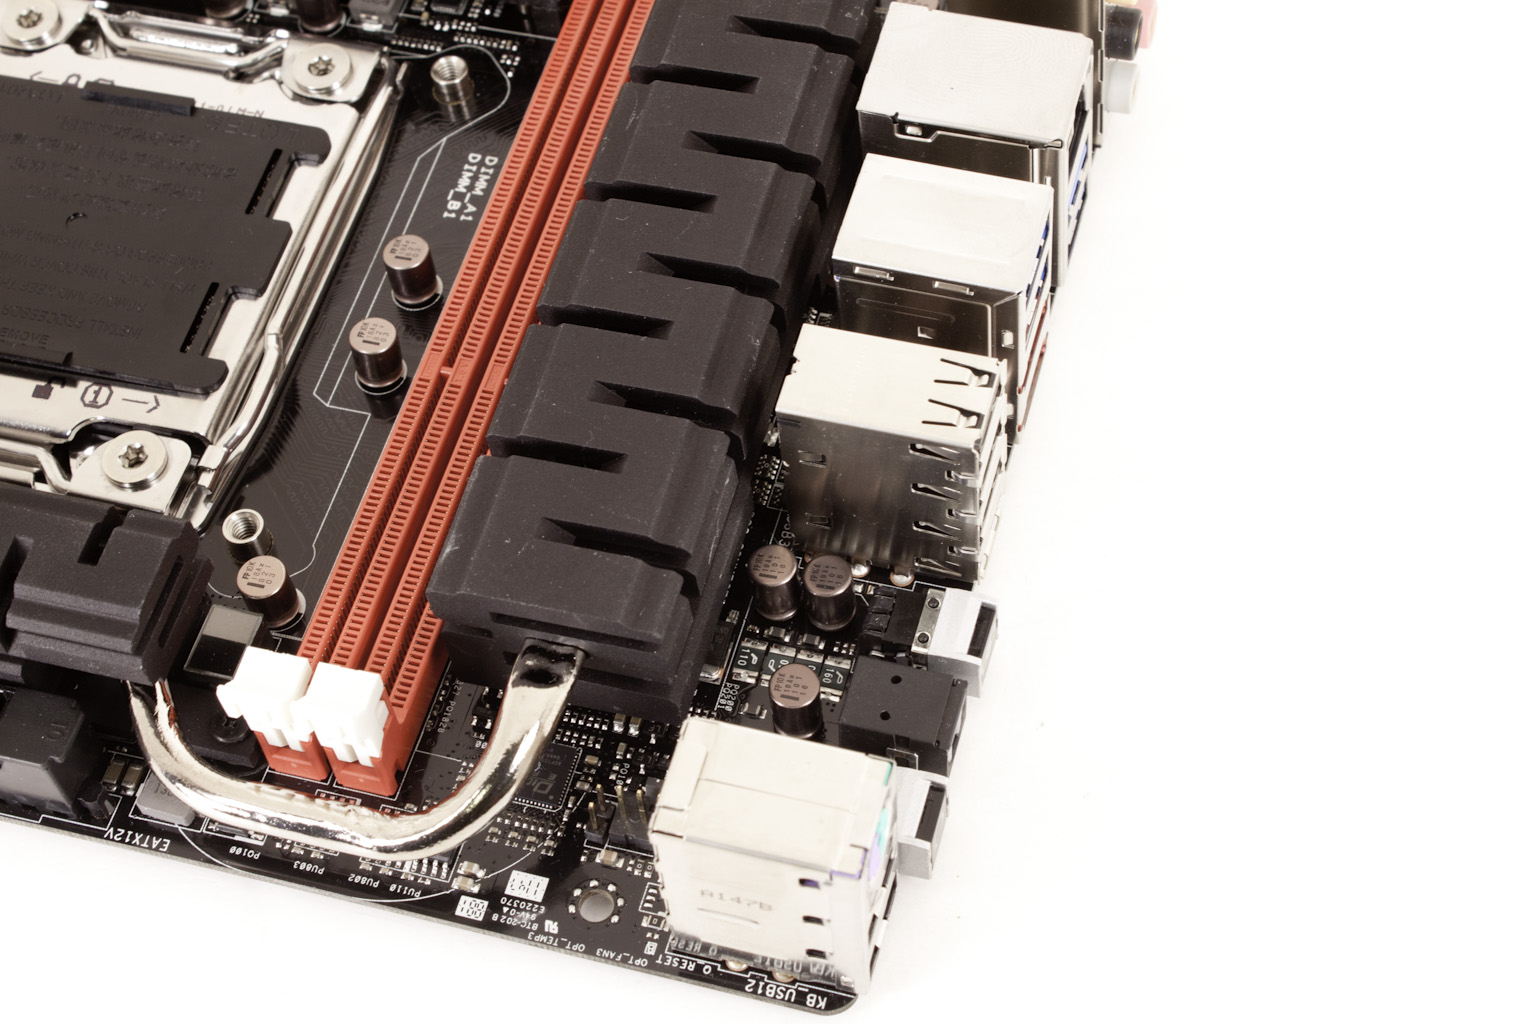
Another item that we talked with Asus about was the cooling on the ROG boards. We have previously mentioned that it has the same look and feel as the cooling on the Sabertooth boards. Although it does look similar it is not the same material nor does it have the same thermal properties. It is still a good system, but it is not the same as what is found on the Sabertooth line. Moving around we can see another 4-pin PWM fan header peeking out as well as get a good view of how awkward the placement of the 8-pin AUX power connector is. Again get an extension or a fully modular PSU for this board as you will have a rough time getting this one connected in many cases.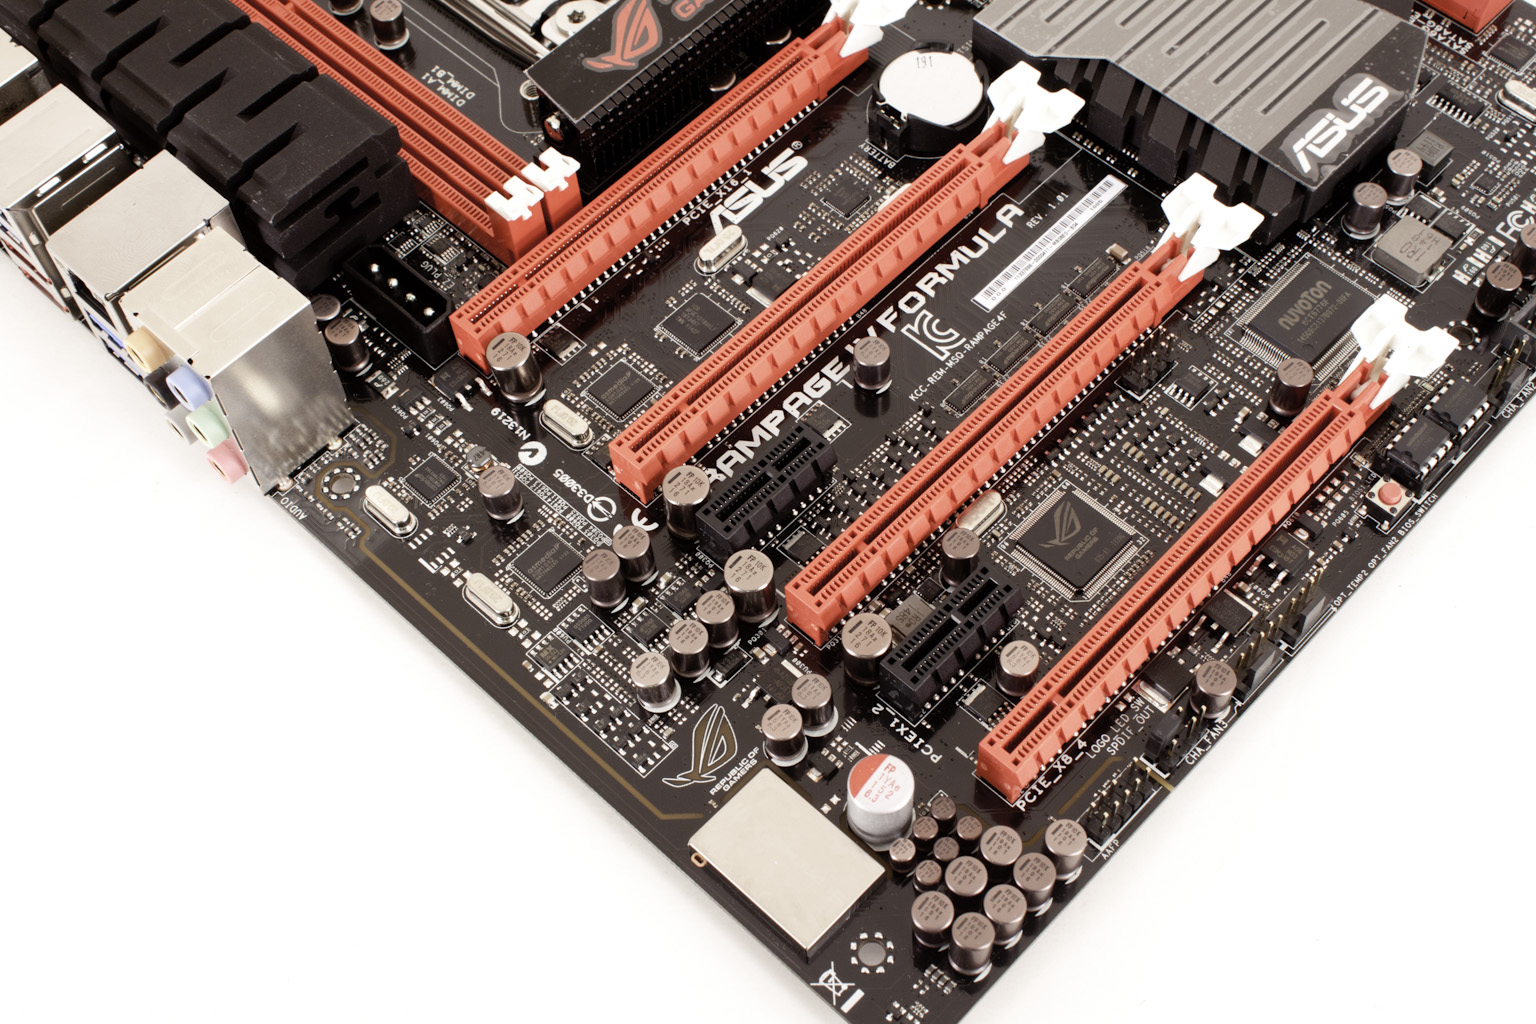
Dropping down to the lower half of the board we first notice a 4-pin Molex power connector. This is to provide additional power to the PCIe slots especially if you are going to try pushing three-way SLI. You can also see the four PCIe x16 mechanical slots (and the PCIe Gen 3.0 components). Not all of these slots are x16 electrical though. Here you have slots 1 and 3 at x16 and slots 2 and 4 x8. Interestingly enough slot one will always run at x16 regardless of any other configuration while slot 3 will run at x16 or x8 depending on if you have slot 4 populated or not. All four of the x16 mechanical slots can operate at Gen 3.0 if you have the right GPU.
There is more to this picture than just the slots though as you can see in the video below. You have the segregated SupremeFX III audio card that Asus has thrown in. This concept of a physical separation in the board although gimmicky at first actually does have a real world benefit. It helps to improve audio performance and also to prevent audio signals from hindering performance of the board or overclocking. The separation lights up red, but can be turned off in the BIOS if you do not want that showing.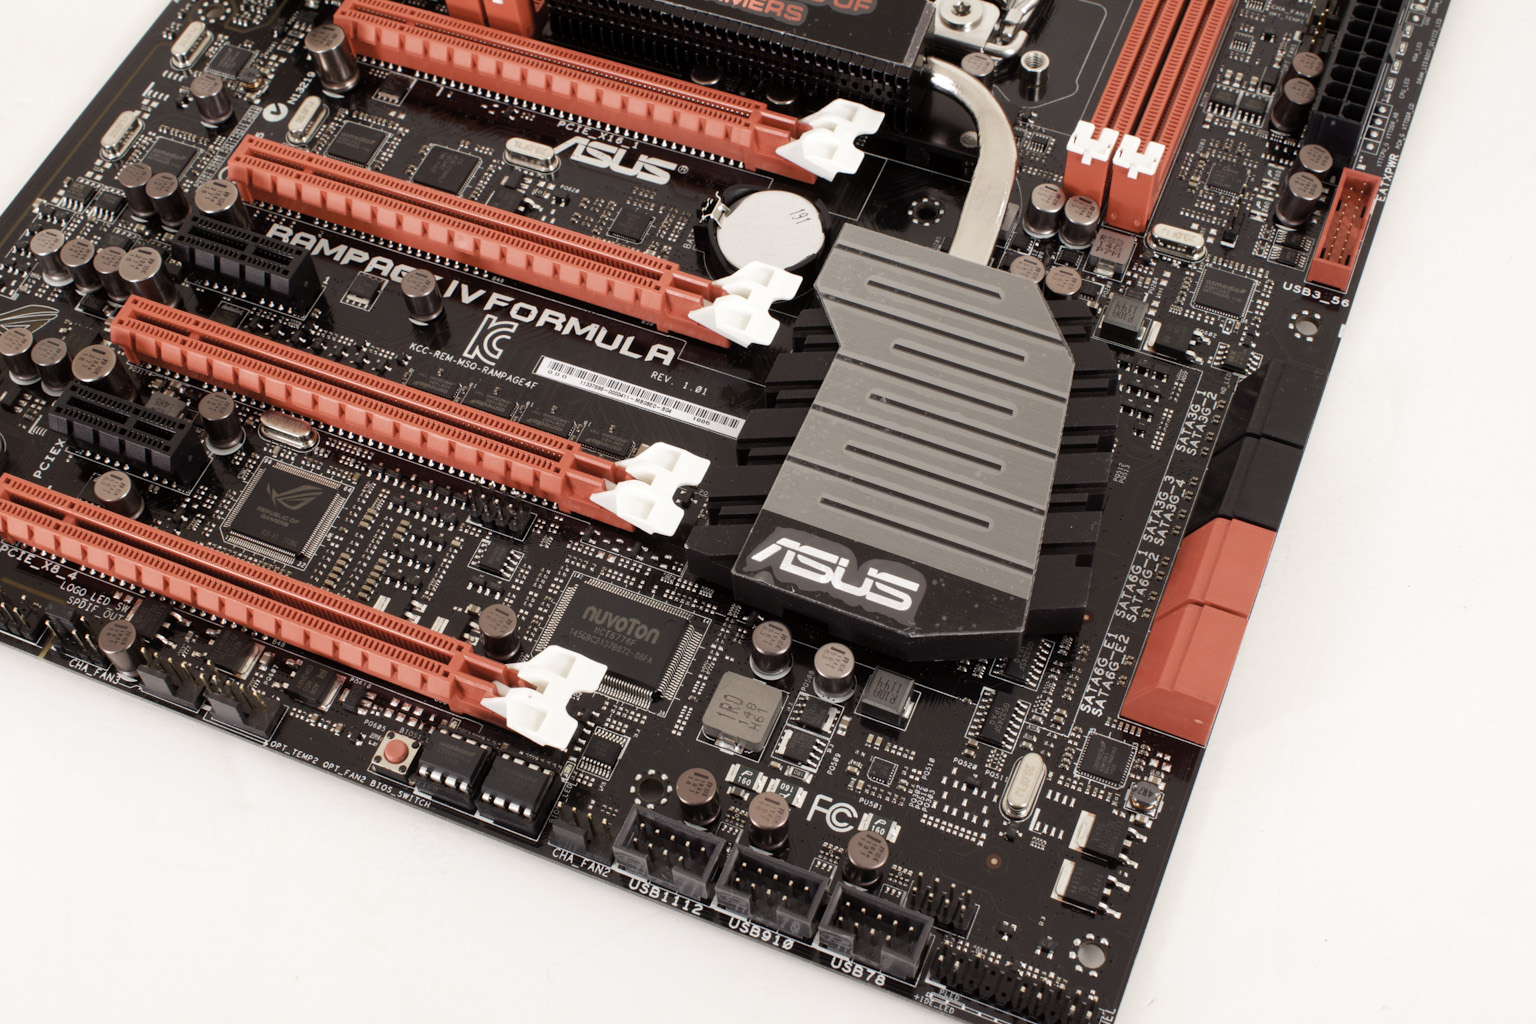
Along the bottom of the RIVF Asus continues to give you extra options for cooling with the addition of three more 4-pin PWM fan headers, which brings the total up to 8 for the Formula. You can also see the BIOS switch right next to the dual BIOS chips three USB 2.0 headers and the more typical front panel header. The stylized PCH cooling is also prominent in this image we will be checking to make sure that it is up to the job of keeping the X79 chipset cool in part II of our coverage.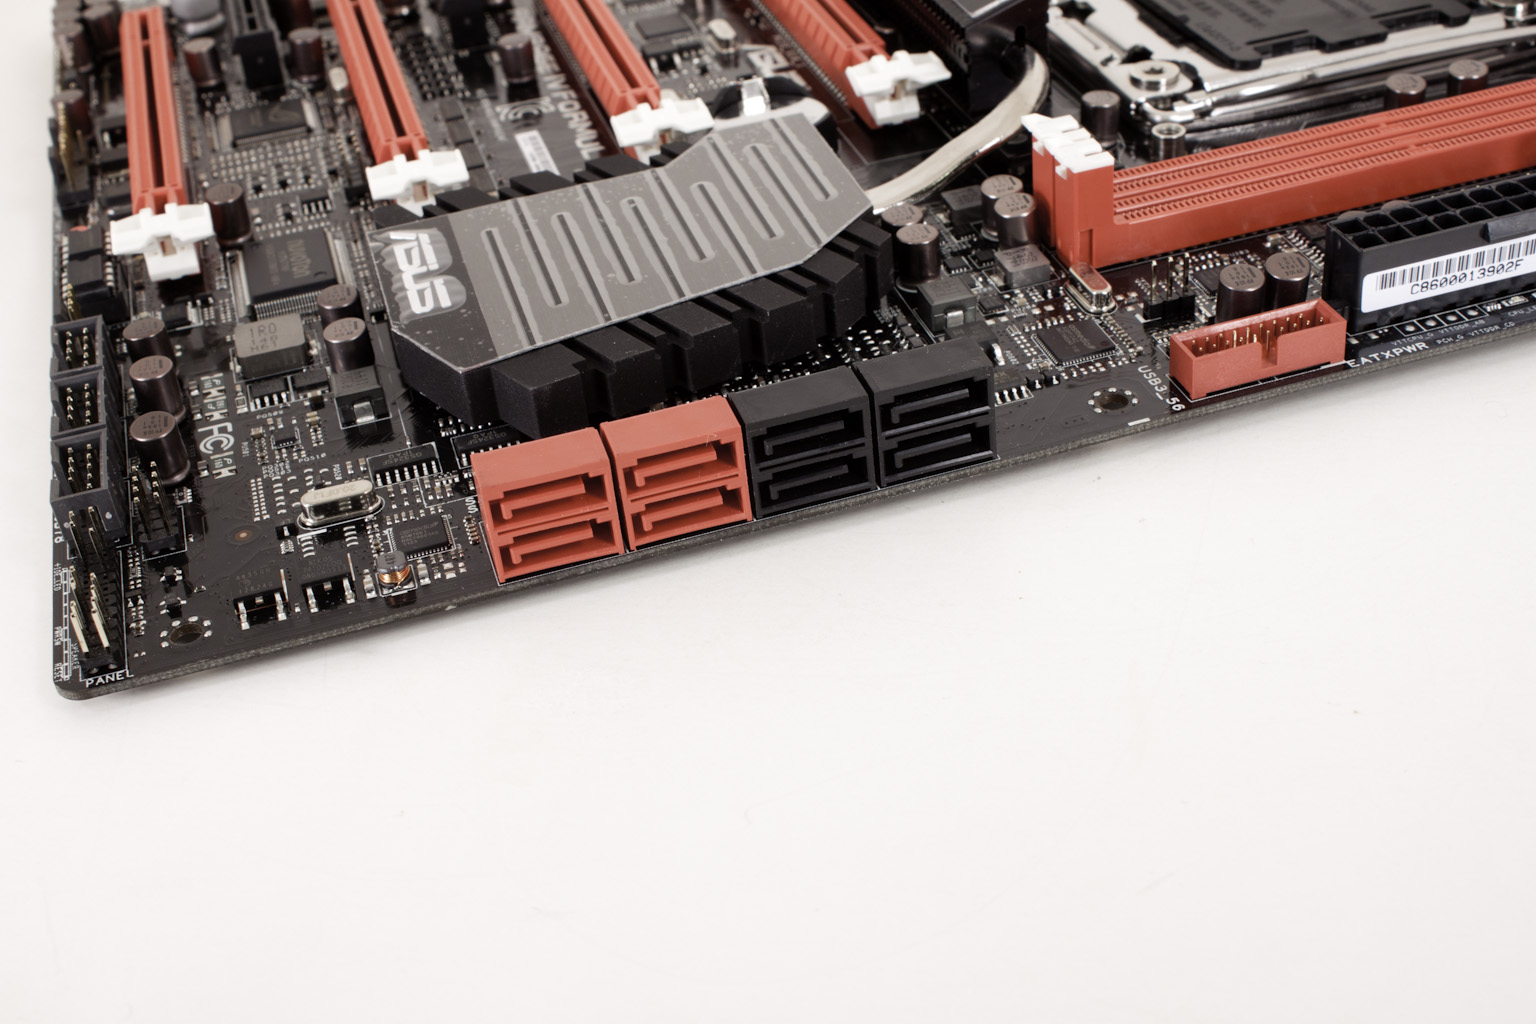 The Formula has 8 90-degree SATA ports the four red ports are SATA 3.0 and the four black are SATA 2.0. Two of the SATA 3.0 ports are labeled SATA6G_E1 and E2. These are controlled by the ASMedia SATA controller on the board. The other two are controlled by the SATA 3.0 controller in the X79 PCH. The ASMedia controller is going to be a little bit slower than the Intel controller so it is important to remember that when connecting your drives if you want the best performance from them.
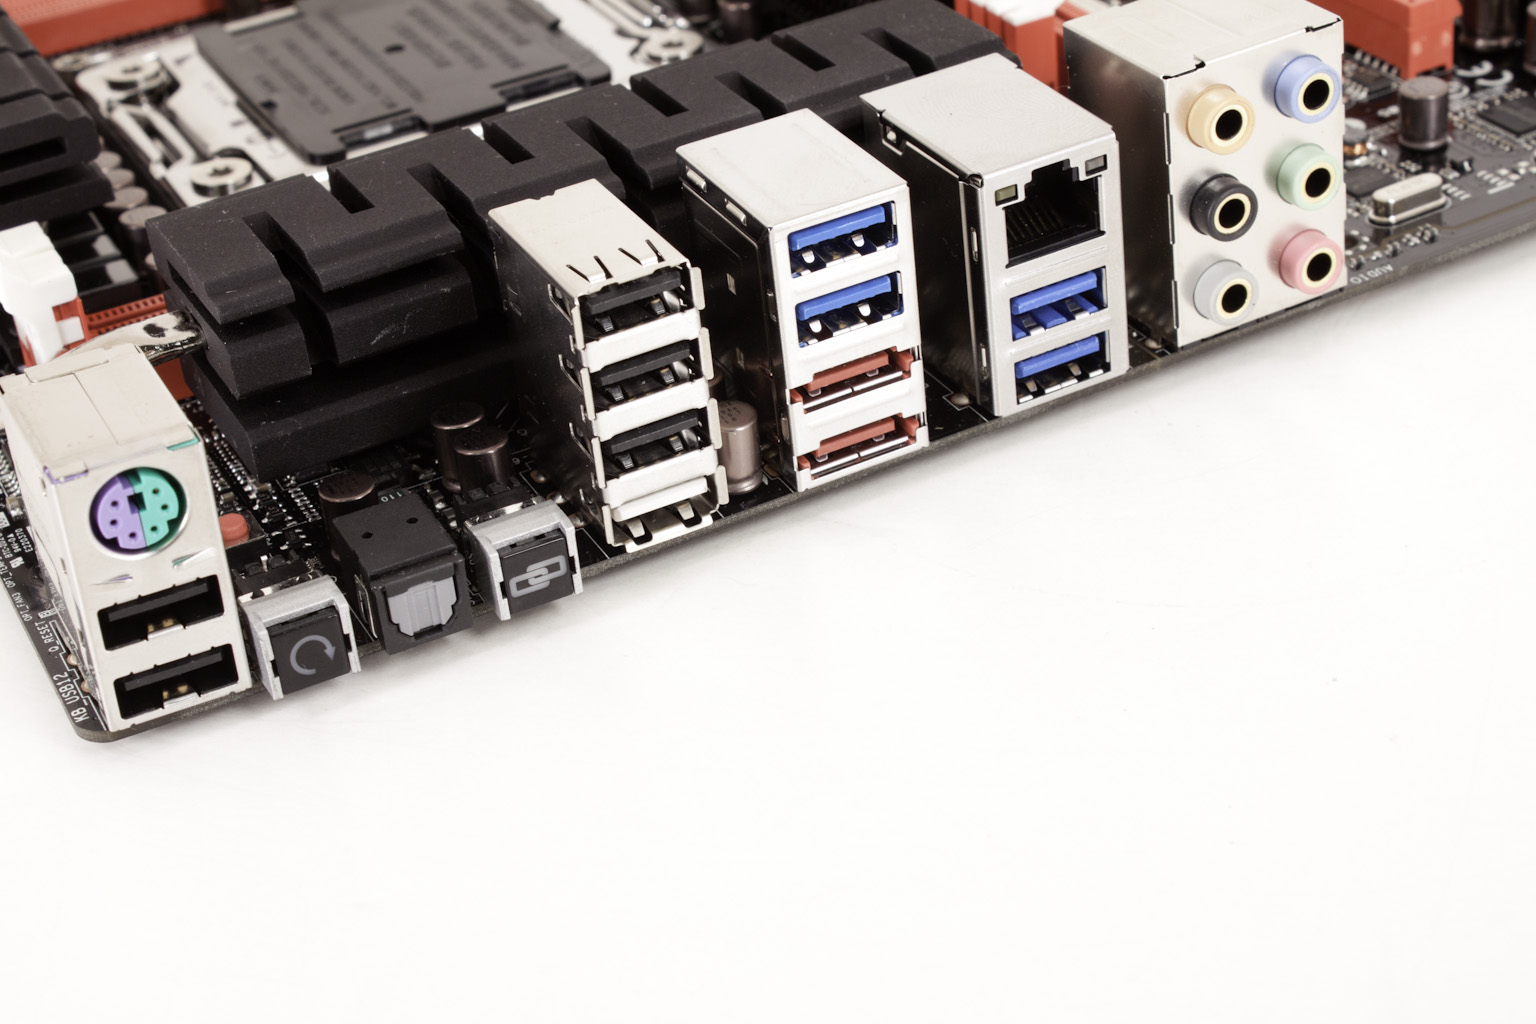 Swinging around to the I/O panel we find a pretty decent layout. You have five normal USB 2.0 ports, four USB 3.0 ports, two eSATA 3.0 ports (from the ASMedia controller), an Intel Gigabit LAN port, and the normal array of audio out ports. Asus also gives you an external BIOS reset button and a button to turn on or off the ROG connect feature. The combo PS/2 port is a nice feature in a high-end motherboard as when pushing your board to high-clocks you can sometimes lose your USB ports so having a PS/2 port is a good idea.
Overall you can see the time and effort that Asus put into the Rampage IV Formula and not just in flashy features or gimmicks. We are talking about trace tuning, PCB construction, the use of Nichicon caps, and more.


