Software and Extras -
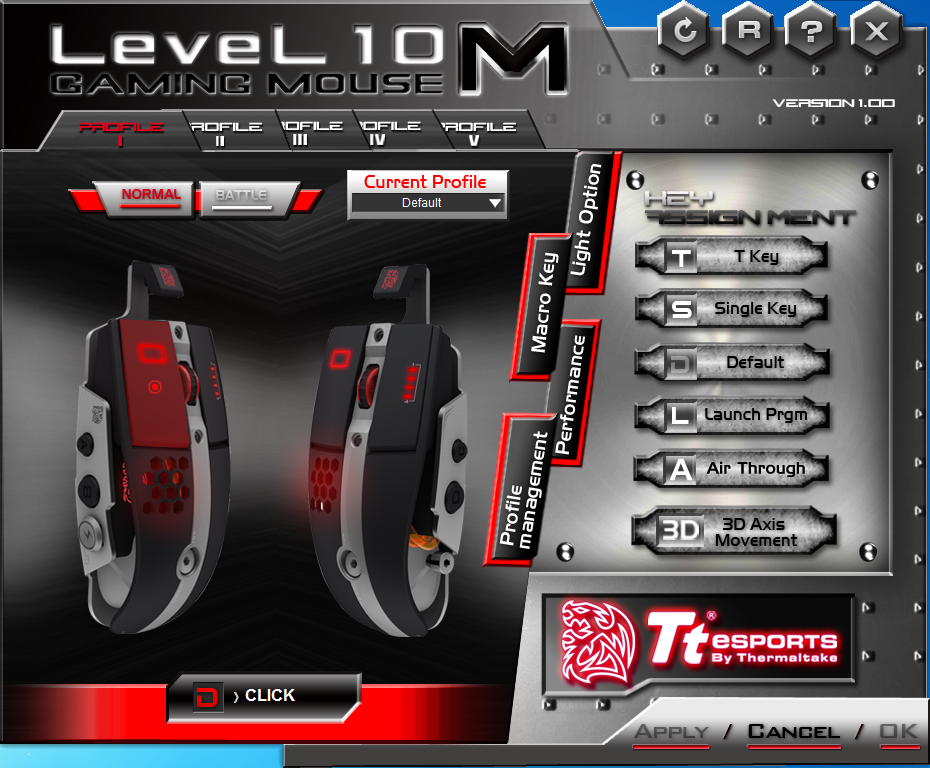
To get to all of the features and settings on the Level 10M there is a drive/software utility that you need to install. As with all of the control software we have seen for advanced gaming mice this one a little over done. Still the good thing is that it is still easy to use so we will forgive Thermaltake for this.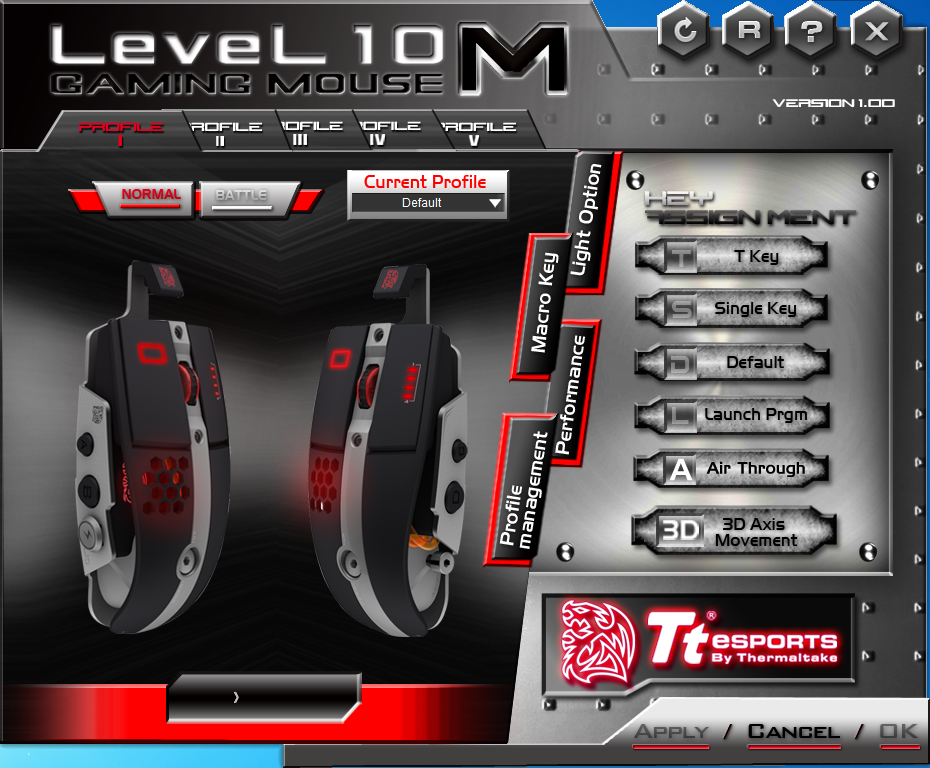
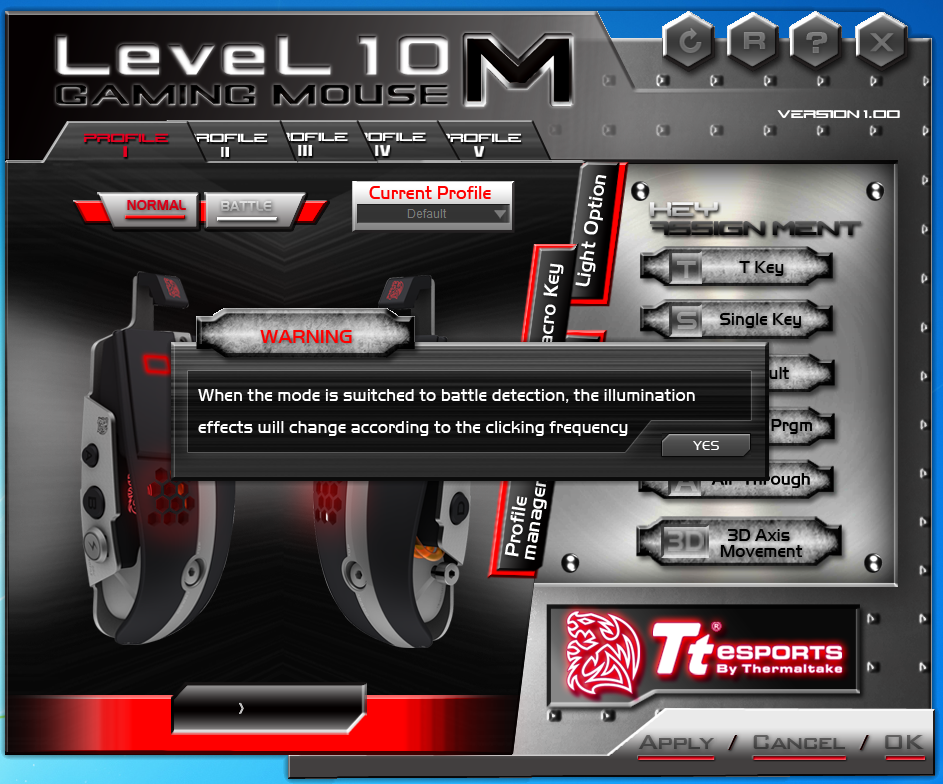
One of the first things that we noticed is that there are to different modes that jump out at you. One is normal and the other is battle. These relate to the illumination on the Level 10 M. When running Battle mode the illumination will change depending on how fast you click the mouse buttons. We were not all that impressed with Battle Mode, but we can see where some might like it. In our opinion I might have been better for battle mode to perhaps allow rapid alternating colors between the primary and red or another color if you are using red as your default.
 |
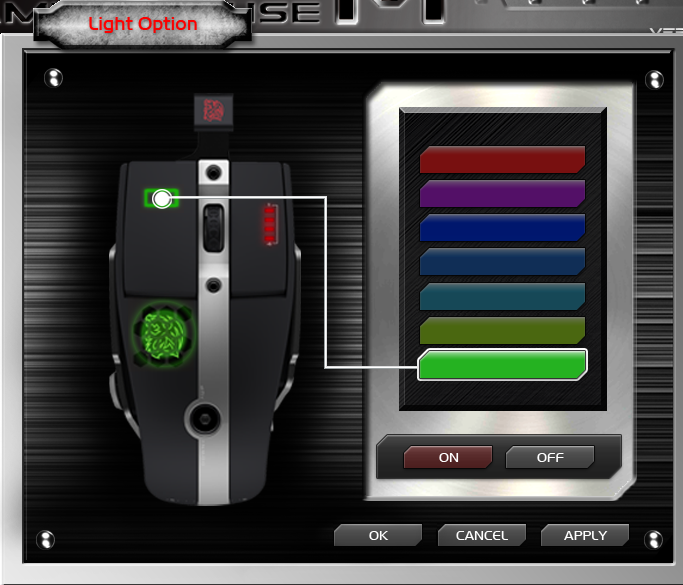 |
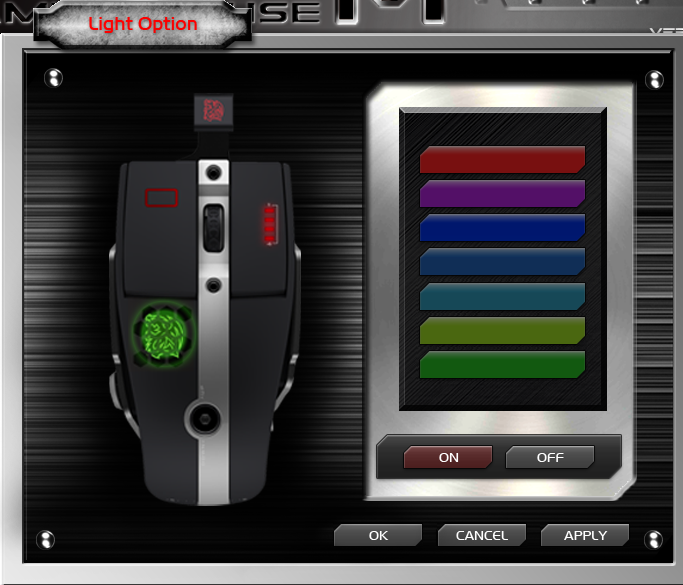
Speaking of illumination that is the next place we are headed. By clicking on the illumination option you can independently change the light color of the Hydra, the left mouse button and the scroll wheel. You have a choice of seven colors including purple.
 |
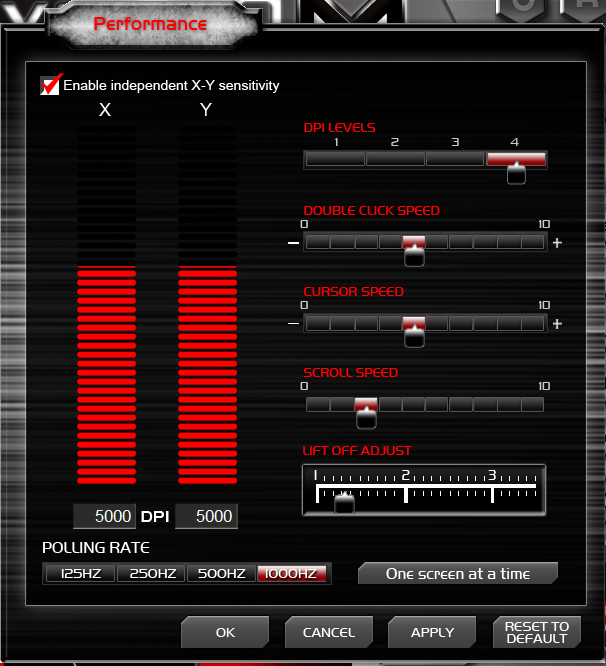 |
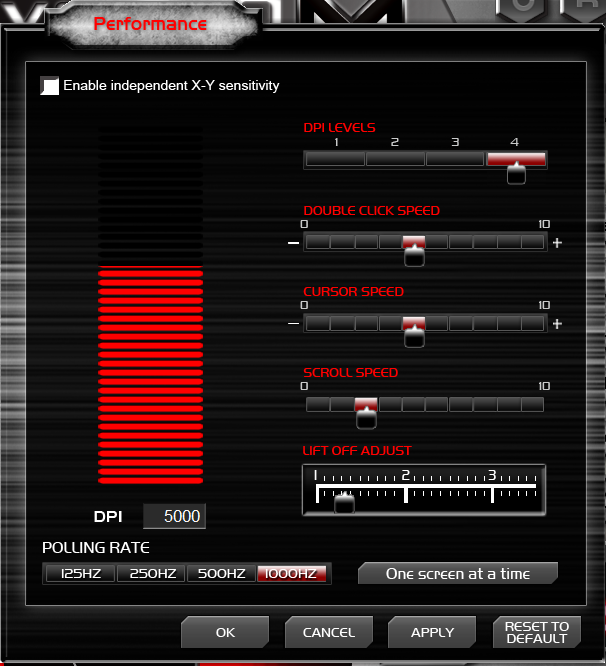
Of course there is more to your mouse than just lights and Thermaltake made sure they added those options in for you. You can find these under performance. When you get here you will find options for DPI settings (including setting the four levels you can adjust on the Level 10M manually). A nice feature here is that you can adjust the DPI of the X/Y Axis lasers independently so control for excess movement horizontally or vertically as desired.
Other options under performance are cursor speed, scroll speed, double click speed, and lift-off adjustment from 1mm to 3.5mm. Be careful with this setting, if you run the slider all the way down to 1 it is likely that your mouse will stop responding to any movement. We found that the lowest we could get down to and still have the Level 10M is about .5. At that height the Level 10M was responsive to movement, but did not stutter or jitter when we moved the mouse to another spot on the pad. The last option on the Level 10M under performance is the USB polling interval. For most people you can set this to 1,000Hz and leave it, but if you have any issues with performance you can adjust this down to resolve them. Fortunately if your gaming system was purchased in the last 2-3 years you will not have to worry about this one at all.
 |
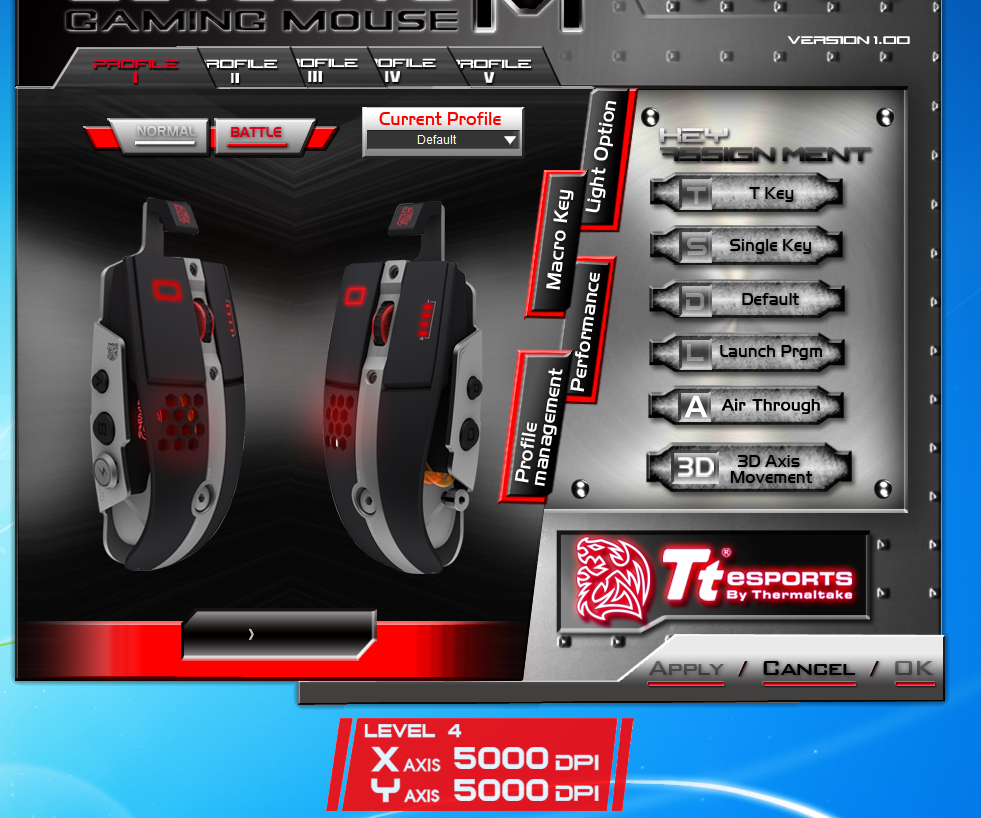 |
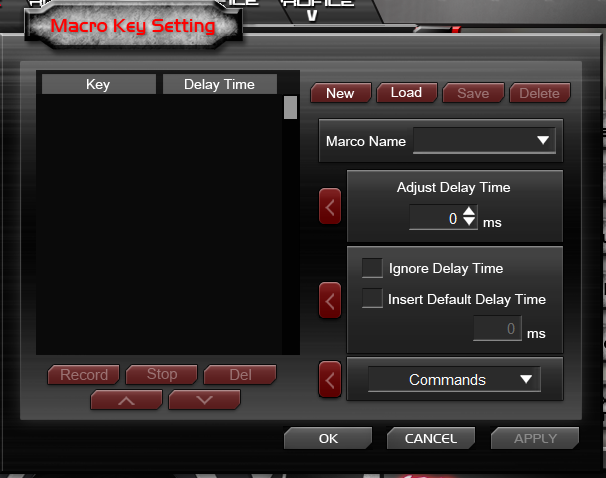
To further enhance the programmability of the Level 10M you can change the function of just about any button on the mouse. You have options for single key settings, T-Key (Macro), launch program and of course default. There are also two help videos that show you how to make use of the side buttons (Thermaltake calls them air through) as well as the 3D Axis Movement. You can store these programs in five live profiles that are stored on the Level 10M, but you can also export different ones that you might not want to keep on the Level 10M, but do not want to get rid of.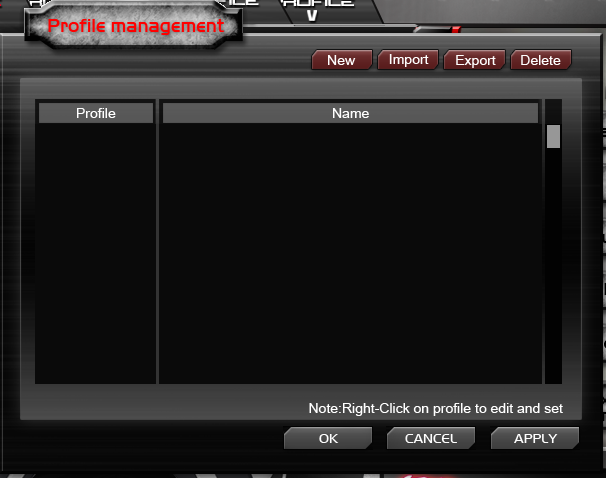
These profiles allow you to setup macros, illumination color, DPI levels and more so that you can just swap them out when you want or need to. To switch between profiles from the Level 10M you simply need to push the DPI adjustment joystick like a button. You will see the profile change at the bottom of your display, moving this joystick back and forward will move you between the different DPI levels you have established in your profile.
In all the software that comes with the Level 10M is pretty solid. It allows you to access some nice features to make sure your mouse is configured the way you want it to be.

