The Box and Goodies -
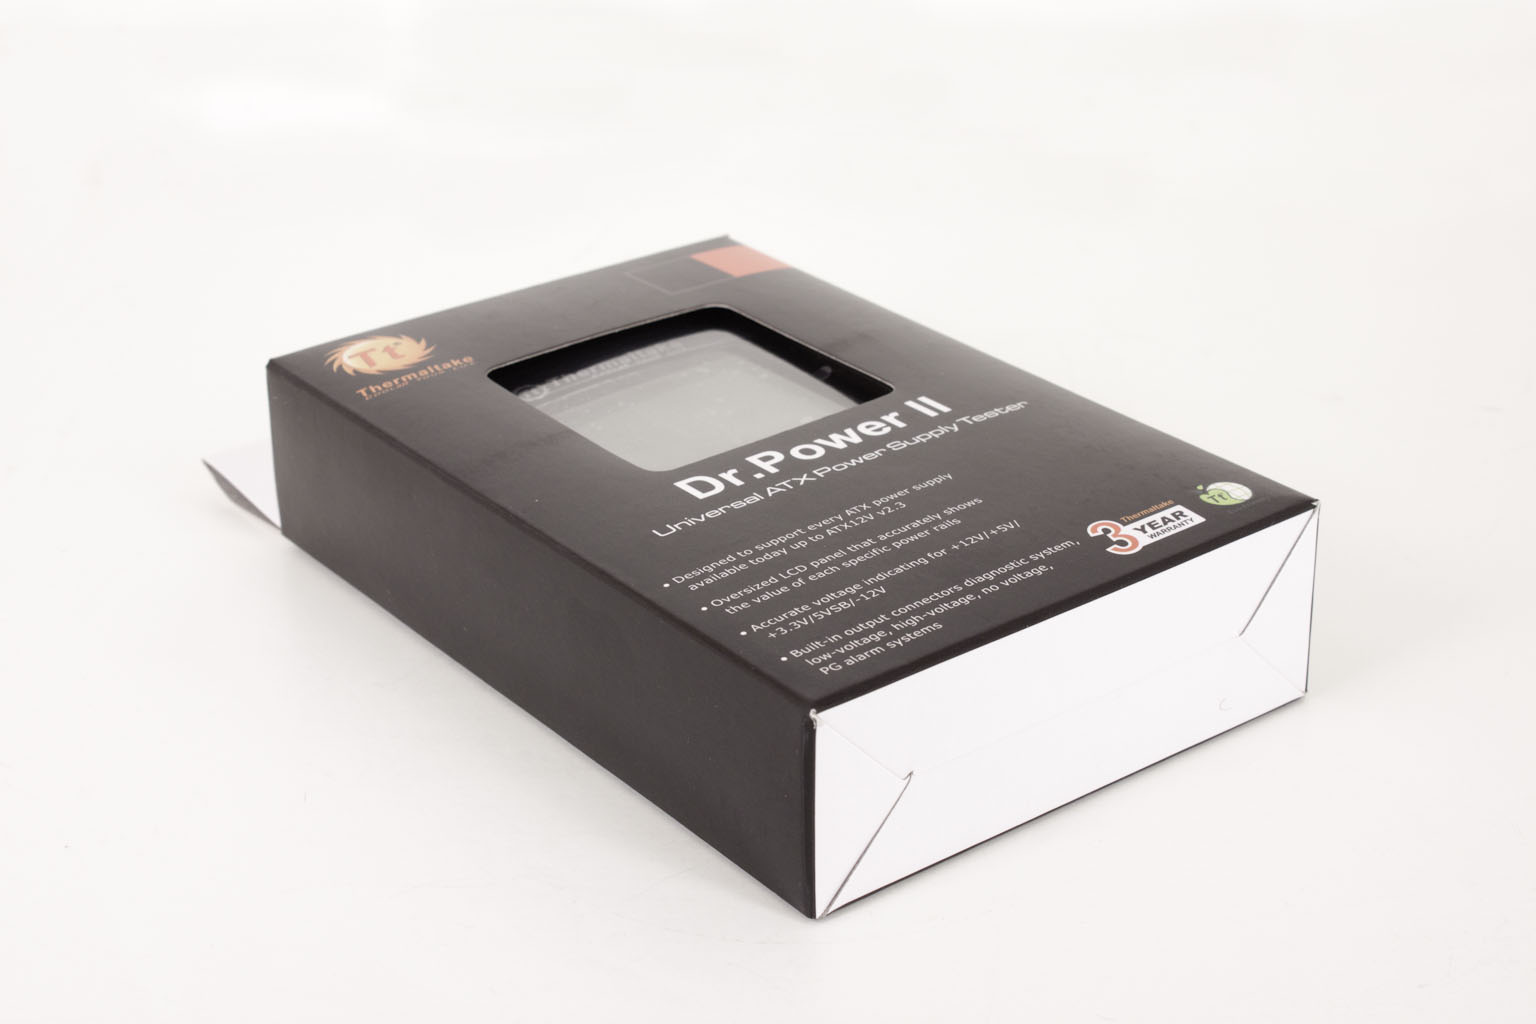
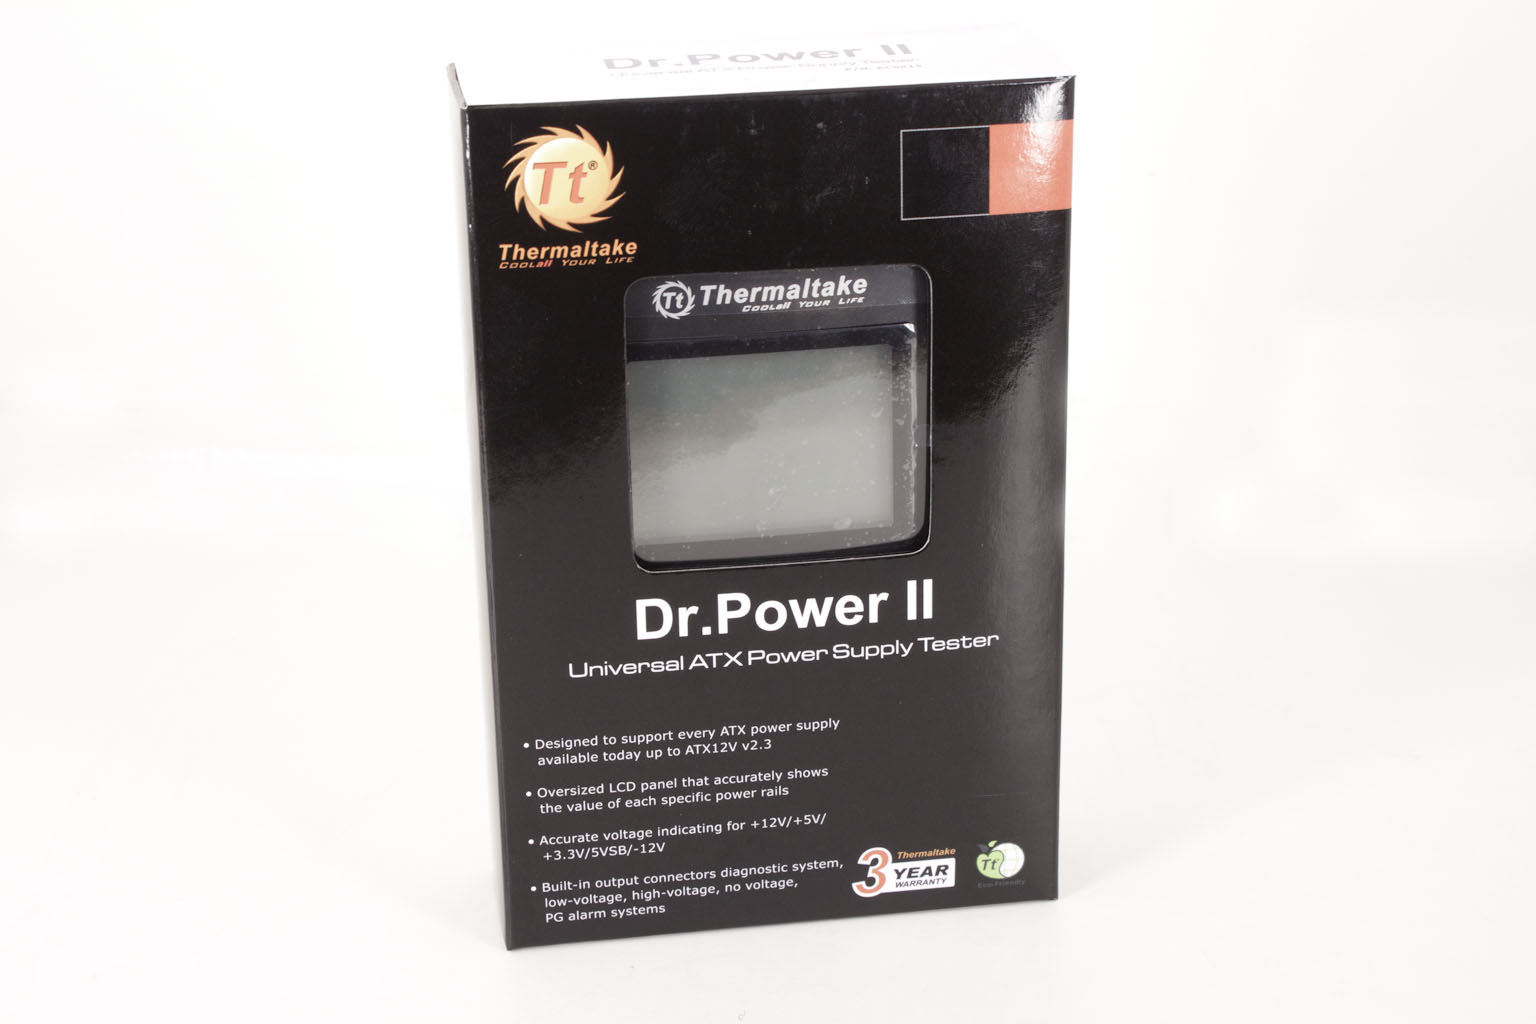
The box that the Dr. Power II arrived in was fairly plain. It is a small flat box what really looks a lot like a calculator box. At first glance you really do not get a good indication of what it does (as we told you). When you take a closer look you can see that it is a PSU tester (from the writing on the box).
 |
 |
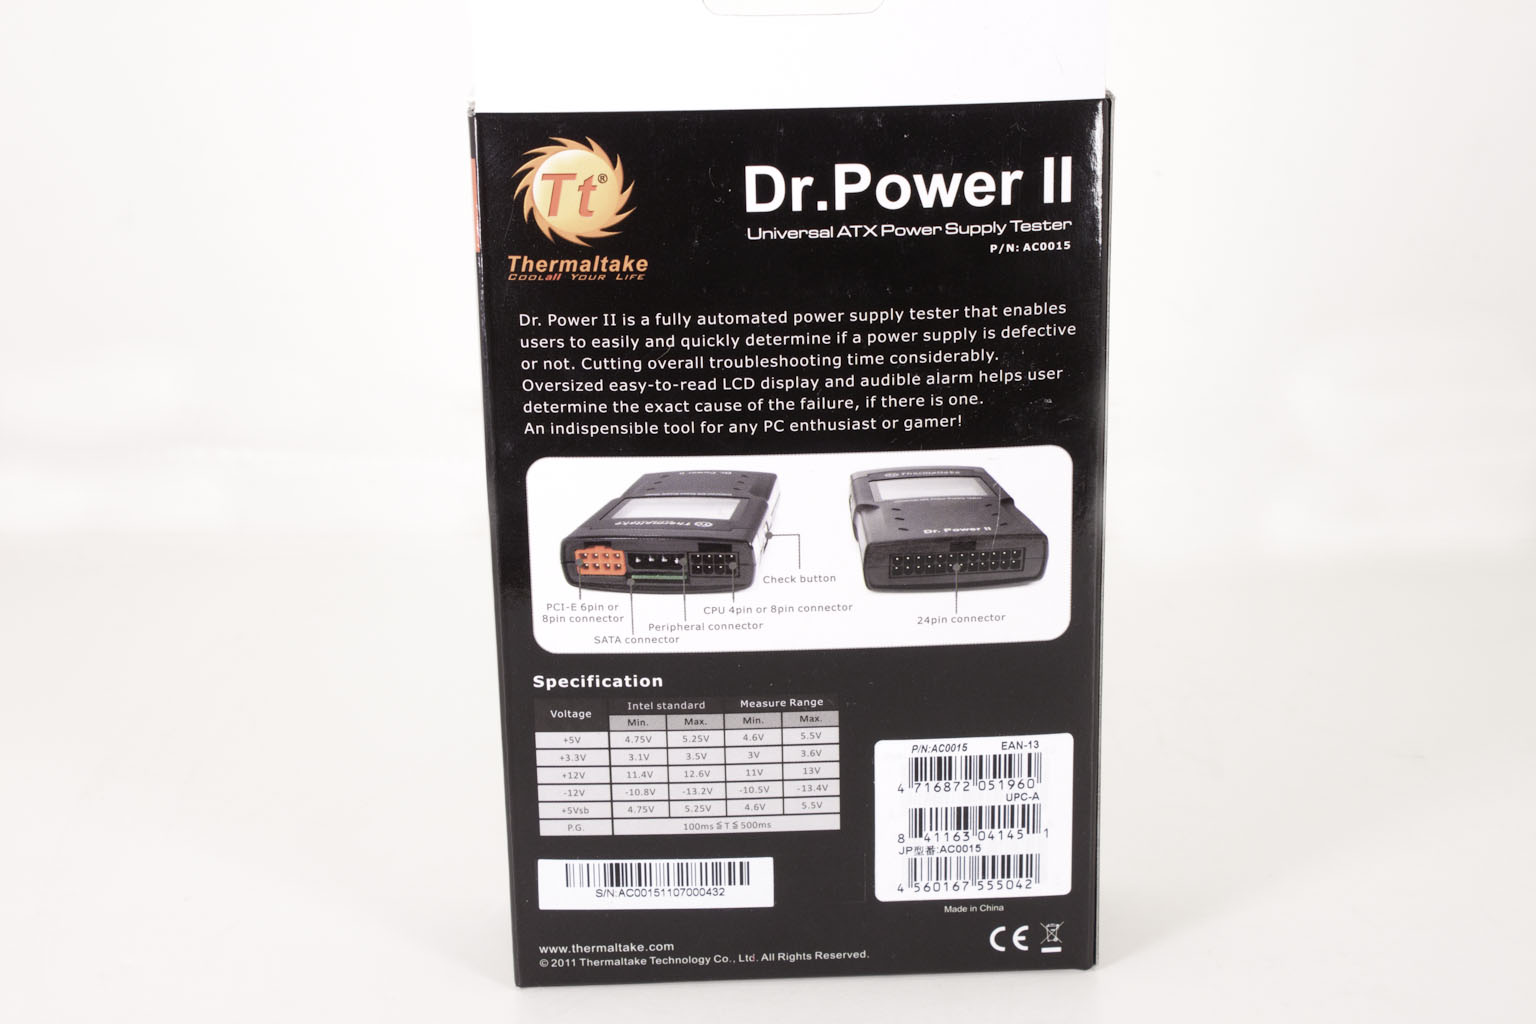
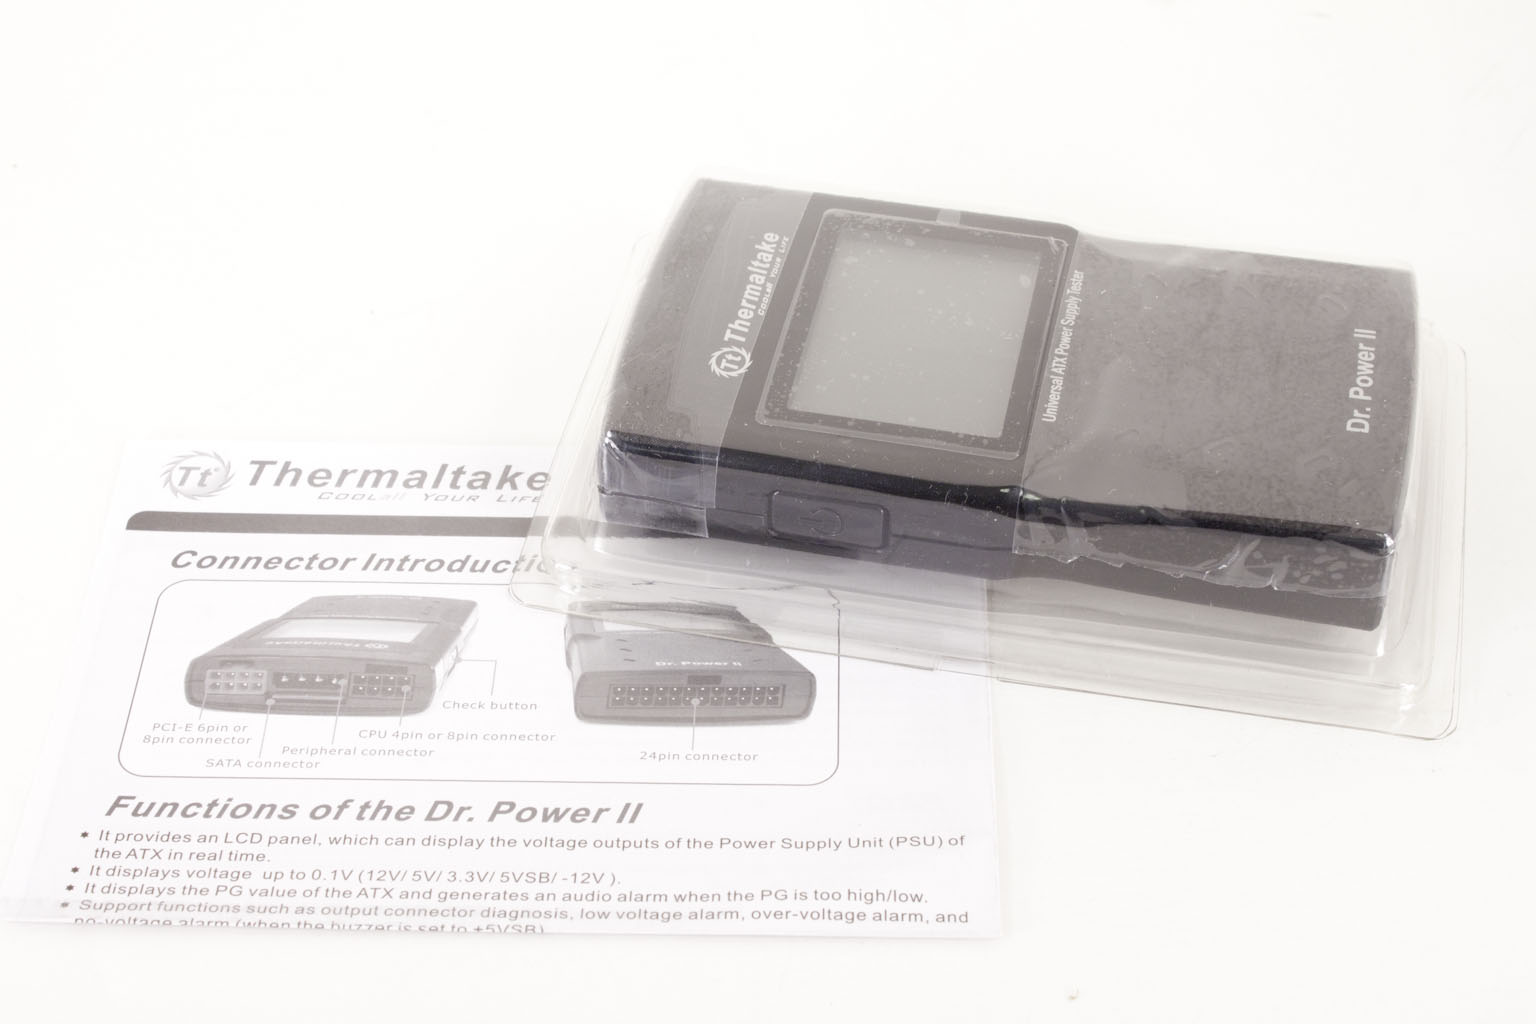
Flipping the box around we find a picture and text describing what the Dr. Power II does and what it supports. There is also a handy little chart to show you what your expected ranges are for the Intel ATX power specification. Once you get inside the box you find everything you need to get things going; the Dr. Power II and a quick start guide.
 |
 |
The Thermaltake Dr. Power II -
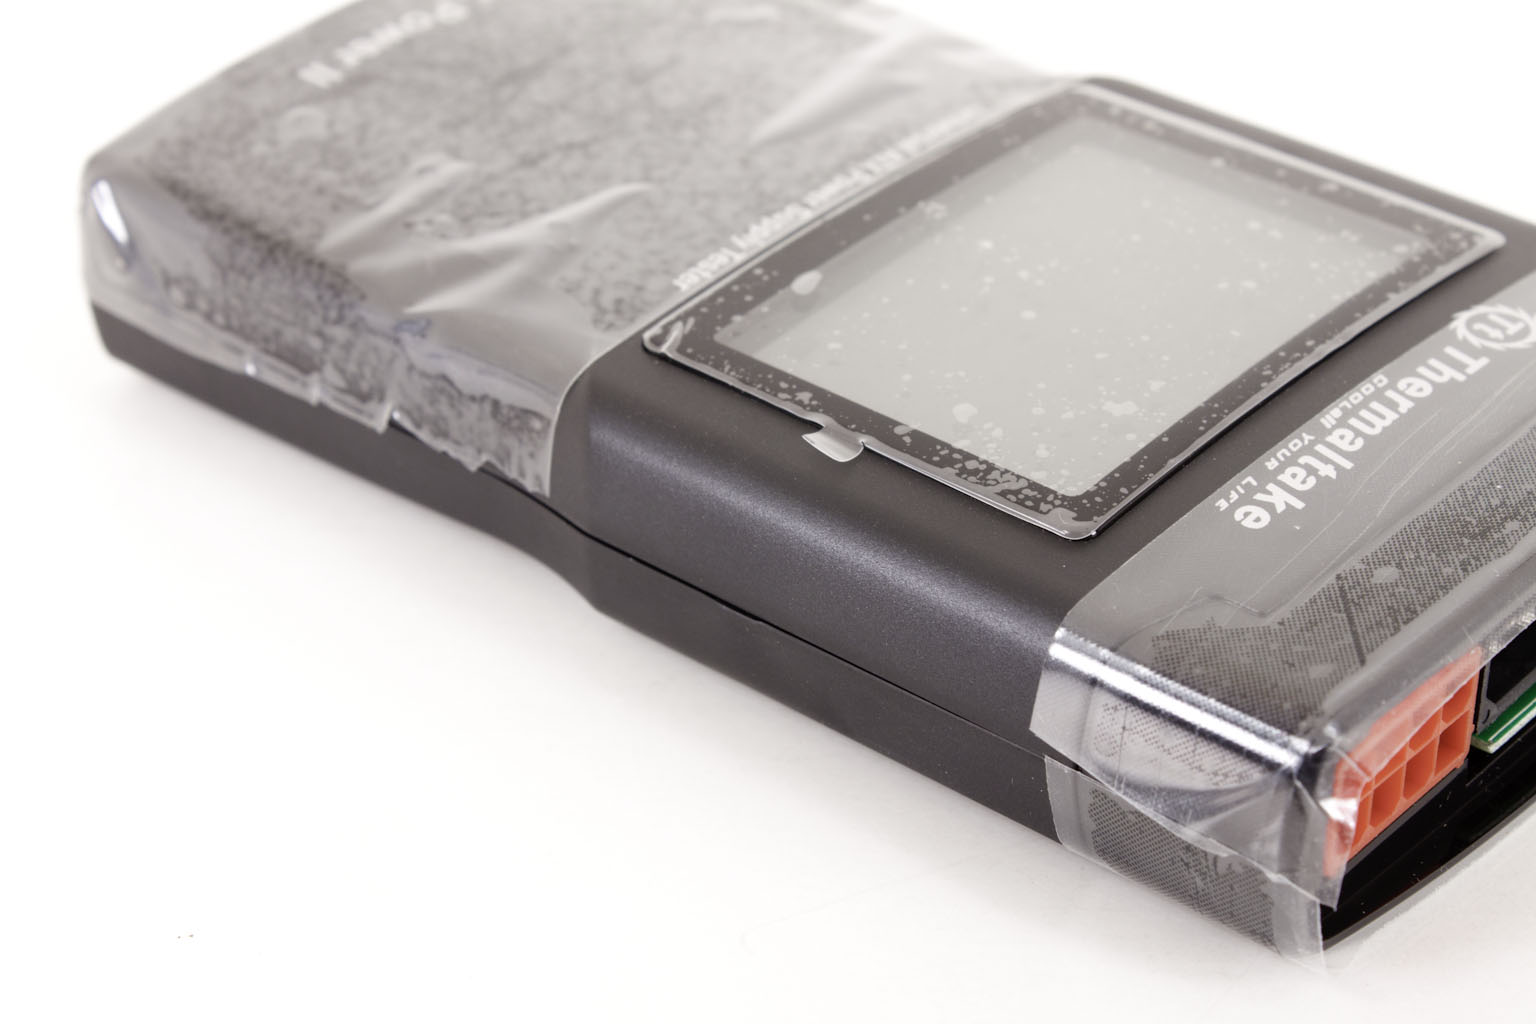
The Dr. Power II is a hand sized unit with a plastic outer shell. On the front is a large LCD screen (you can guess what that is for). Along the left side of the Dr. Power II is a power button that is used to kick on the PSU and also begin the testing cycle.
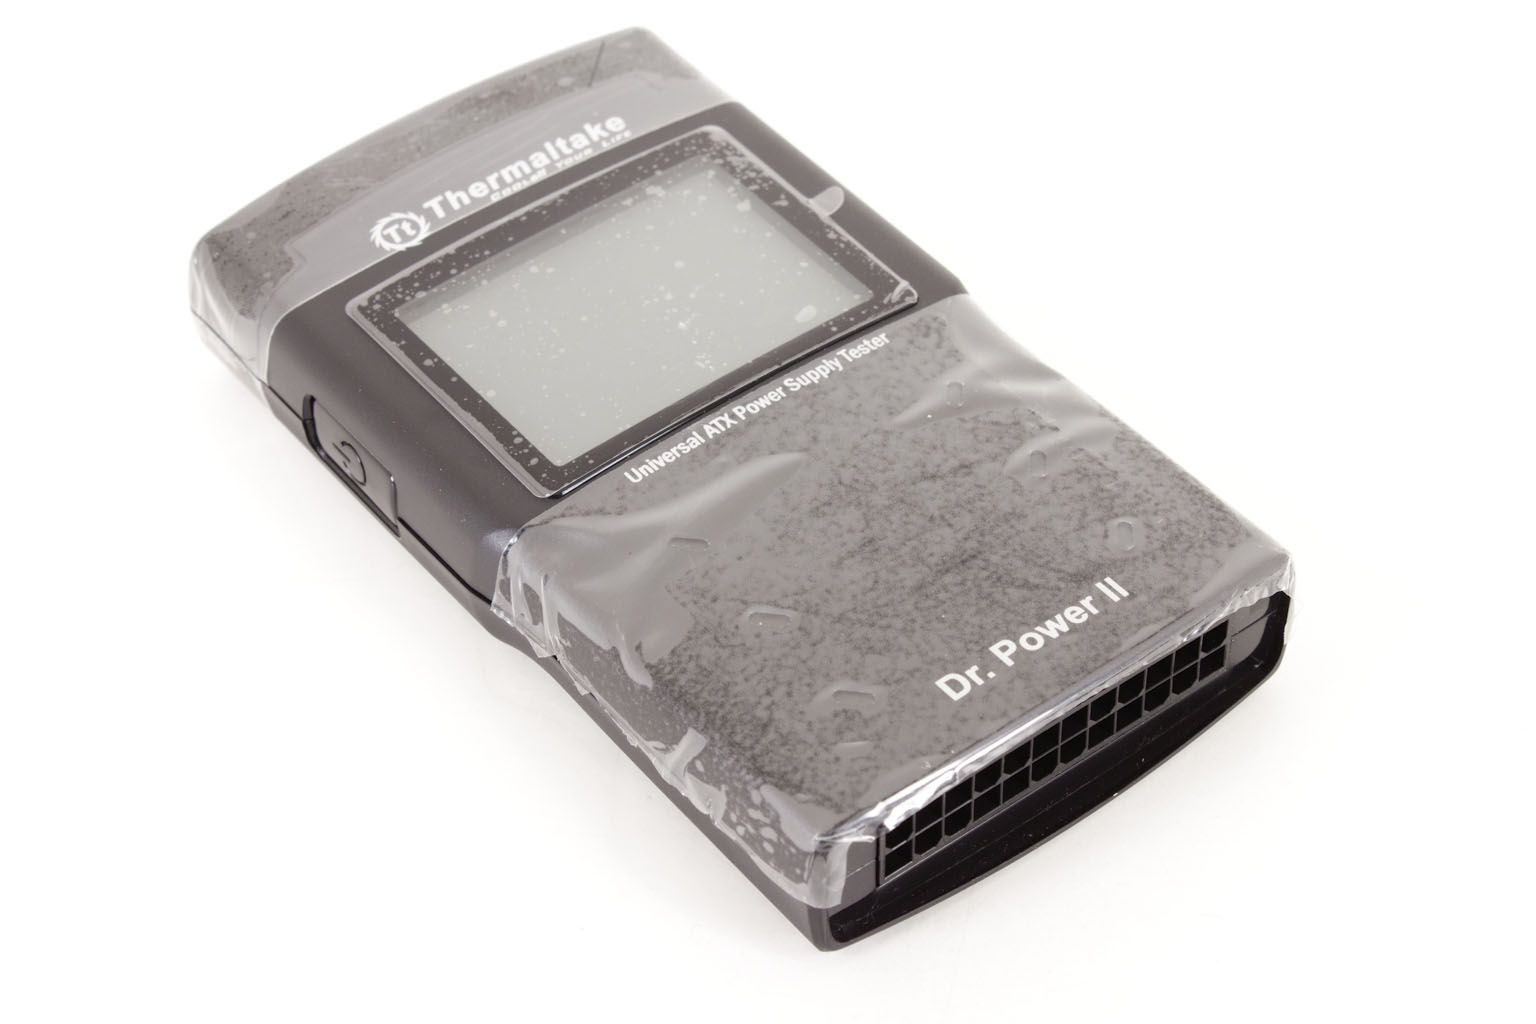
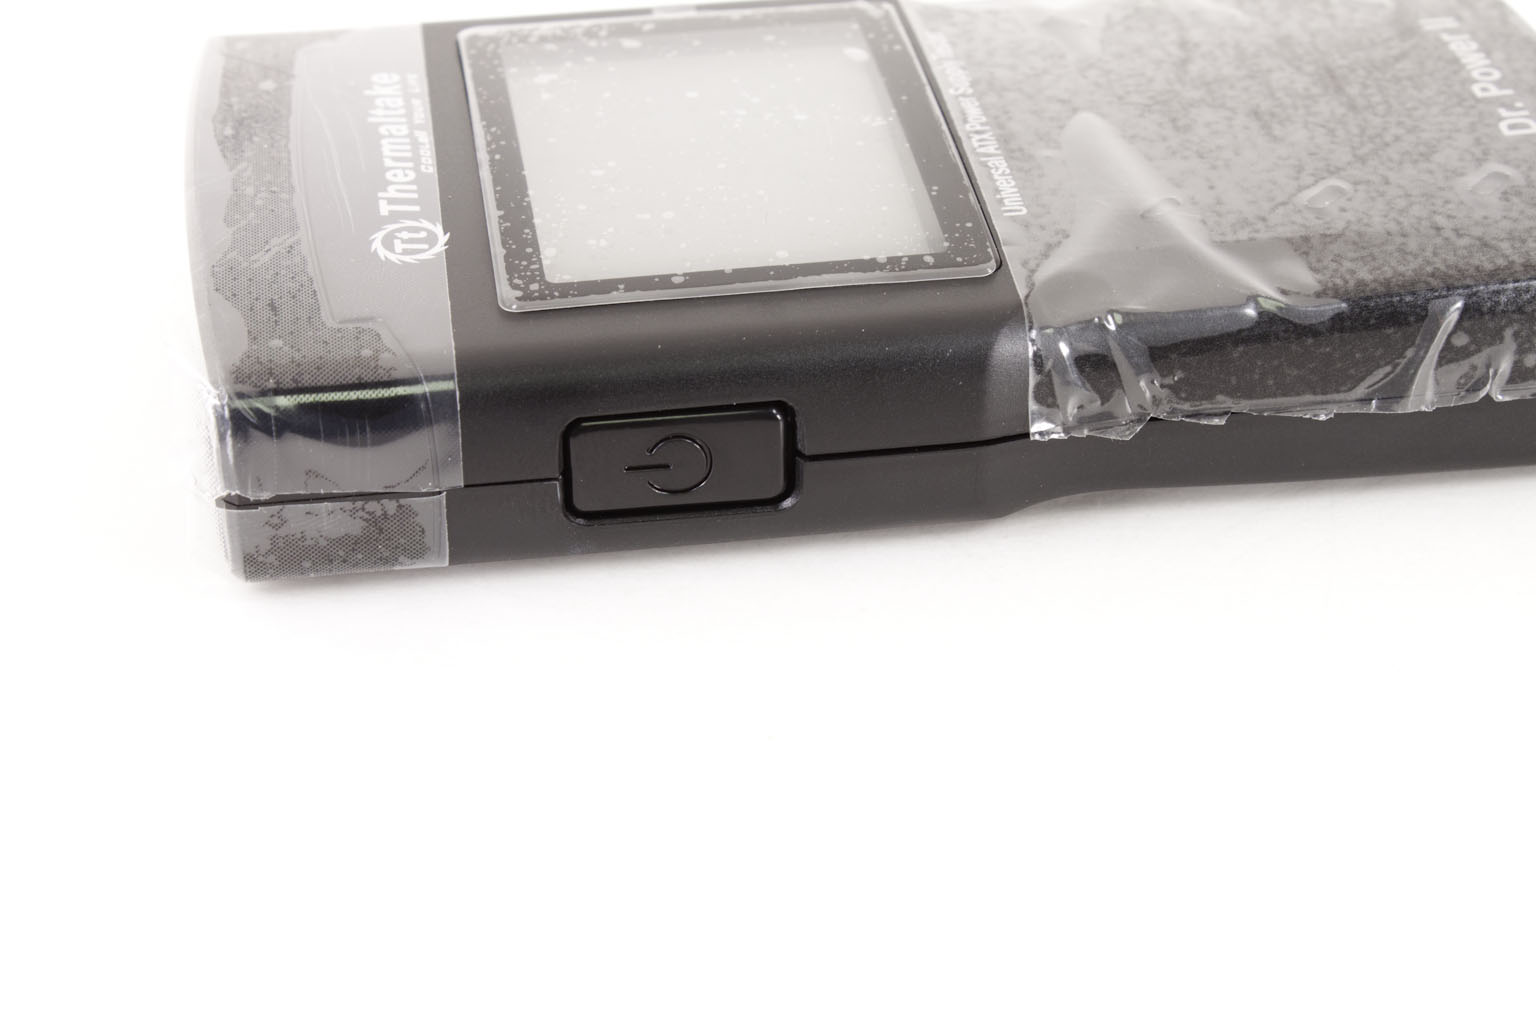 |
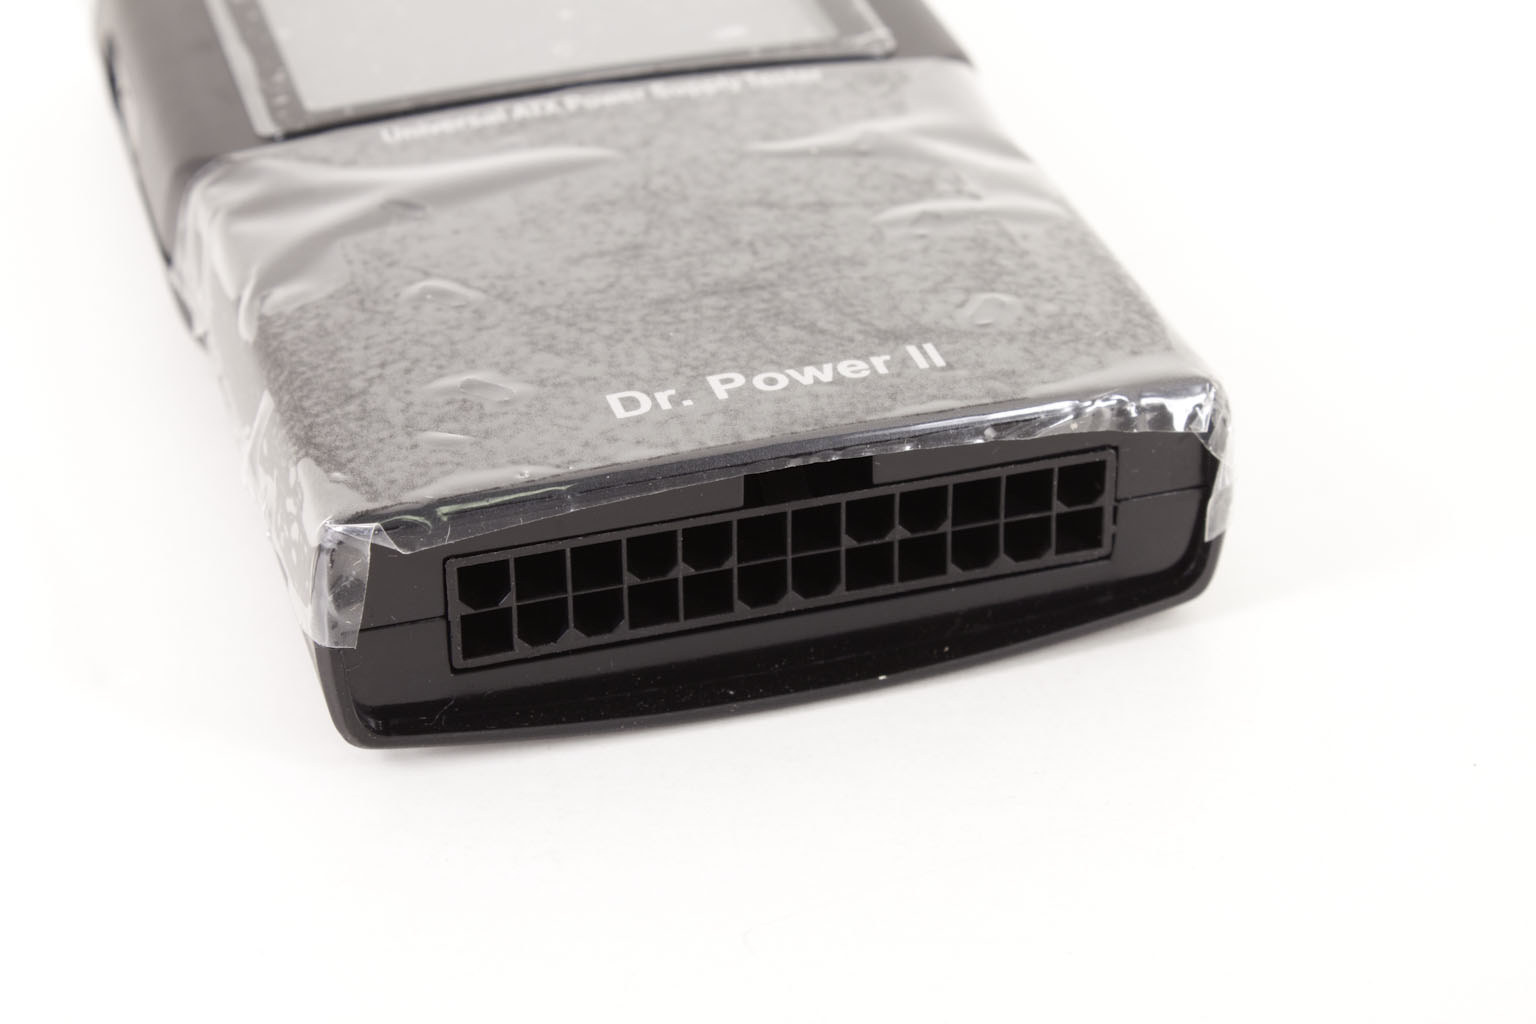 |
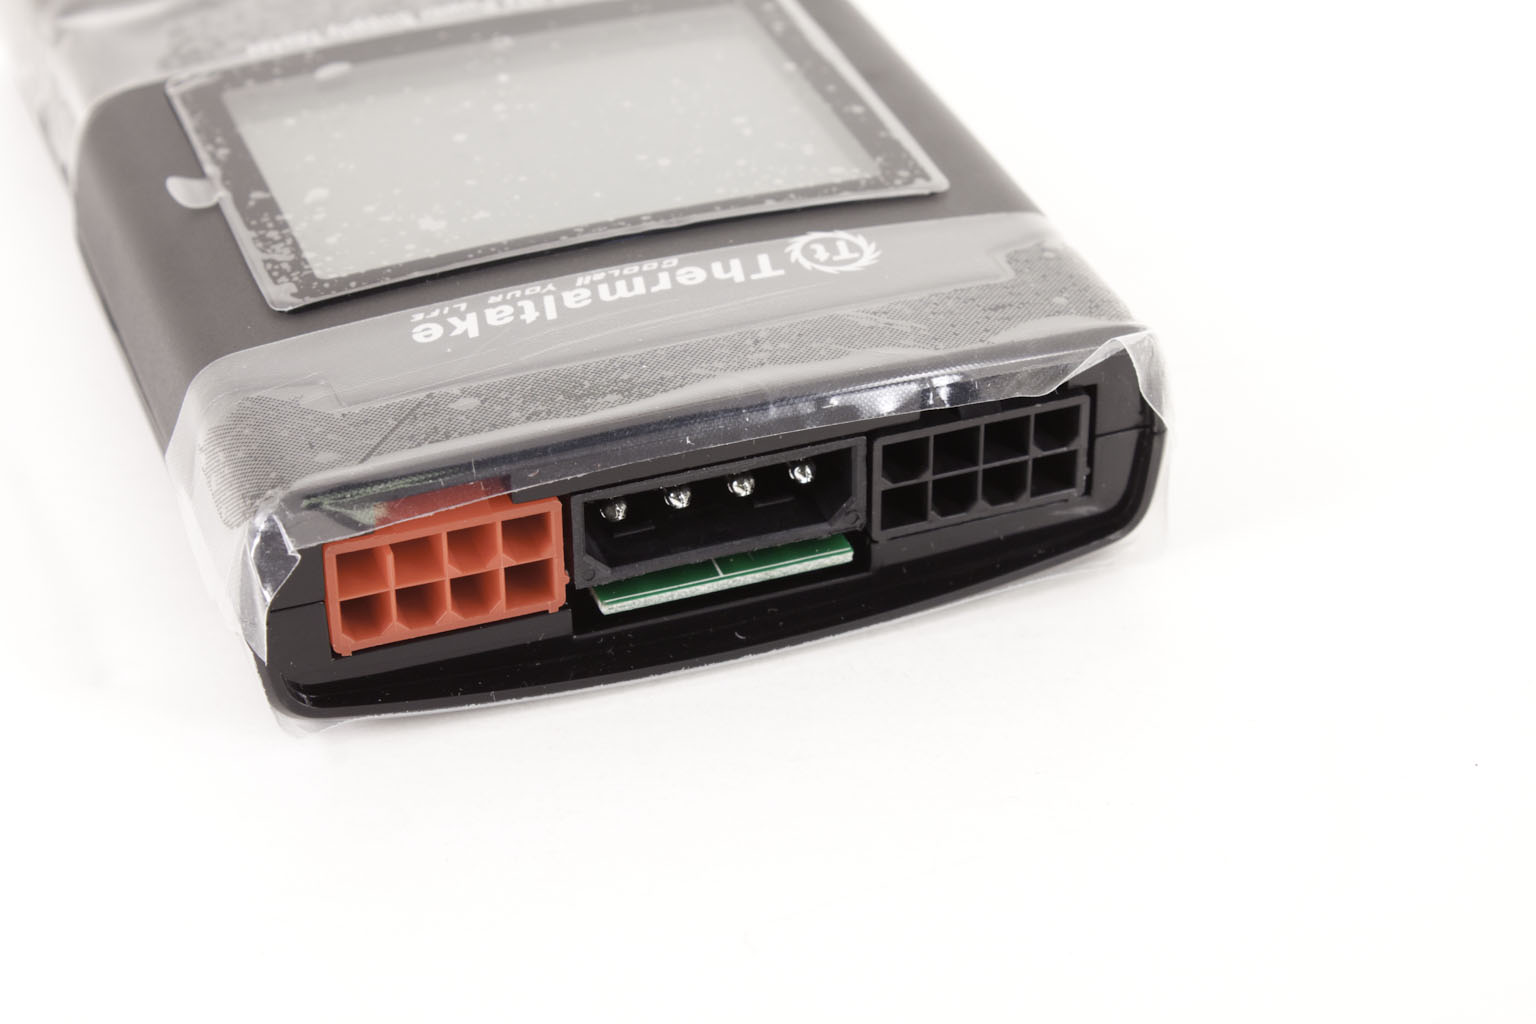
Looking at the bottom we find a standard 24-pin socket which will fit any ATX power supply on the market. One the opposite end you have sockets for 8-pin ATX Aux power, 8-pin PCIe power, four-pin Molex, and SATA power. To run this you only need to have the 24-pin power plugged in, but you can also load up all of the other sockets when you test.
 |
 |
 |
That really is all there is to this product. Thermaltake has kept it simple and easy to use; now let’s see how well it works.
Performance -
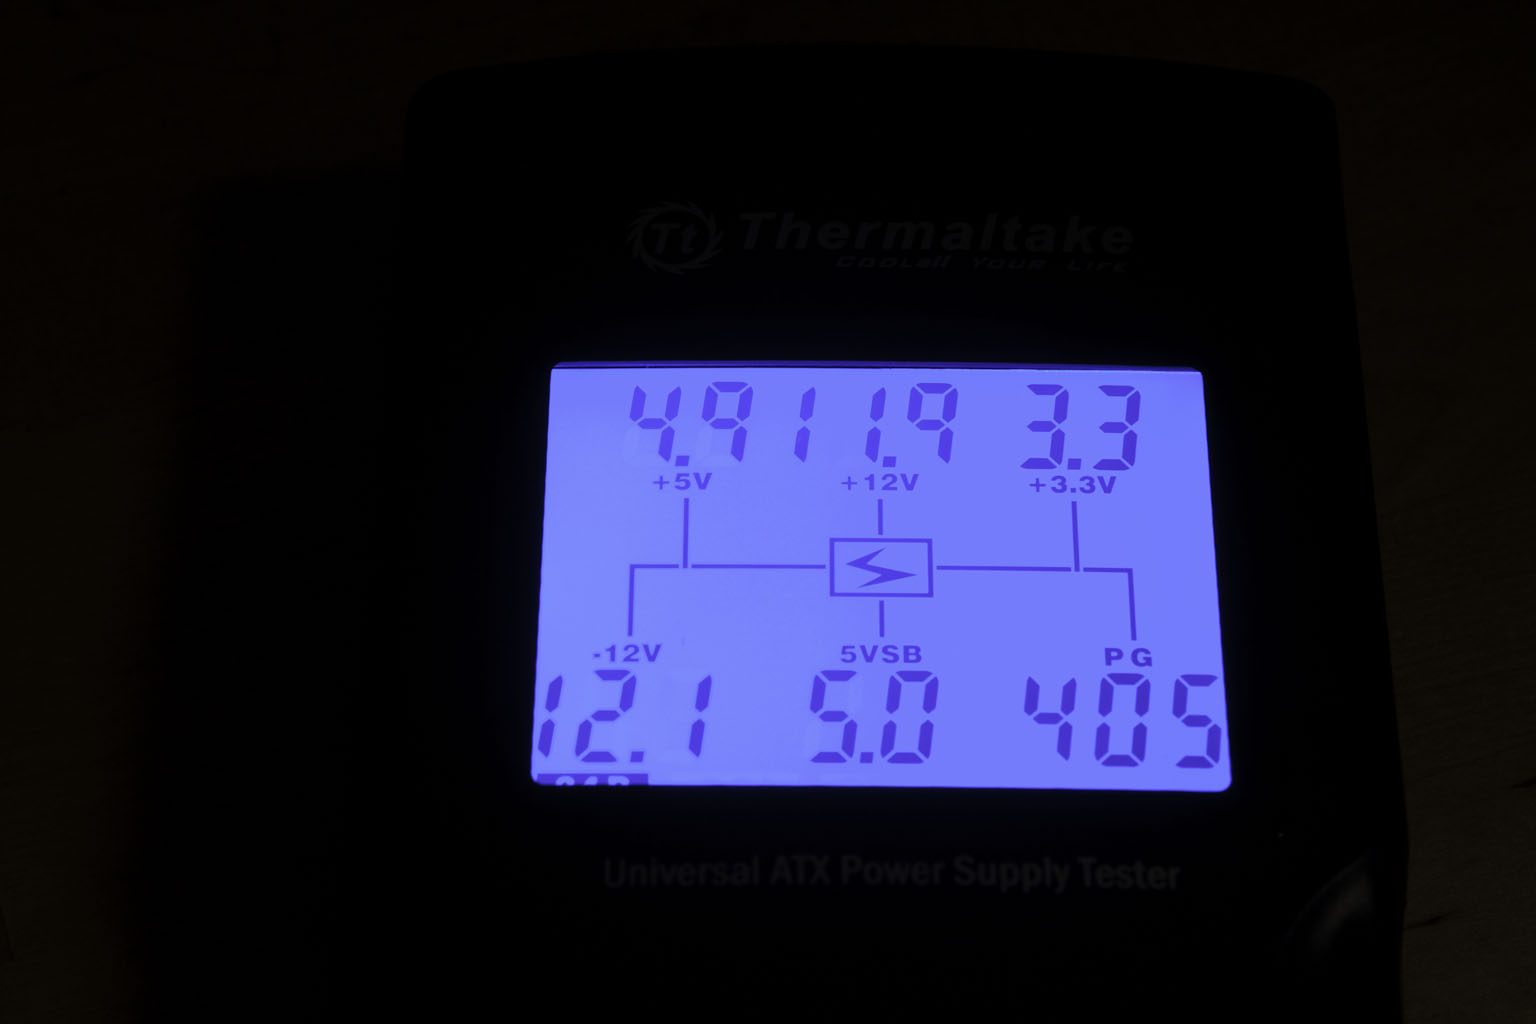
Testing the performance of the Dr. Power II was very easy to test. I simply plugged it into one of the Corsair AX1200 Gold PSUs and pushed the power button. At once I was given a visual indication of what kind of voltage that the AX 1200 Gold was putting out from the 24-Pin power line. As you can see from the picture below everything is well within specification. 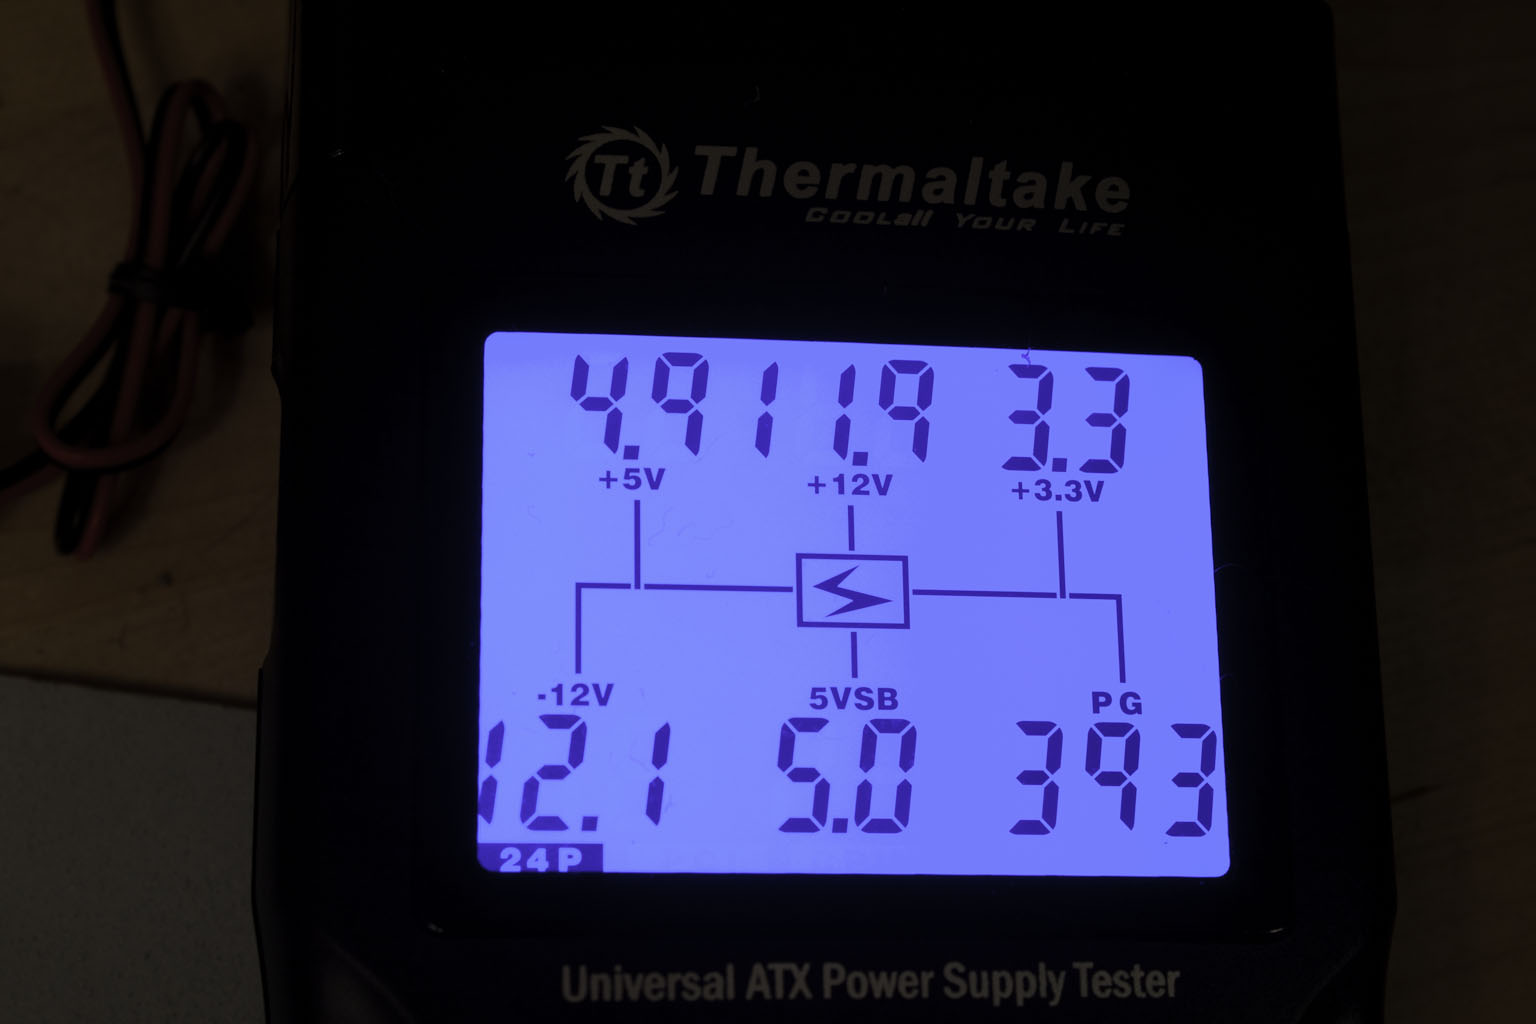
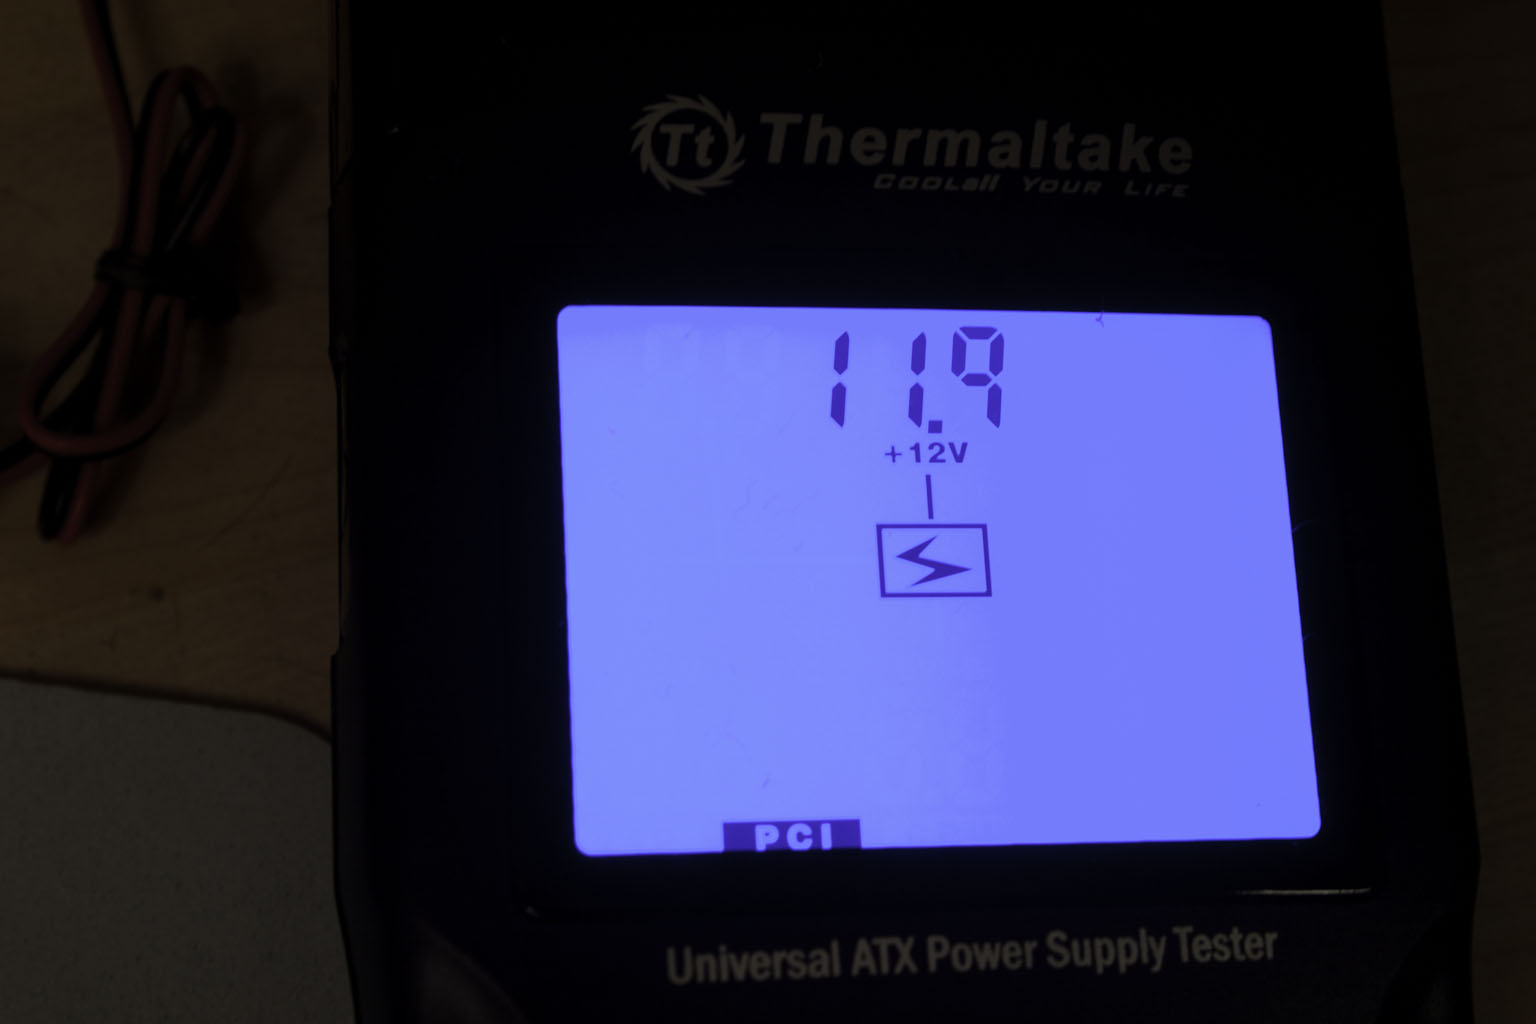
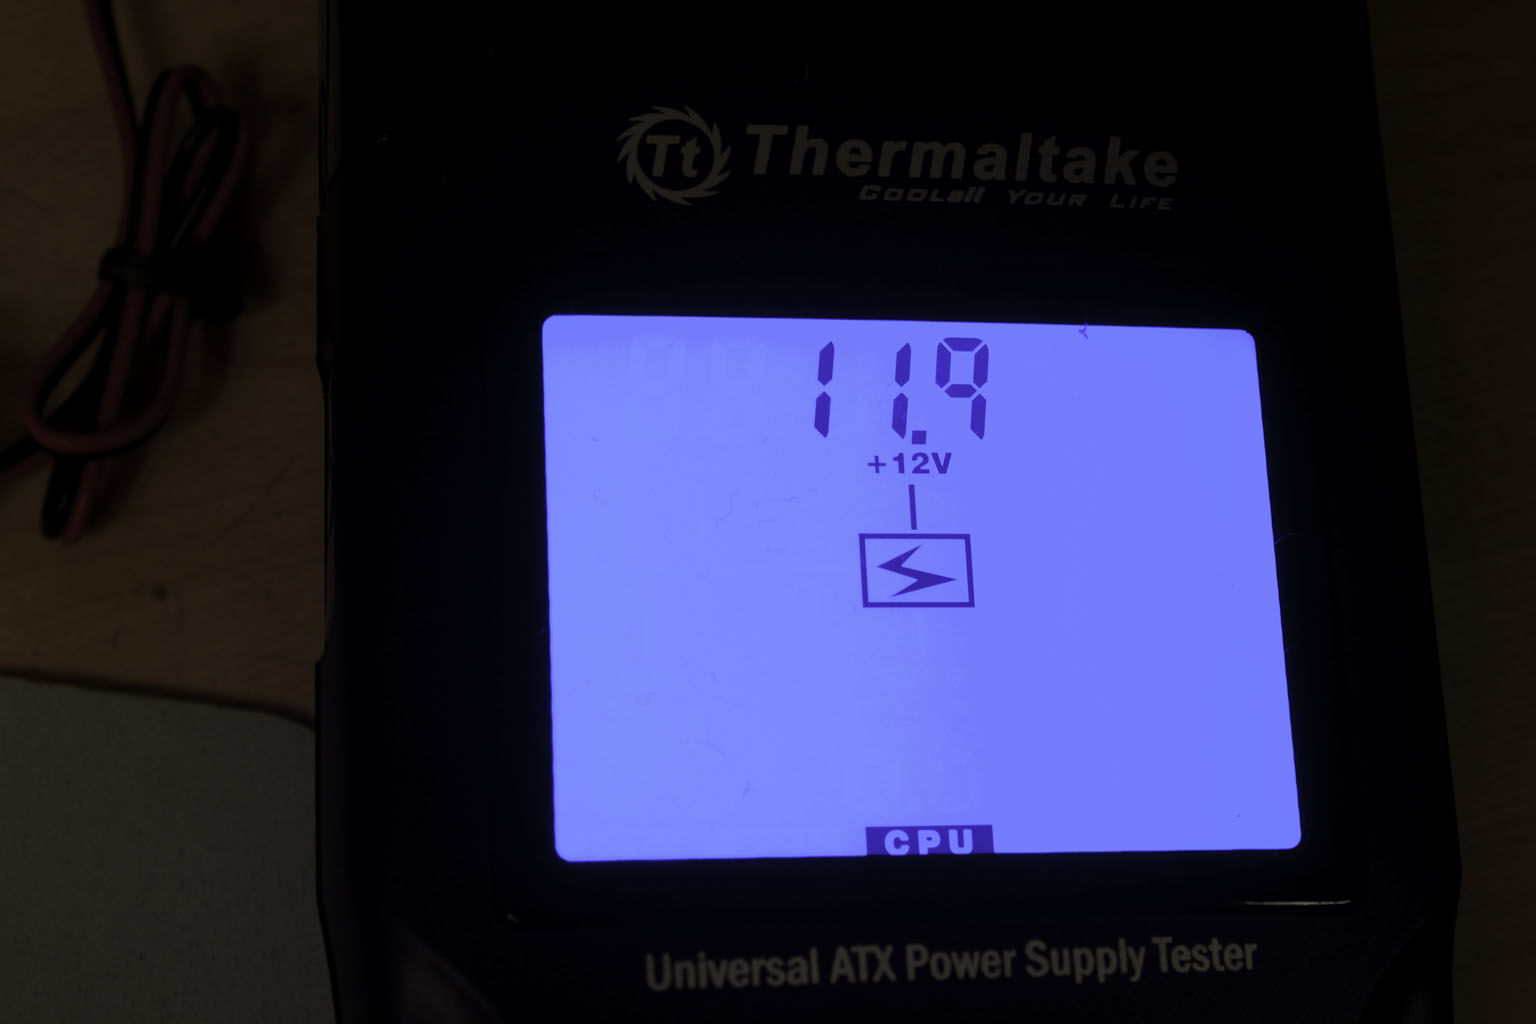
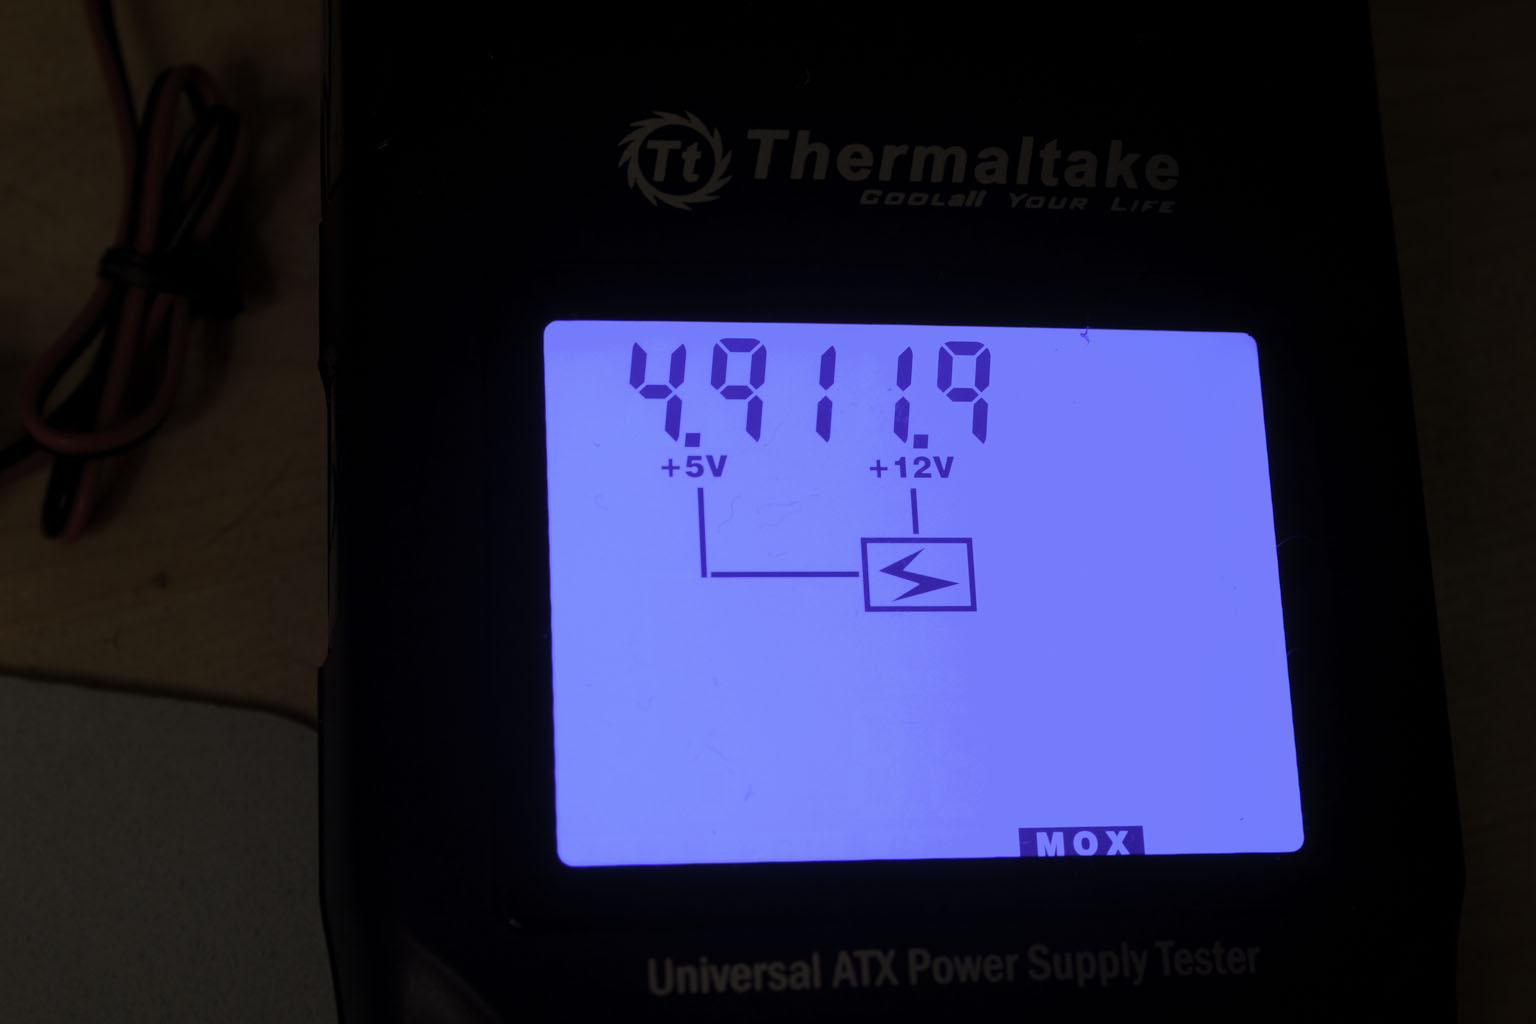
To check out other items that are plugged you just have to press the power button once. This will let you cycle through the individual connections and see what each one is doing. In the shot below you can see that the PCIe cable we chose is putting out a nominal (average) voltage of 11.9. Again this is right in specification. When you get down to the Molex connector you get both the 12v and 5v readings. It is very handy if you are looking at voltages only. However, there are a couple of things that I do wish it was able to do; I would love to see the amperage output on the individual lines as well as an option for aggregate power. Unfortunately this kind of testing is rather expensive to put into a small product like the Dr. Power and would have pushed it well beyond the $40 price tag.
 |
 |
 |
Value -
Value is another very subjective topic. What is expensive to some might be a deal to others. You can look at this topic in multiple ways. One is raw price and the other is what you get for the money. Each is accurate and both are correct ways to look at price/value. We tend to look at features, performance and real-property when we discuss value. However, we also take into account the raw cash cost of the item. As we have told you (more than once) the Dr. Power II will set you back $40.00. This is pretty good when you consider that a good digital multi-meter is going to run you about $80 and then you have to identify all of the voltage read points all on your own (unless you have an overclocking board). When you consider this and the ease of use you get then $40 is not bad at all.
Conclusion -
One thing that is a pain is trying to figure out if your power supply is putting out the voltage that it is supposed to. Thermaltake’s Dr. Power II gives you a quick and simple way to make sure that you are getting the voltage you are supposed to from each of the individual rails (or rail) in your power supply. We do wish there was more controls to see aggregate power and amperage, but we know to get those we would have to spend considerably more. In the end we found that Dr. Power II very easy to use and a cool device to have on hand and really with a $40 price tag it is something that is well within most peoples’ budgets.
Discuss in our Forum


