The Layout -
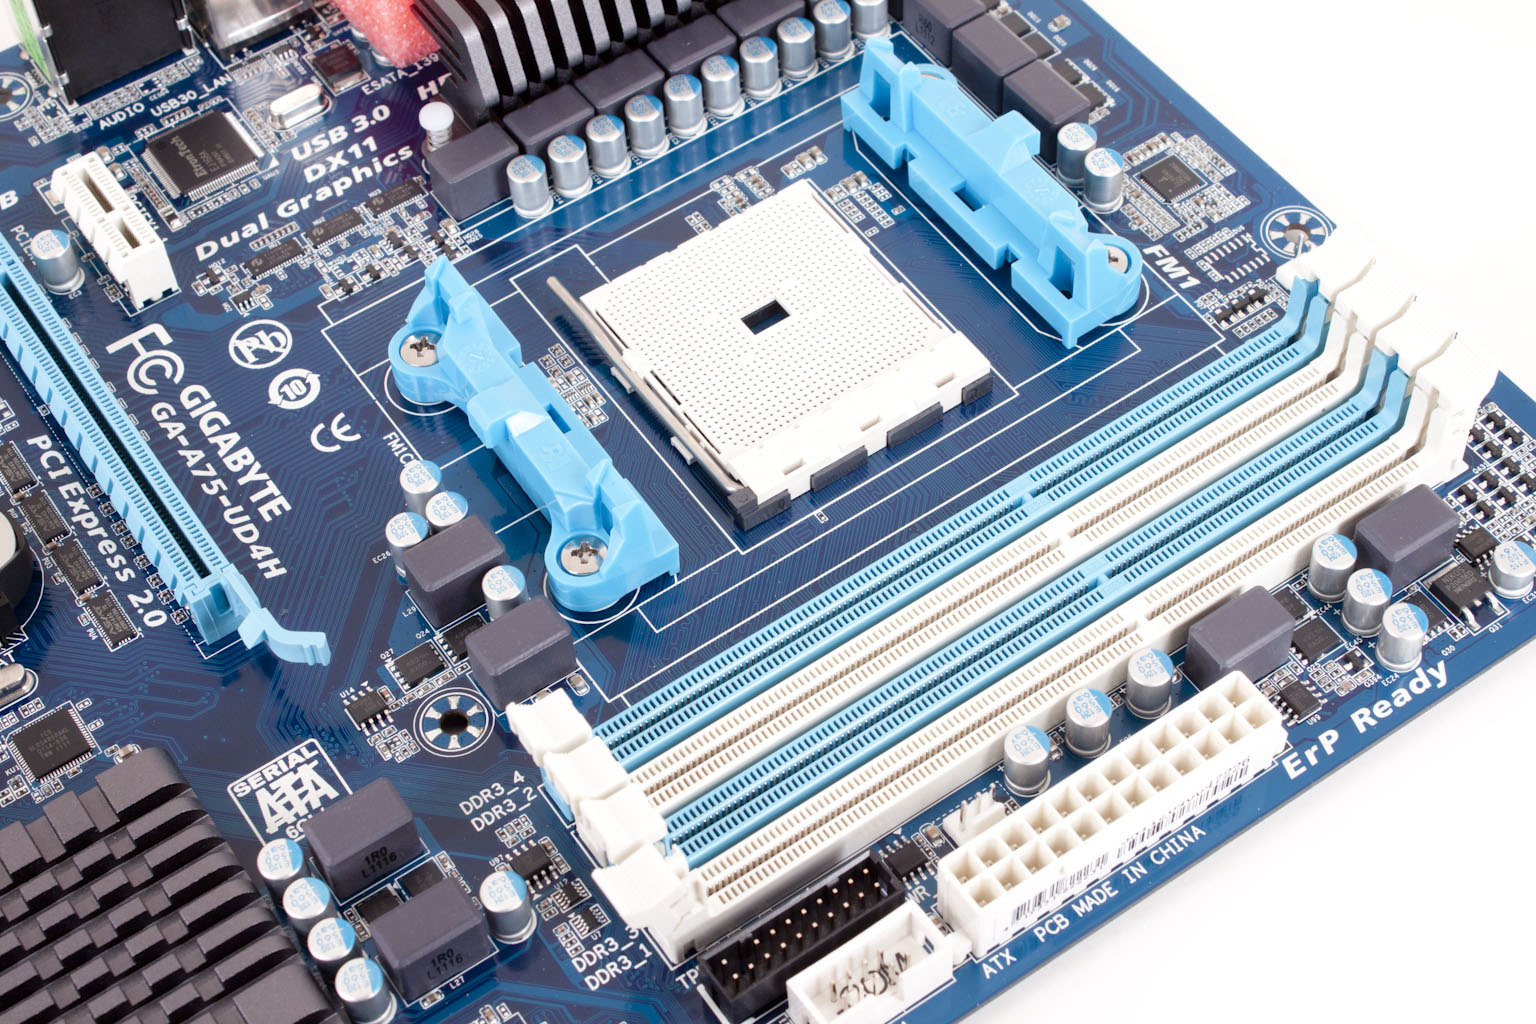
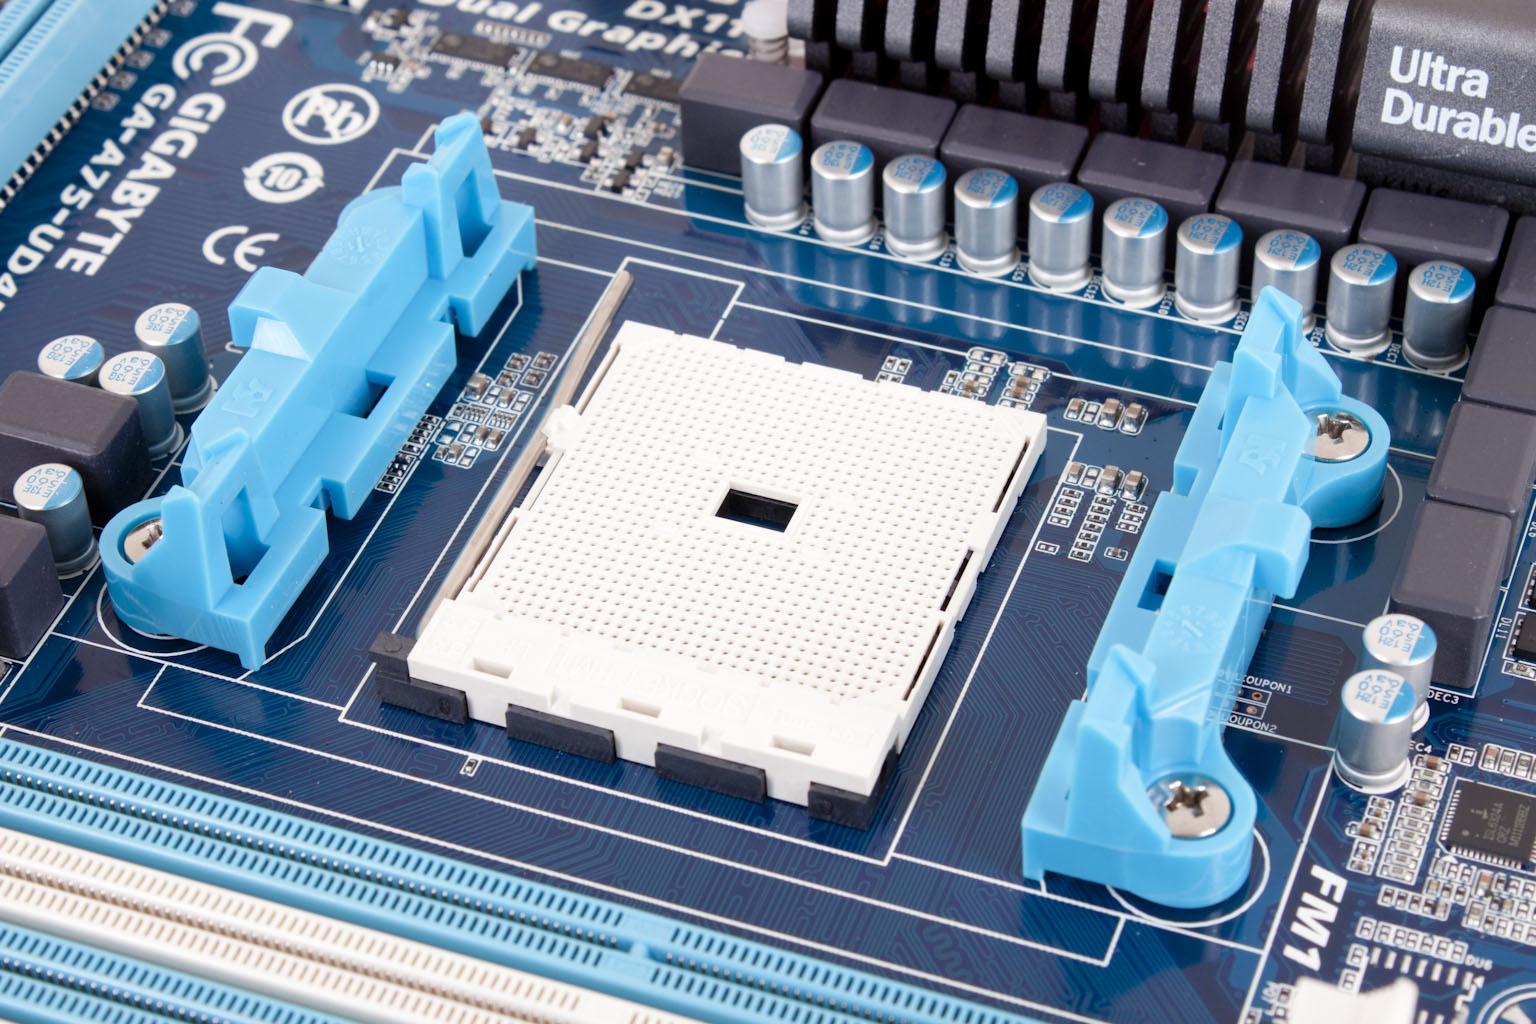
The layout of any motherboard is important. Even simple mistakes in component placement or the signal traces can cause major issued in performance and stability. With the ATX form factor we find that this is even truer; the devices we drop onto them demand more and cleaner power while the signal speeds push faster and faster. The A75-UD4H is a regular sized ATX motherboard with all of the normal trimmings. A look at the general layout shows us that while this might be an entry level board you have some options that are not restricted by this. Taking a closer look at the CPU socket we are reminded of the old socket 754 for AMD with the small opening in the center of the ZIF socket. We also find the same new trend of removing the sides of the heatsink mount. 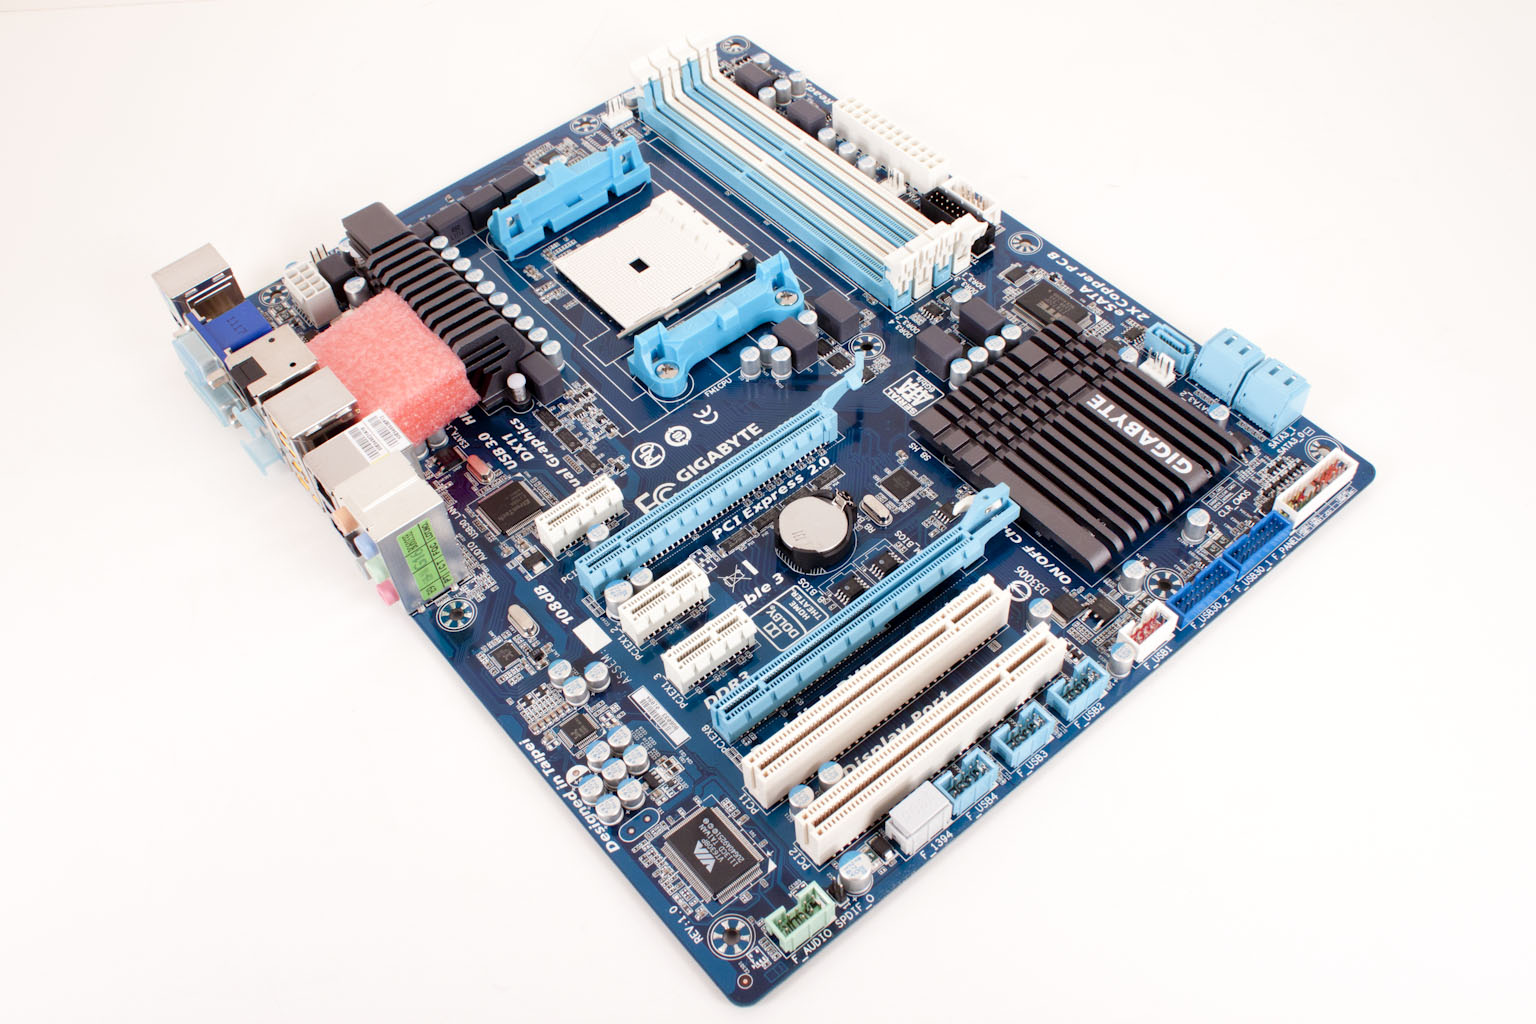
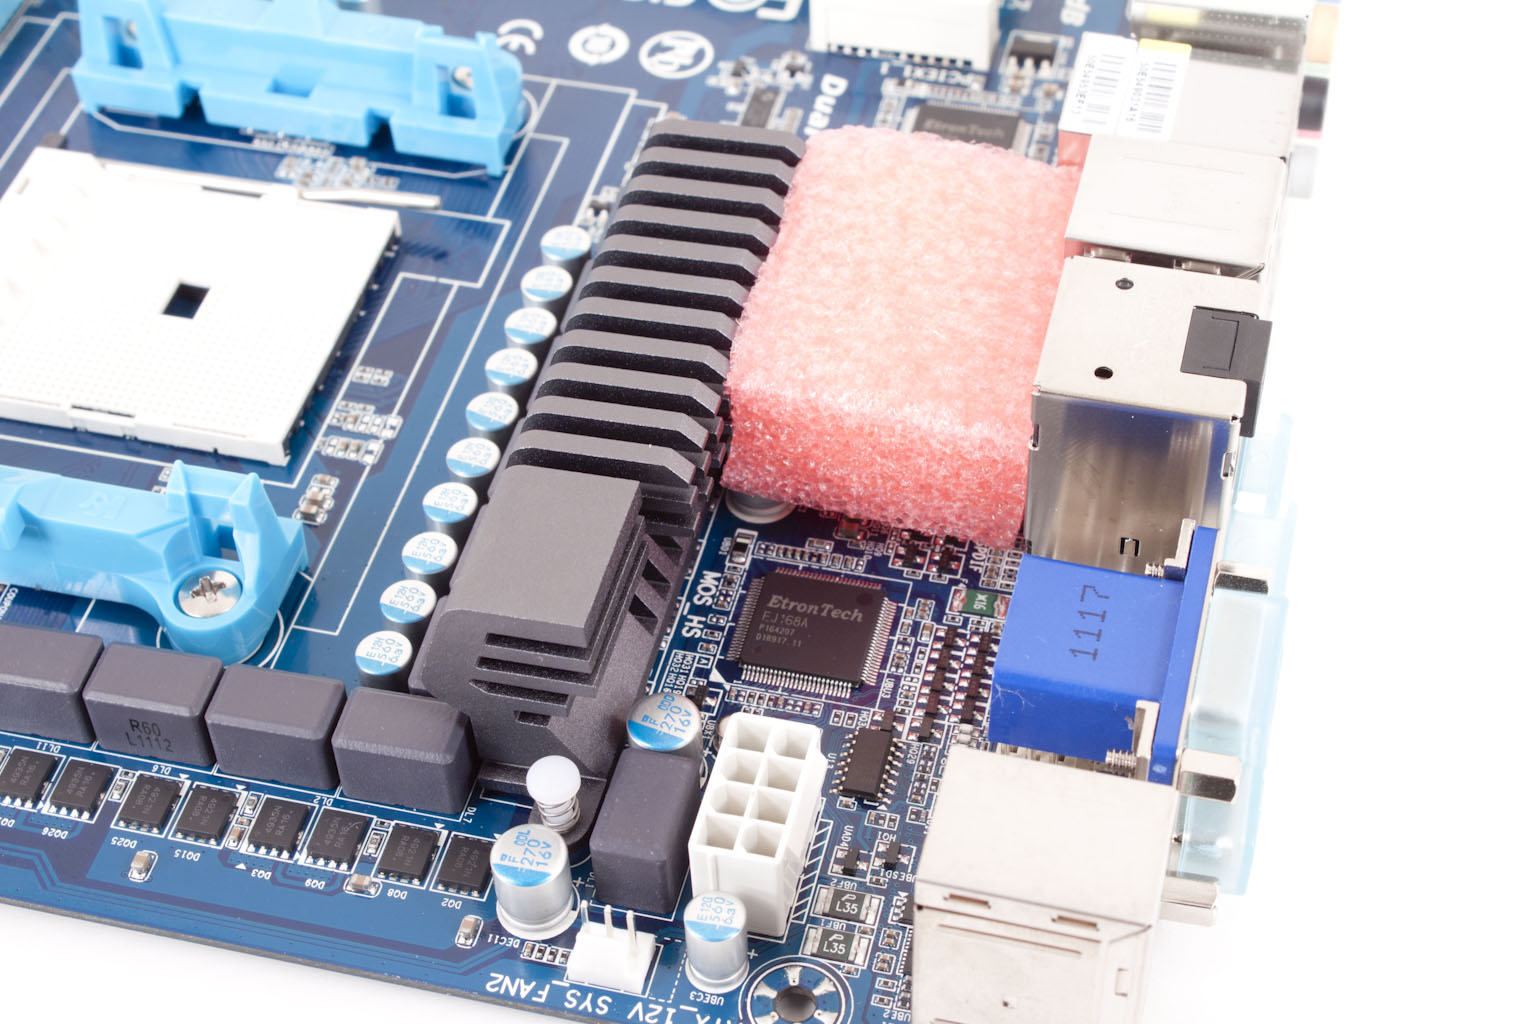
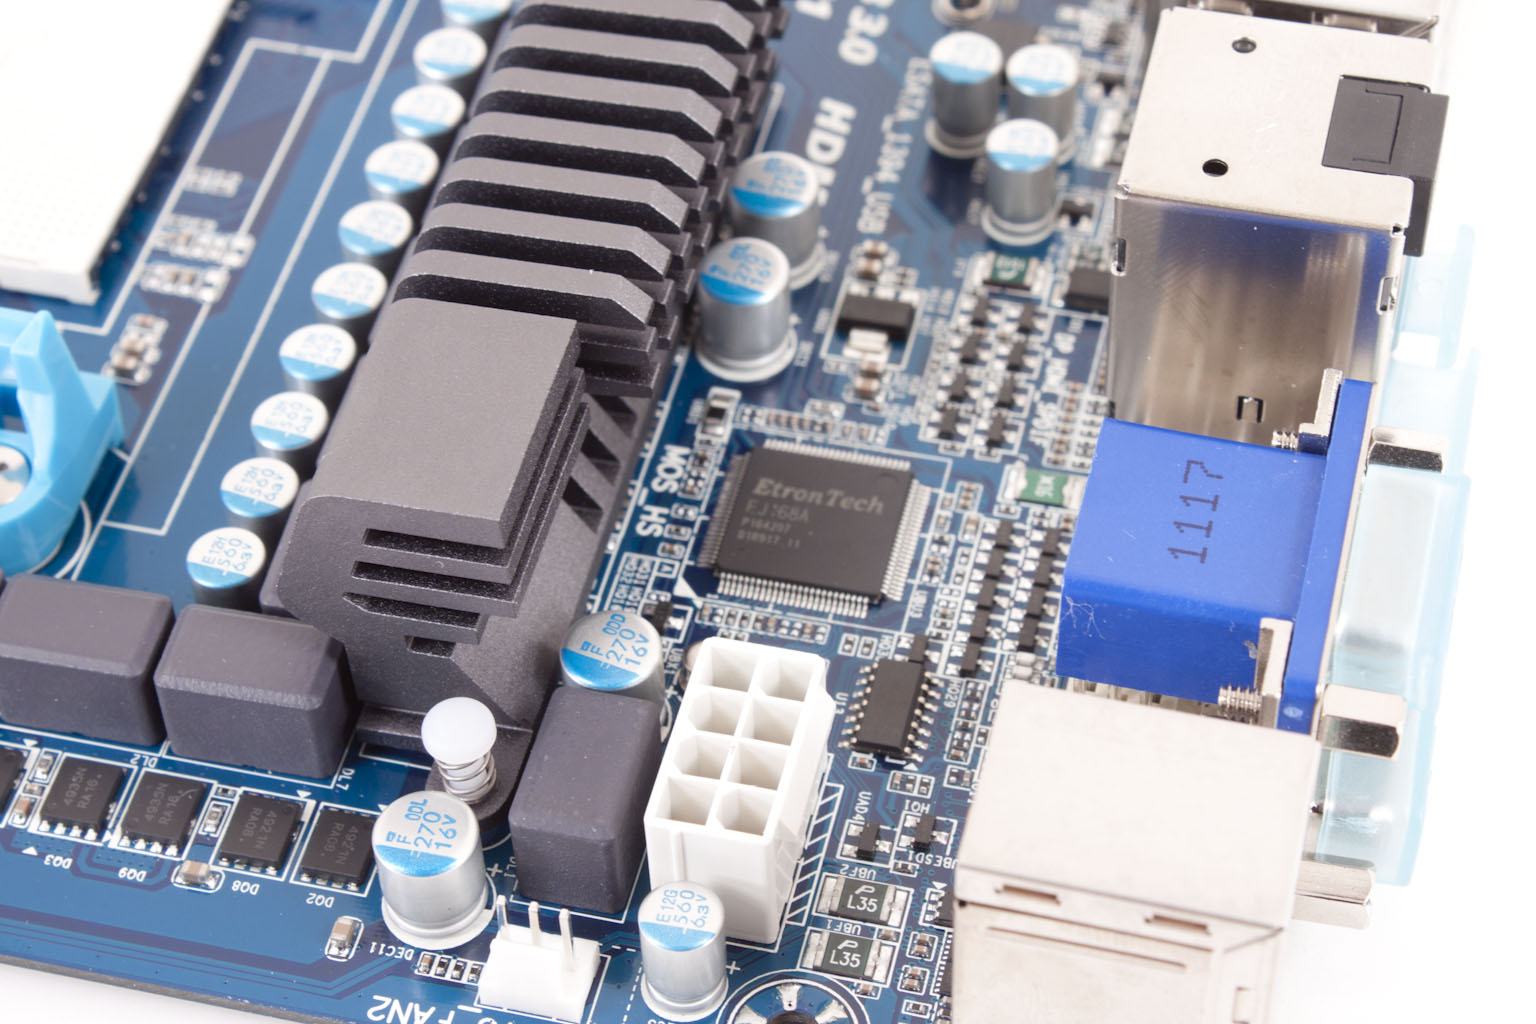
Gigabyte has arranged the power regulation in a line behind the CPU socket. You do get the new style cooling that Gigabyte has been using (which is a good thing). Surprisingly there is quite a bit of room between the power regulation and the I/O ports. In this space we find the 8-Pin Aux power connector and an EntroTech USB 2.0/3.0 control chip. The placement of the 8-Pin aux connector allows for quite a bit of room. This will make people like me with thick fingers very happy as it means no lost knuckle skin.
 |
 |
 |
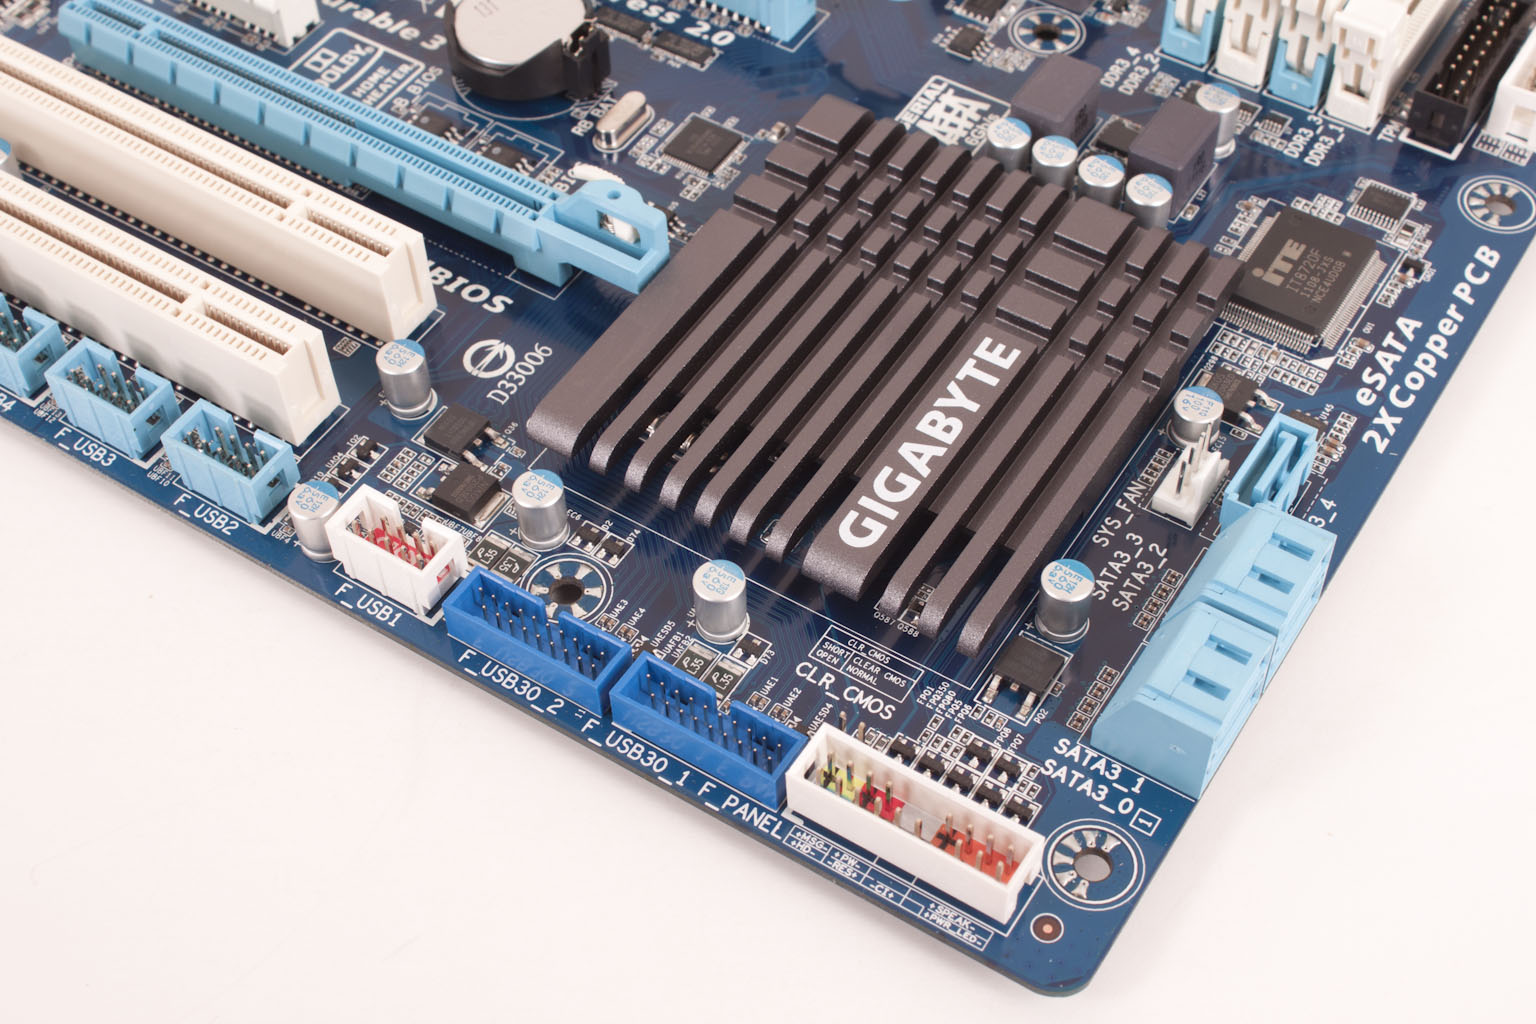
Moving down the board we come to the peripheral slots. Here you have three PCIe x1 slots and two PCIe x16 mechanical slots although only one is x16 electrical and when you have both slots populated they both operate at x8. You also get two legacy PCI 2.0 slots for good measure. Along the bottom edge of the board you also get two USB 3.0 front headers. The A75 chipset is covered by a nice low profile heatsink. This manages for keep out of the way while also keeping the chip here cool.
Interestingly, even though this is considered an entry level product you are still getting 5 SATA 3.0 ports. Flipping around to the I/O ports you get a view of the nice array of video out options. Gigabyte has included a 15-pin D-Sub VGA port a DVI-D port, HDMI and DisplayPort just to round things out. For good measure Gigabyte has also thrown in four USB 3.0 ports, 2 USB 2.0 ports, a 1394 Port, e-SATA 3.0 port and the output options for their 108db Signal to Noise Ratio Audio CODEC.
 |
 |
As you can see the board is very simple, but surprisingly complete. We are pleasantly surprised at the options we have for building a system here and cannot wait to see what we can do with the A75-UD4H.

