BIOS -
BIOS is an acronym that stands for Basic Input/Output System. It is meant to control your product at a very low level. As of right now there are three regularly used BIOS formats (there are actually more than that but there are three common ones). These are the AMI (American Megatrends Incorporated), Award, and Phoenix. The BIOS on the P8Z77-M Pro is Asus’ implementation of the UEFI standard and like what we have seen on other motherboards it is clean and responsive. Check out our video of the BIOS in action on YouTube.
Overclocking –
The Asus P8Z77-M Pro was a little tricky to overclock. Unlike the other two boards we have tested with our Core i7 3770K we had to tweak the IGP voltage to get stability at anything over 4.6GHz. It was not a big tweak (0.01), but it is important to not if you are looking to push this board. Once we identified this we were able to hit the current maximum on our Core i7 3770K of 4.8GHz. As we noted in our review of the Core i7 3770K we feel the majority of the limitation here is certainly in the CPU at the moment due to the die shrink and everything that goes with it, still 4.8GHz without much effort it still not bad. 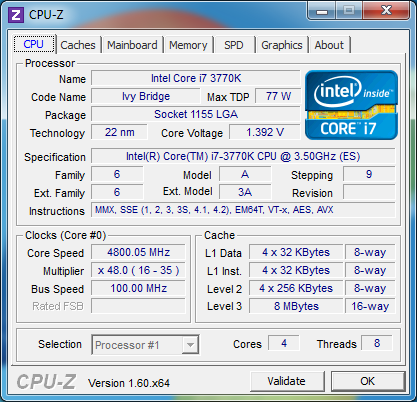
Of course overclocking is a picky subject. I can buy to identical CPUs from the store and they will not always perform the same way under stress. This is the same with motherboards, RAM and GPUs. So again it is important to keep in mind that our results represent a specific hardware configuration. Yours may be similar but will rarely be identical.
Overclocking Tools -
As with other Asus board the suite of tools that you use to overclock the P8Z77-M Pro is Ai Suite II. This contains many applications that were separate not that long ago. You have items like TurboV EVO, Digi+, and more all in one package. We will cover the ones that relate to overclocking here starting with TurboV EVO. 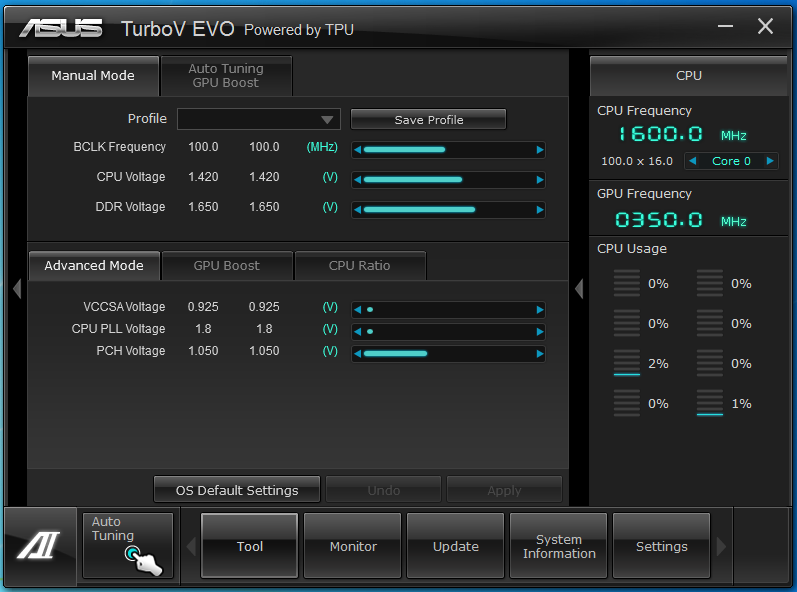
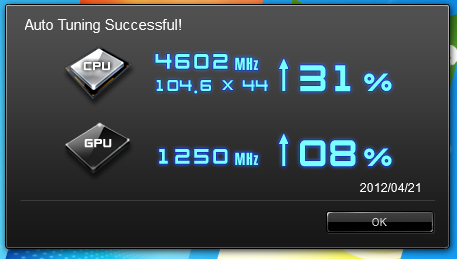
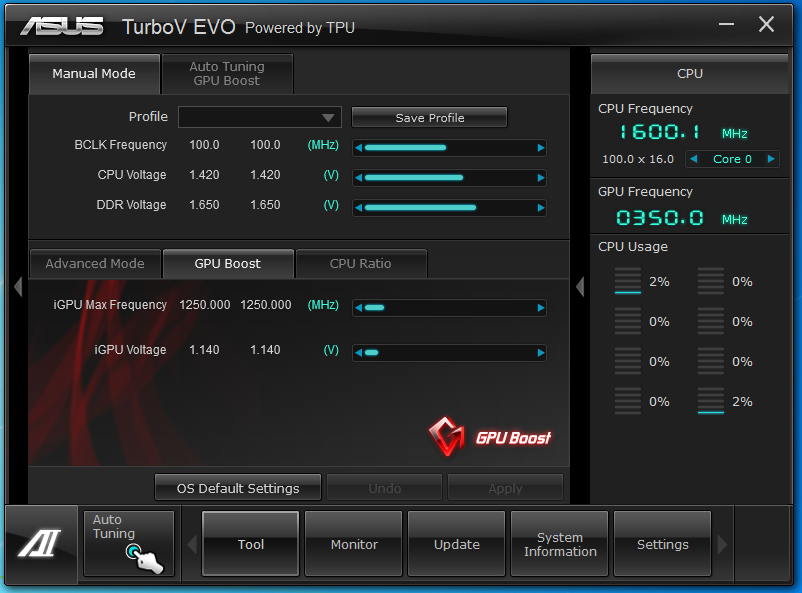
Over the years we have watched as Asus has improved their Windows based overclocking tool and are seeing the culmination of that work. Here under TurboV EVO you have a good selection of the most important options for overclocking your CPU and GPU. If you are new to the overclocking game you can use their Auto Tuning GPU Boost option that will give you a quick OC or an extreme one (the difference should be easy to understand). We opted for the Extreme and after only three re-boots we were given a 4.6GHz overclock. We were surprised that the system went for a BLCK adjustment instead of just a raw multiplier increase, but it did. 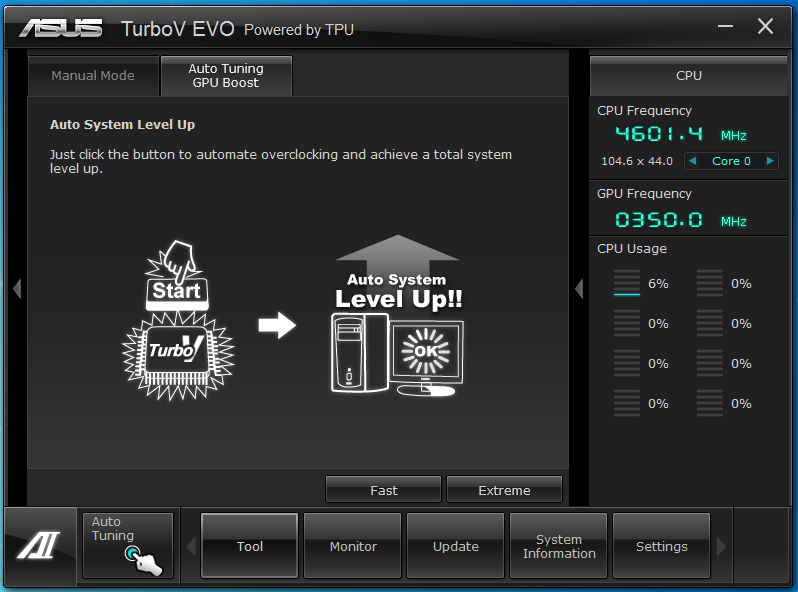
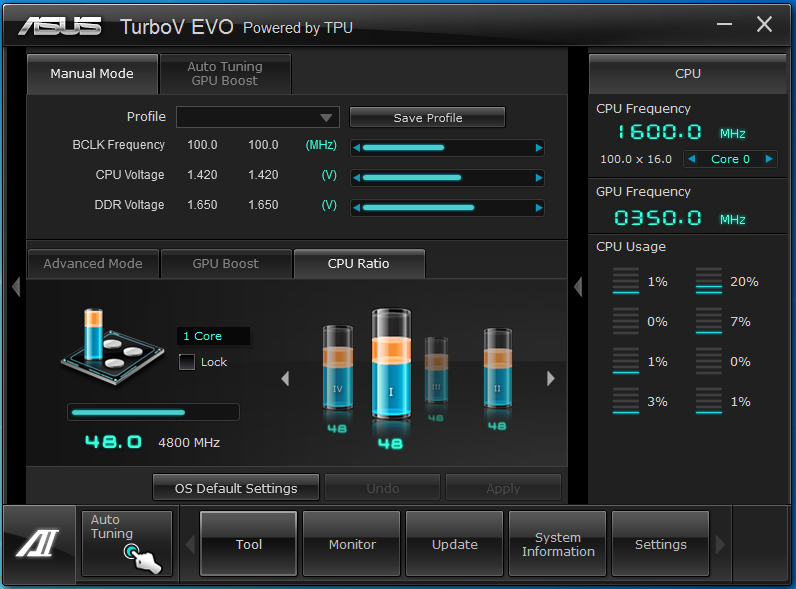
If auto overclocking is not your thing then the tools in TurboV EVO might be more to your liking. Here you can adjust the BCLK along with a few of the voltages that are required for stability (although most can be left alone). You can also independently adjust the GUP maximum clock setting and IGP voltage. To add to your overclocking fun you can also opt to adjust the multiplier for the cores in groups (from one to four). For example you could overclock a single core to get a higher speed and leave the others alone.
 |
 |
Next up for overclocking controls is the Digi+ power controls here we see them as they are laid out during our overclocking. The P8Z77-M Pro does not have the Smart Digi+ options so you will want to be careful making adjustments here. For those that want to track what is going on during their overclocking sessions you have the Asus Probe II as well as a utility to let you record the information gathered by the onboard sensors. 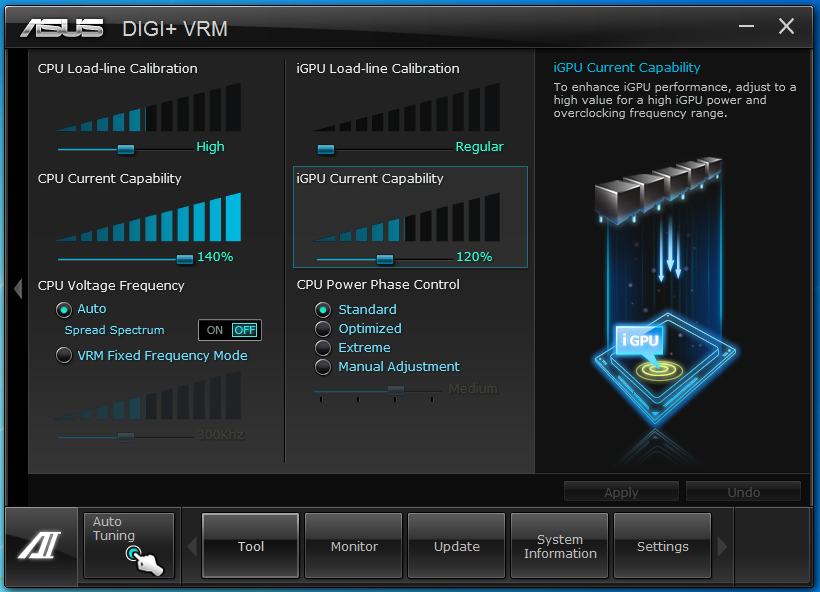

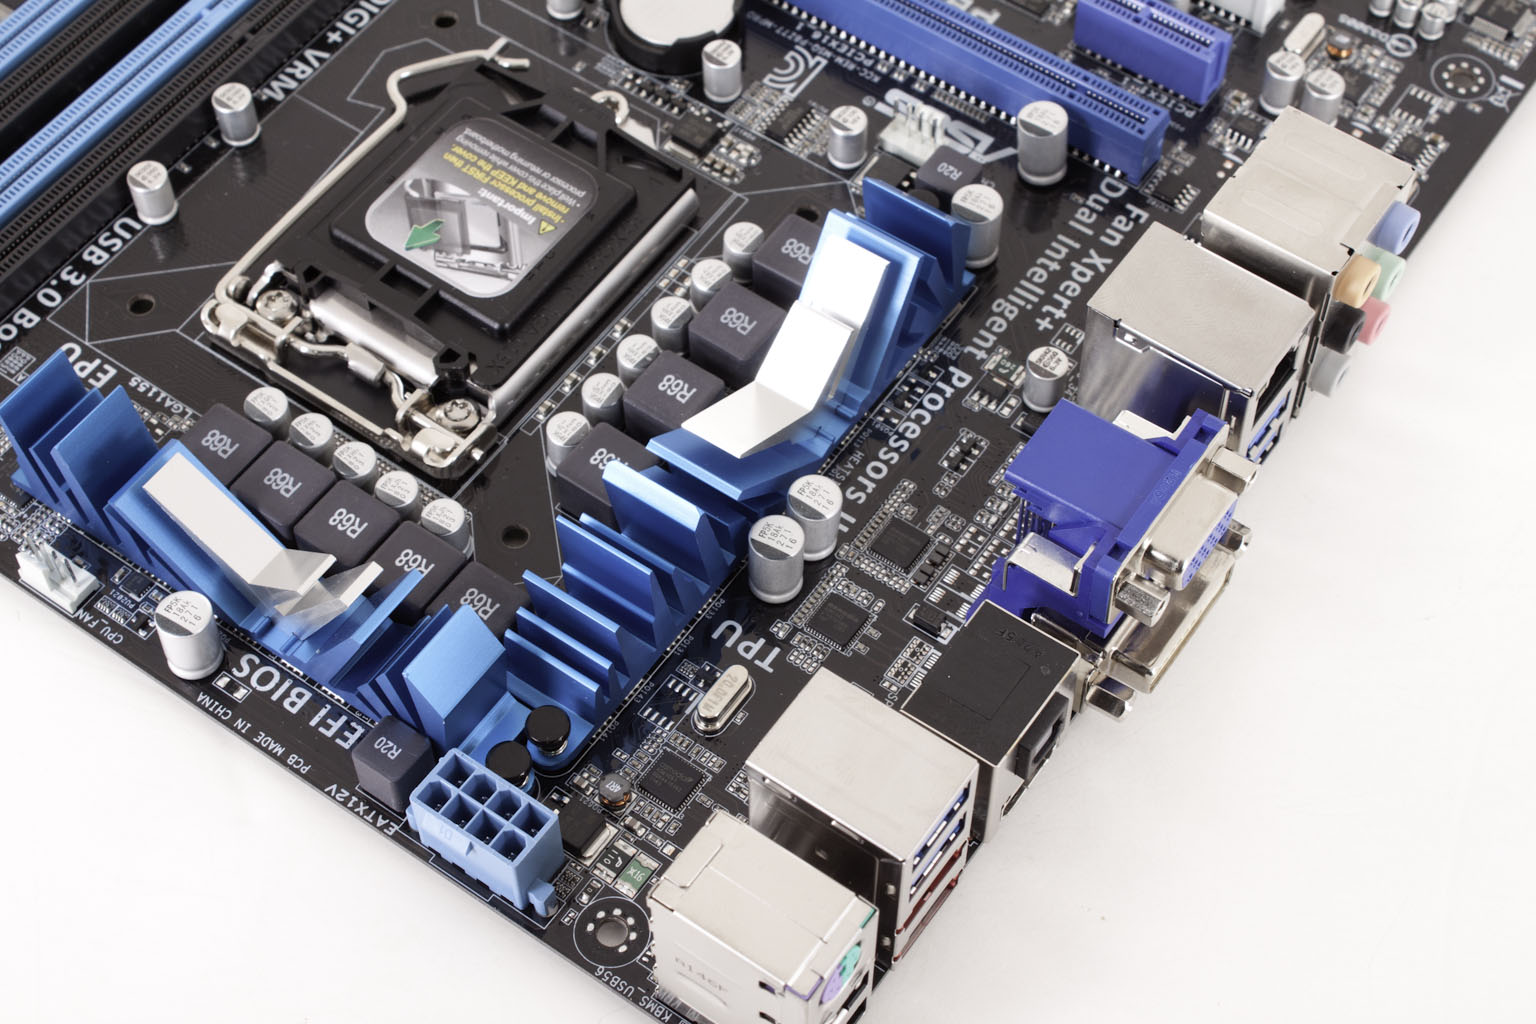 At almost the opposite end of the spectrum from the Asus Maximus V Gene (in terms of target market) we find the Asus P8Z77-M Pro motherboard. The P8Z77-M Pro is also a micro ATX board and despite being aimed at the lower end of the consumer market it shares some of the same features that the Gene has. You still get Asus’ Digi+ power controls and FanXpert+ along with Asus’ commitment to solid design and component selection. We have talked about most of these items in

