The Test System and Comments -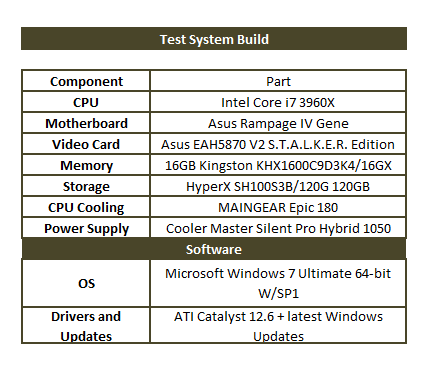 Our test system is built on an open bench. This has two effects on testing. First it allows us to see everything and also to setup and disassemble the test rigs quickly. Second it means that we cannot gauge the potential air flow found in a normal case. The air is pretty stagnant; some may say this is a great neutral testing method and it can be. However, it does mean that the temperature reading taken off of the components are not accurate to what an average consumer would see. This means that your thermal performance will vary from what we see here.
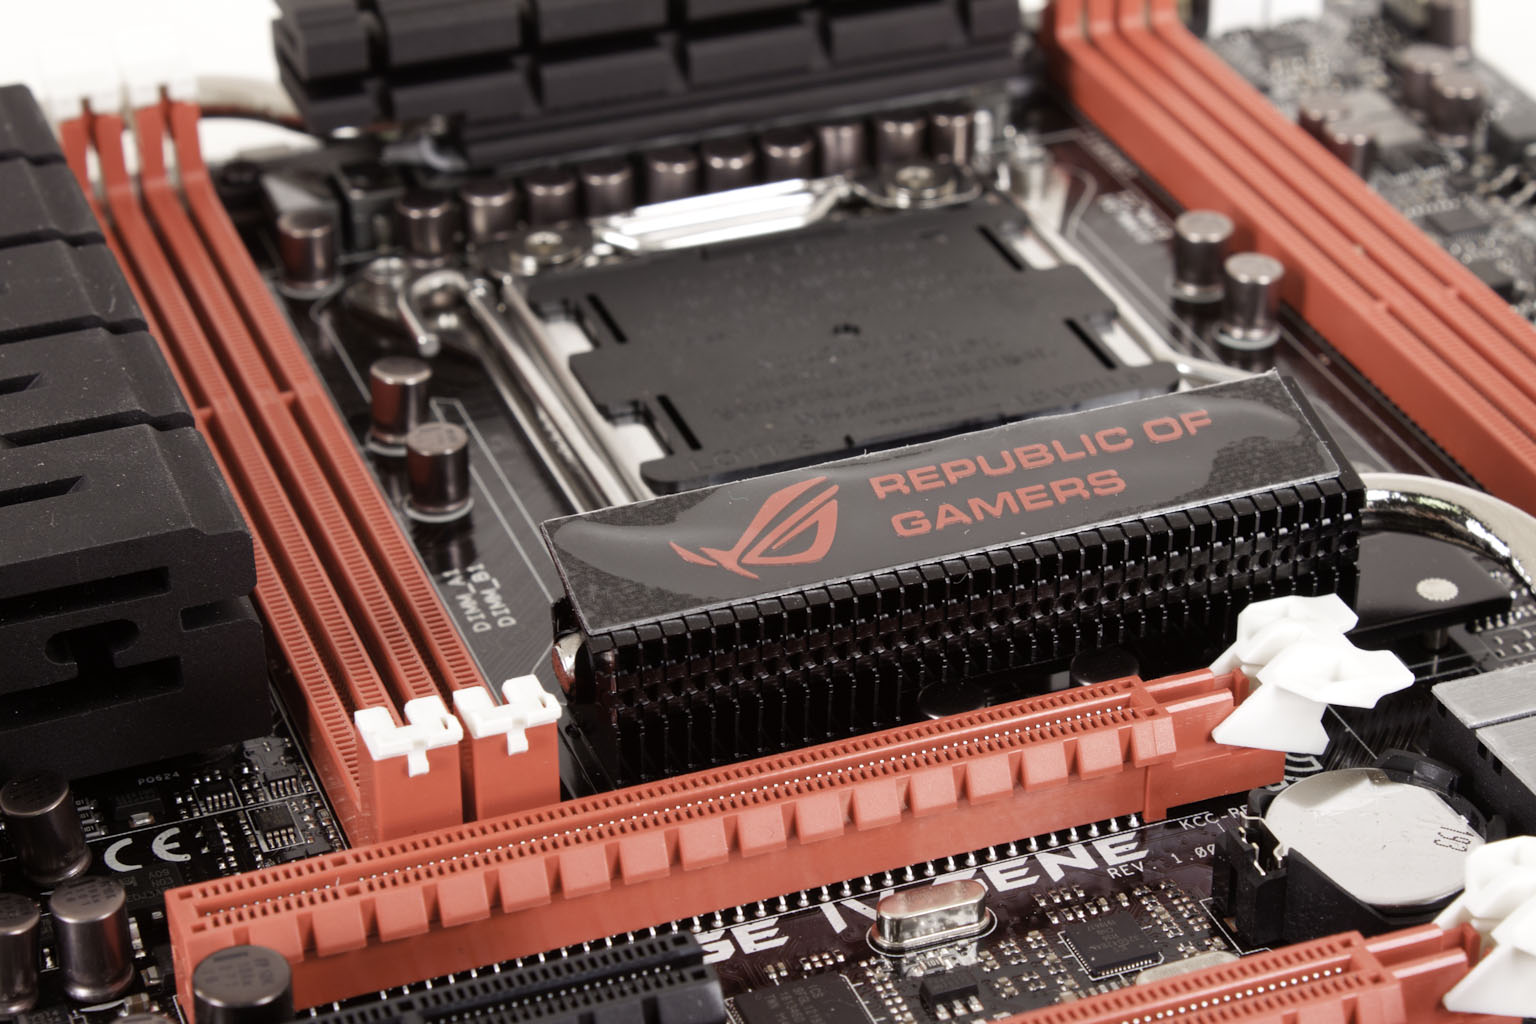
When tinkering around with the Rampage IV Gene we ran into a couple of issues during the initial setup. For some reason the board did not want to run at 1600MHz memory and an auto multiplier for the CPU. We saw this with our Kingston 1600MHz memory that we use to all of our reviews. The board would POST (Power on Self-Test) and then reboot. From there we would be presented with an error saying that overclocking had failed and that the CPU multiplier might be set to lower than 13. In the end after allowing the board to boot up at 1333MHz and run the full installation of Windows we were able to set the memory to the 1600MHz we wanted and leave the multiplier set to auto. We were not able to replicate the original error, but we did want to include it in case you have any issues.
Other than that one minor error the board was quickly installed, setup and running. The driver installation was simple thanks to the Asus InstALL. We do highly recommend performing a custom install over the blanket installation so you will not end up with Norton 360, Chrome or Google Desktop, but if you are in a hurry you can get these too. Our biggest problem with the inclusion of these is that Asus filed them under “drivers” these are applications and not drivers; they really should not be part of the driver installation at all.
Performance testing overview
Our testing is a little different than most. We combine both synthetic and real-world applications to simulate the types of performance common to the individual products. For motherboards this means that we run roughly six synthetic tests and two real-world. We will be expanding the real-world testing in the near future. But there is more to performance than just the raw numbers. As there are multiple components and sub-components on a motherboard there each item can have a distinct impact on the way the product will perform once you get it in your system. It is important to note not only the actual results but what they mean to you as a potential consumer. We will try to give this information to you.
But we do not just cover the performance aspects that are measurable. We also talk about the components that might not have a direct benchmark. These are items like Audio Quality, ease of use and installation.

