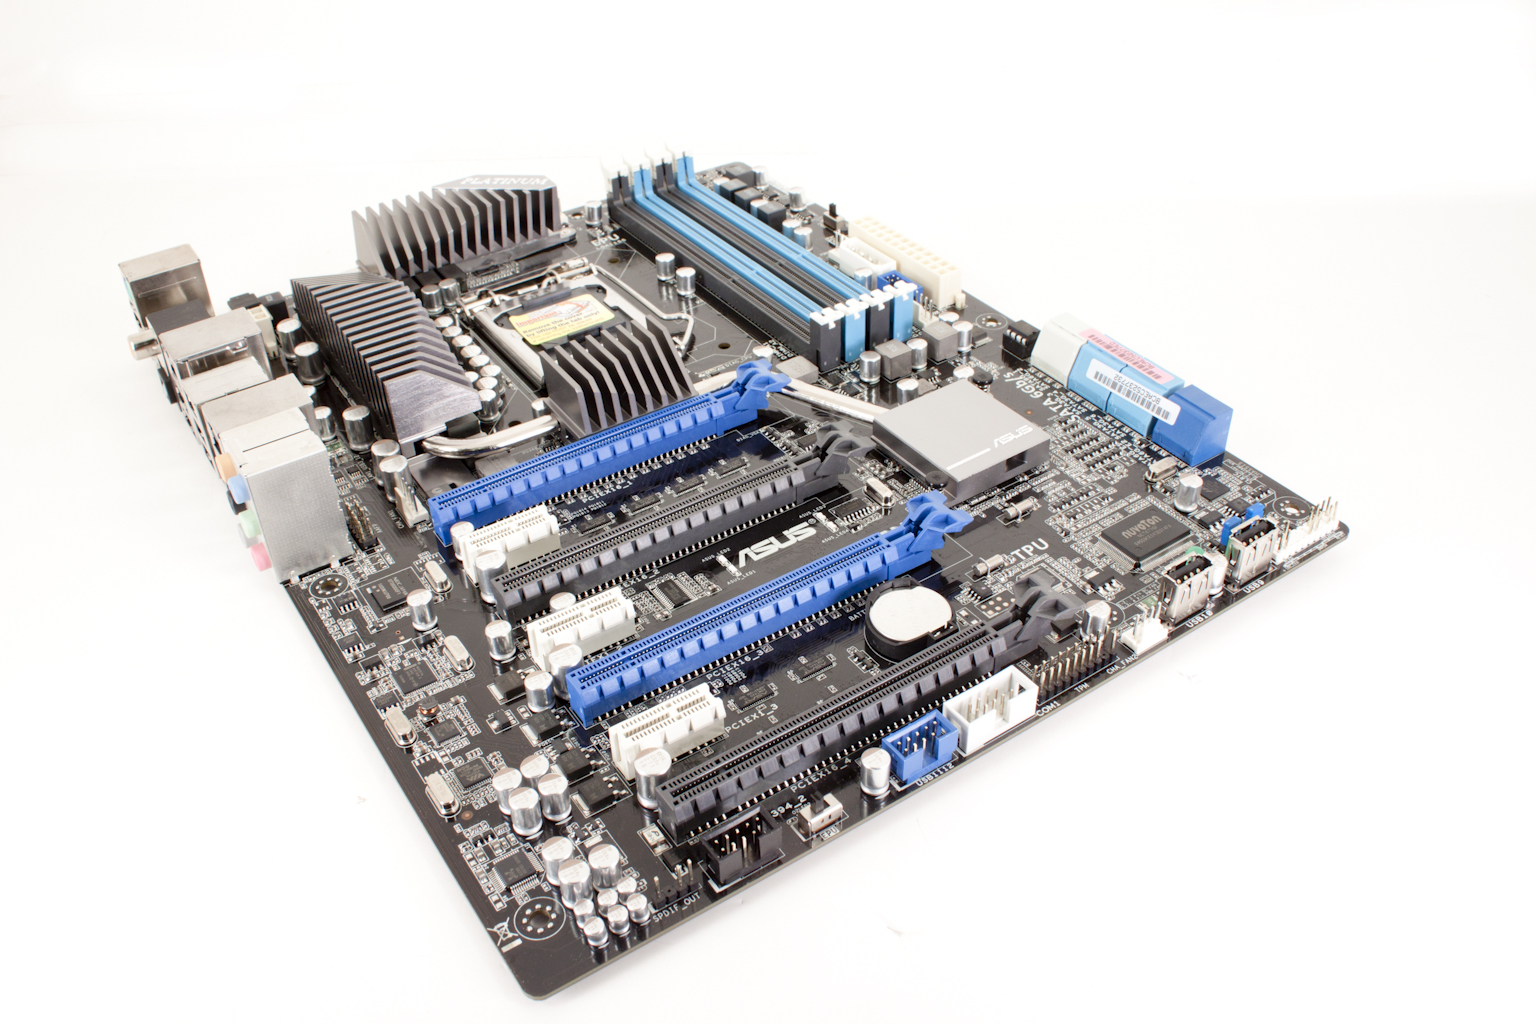
 For our second review of 2011 we thought we would take a look at a P67 board (despite all the drama). We chose the Asus P8P67 WS Revolution. This board (like you did not know) is part of Asus’ workstation line up, but that does not mean that it is boring. In fact the WS Revolution is anything but boring. It has been built with the professional enthusiast in mind. You get items like an NF200 chip to help support three way SLI and Crossfire, a 92% power efficiency rating, multiple SATA 3.0 ports (supported by Intel and Marvell), and dual Intel GBe LAN ports. But there is more to it than just the sum of its features. You also get an improved VRM (voltage regulation module), thicker traces for better signal transfer and quite a bit more. With all of this waiting to be tried out, let’s quit the intro chatter and dive into the P8P67 WS Revolution.
BIOS -
BIOS is an acronym that stands for Basic Input/Output System. It is meant to control your product at a very low level. As of right now there are three regularly used BIOS formats (there are actually more than that but there are three common ones). These are the AMI (American Megatrends Incorporated), Award, and Phoenix. Asus has always used the AMI BIOS layout. Of course they tweak it and add in their own pages and features but the basic building blocks are the same. Now however, they are using the new EFI (Extensible Firmware Interface) BIOS layout. What this means is that you can now “skin” the BIOS with a UI for simple adjustments while still leaving room for more advanced tweaking.
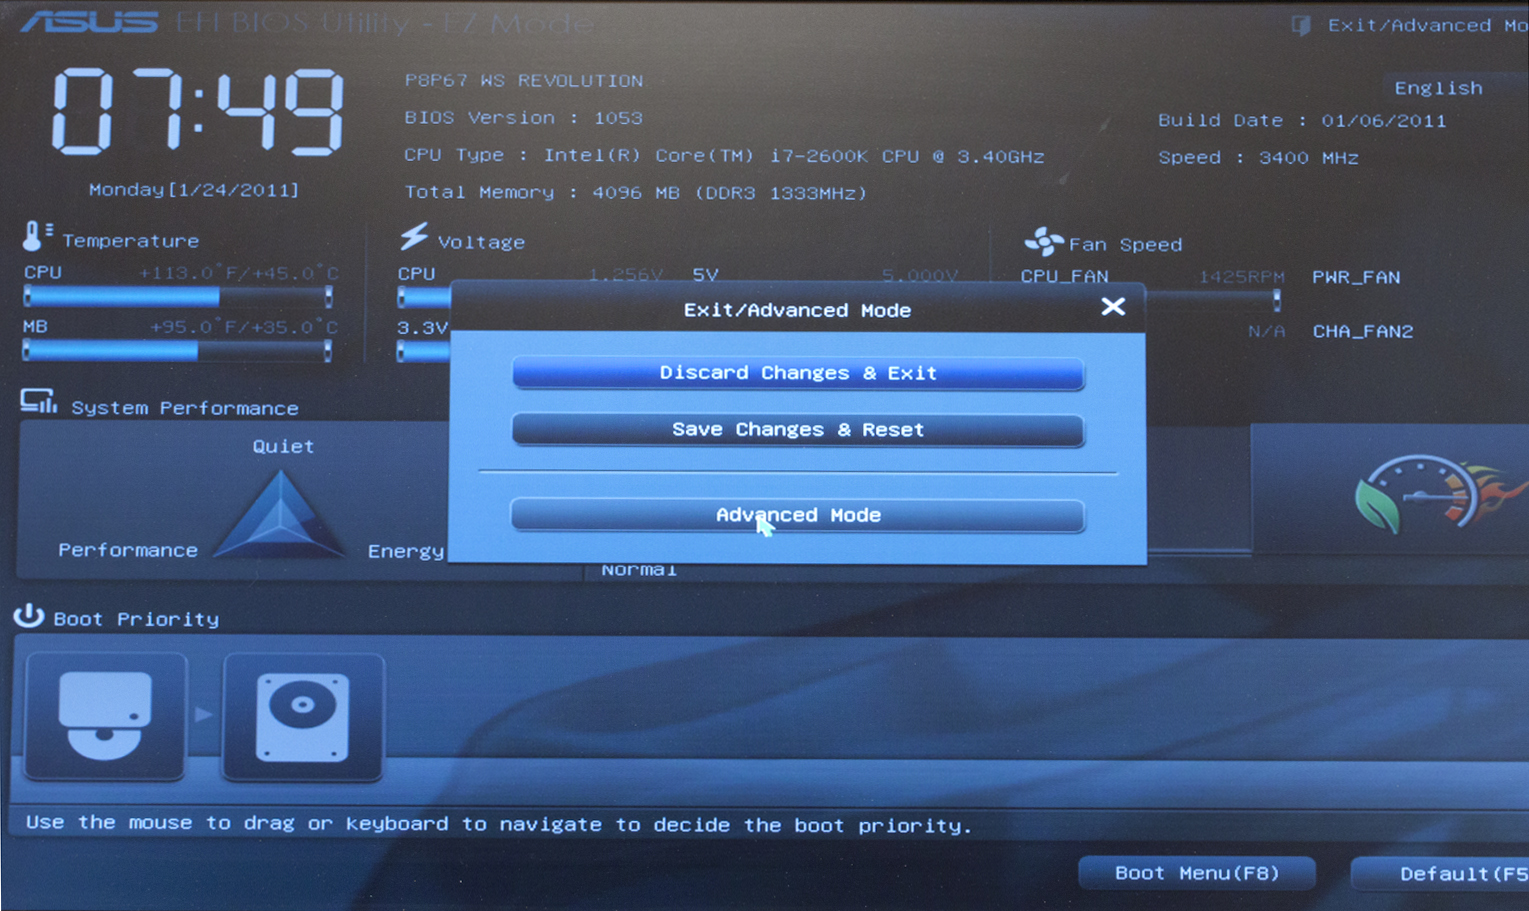 When you get into the BIOS on the P8P67 WS the first thing that hits you is the clean layout. Even in the washed out photographs that I have here you can tell that the EZ Mode of this BIOS is meant for someone that does not want to muck around with settings. They want a certain level of performance and expect to be able to get to it quickly. You will also notice that you can use the mouse to navigate around now. This will be big for many “newer” users that do not like to have to use the keyboard to get around. To get to the advanced mode you simply click on the exit icon and chose advanced mode. You might also notice that you are able to set EPU profiles in the EZ Mode. This is the first time that you can do this here and is something that many Linux users will be happy to see.
 |
 |
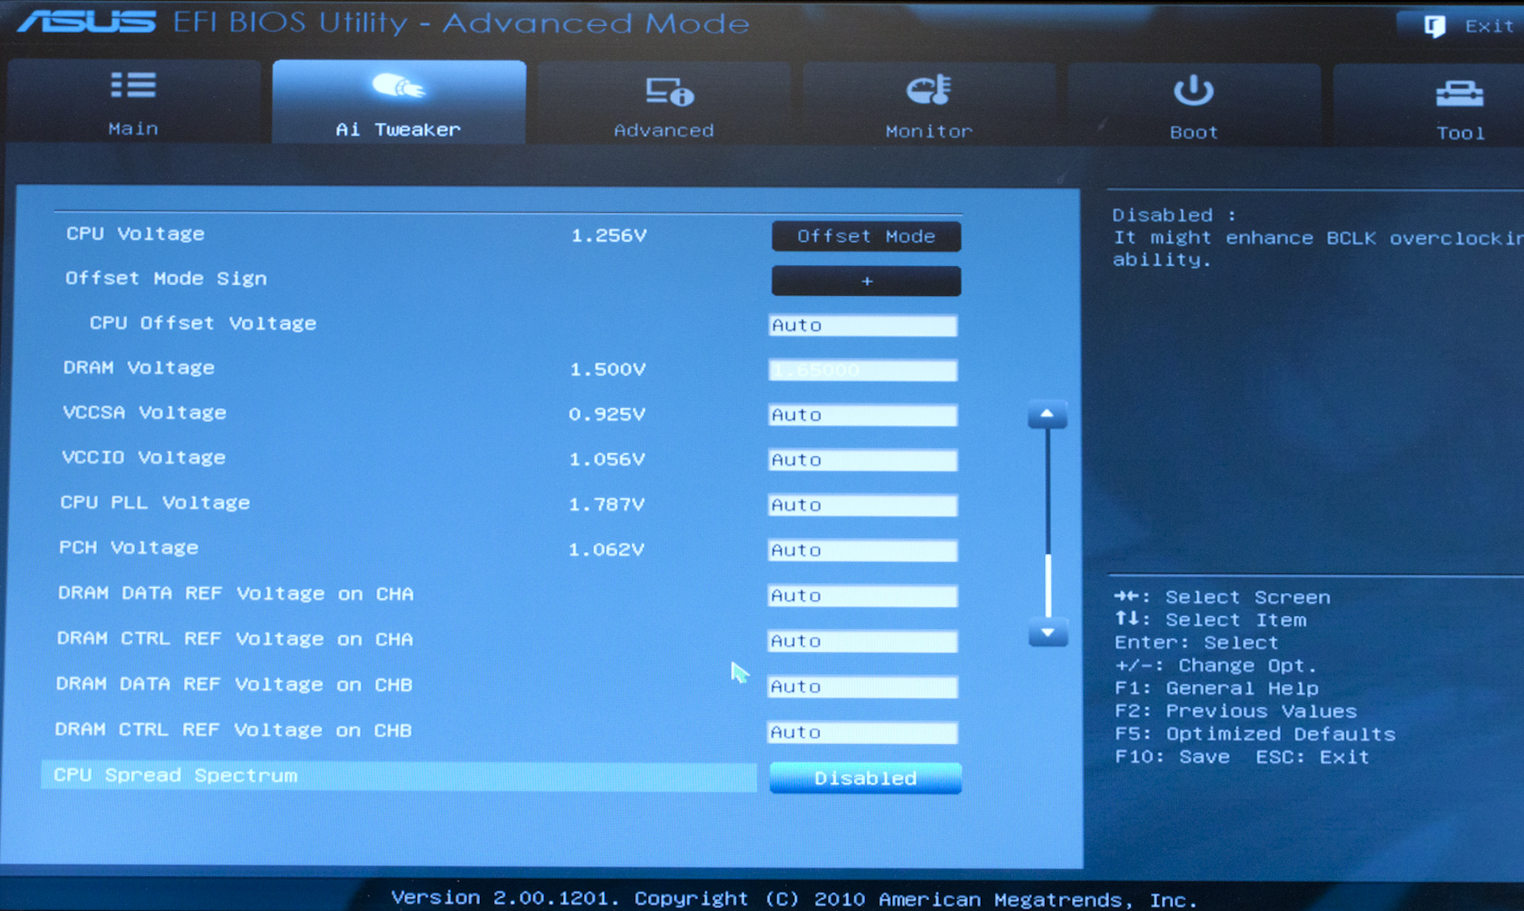 |
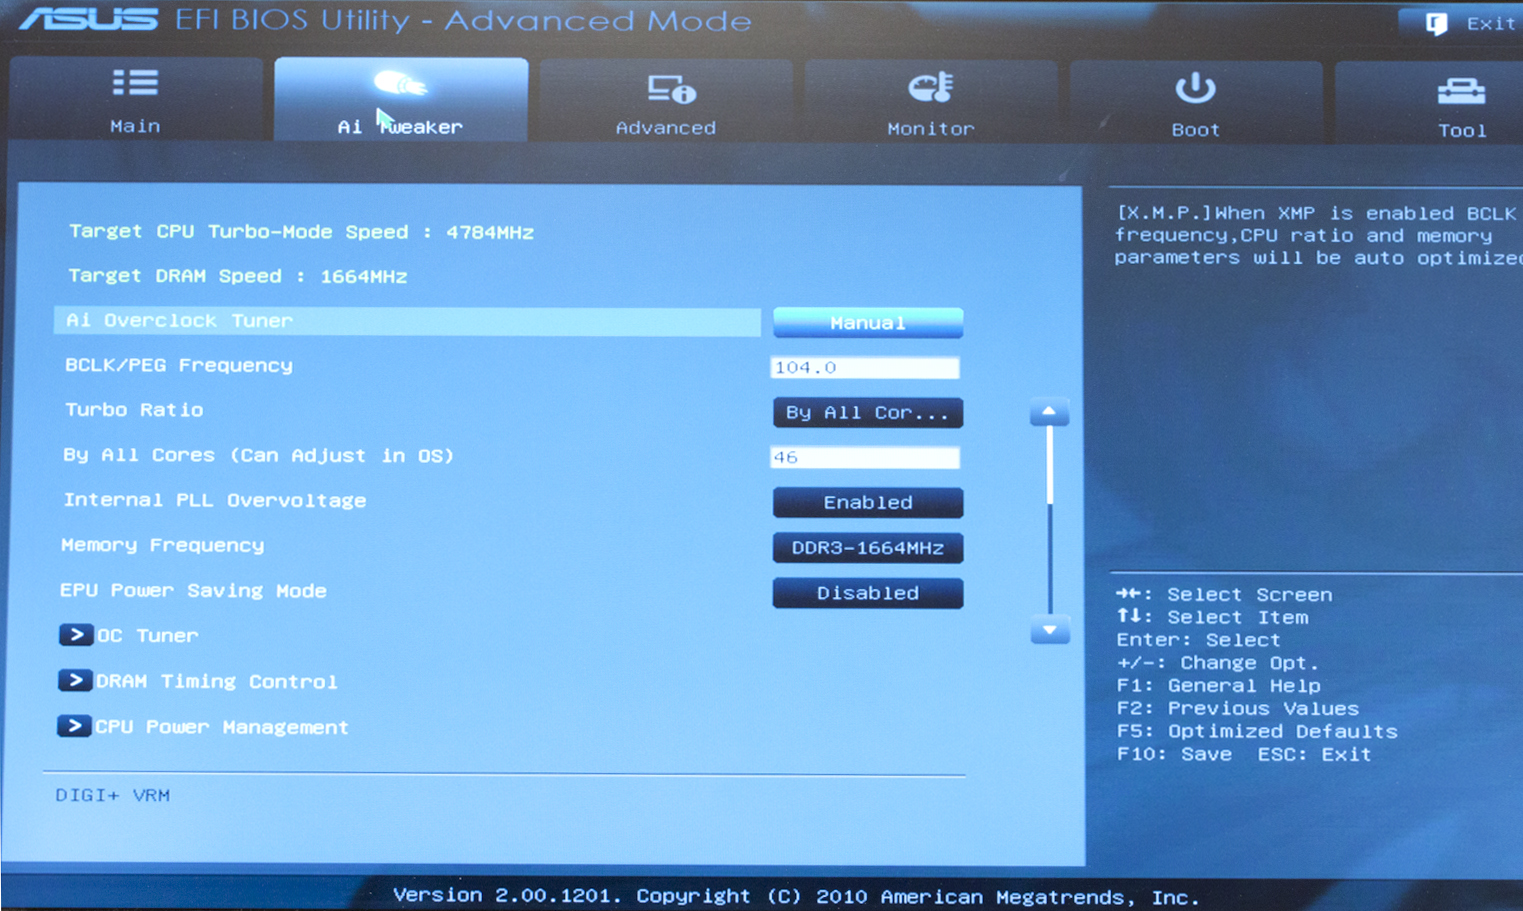
Once you are in the Advanced Mode things will be similar to the more traditional BIOS layout although you still get the use of the mouse. For the average overclocker the AI Tweaker page will be very familiar and should be a frequently visited place. You will get all of the same controls; just now they will have a cool looking UI. One item that really stands out here is the Internal PLL Overvoltage. According to Asus this can allow a “weaker” Sandy Bridge CPU to reach higher clocks by allowing the internal voltage to be adjusted slightly. We will cover this a little more under the overclocking section.
 |
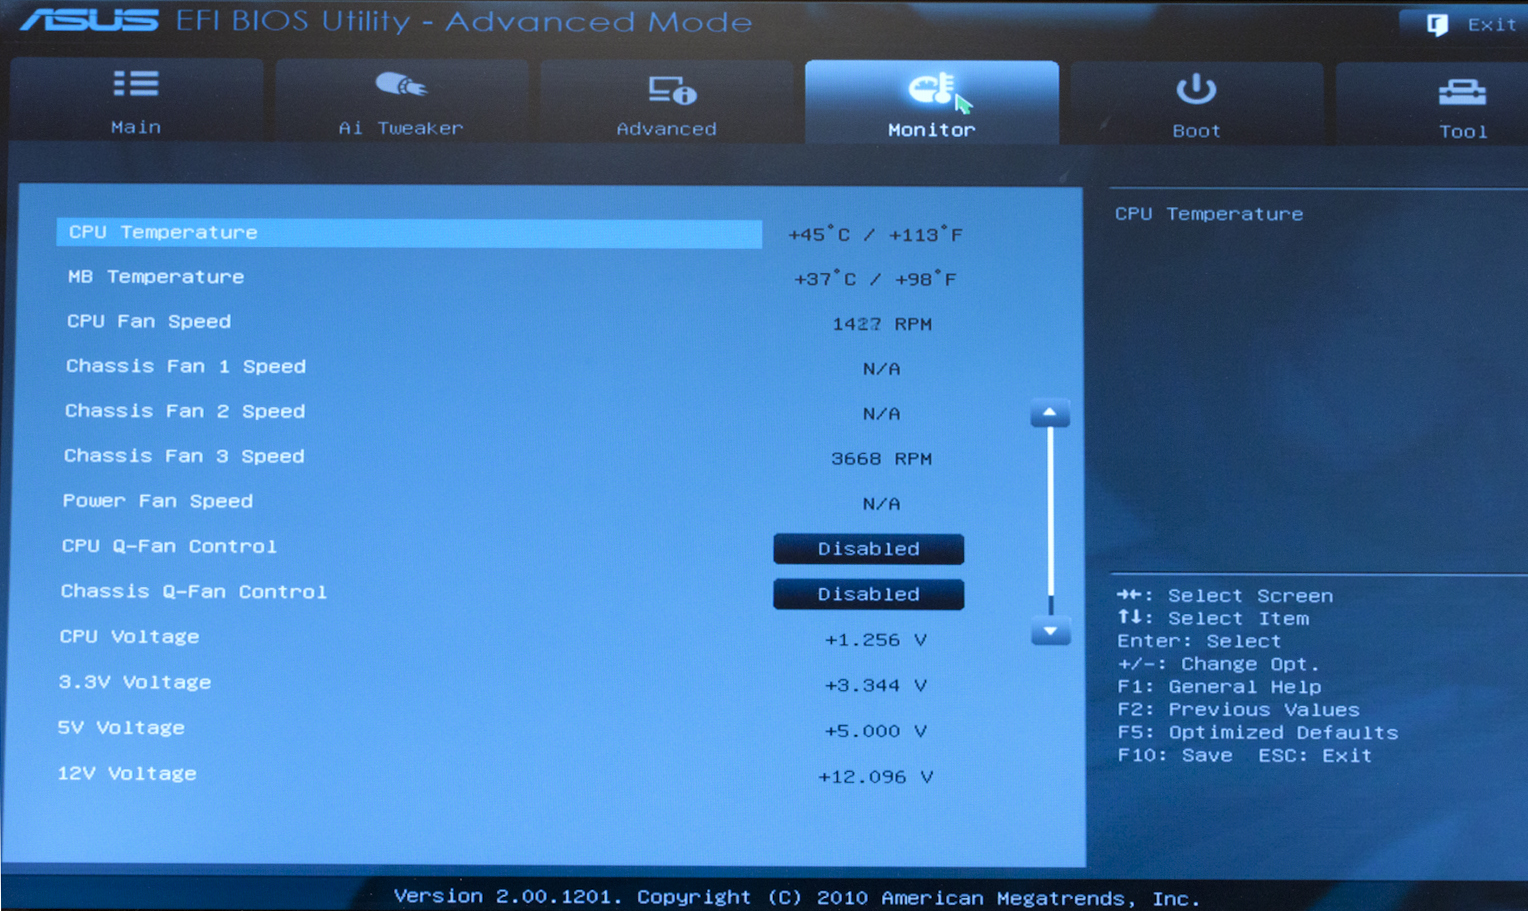 |
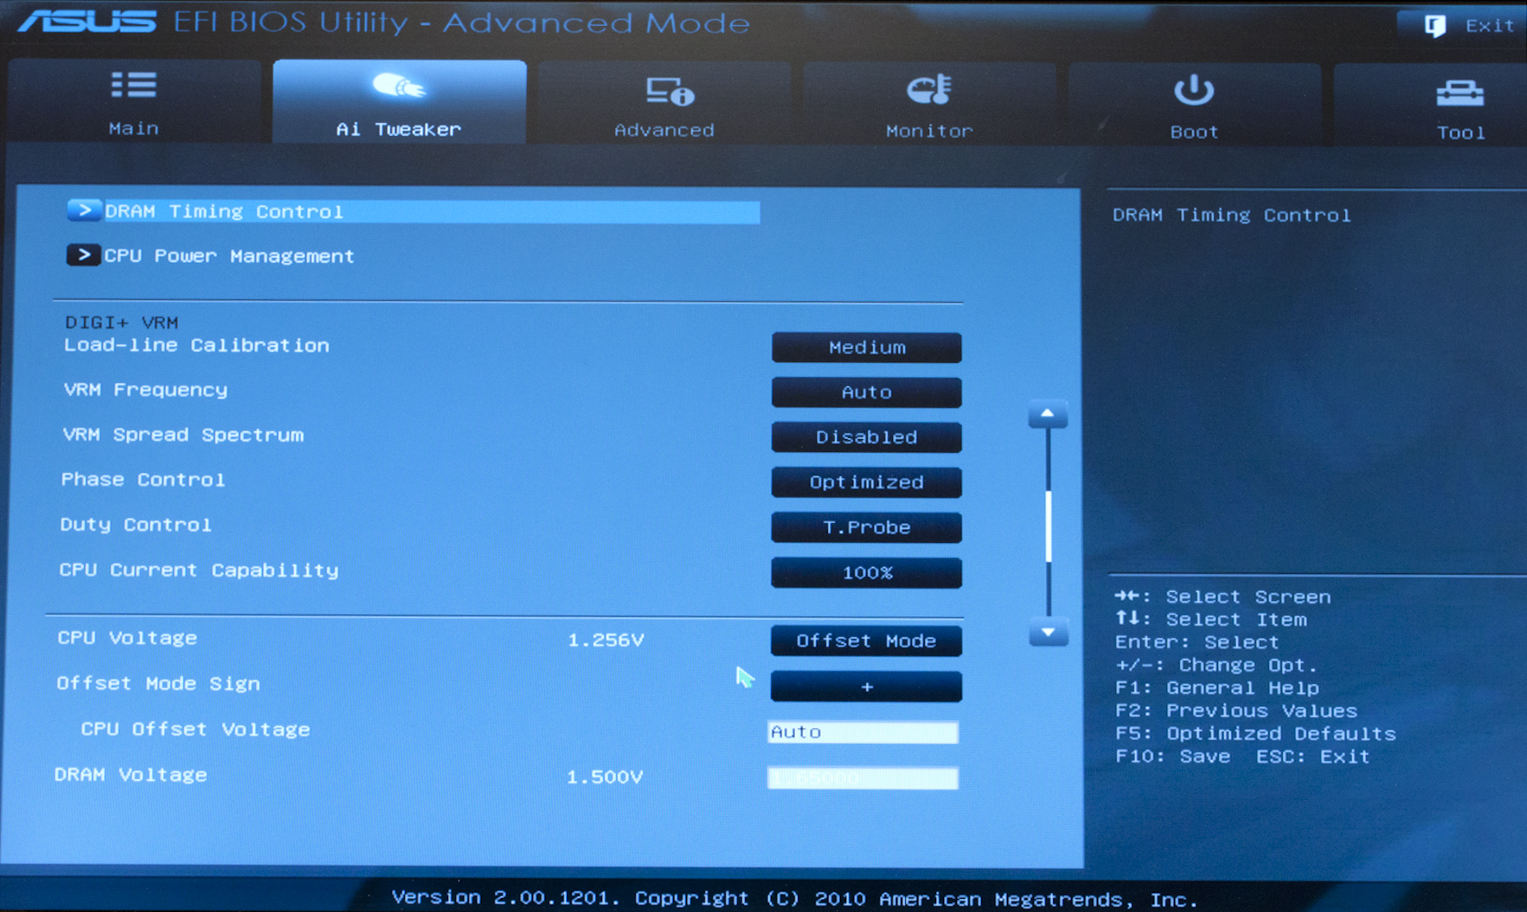
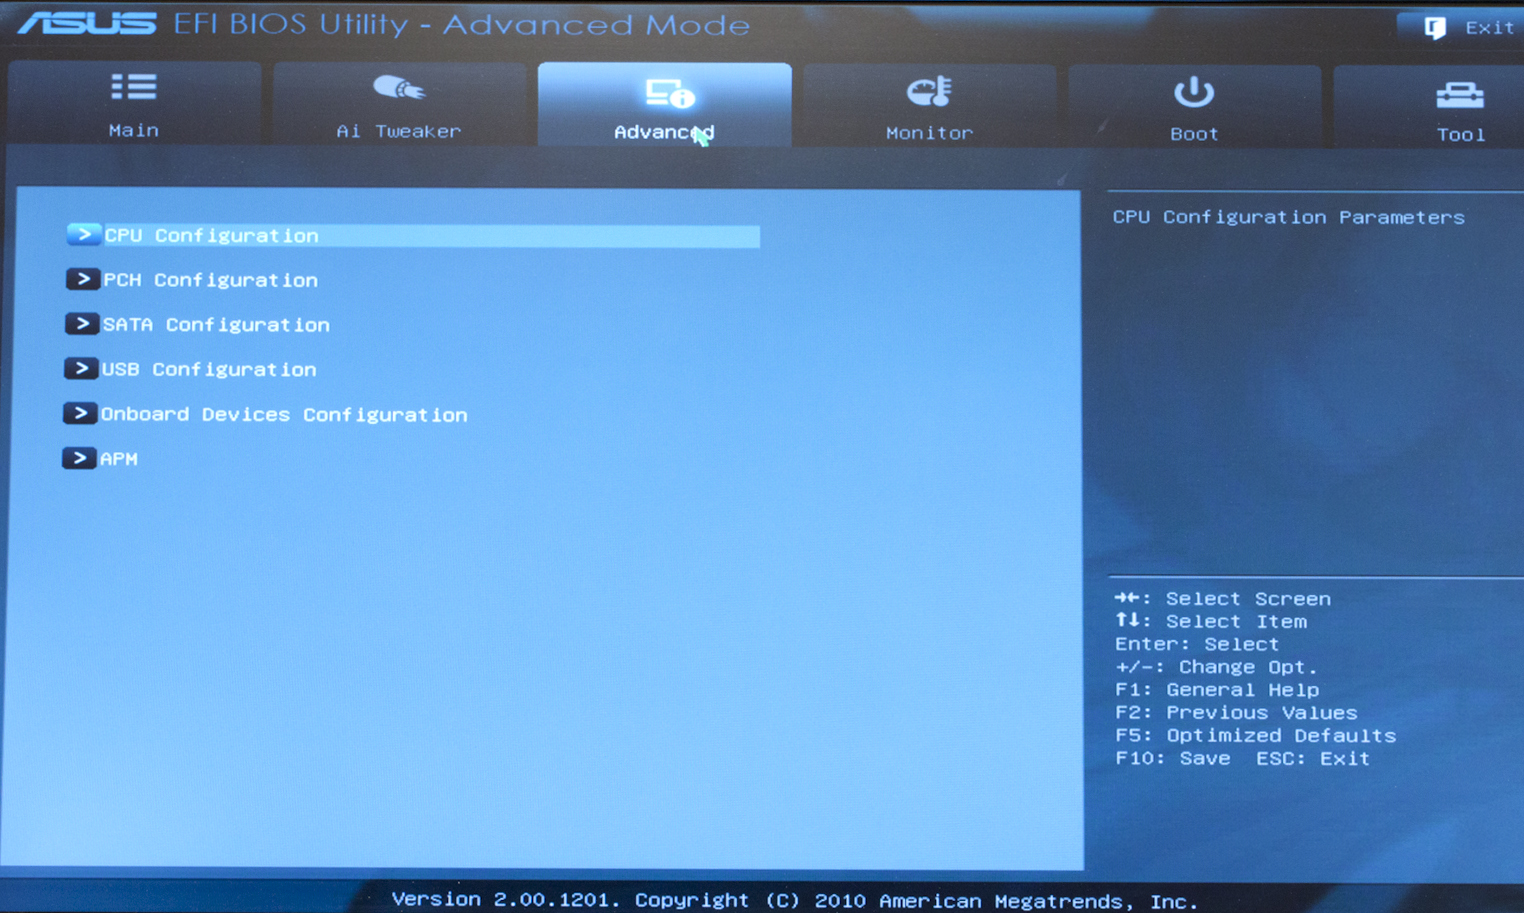
In the Advanced Tab you get a combination of pages from the old BIOS (as we remember it). Here we find the combination of Advanced CPU features, onboard devices, and power management). The Monitor tab is very self-explanatory. With the exception of the Q-Fan controls there is not much more than the old health pages that used to be the more traditional BIOS.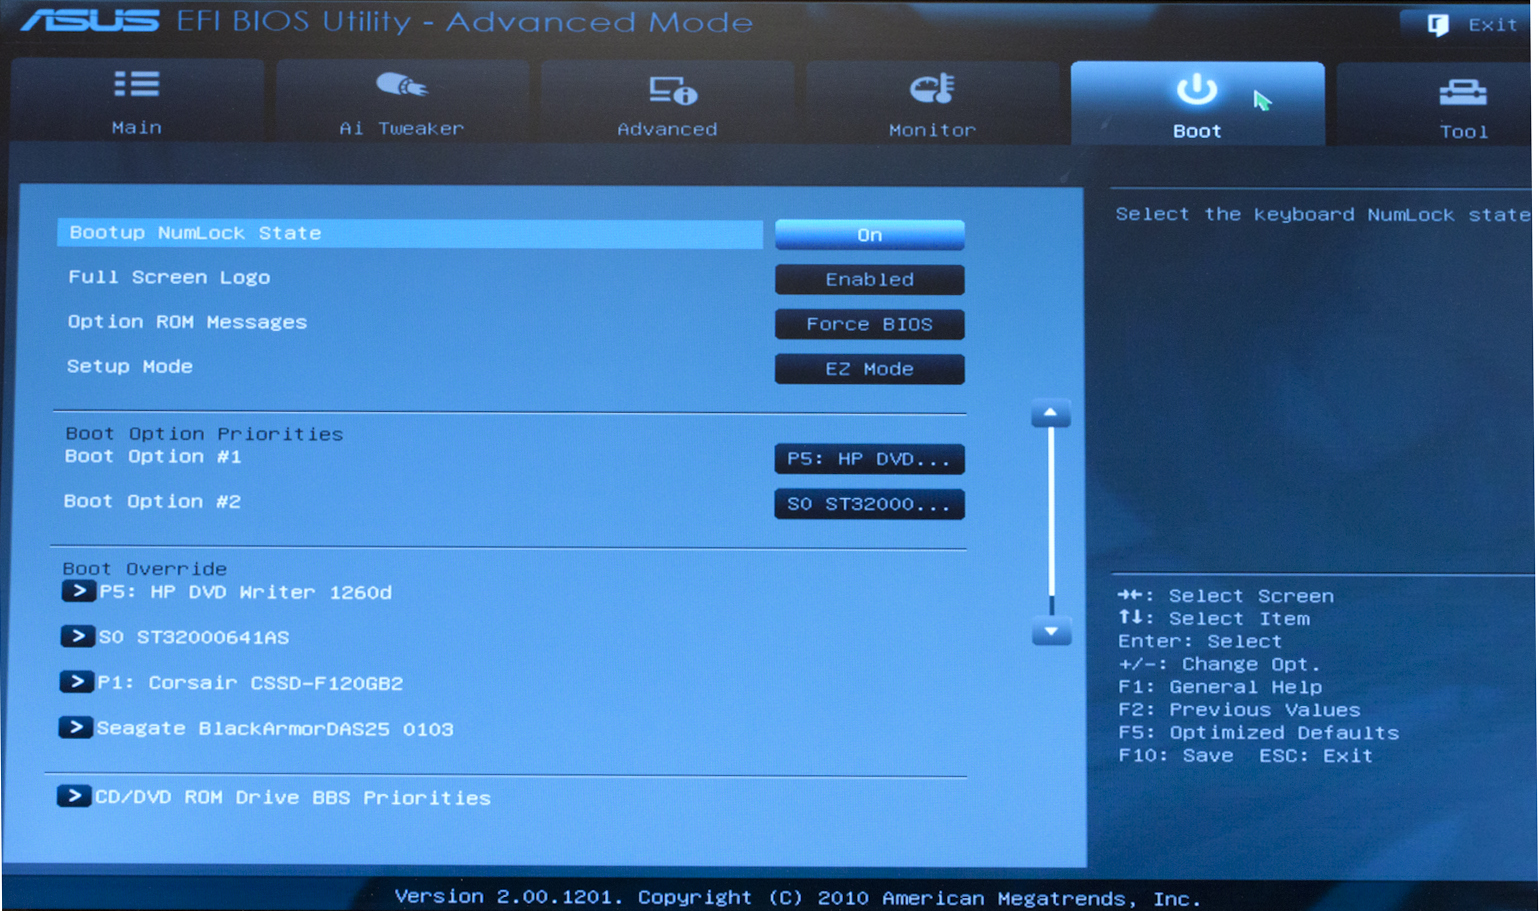
The Boot tab gives you some handy little options. For those of you like me (who want to enter the Advance Mode each time) there is an option to set this right here. You can also setup your Boot Override order here.
 |
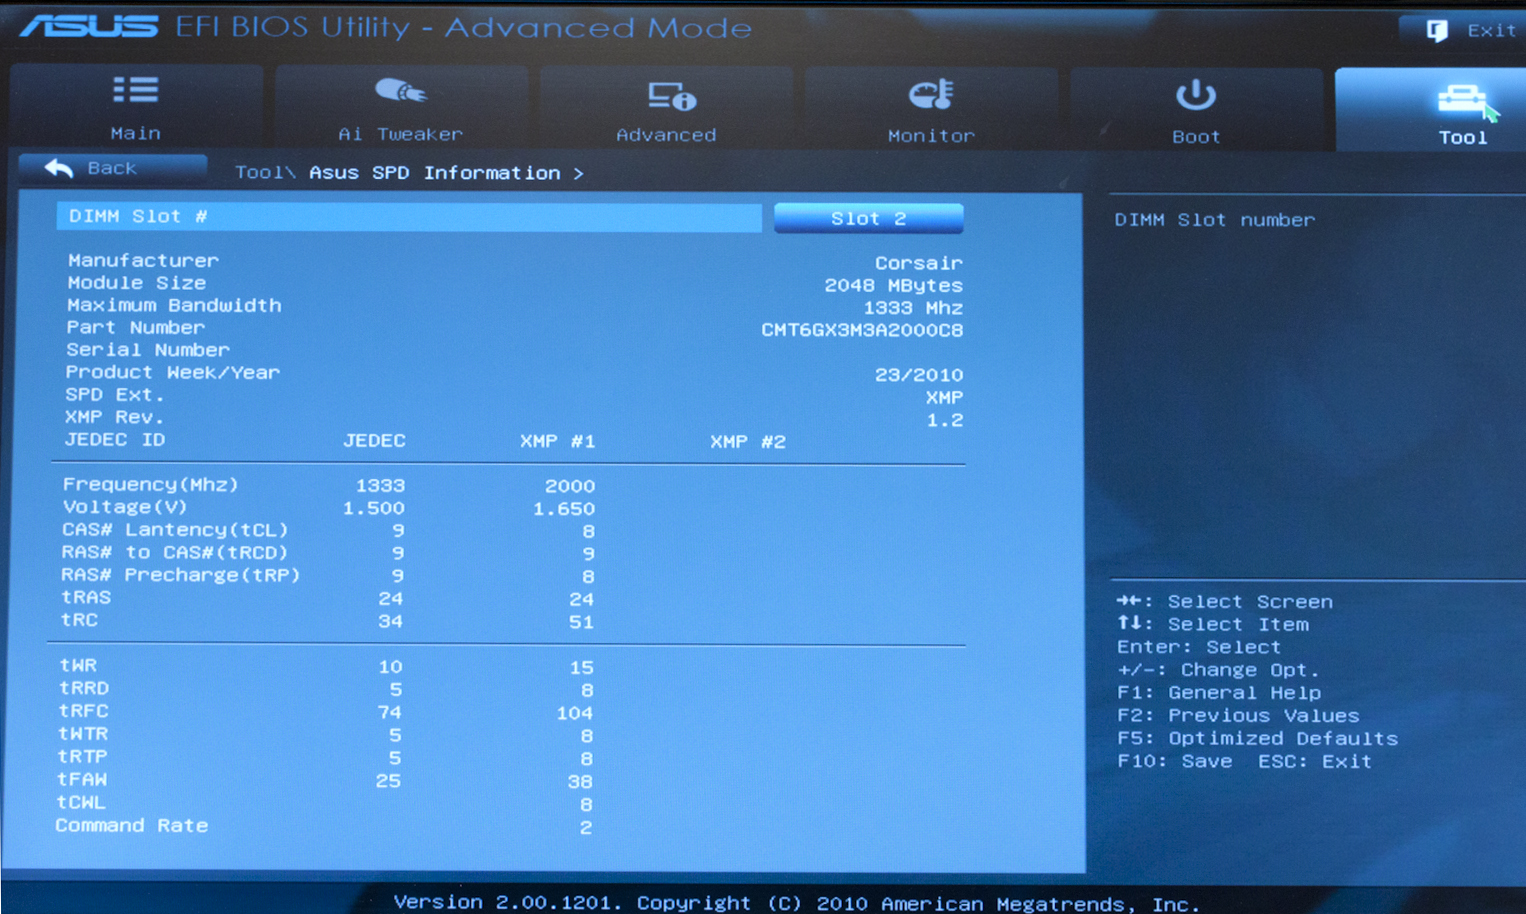 |
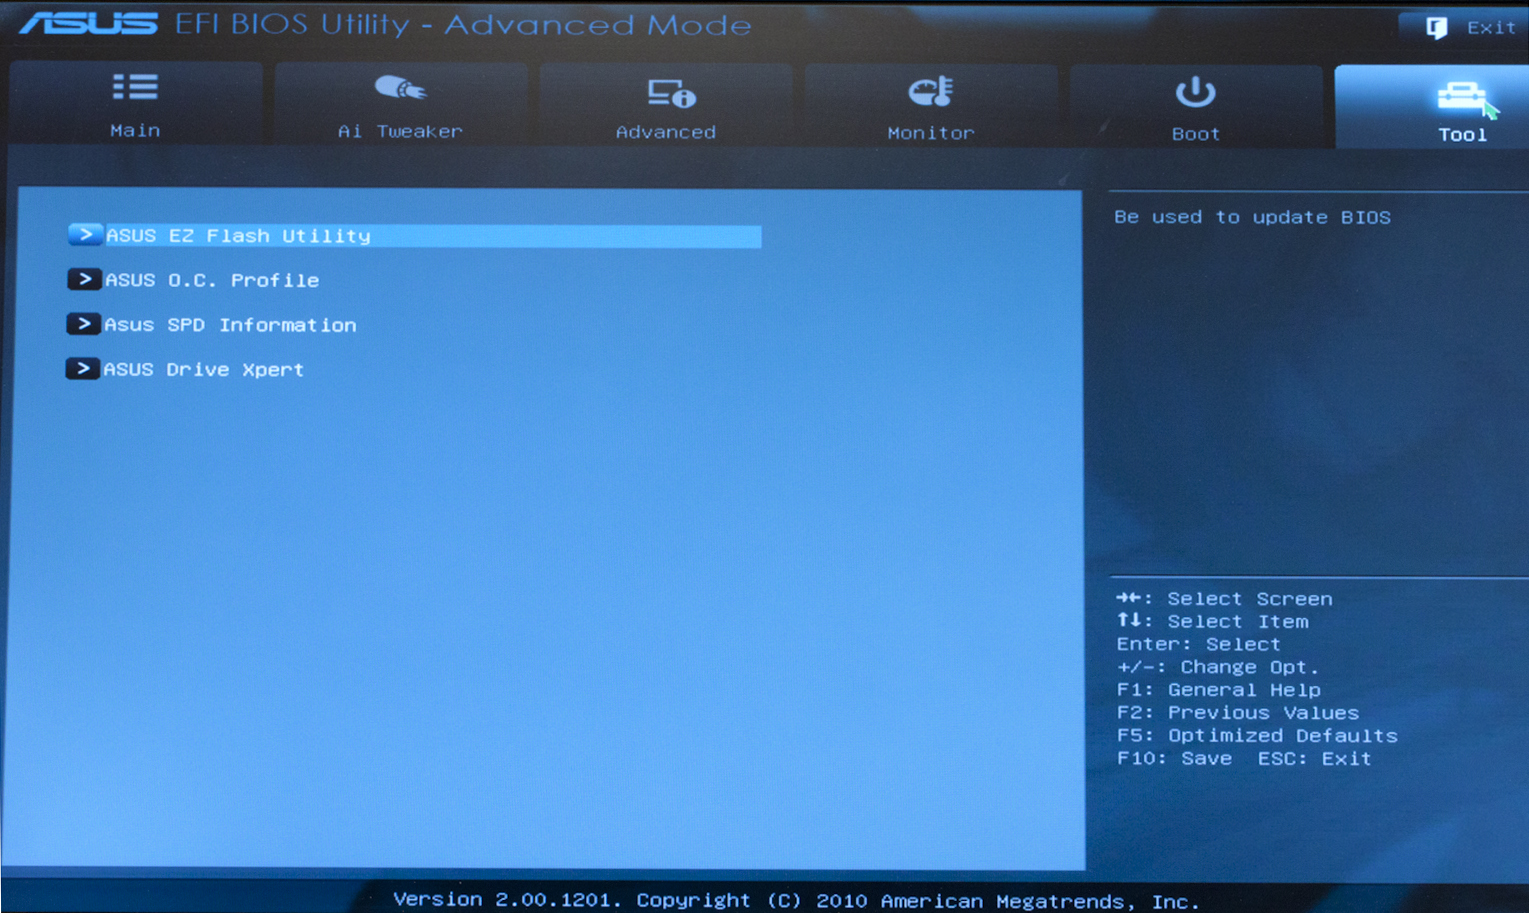
In the Tools tab Asus continues to offer some excellent options (this is why their EFI BIOS is listed as an excellent feature). One of my personal favorites is the ability to look at what SPD (Serial Presence Device) information is stored in your RAM. As you can see from the shots here, there is quite a bit of information to be found in this tiny little chip. You can even see the week and year the RAM was made. More importantly you get both the JEDEC specification and any performance profiles programmed in.
Overclocking -
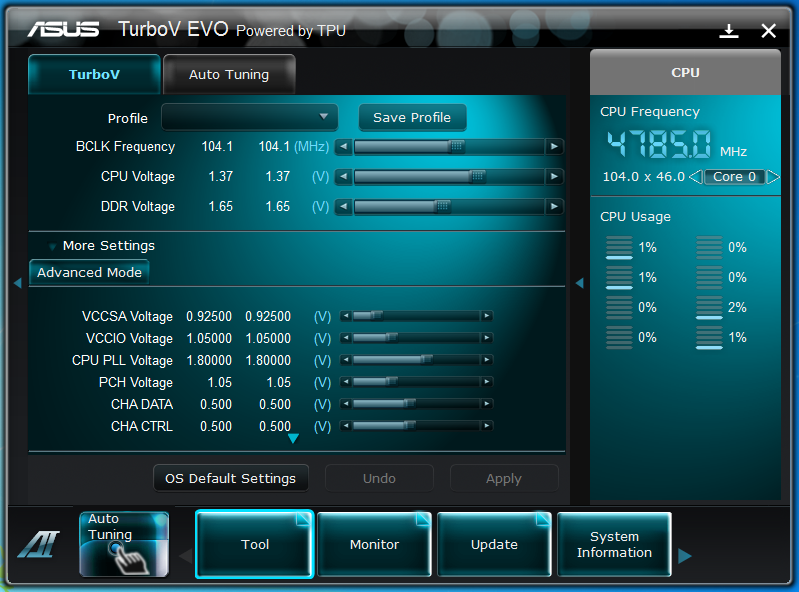
When you talk about overclocking it is not the painful and laborious task that it used to be. With Sandy Bridge It is pretty easy to get things going with very little effort. After all you really only need to push up the multiplier up to get more speed. I mean you can tinker with the BLCK but it is inadvisable to push it too far as you will begin to change the speed of the internal power gates. We ended up using the Asus Auto Tuner for our initial overclock (we will talk about this more later) and were able to kick up to 4.752GHz with the click of a button. 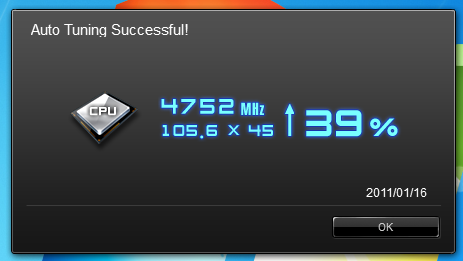
This setting was not stable during our testing so we ended up redoing the overclock. With the final OC we sent for a higher multiplier and a lower BCLK. So our final working OC was 46x104.5 for 4.787GHz. This is a pretty good speed to play around with and one that very stable on the WS Revolution.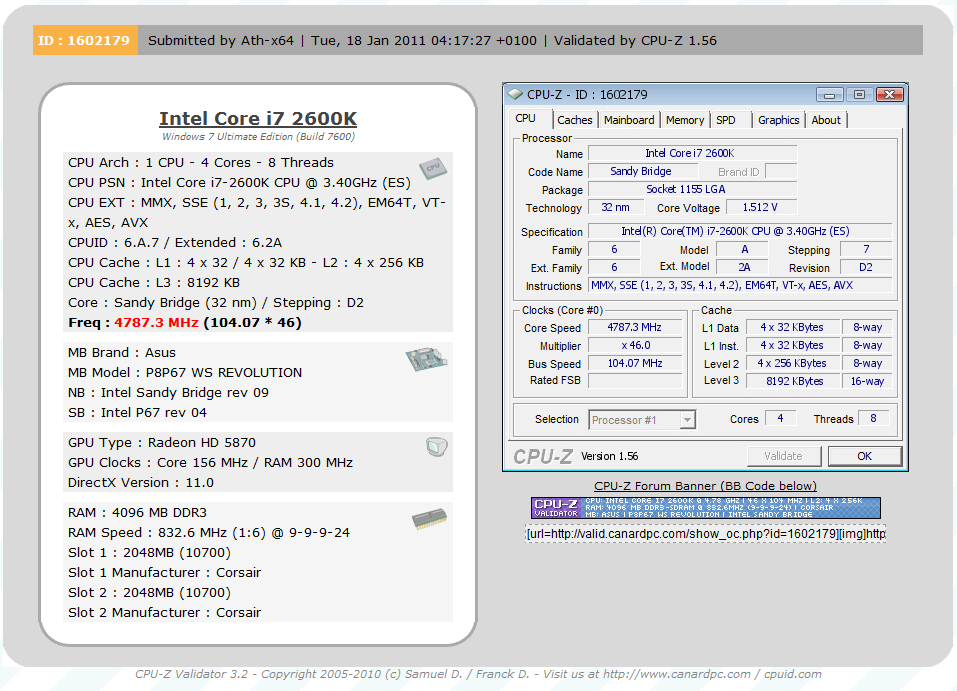
Of course overclocking is a picky subject. I can buy to identical CPUs from the store and they will not always perform the same way under stress. This is the same with motherboards, RAM and GPUs. Sandy Bridge is no different. We find that you OC will still vary from board to board even when you know you can get a much higher clock with a specific CPU. The OC potential on the P8P67 WS Revolution is very good and is something that will attract the attention of more than a few enthusiasts. So again it is important to keep in mind that our results represent a specific hardware configuration. Yours may be similar but will rarely be identical.
Overclocking Tools -
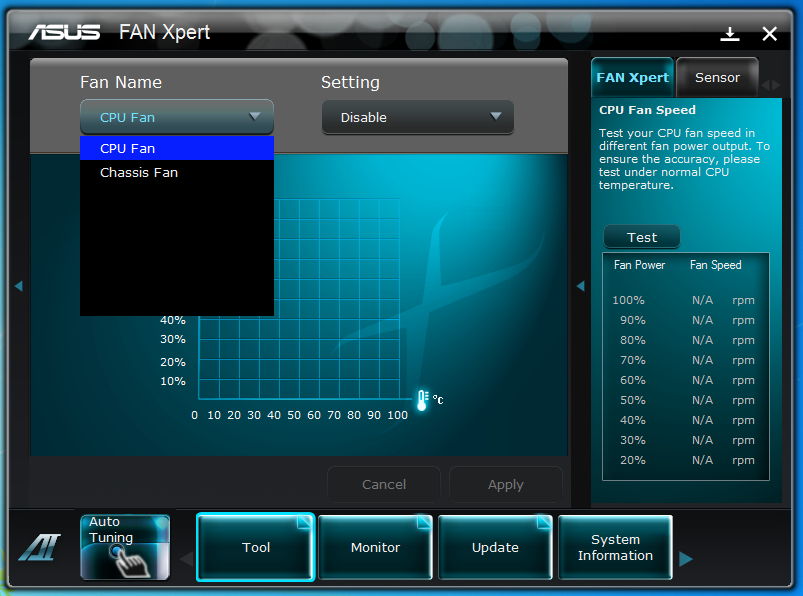
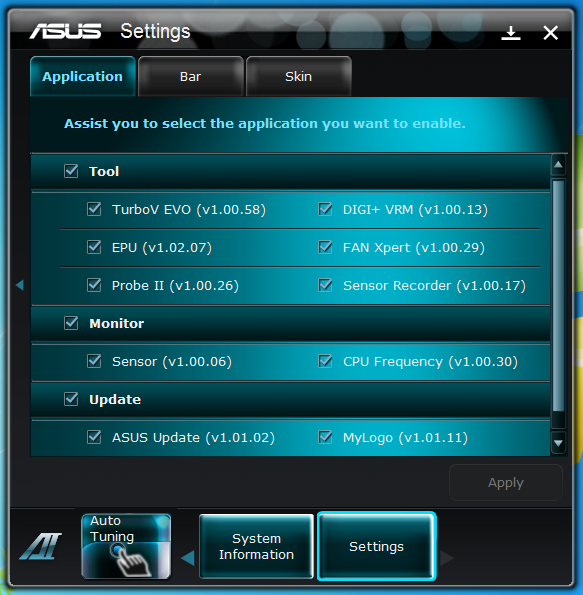
In the past Asus has had multiple utilities that you could chose to install or leave out. With the introduction of the ROG line most of the tools were combined into a single suite of applications. This has again filtered down into the consumer and workstation market where we find the Asus Ai Suite II. 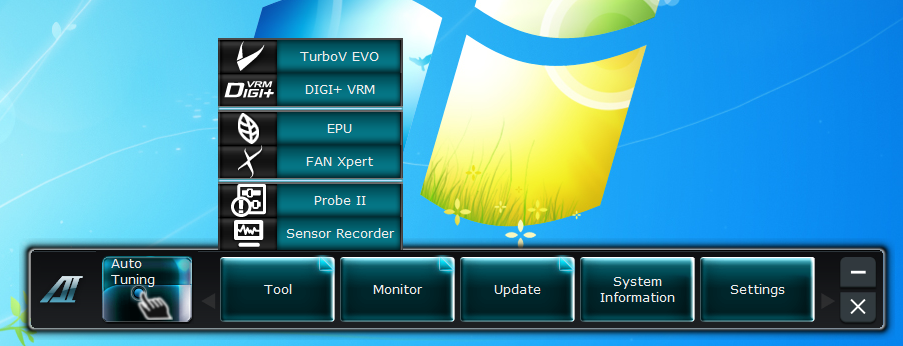
As it sounds the Ai Suite II is a group of applications that give you control over your system from inside Windows (Sorry Linux guys). You will see some very familiar utilities here but they are a little different than what you are used to. Still the thing we are concerned with here are the overclocking tools. For starters let’s look at the Auto Tune feature. We told you how well it worked just a couple of paragraphs before. Here you can see exactly how easy it was to reach this speed. But there is more to this utility than a simple one step OC.
 |
 |
 |
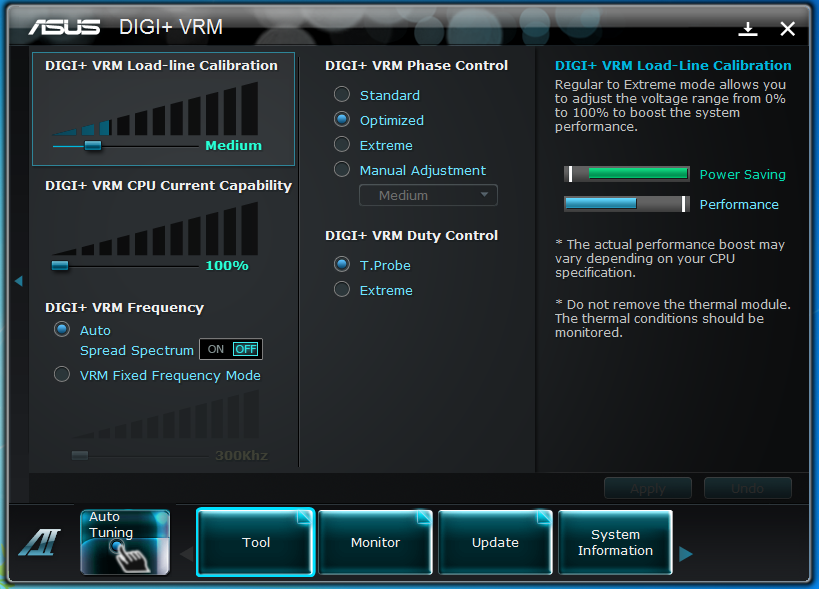
You also have a manual tool, TurboV, that you can use to fine tune your overclock. On top of the TurboV software you also have the Digi+ VRM software that you can use to adjust aspects of the power regulation system. Playing around here can allow you to get a few more MHz out of your CPU but also can have some serious side effects if you are not careful.
 |
|
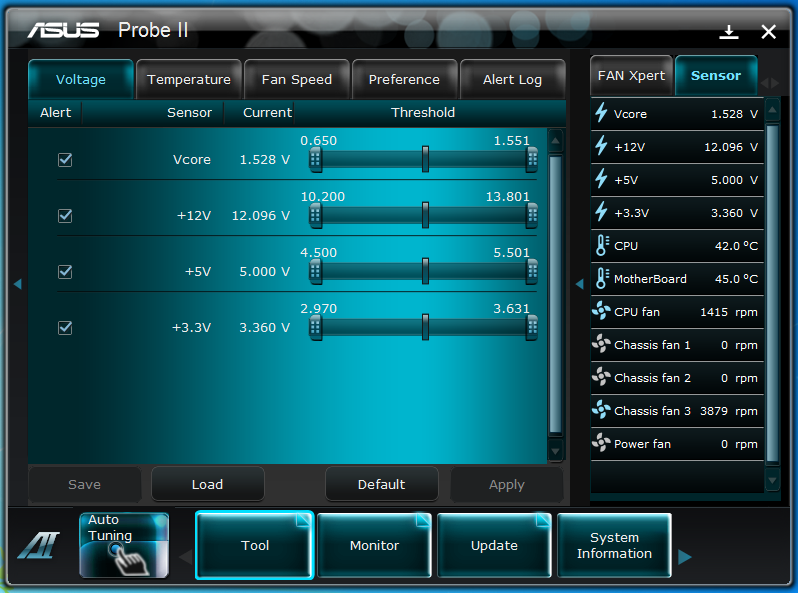
You can also track changes and make adjustments to system voltages in the Probe II pane while you can monitor changes using the Sensor Recorder feature. It really is a great suite of applications bundled into an easy to use format.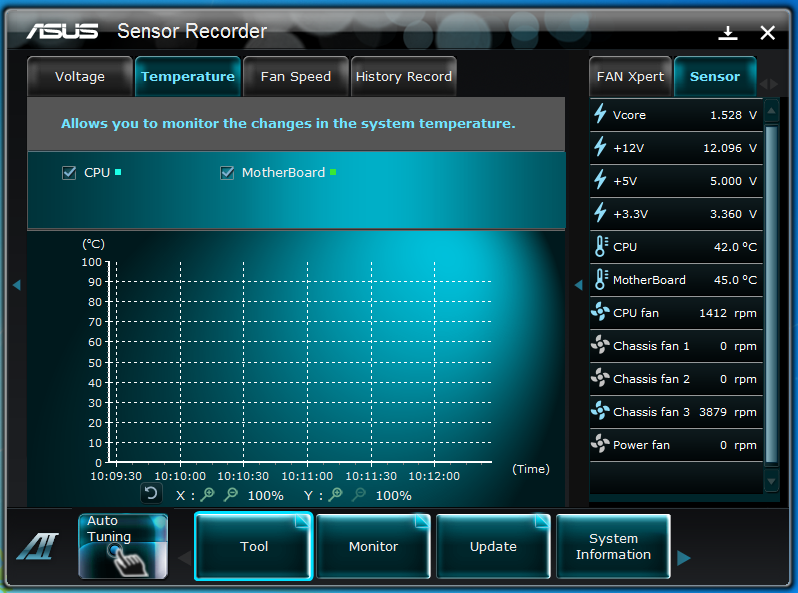
 |
 |

