Along the way we’ve seen a lot of companies entice us with their solutions to our problems. Since 1992, Cooler Master has been keeping pace, providing us with all sorts of hardware for our favorite machines. From tiny mini-ITX cases like the Elite 120 to huge Cosmos II super tower, they’ve made a lot of tinkerers and enthusiasts happy by keeping up with and often leading the evolution of the industry.
Unfortunately, like all things there comes a time when evolution has reached its end. The computer case is a good example. How far can anyone go with what really amounts to a plastic box with standardized parts? We’ve seen a lot of improvements over the years in ventilation, space and cable management, lighting, controls and fit and finish; so what would it take to truly stand out today?
Cooler Master claims they’ve managed that very thing with their latest offering: the HAF Stacker 935. I managed to get my hands on one of these to see if it really does stand out.
The Box –
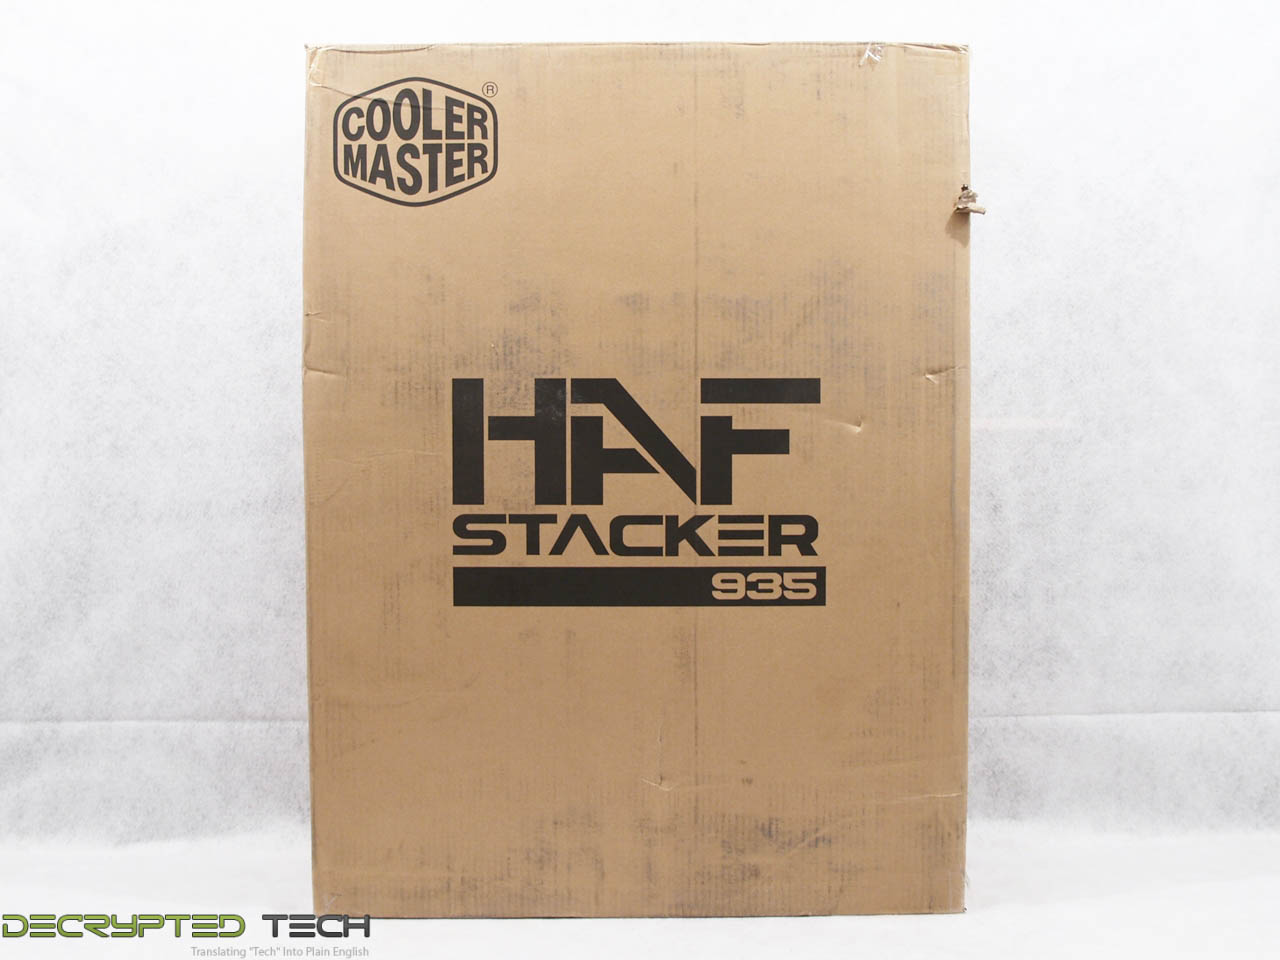
The packaging of the HAF is about a plain as it can be, simple brown cardboard with only the Cooler Master name and the model on it repeated on all four sides. There are no colors, pictures or information on the case at all.
Bear in mind, that this is a pre-release review sample. I’d be very surprised to see this case on a shelf somewhere in this box.
One thing that did really stand out about this box is its size. It is easily the largest box I have ever seen that contained computer hardware. I’ve reviewed a lot of full-tower cases, but it was obvious just from the box that this was something different.
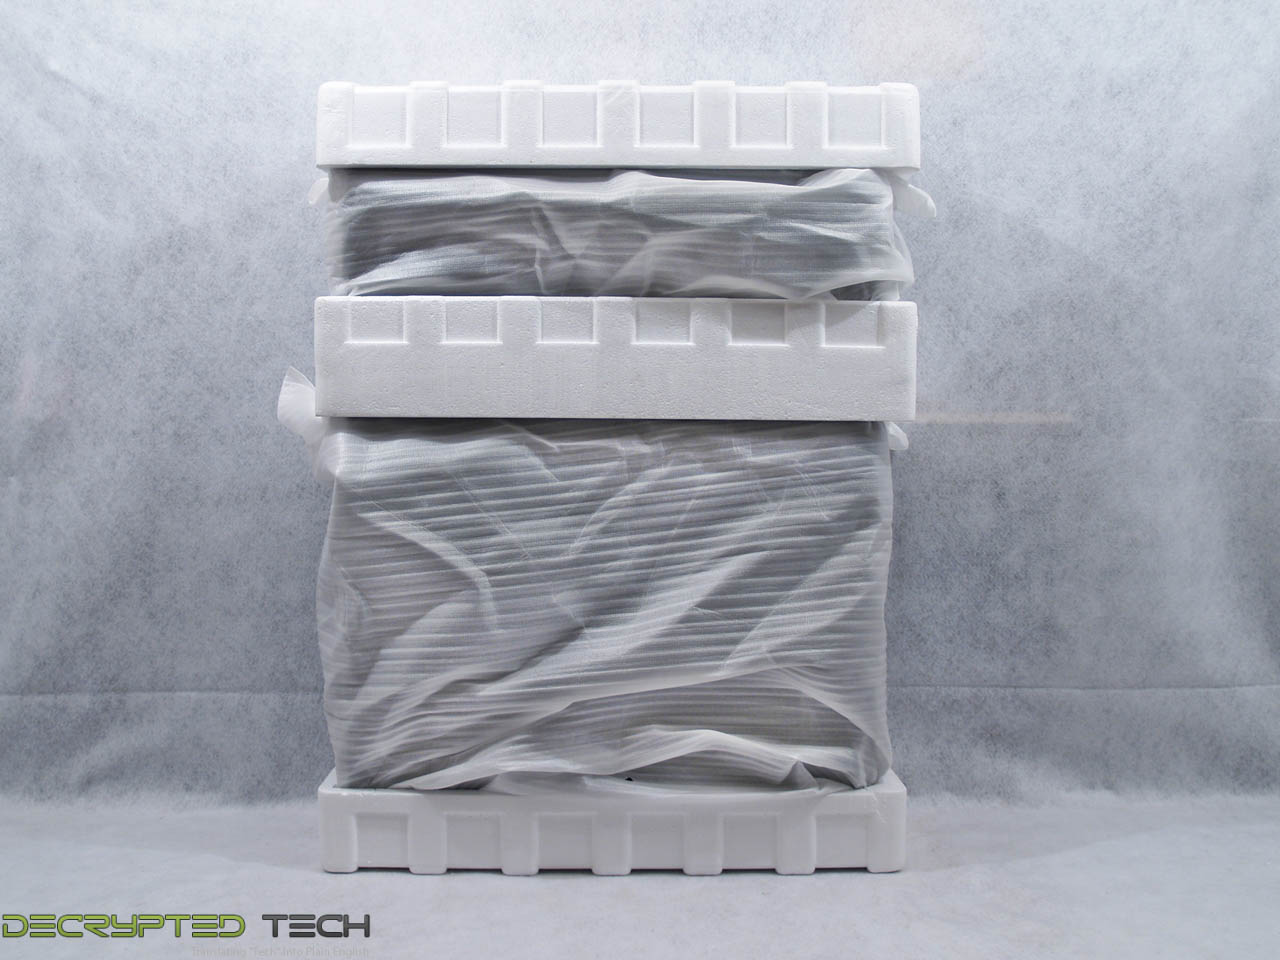
The inside of the box is also a little different. Since the HAF Stacker 935 comes as two separate units, there are three pieces of protective formed Styrofoam: top and bottom as expected, plus a third between the two units. Each is also wrapped in a thin foam bag for additional protection.
The HAF Stacker 935 –
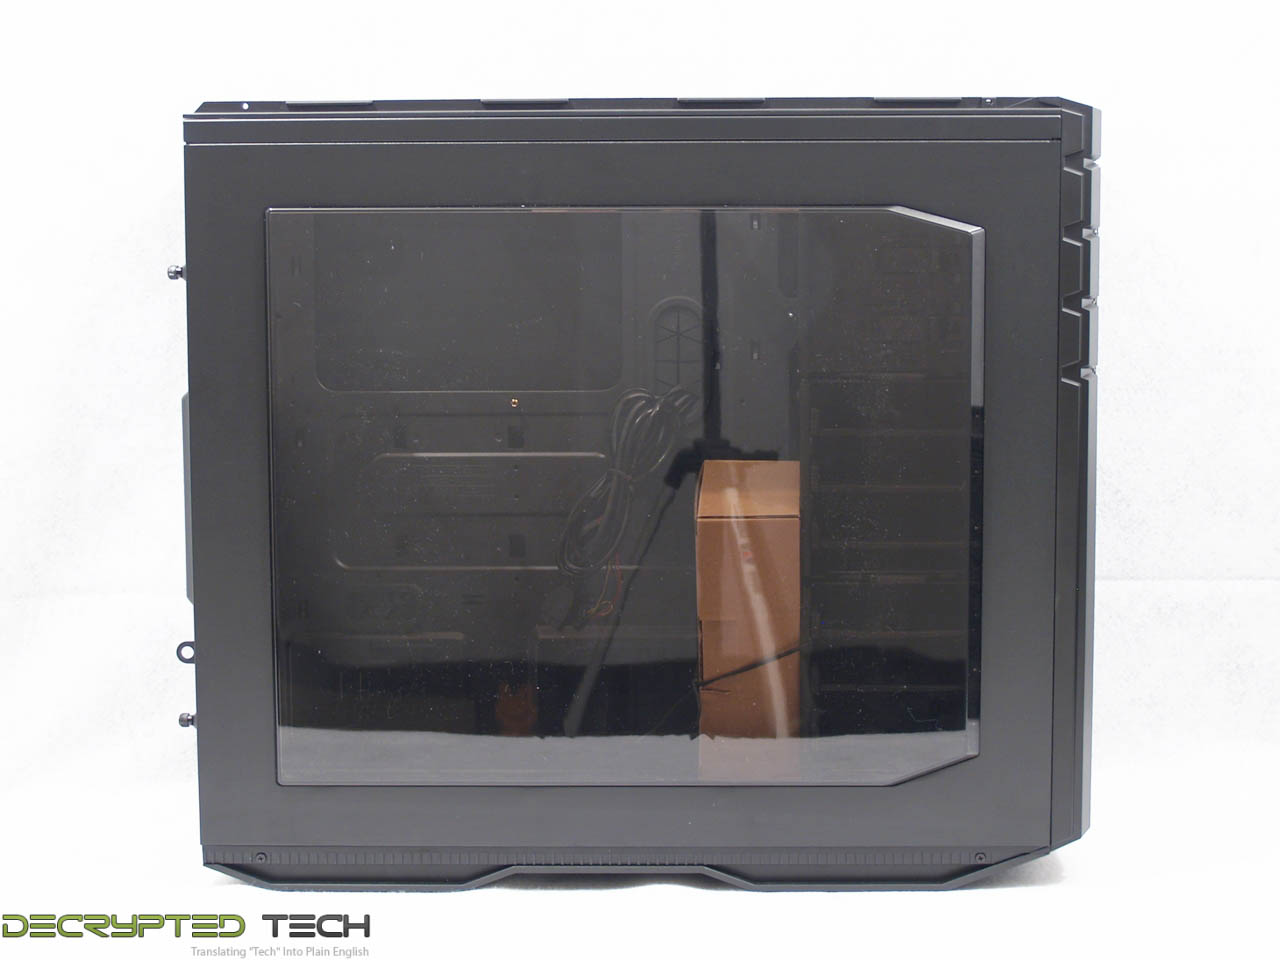
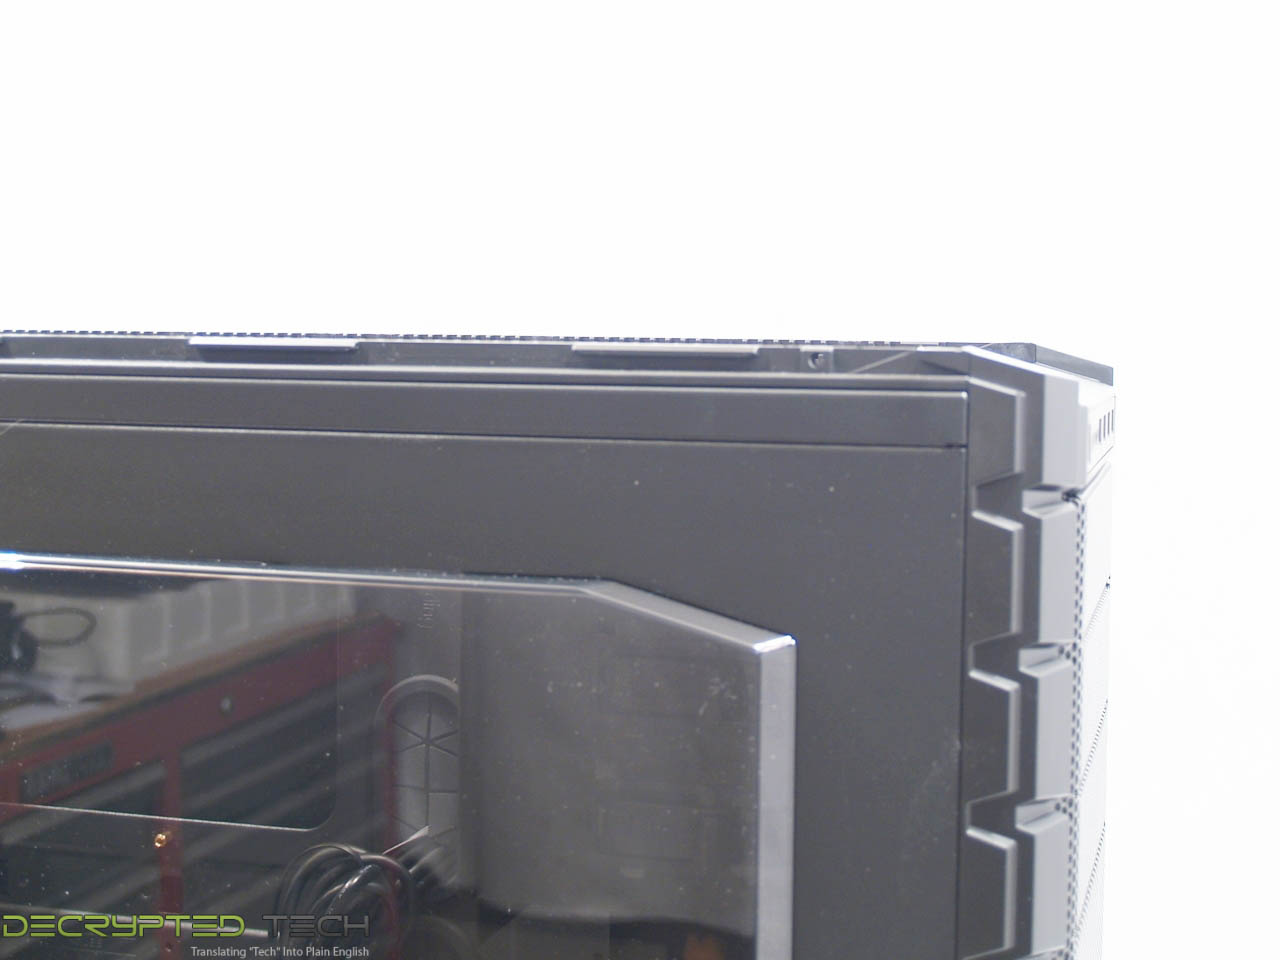
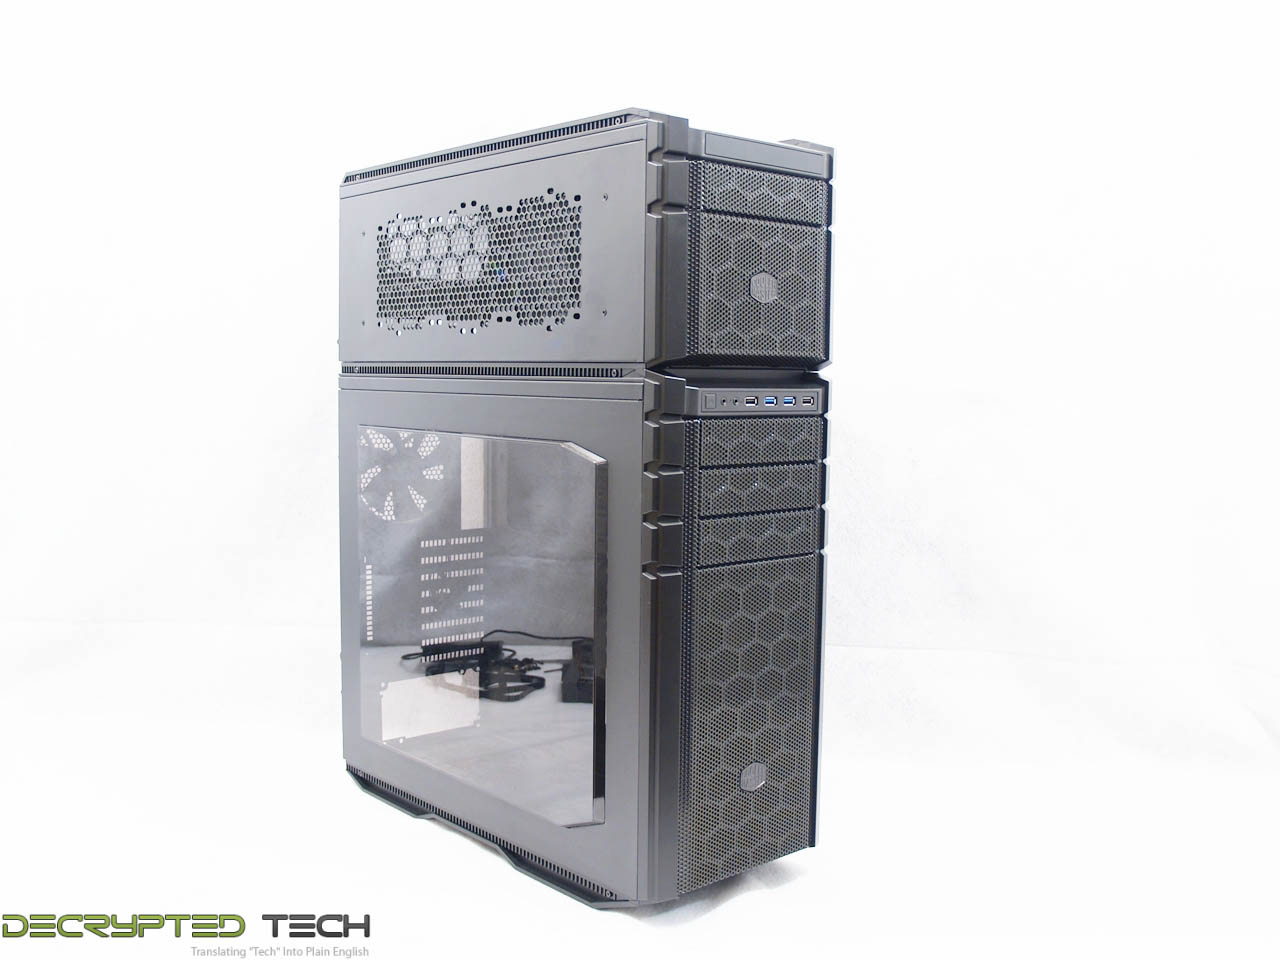
Once I had the box and protective covering off of this behemoth I was treated to two very nice-looking cases. As the two are very different, I’ll break this into two parts starting with the mid-tower main unit of the set. As soon as it was on my bench I peeled the blue protective plastic off of the huge side window. Who can resist pulling that off? What greeted me behind it was one of the best-looking windows I’ve seen to date.
As you can see, it’s huge, and takes up just about as much room as it possibly could in that panel. I love that. I’ve never understood the partial window myself. If I want a window on my case I want to see what’s inside. This window is not only huge, but also beautiful in its own right. The angles on the front, the bevel on the sides, even the slight tint are just gorgeous.
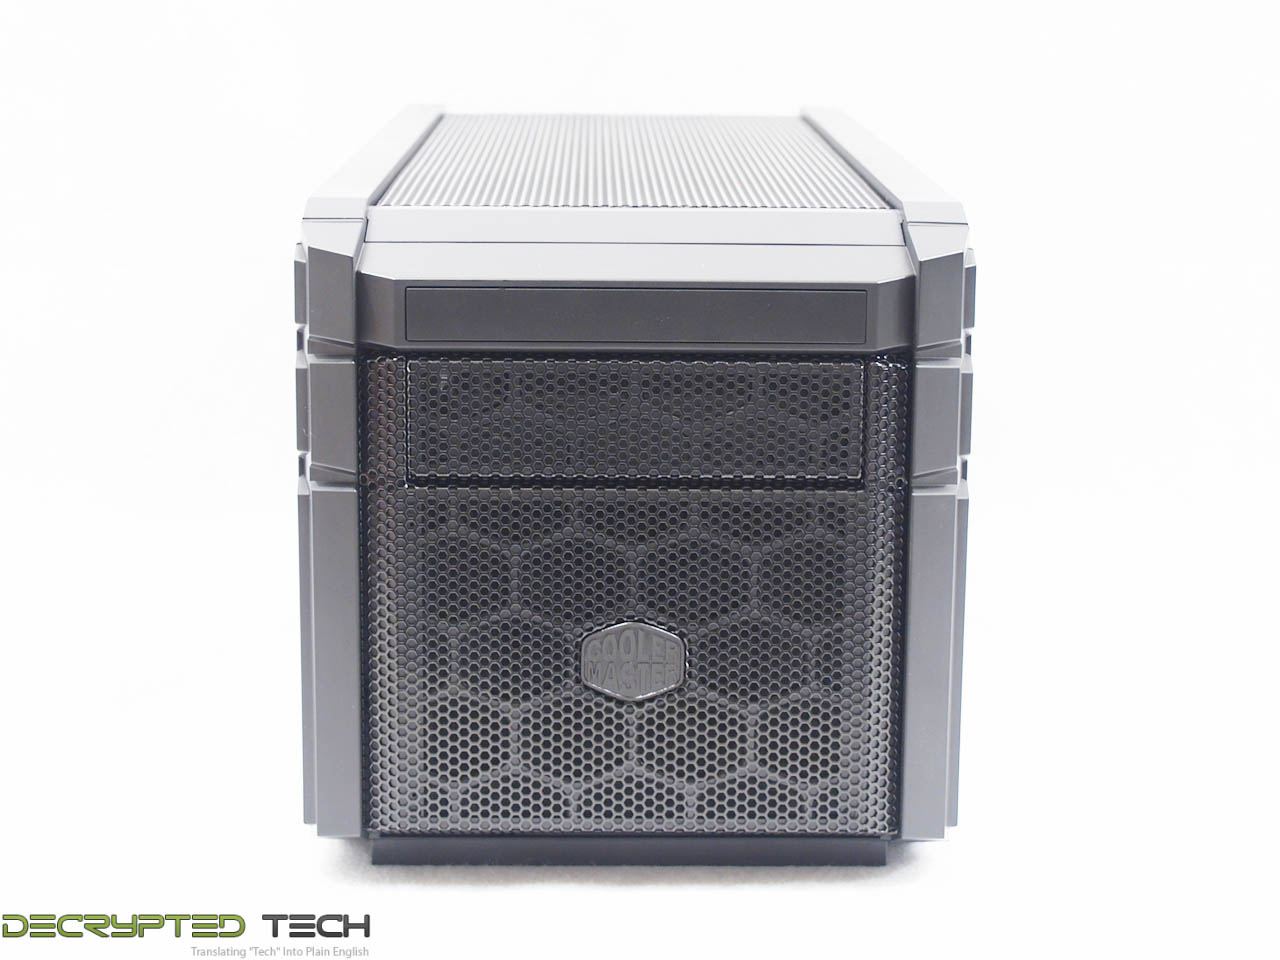
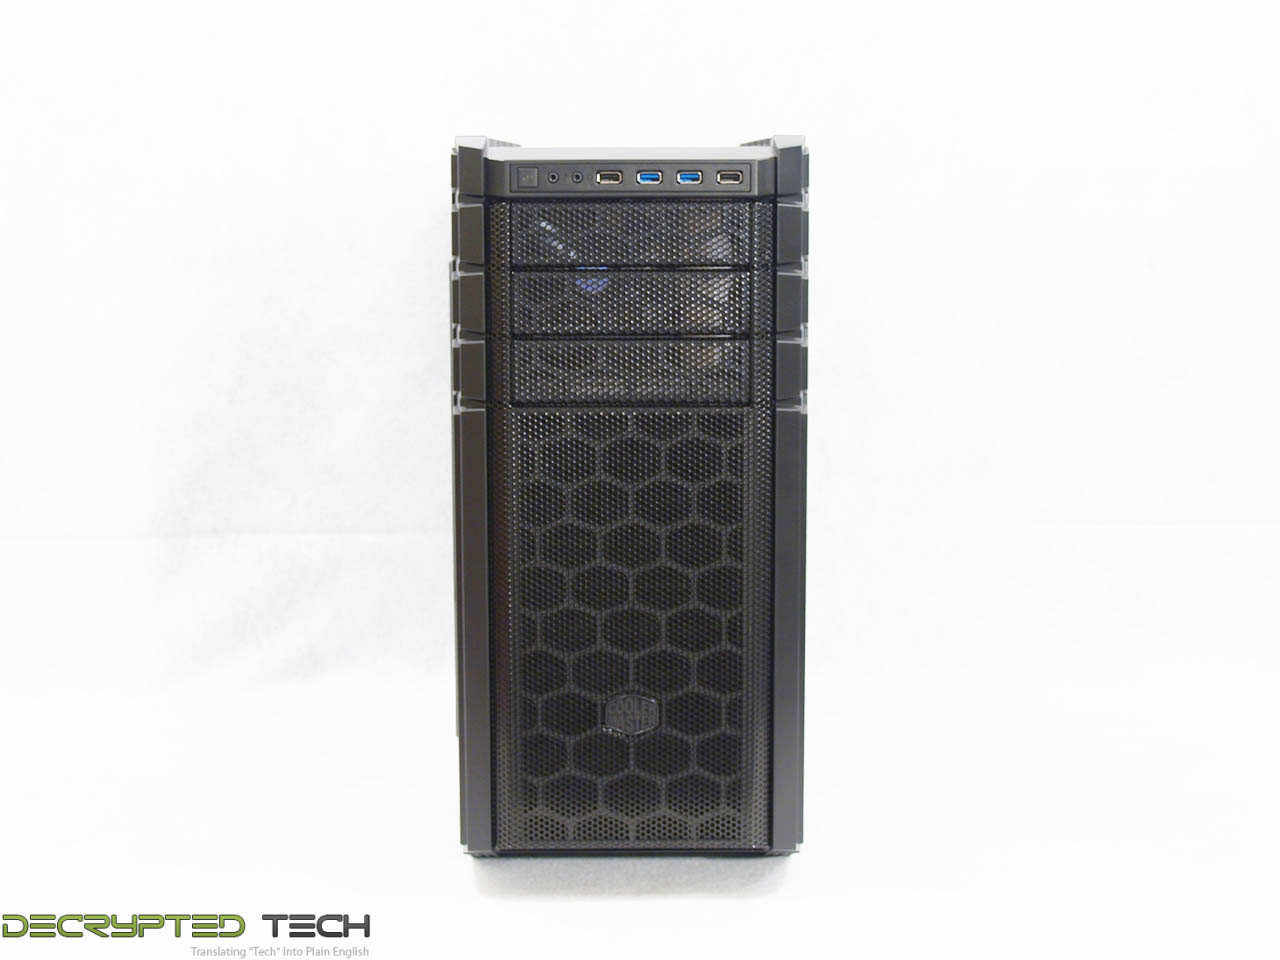
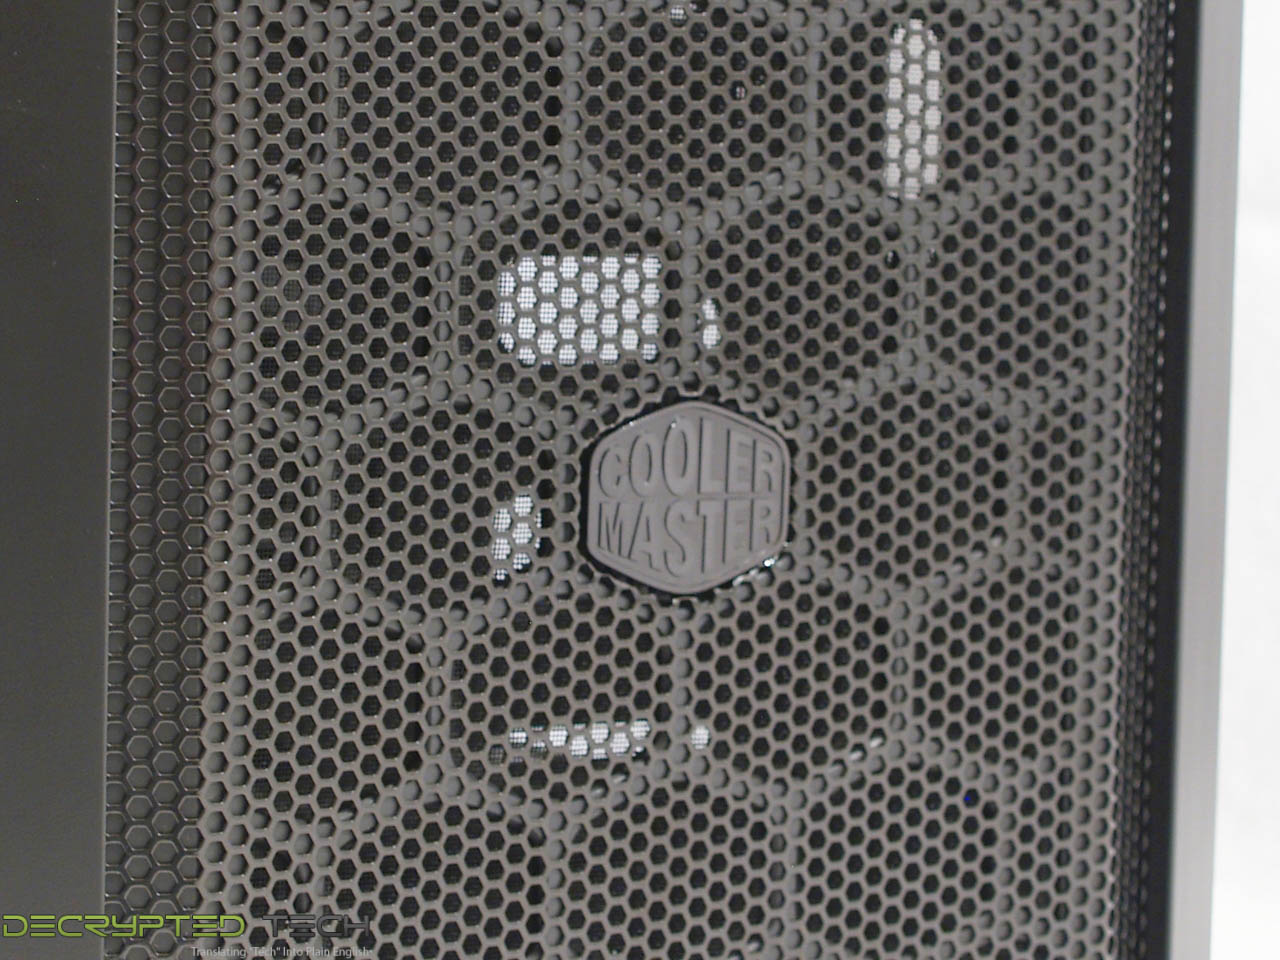
On to the other views of the outside. Looking at the front of the HAF, the lineage of this case is clearly visible in its lines and the mesh that covers its entire front. The Cooler Master logo is proudly displayed front and center.
 |
 |
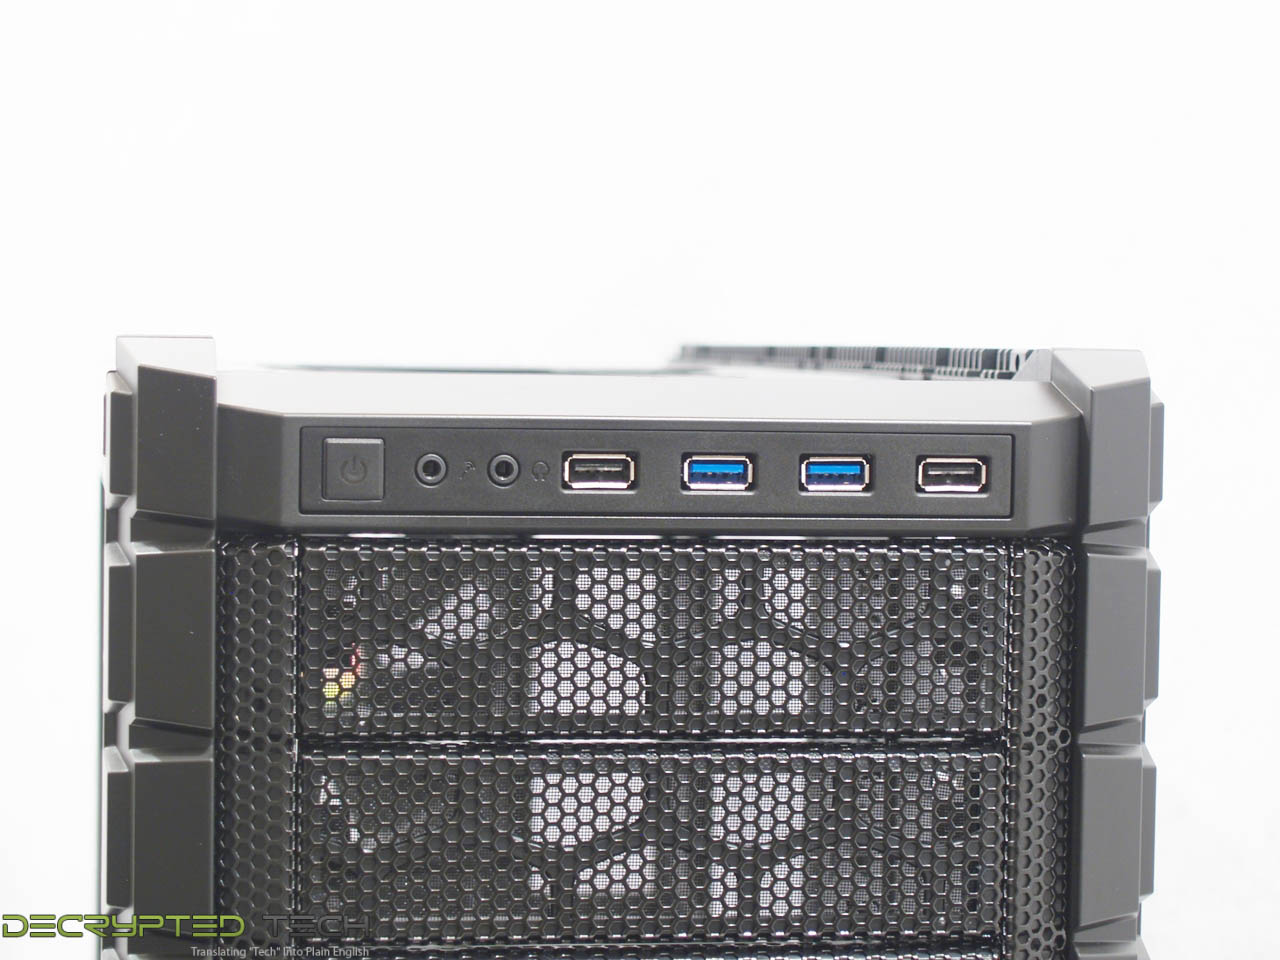
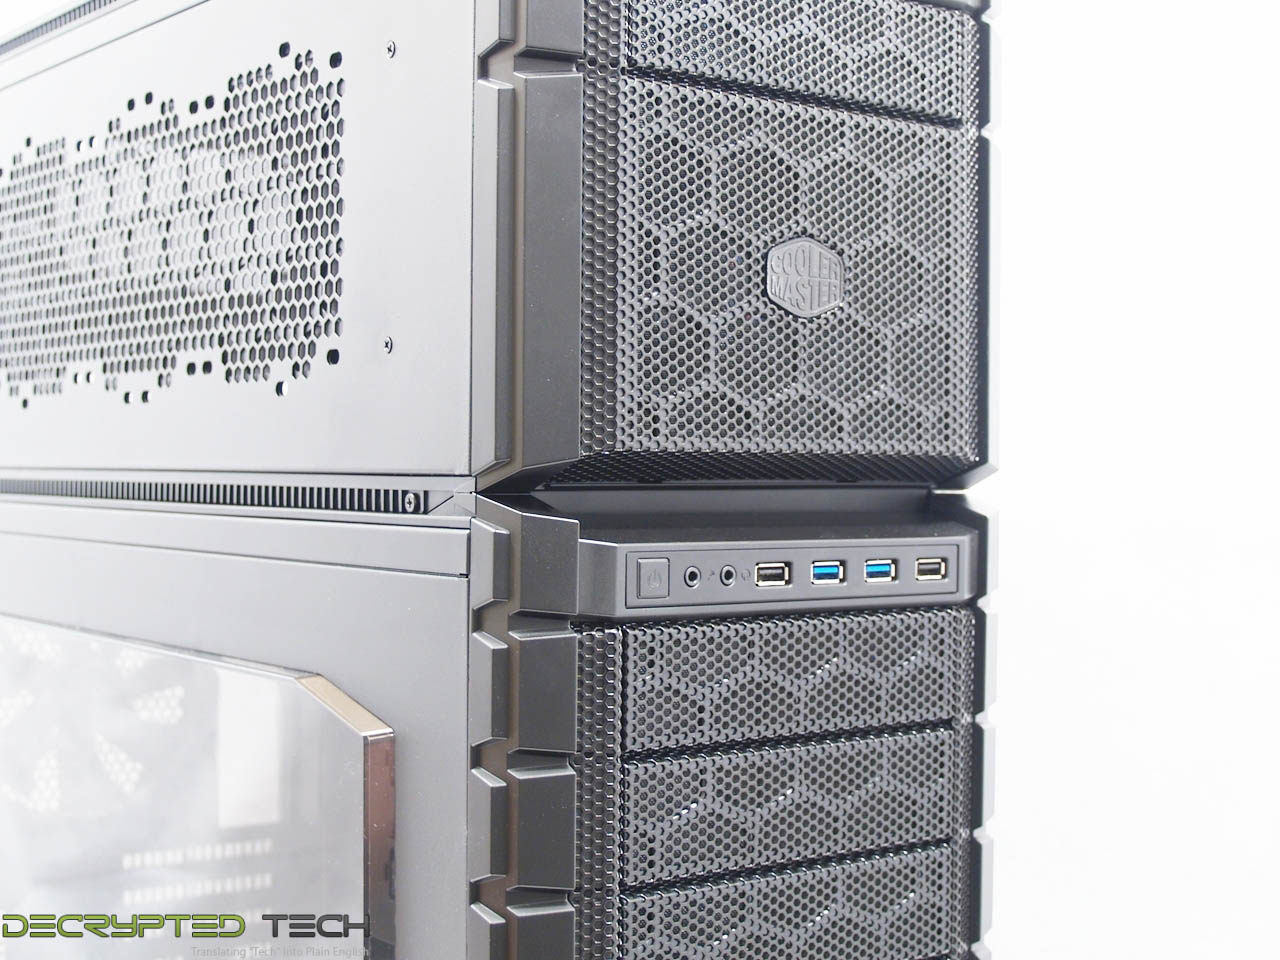
At the top of the front is the I/O panel. Here we have a power switch, headphone and microphone jacks, two USB 2.0 ports and two USB 3.0 ports. If you note the lack of a reset button, that’s by design. The team at Cooler Master decided that since the power switch will do the same job it was redundant. Also missing is a hard drive activity light, though the power switch is illuminated from the power LED pins on the motherboard, so simply putting the harness for that light on the HDD activity pins will make it serve that function instead.
I want to take a minute and talk about the power switch. Another of the first things I do when I open a new case is press that button. I’m very picky about my power switches. A power switch in a modern PC case should not click. At most you should feel the muted tactile feedback you feel in an aftermarket Bulgin switch. It should press in slightly and come back out without a sound. The switch on the HAF Stacker clicks, and loudly. Somehow it just screams cheap to me. This is the most common tactile interface between the user and this case. It should look nice, and more importantly it should feel nice. I understand the reasoning behind the choice on this switch by Cooler Master, a reasoning which has had an impact on several elements of the case we’ll get into later, but I honestly think an extra $5 each for a top-notch switch would have been worth the investment.
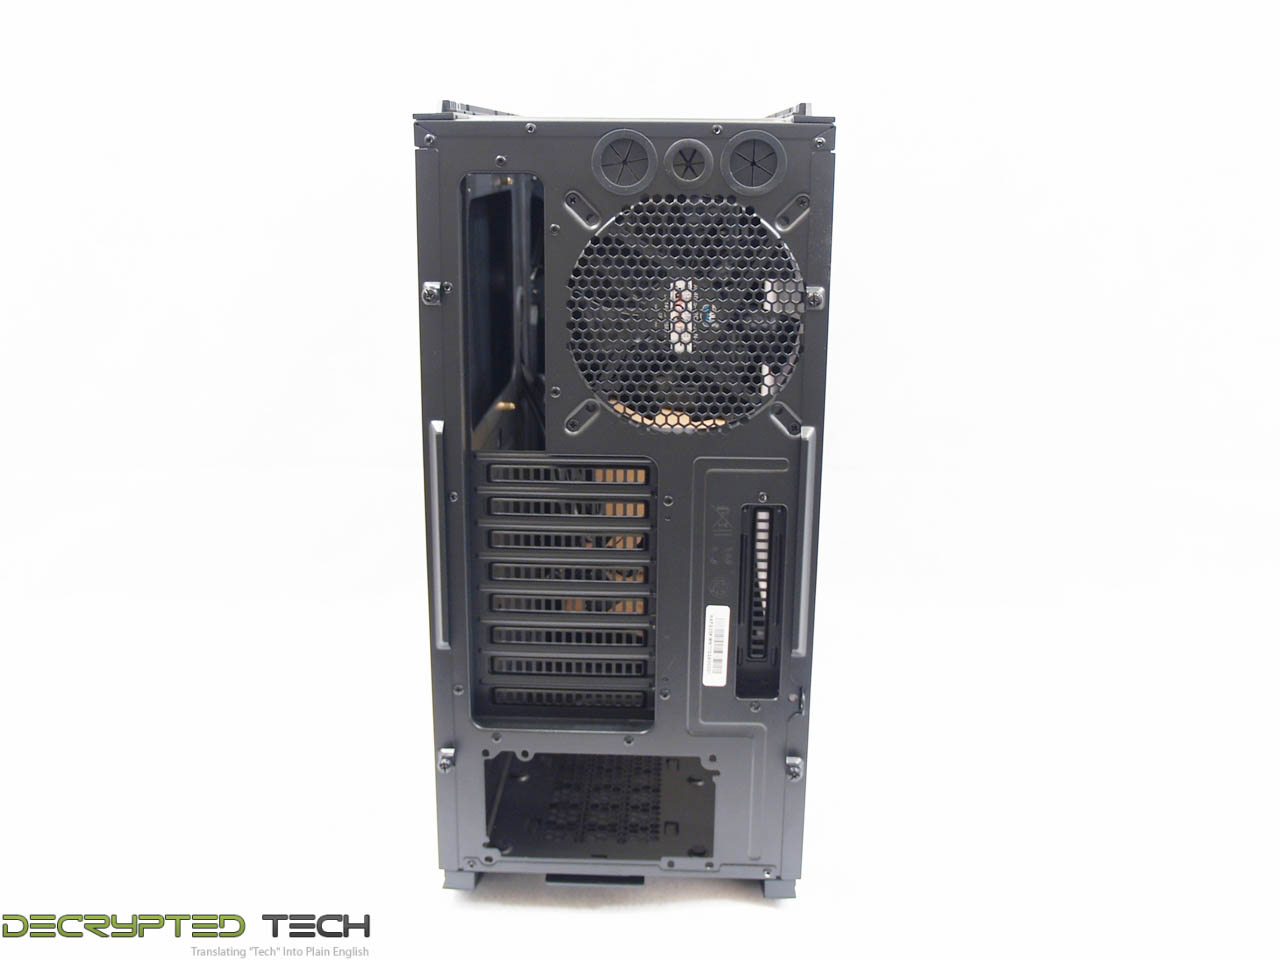
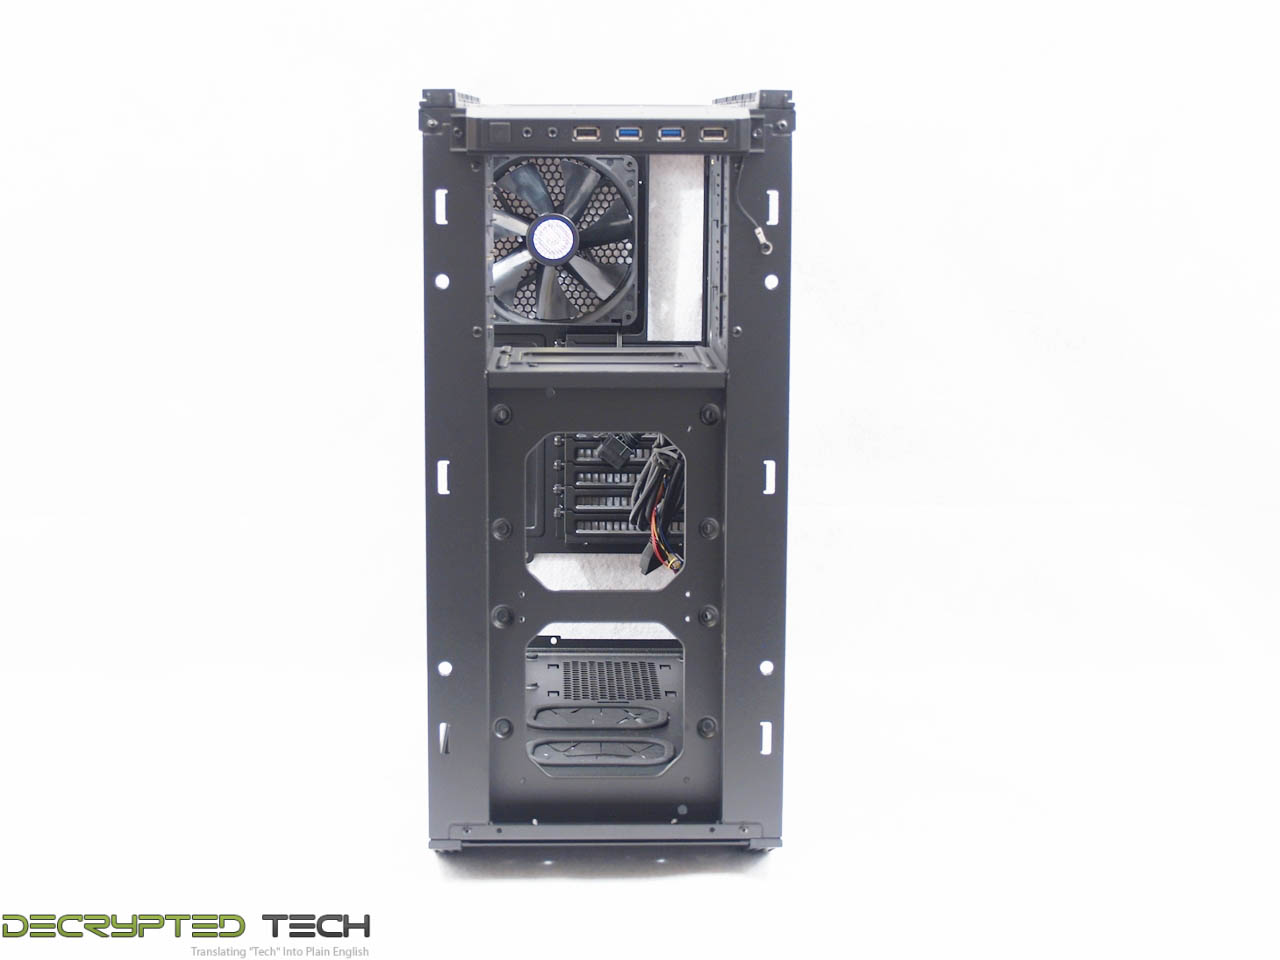
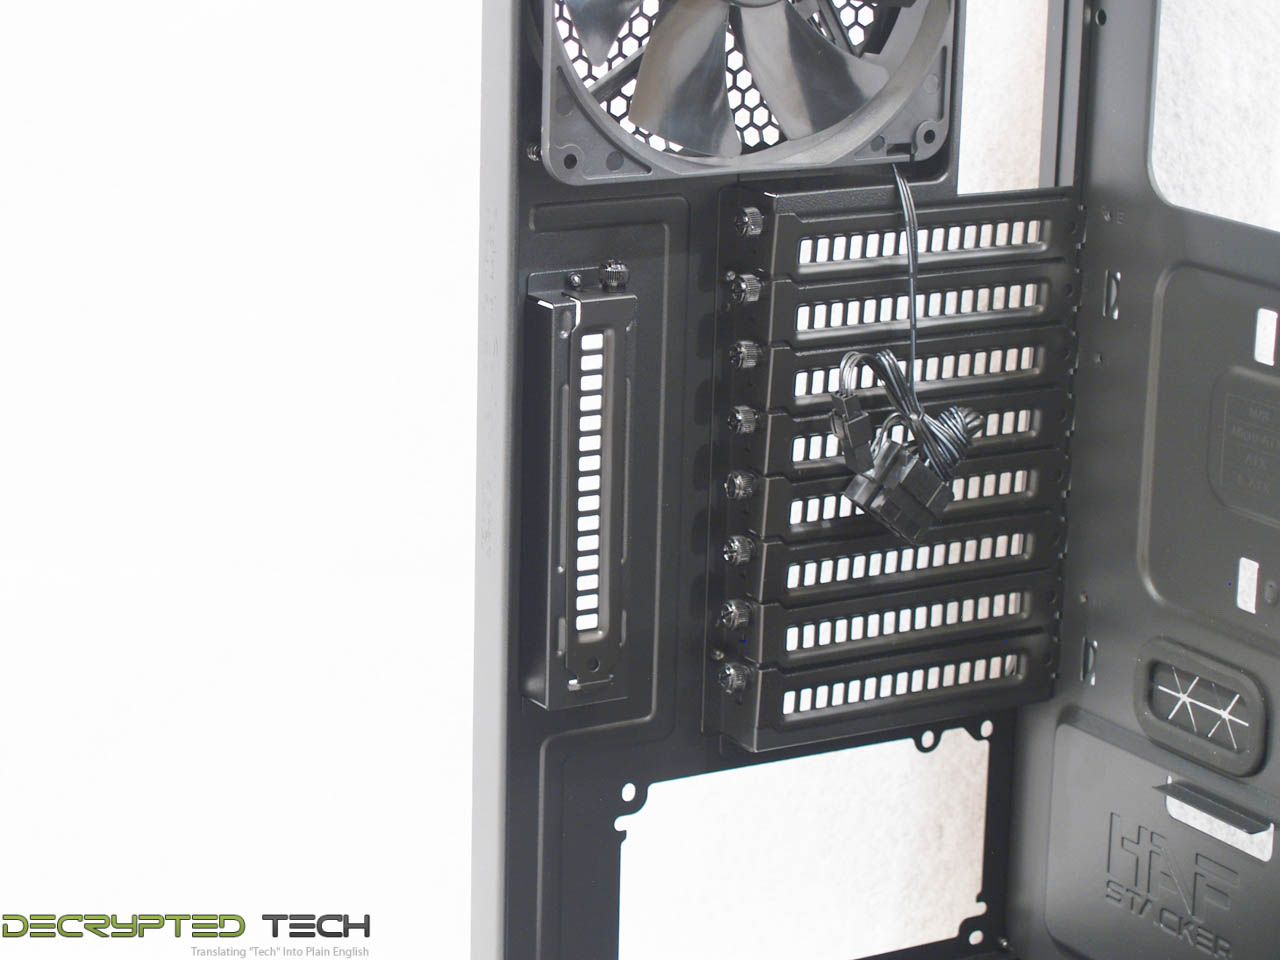
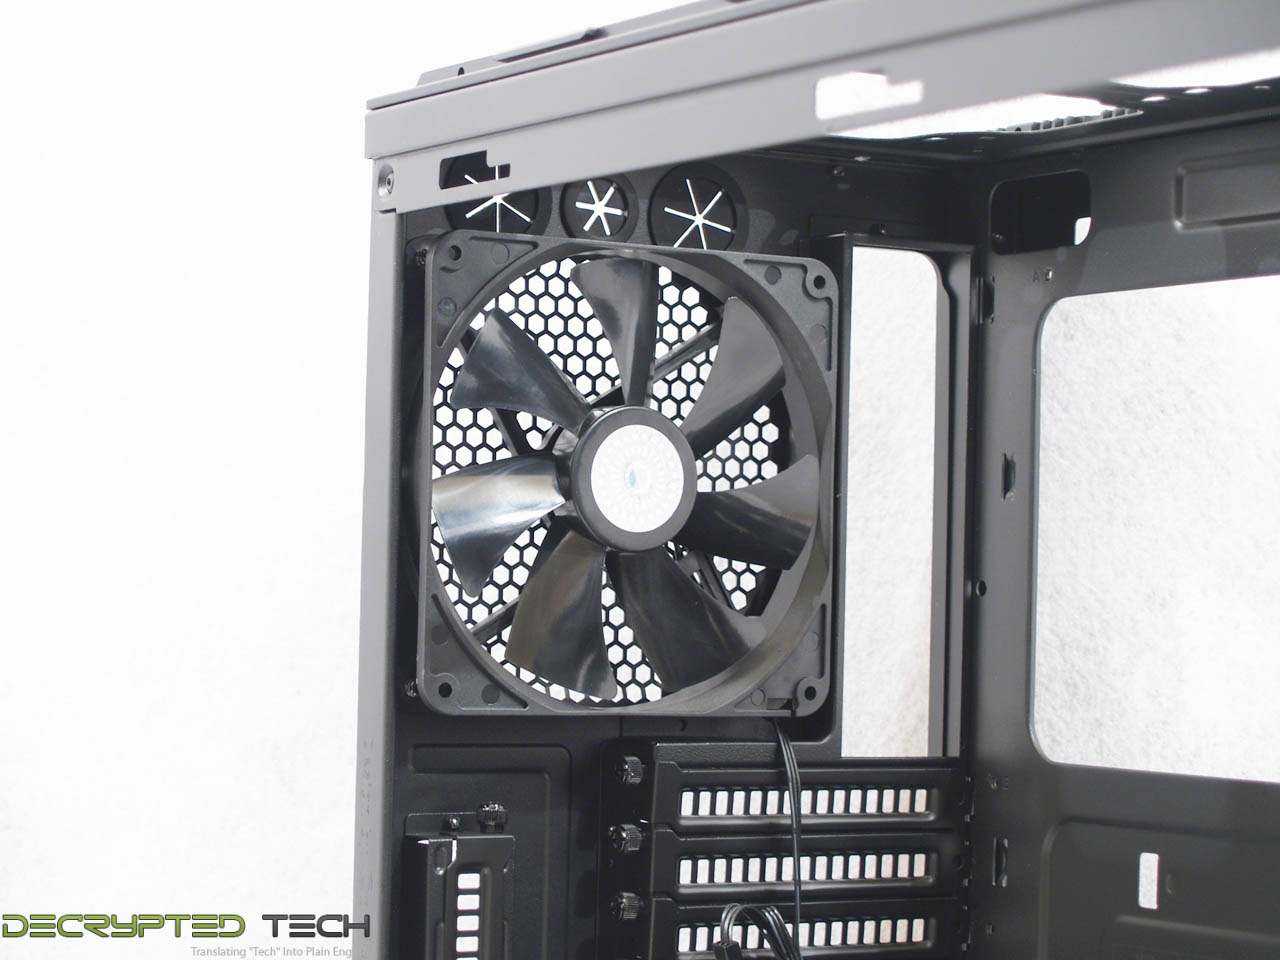
Turning the case around we see a fairly standard modern case setup with bottom-mounted PSU tray with removable dust filter, I/O panel cutout, water-cooling passthrough holes with grommets, a single 140mm fan, and eight (or is it nine?) expansion slots. There is one extra slot toward the window side of the case, oriented vertically.
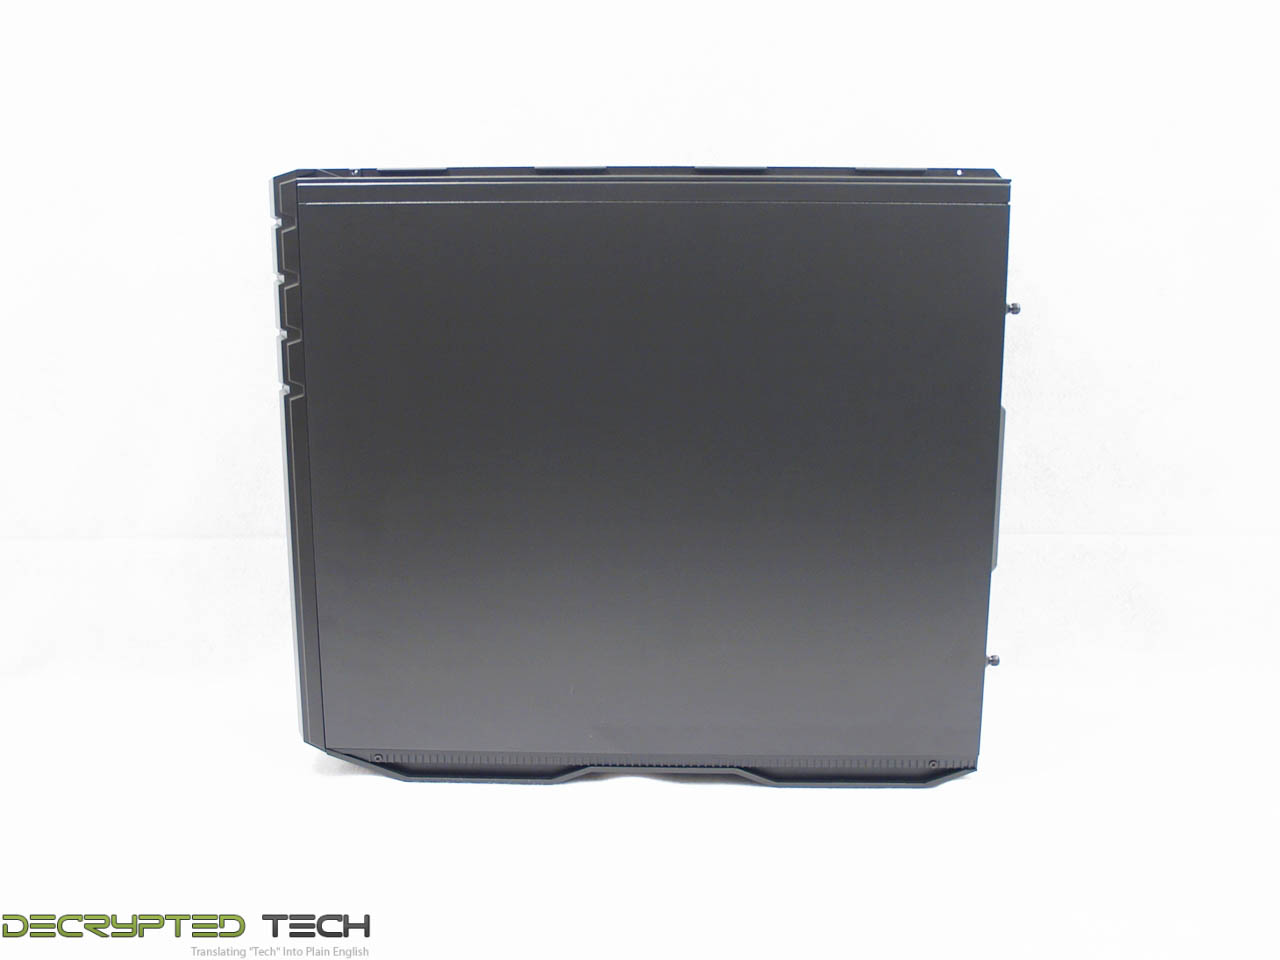
The right side of the case is completely bare, nothing to see here but smooth satin black finish. Since there was obviously no reason to put a window on this side I think this plain approach goes nicely with the other side.
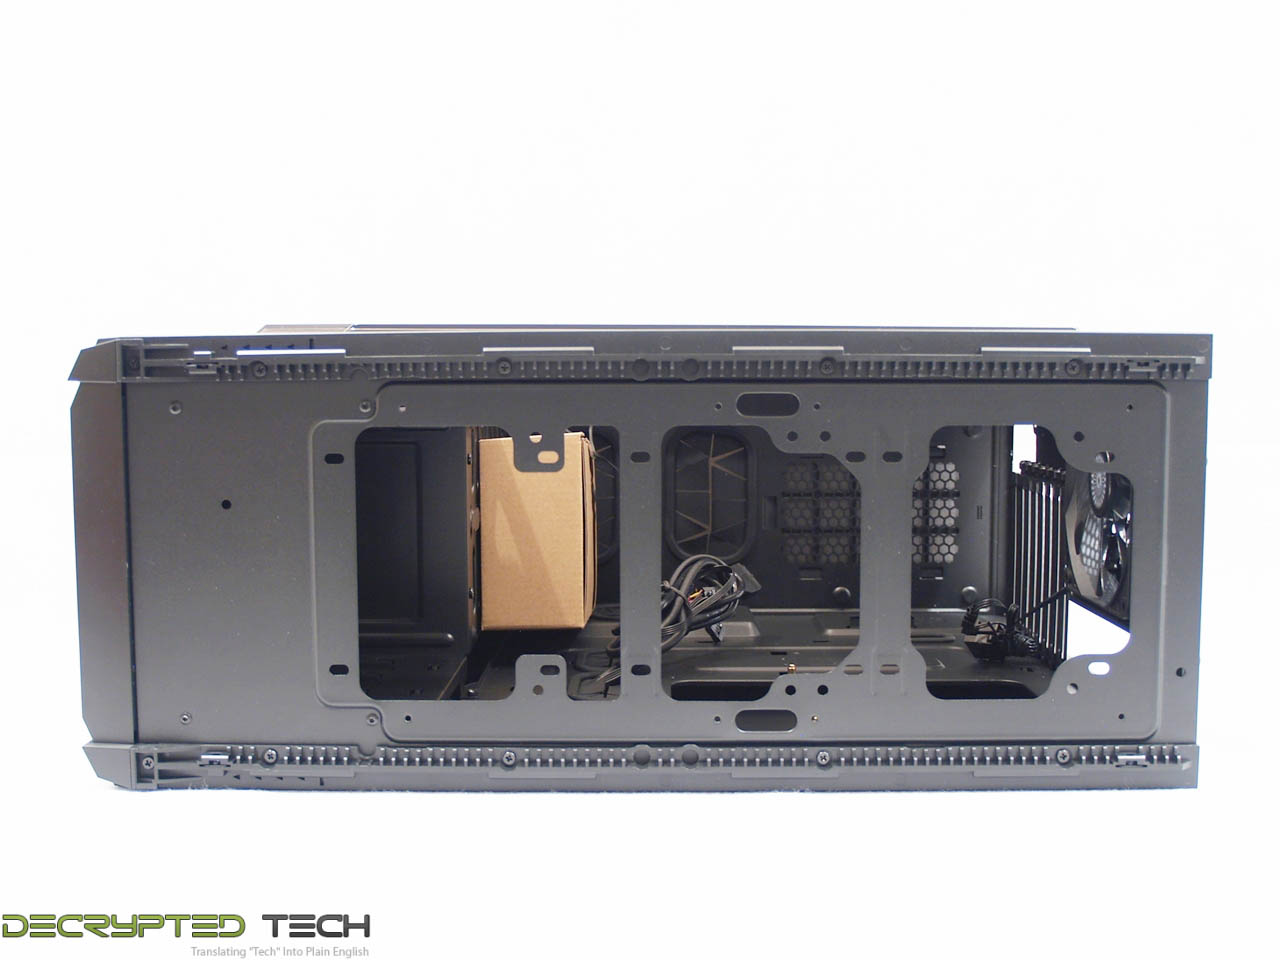
The main unit of the set doesn’t have a top on it as it comes out of the box. Laying it down on the bench we get a clear shot of the naked top and the cutouts there. Despite what the number and layout of the holes might imply, a radiator cannot be mounted to the top of the main unit. Don’t let that deter you, water-coolers. The HAF Stacker has that well in hand, as we’ll see shortly.
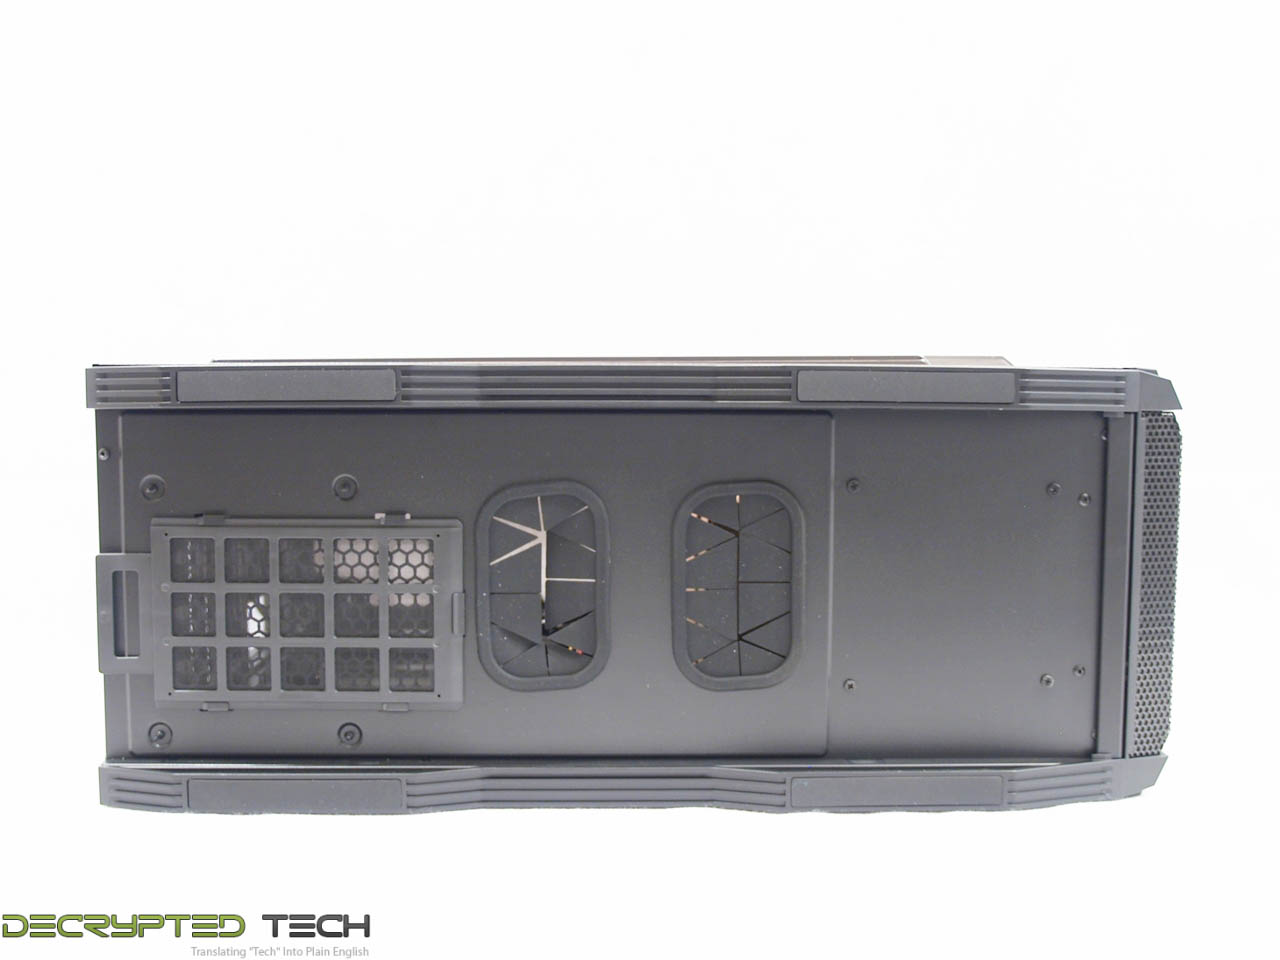
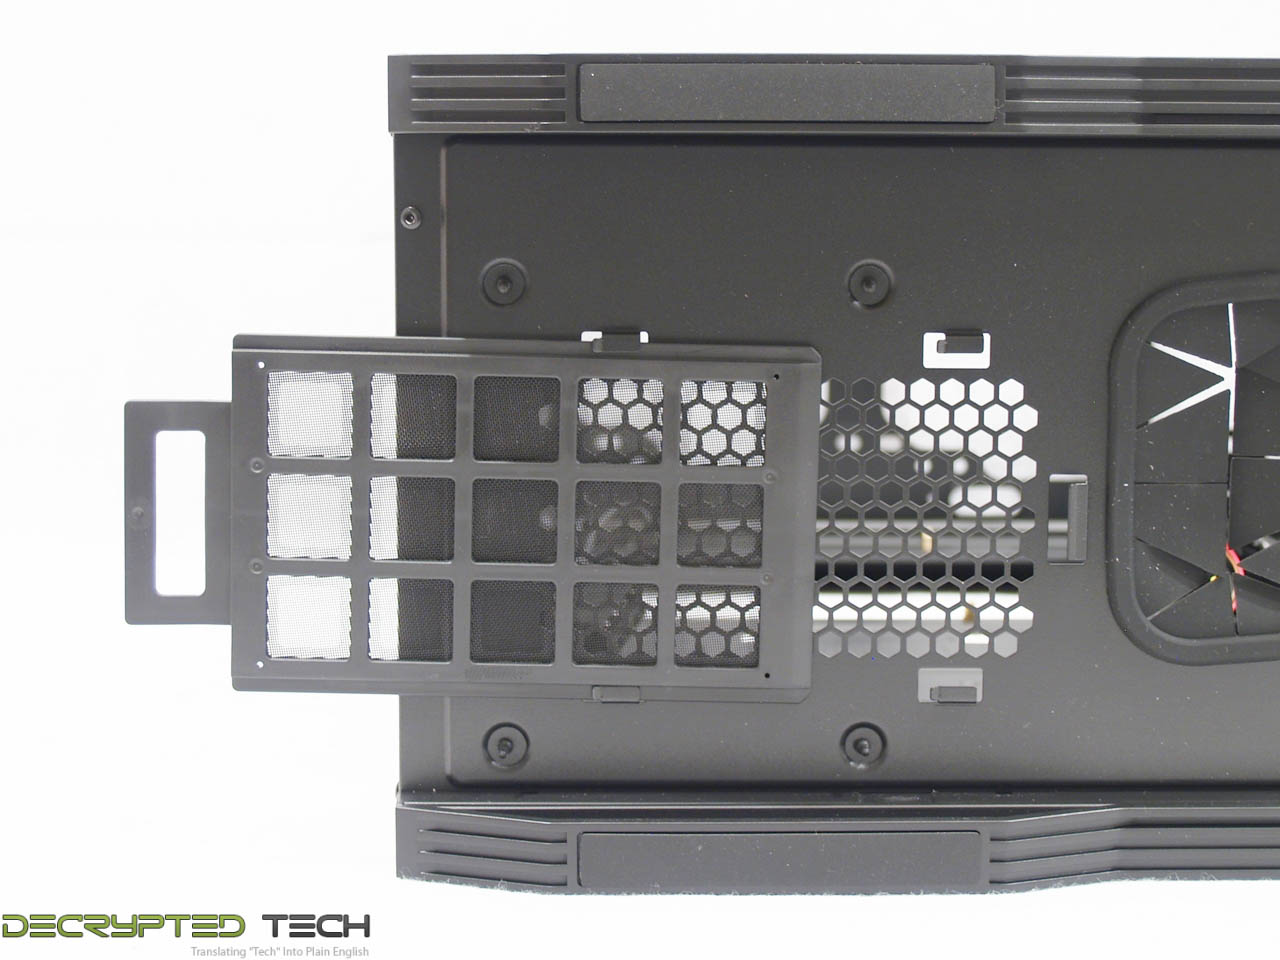
On the bottom of the main unit are two more large passthrough holes with grommets and the dust filter mentioned earlier. This filter is very fine and easy to remove from the rear without opening the case.
 |
 |
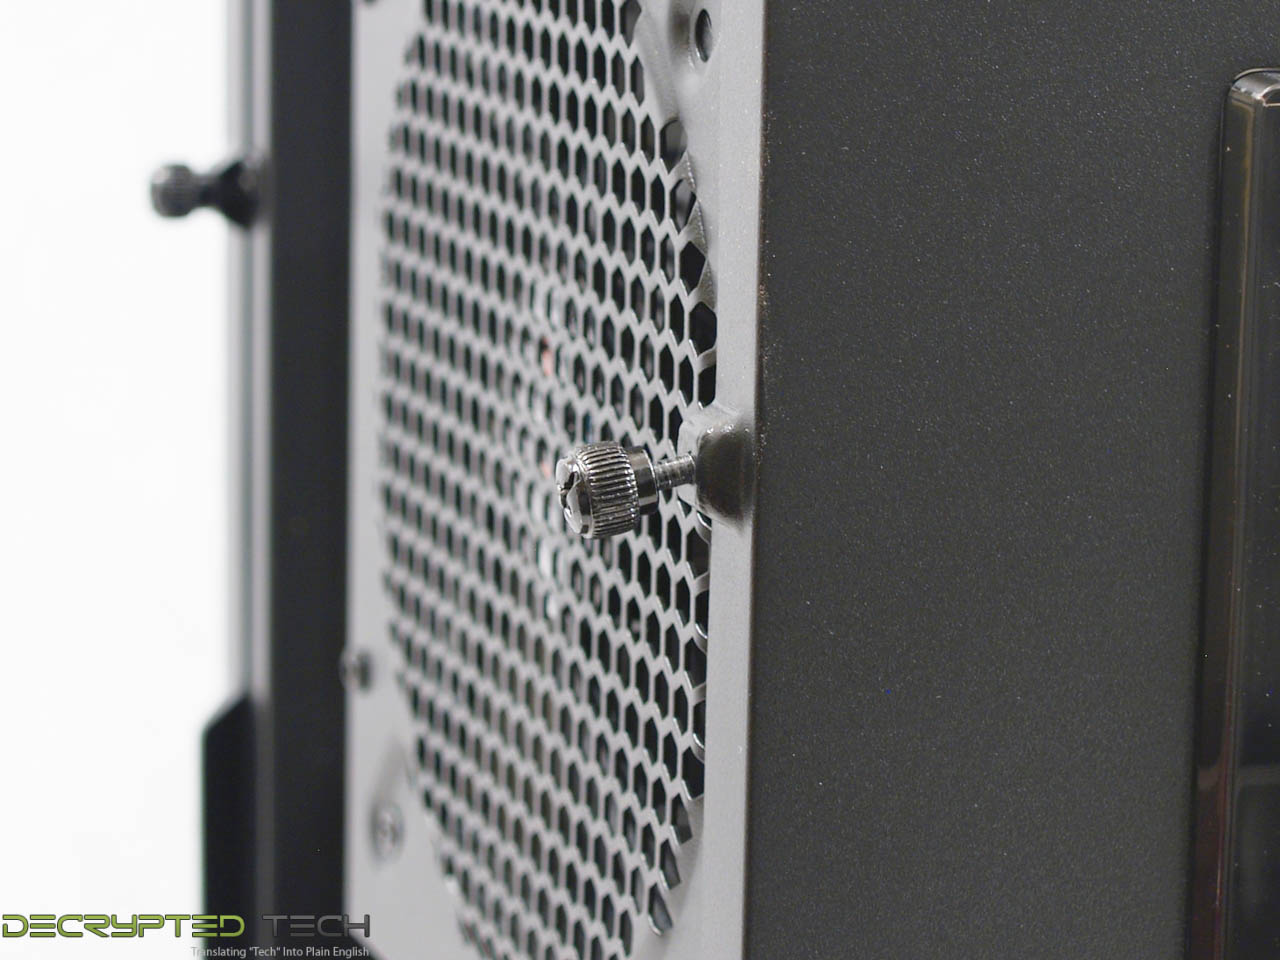
Okay, that’s the outside of the main unit. So far, pretty impressive except for that power switch. Time to open it up. I was a little disappointed on the side panels, as they use the old slide-lock retention system with thumb screws in the rear. In a case with this much hype I was hoping for more. I’ve had a lot of trouble with panels like these before, but I’ll give credit where credit is due: not only did both side panels come off easily once the screws were taken out , someone at Cooler Master evidently hates chasing dropped thumb screws as much as I do, as these don’t come out. They screw in and out of the threaded holes in the case itself but will not come out of the holes in the panels. Well done!
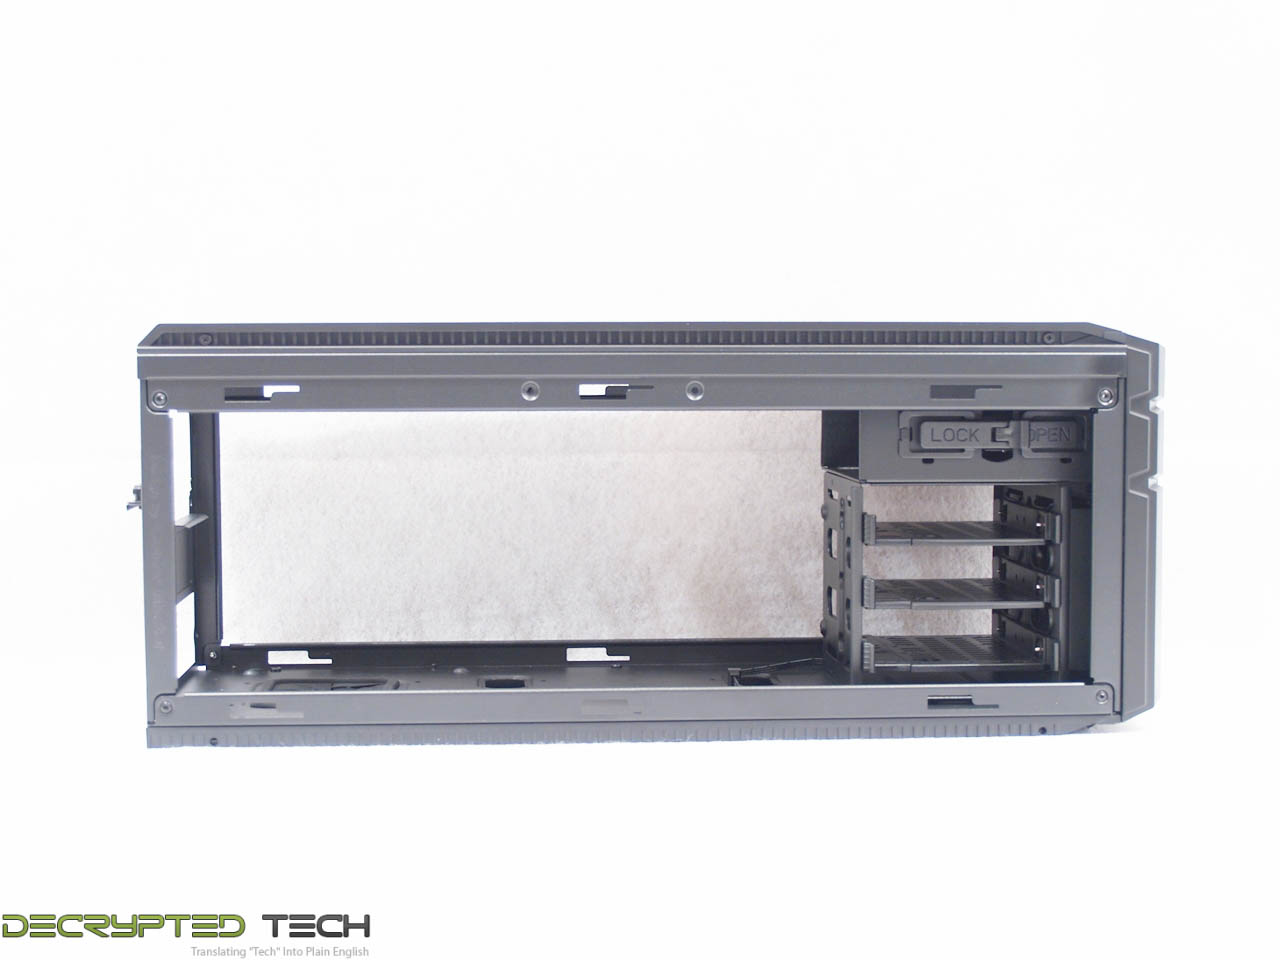
At last, our first glance inside! Again, here we have a fairly standard layout: motherboard mounting points for motherboards all the way up to E-ATX, several passthroughs for cable management, a huge backplate access hole, six tool-free hard drive caddies and three tool-free 3.5-inch drive bays.
One thing that may have been noticed already is the lack of fans. The entire HAF Stacker 935 system comes with two fans. The main unit includes the previously-mentioned 140mm rear fan, and the smaller 915R unit includes a single 92mm fan . This seems like a curious omission from a company that consistently makes some of the best fans on the market, but Cooler Master says the decision was made with the thought that anyone who built a system with this chassis would immediately replace the stock fans anyway. A good point, and another of those design decisions to keep in mind for later in this review.
 |
 |
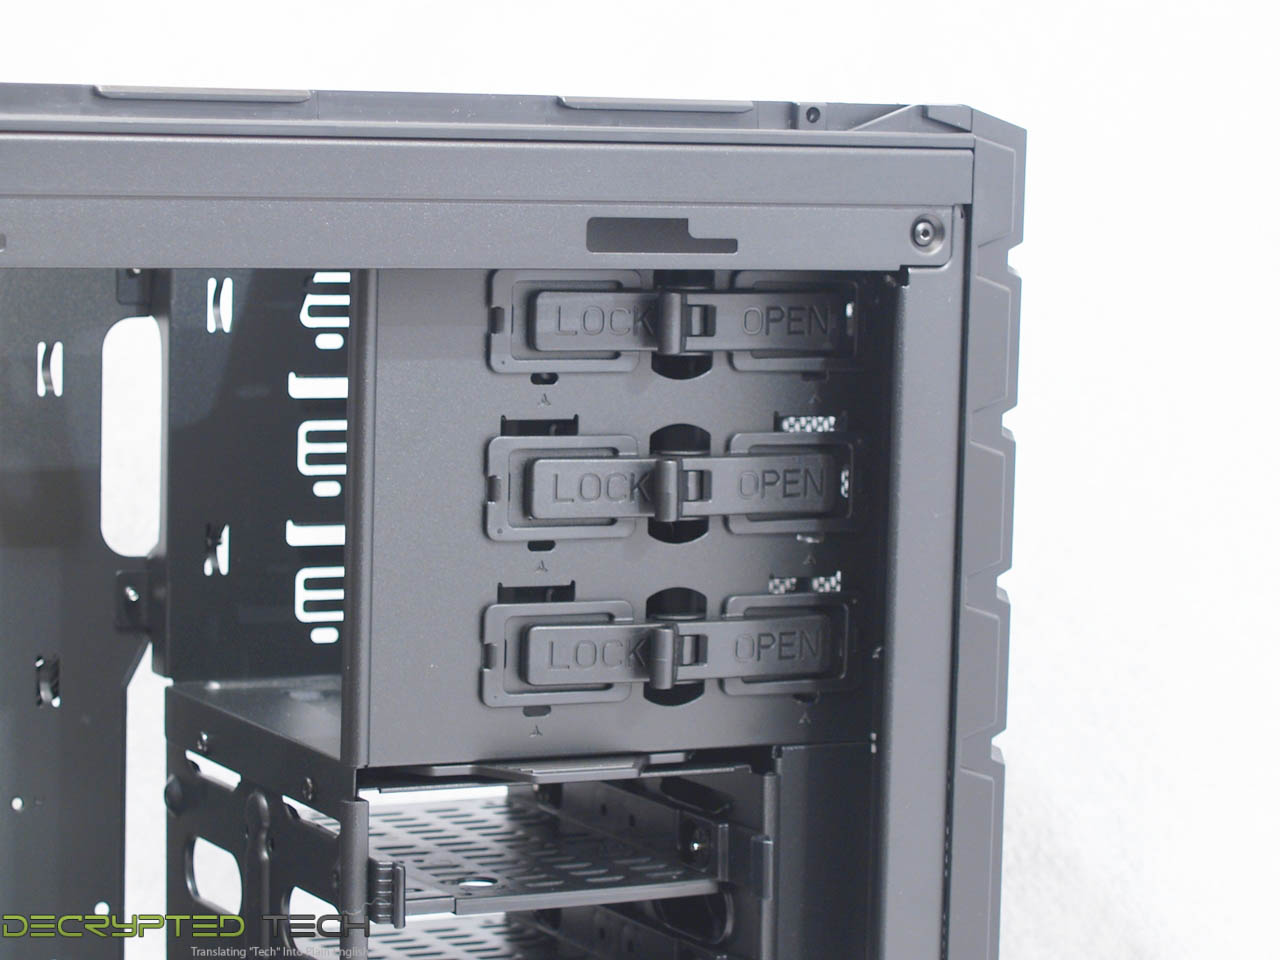
The tool-free 3.5-inch drive bays function very well, with a positive snapping action that lets the user know that they are fully seated where they should be. I always add a screw to the other side myself but I don’t think it’s strictly necessary with this setup.
Let’s take a closer look at those drive caddies.
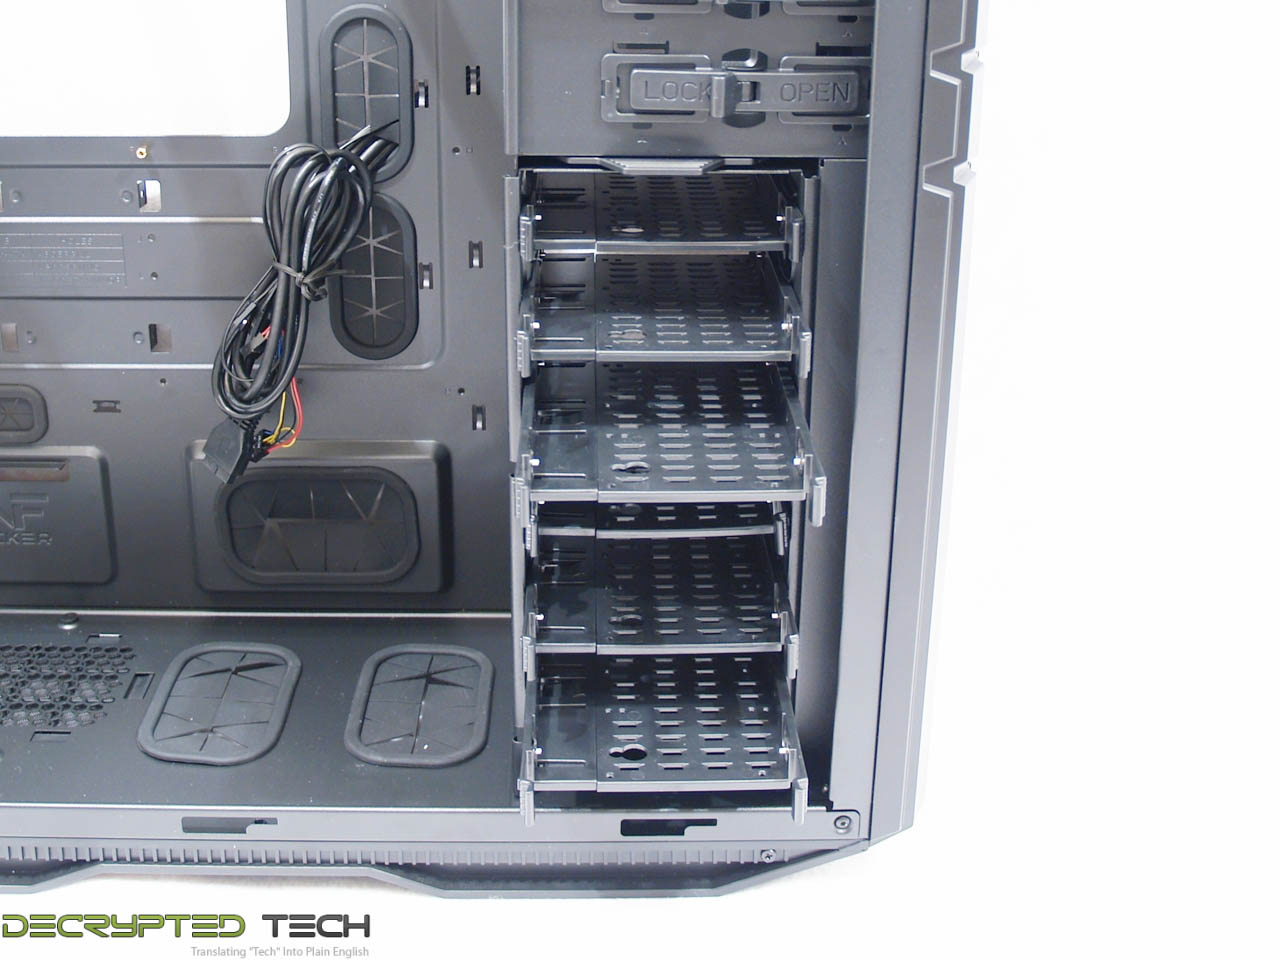
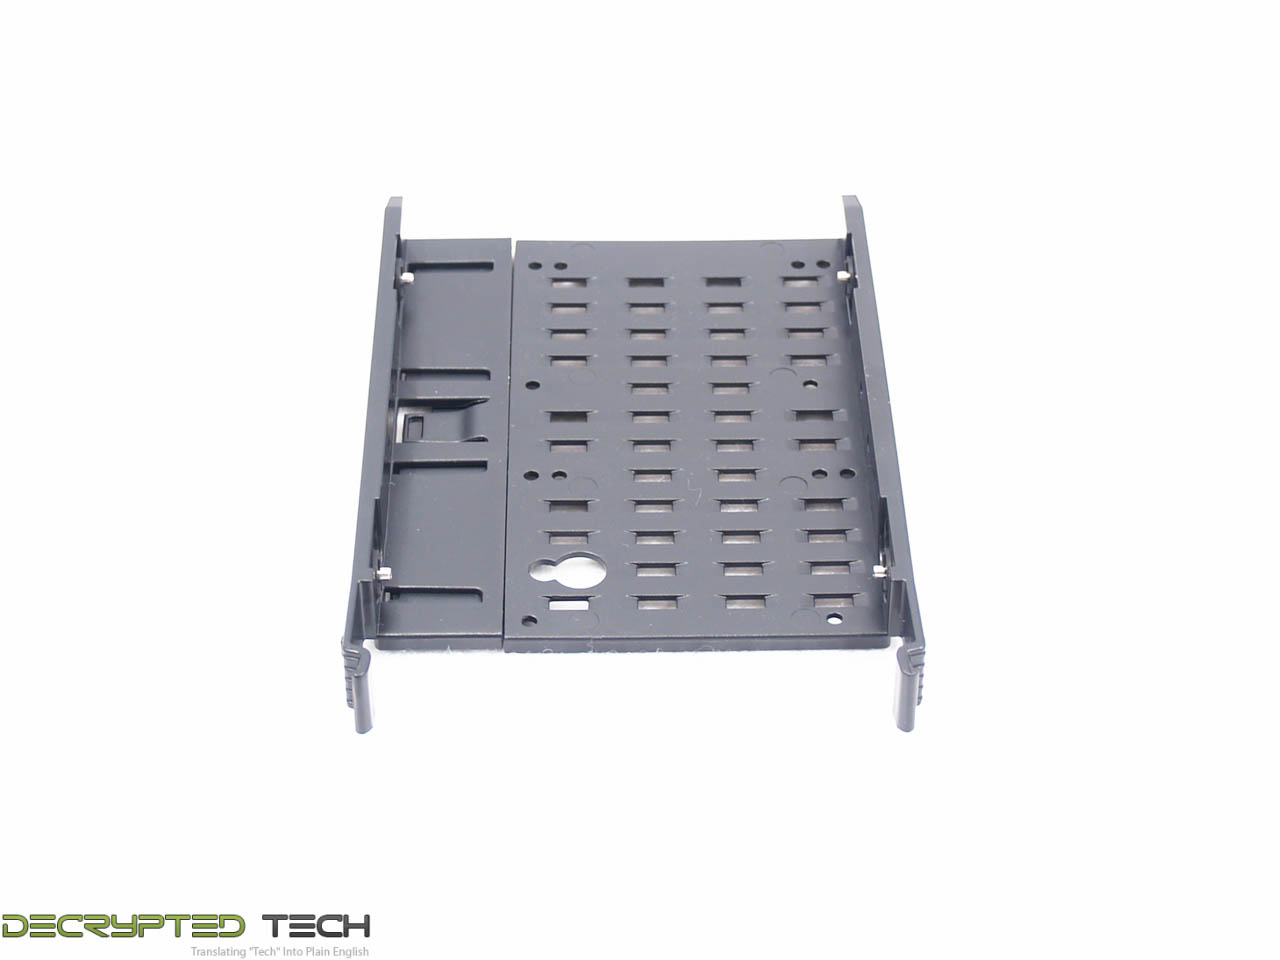
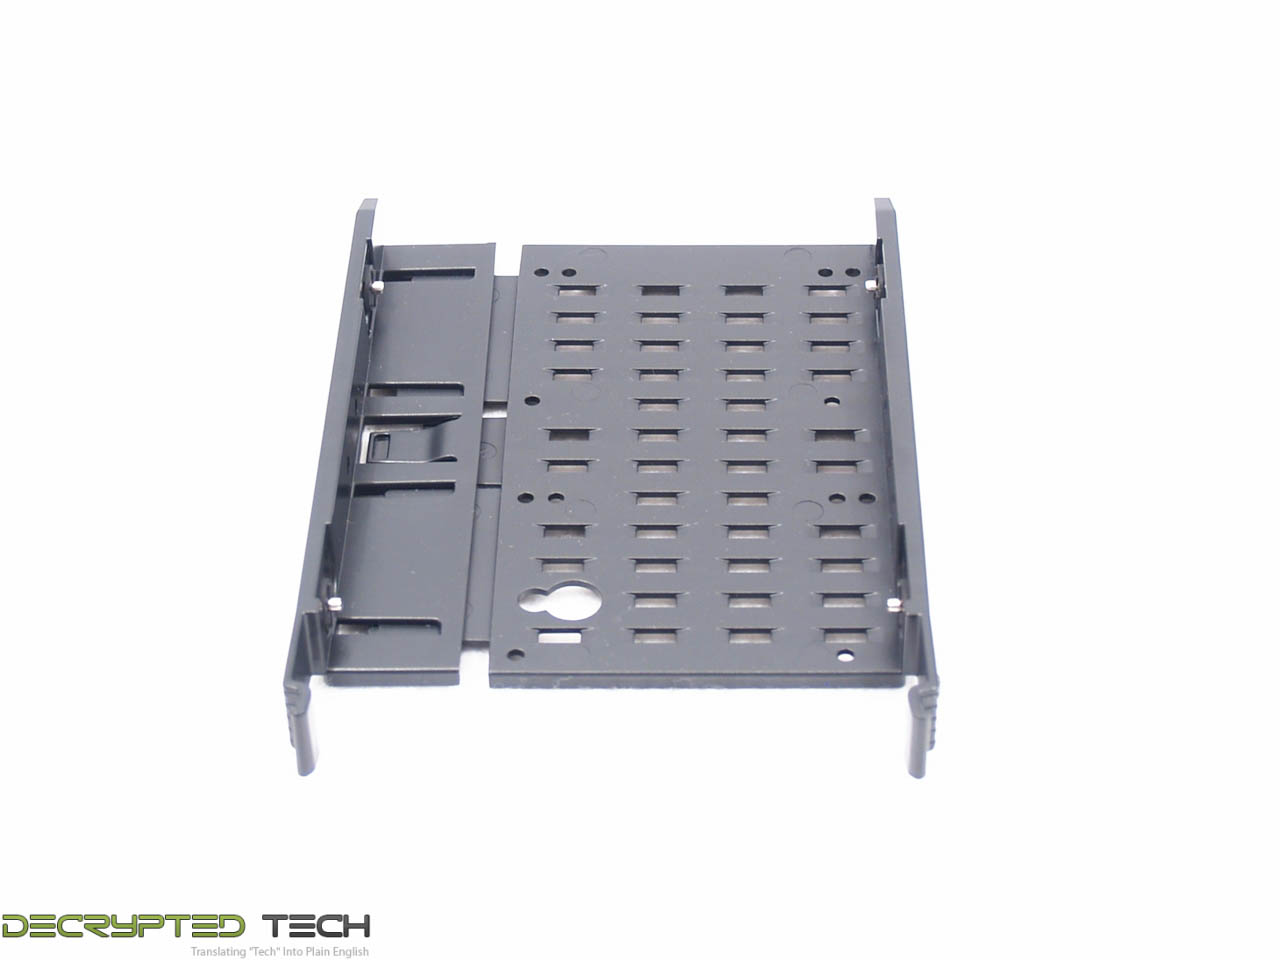
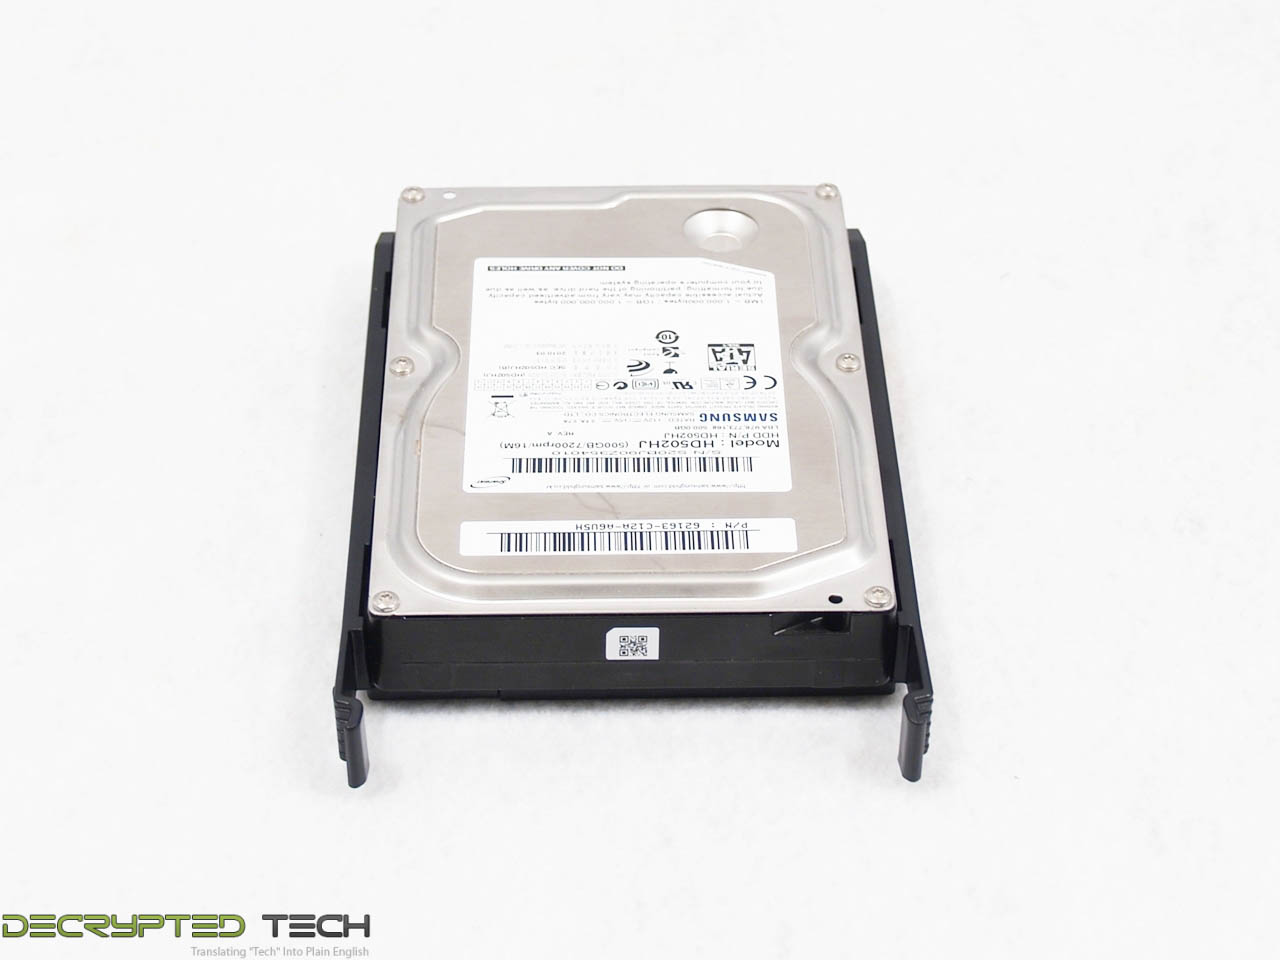
As mentioned there are six total here, in two modular bays. I want to talk about the modularity of the system as a whole later, so for now we’ll focus on the caddies themselves. Unlike some of these that I’ve had hands on, these are very well made. They come out of their bays fluidly and snap back in place firmly. As expected, they will house 2.5-inch or 3.5-inch drives. Mounting for 2.5-inch drives is accomplished by screwing them in from the bottom through the provided holes, but the 3.5-inch setup is more interesting.
On the bottom of each caddy is a plastic tab. To mount a drive in the caddy, this tab is pressed and the side of the caddy is pulled outward. That side slides out just enough to put a 3.5-inch drive in place, then the side is pressed back in place with the pins in the drive’s screw holes and the tab locks it there. This is the first time I’ve seen a setup like this and I have to say it is easily the most convenient drive mounting system I’ve used outside a true drive-only hot-swap bay.
 |
 |
 |
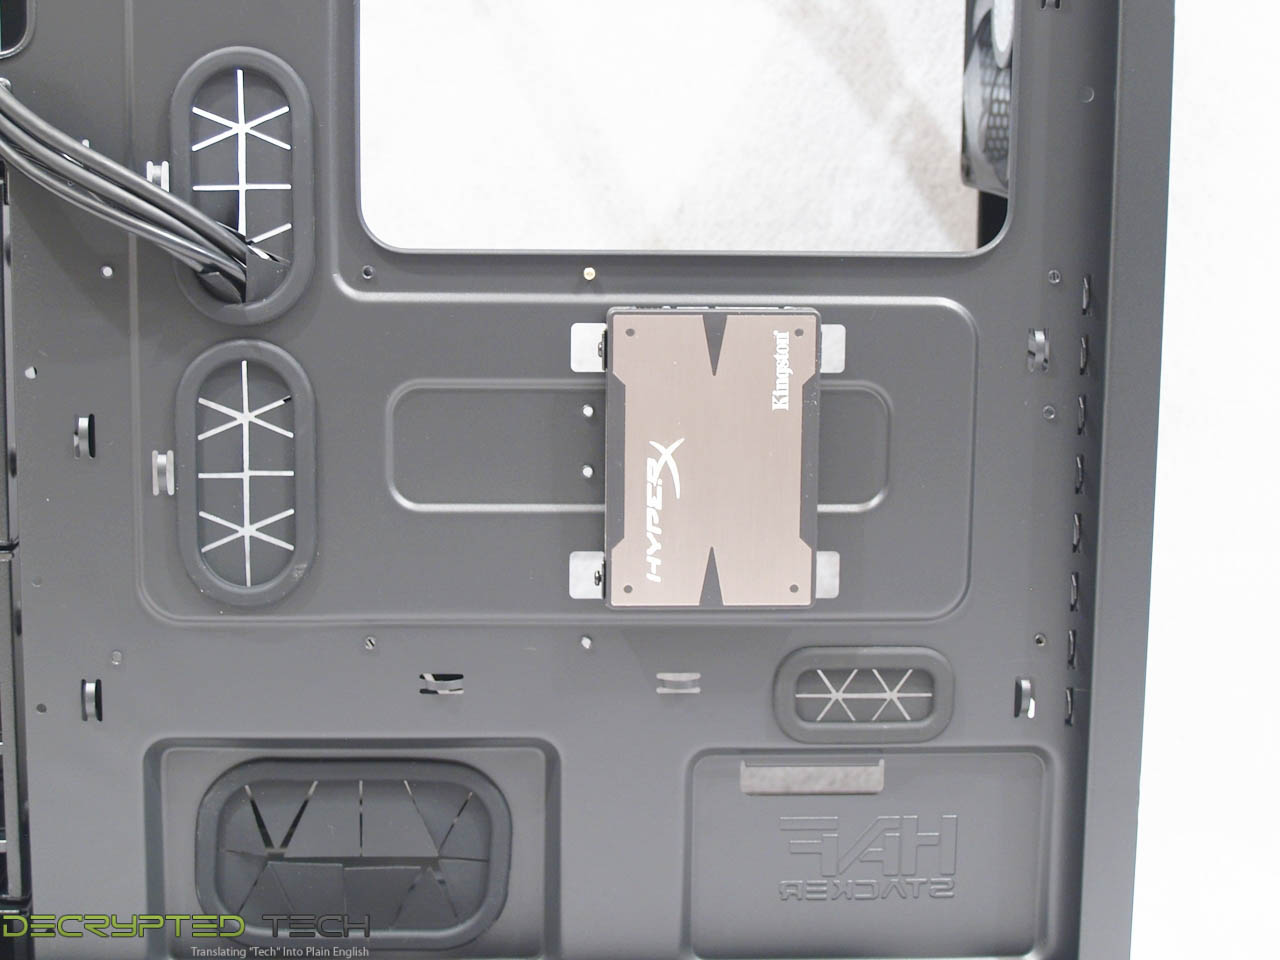
There is also a single 2.5-inch mount on the rear of the motherboard tray. Anyone who runs a single smaller drive will be able to make a system with a much cleaner appearance with this setup. It should be noted that this is only a two-screw mount. The right-hand bracket has two pins that go in the right-side screw holes on the drive, then two screws are used on the left side. I didn’t notice any play in the drive once it was secured, and I have to say it did make it easier as the pins held the drive in place while I mounted the screws.
Proceeding to remove the rest of the panels on the main unit, I found the front panel held in place with six plastic tabs, three on each side. While the side panels obviously have to be removed to access these, these tabs are made to bend inward with the fingers to disengage, a huge improvement over the press-fit plastic tabs I’ve seen on other cases. If all three tabs are released on one side, then the other side the front panel can be removed with no force whatsoever.
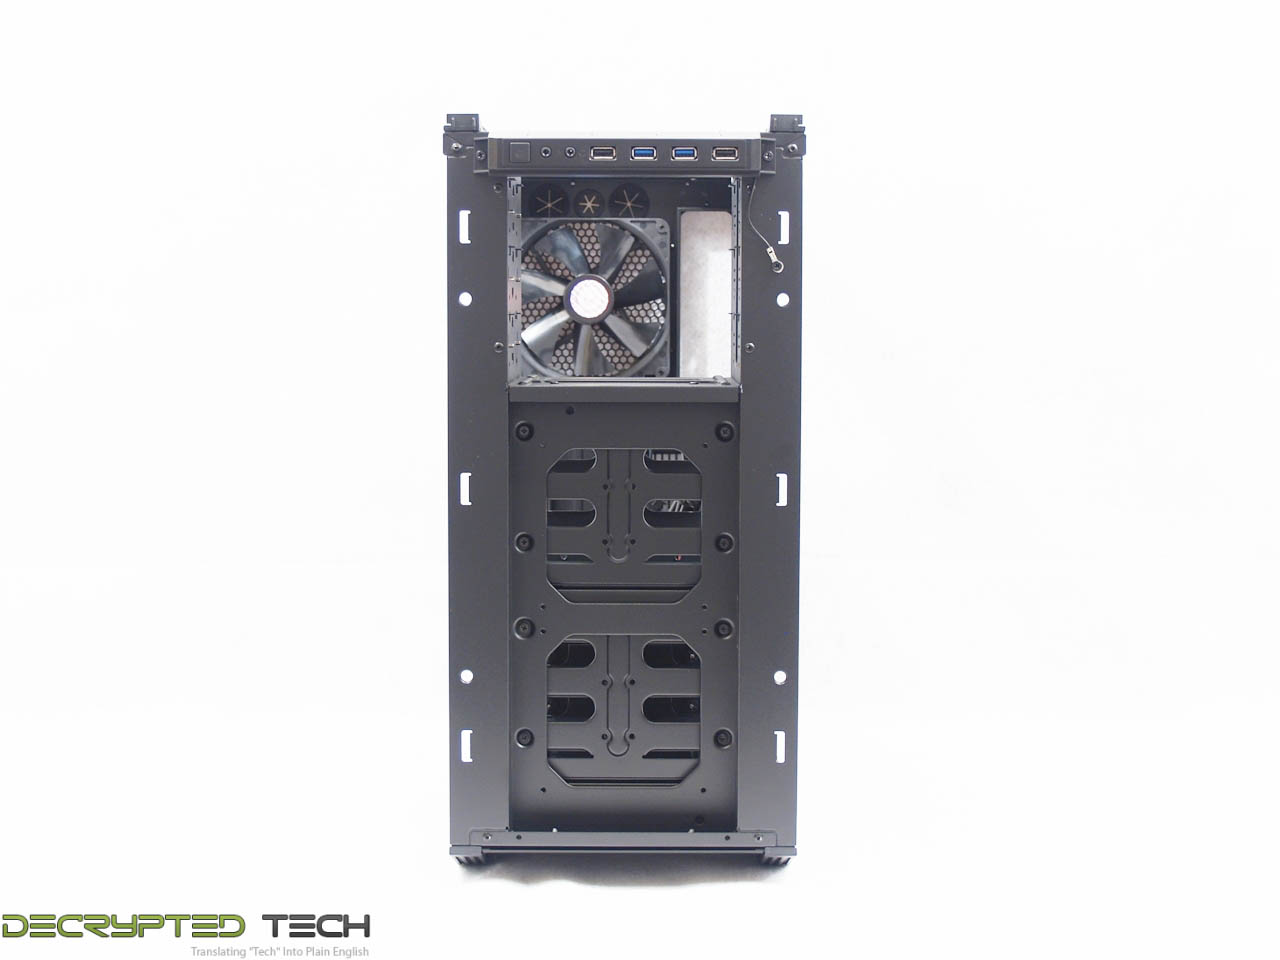
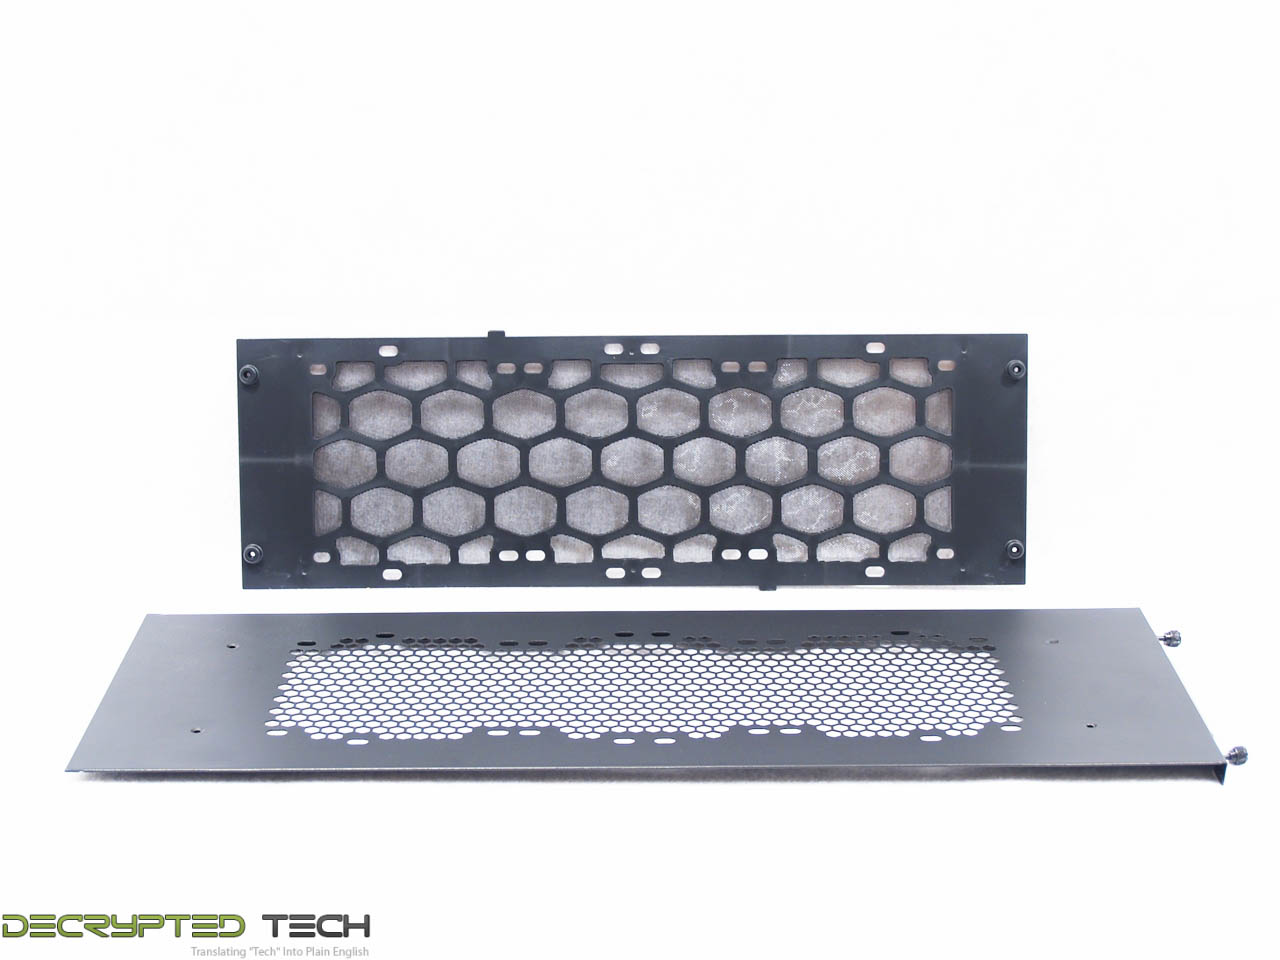
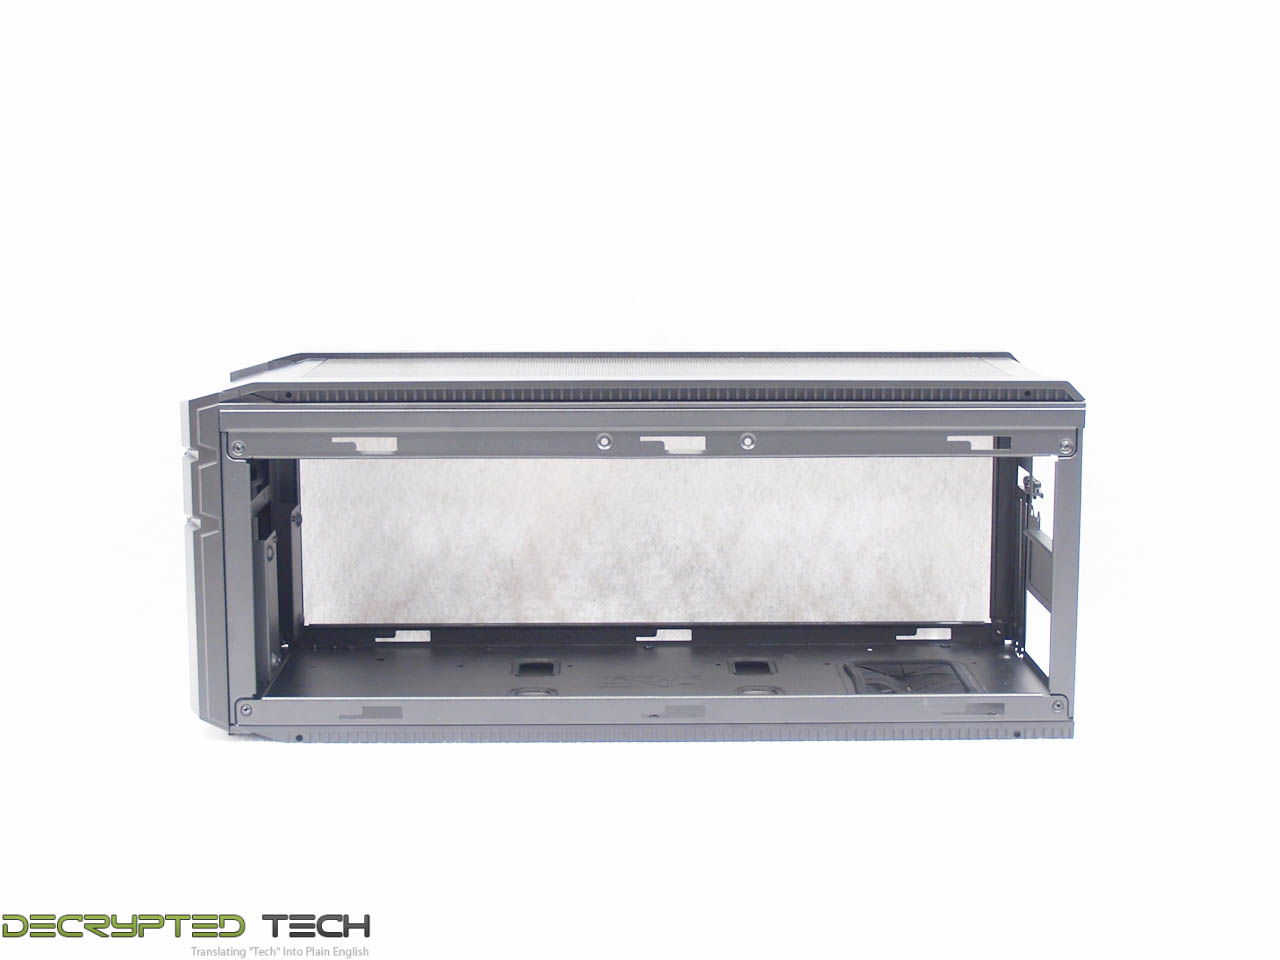
Inside we see the three drive bays and mounting points for two 120mm fans. Those fans obviously aren’t going to do any good as it stands here, but if the hard drive bays are removed, air flow is unobstructed. Water-coolers, don’t get too excited just yet. Although two 120mm fans will fit here nicely, these are threaded holes in the chassis itself. Unless you’re willing to drill them out, a 240mm radiator will not work here. Don’t give up hope though, more on that at the end of the review.
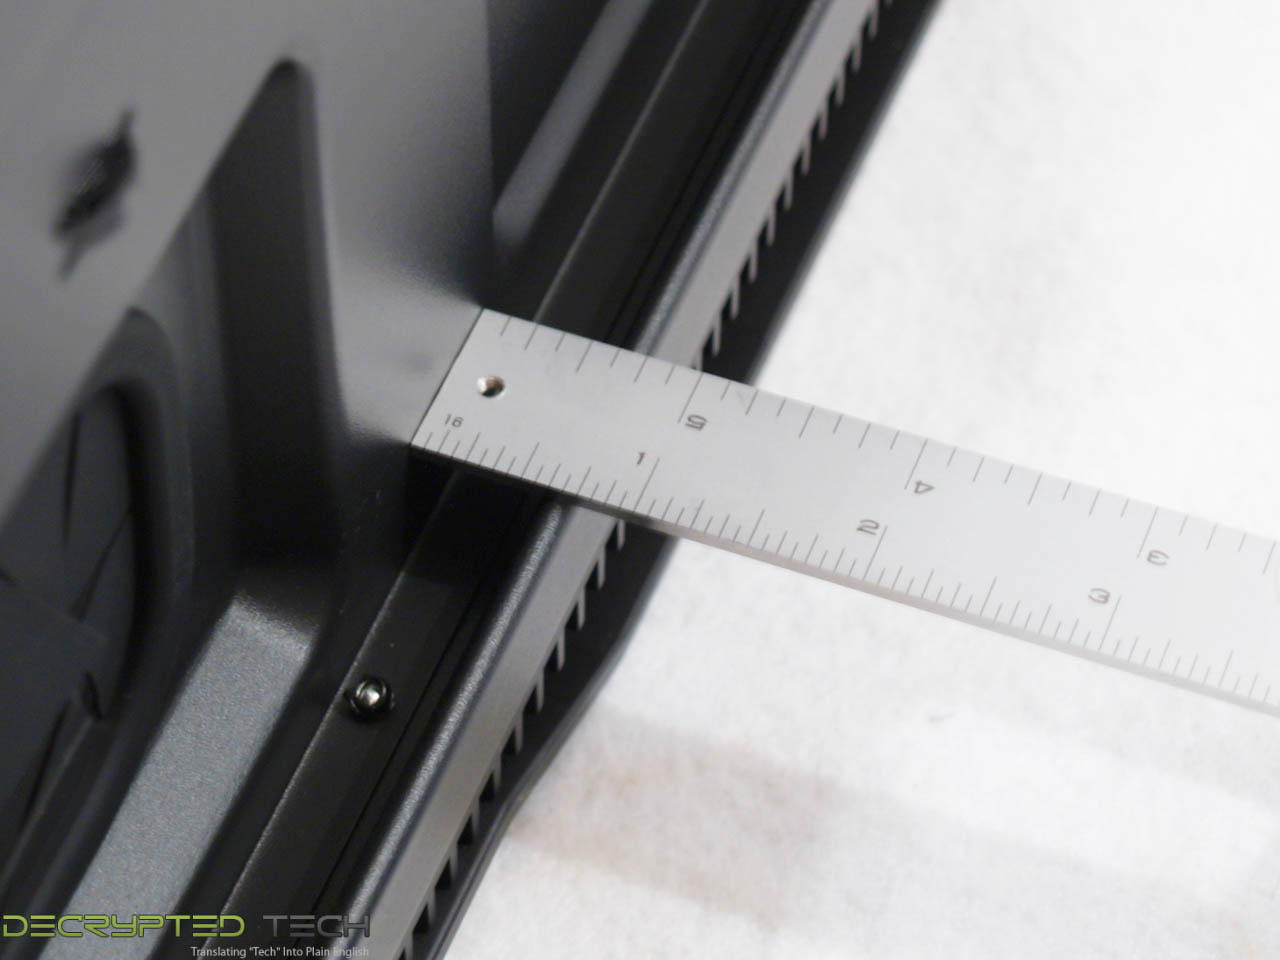
Measuring the space between the rear of the motherboard tray and the rear panel shows us right at 5/8” to work with in tidying up our cables. Not the most I’ve seen but with the space available and the number of tiedowns present anyone with patience and zip ties should be able to hide what they need to in here.
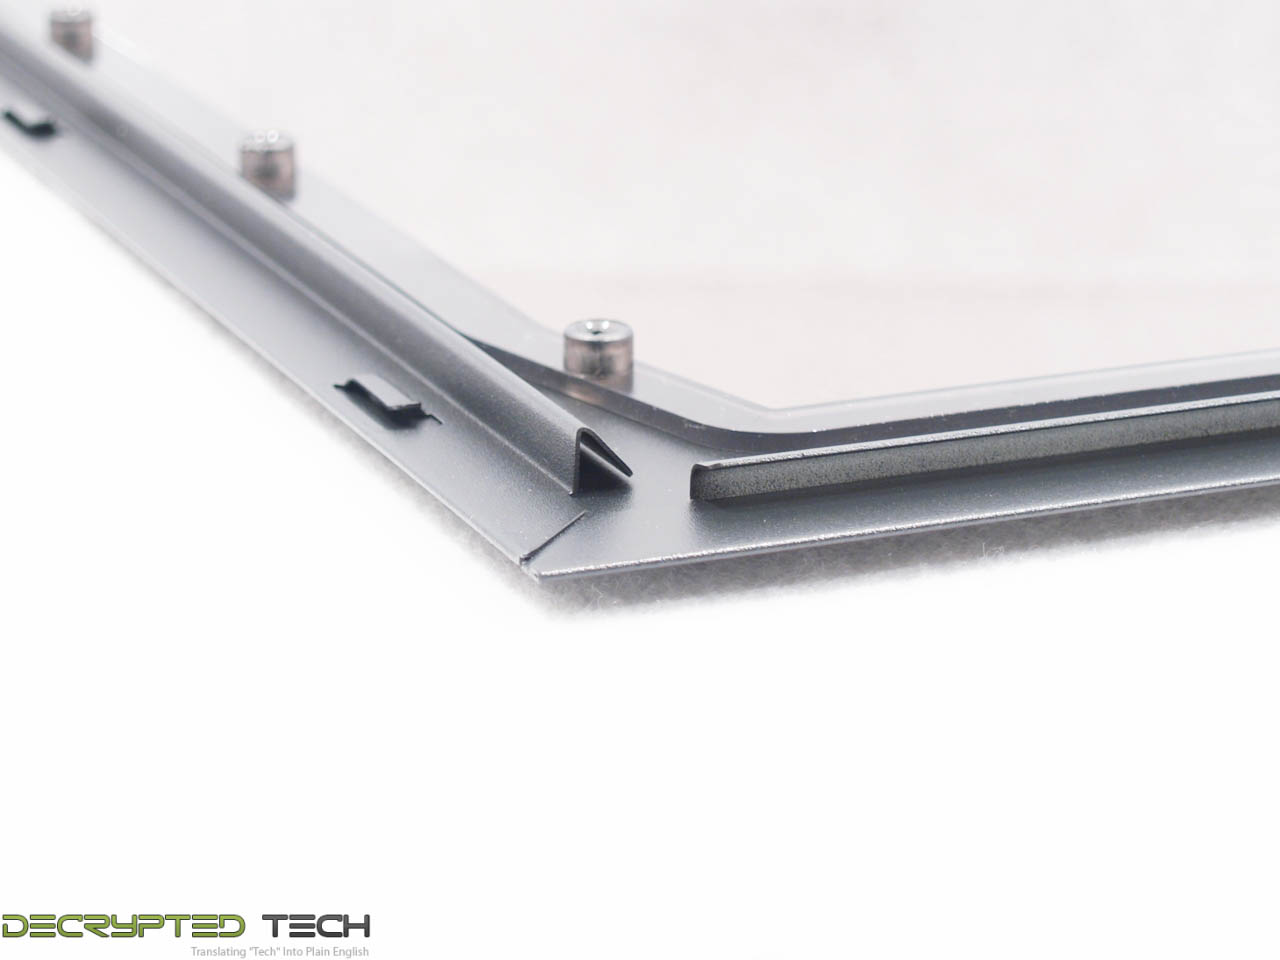
I wanted to show the side panel construction also. I was surprised at how heavy they were when I took them off. Looking at the edge shows they are not only rolled on the edges but also bent into a structural angle as well. With the thickness of the steel initially and this added construction these panels are not likely to bend any time soon.
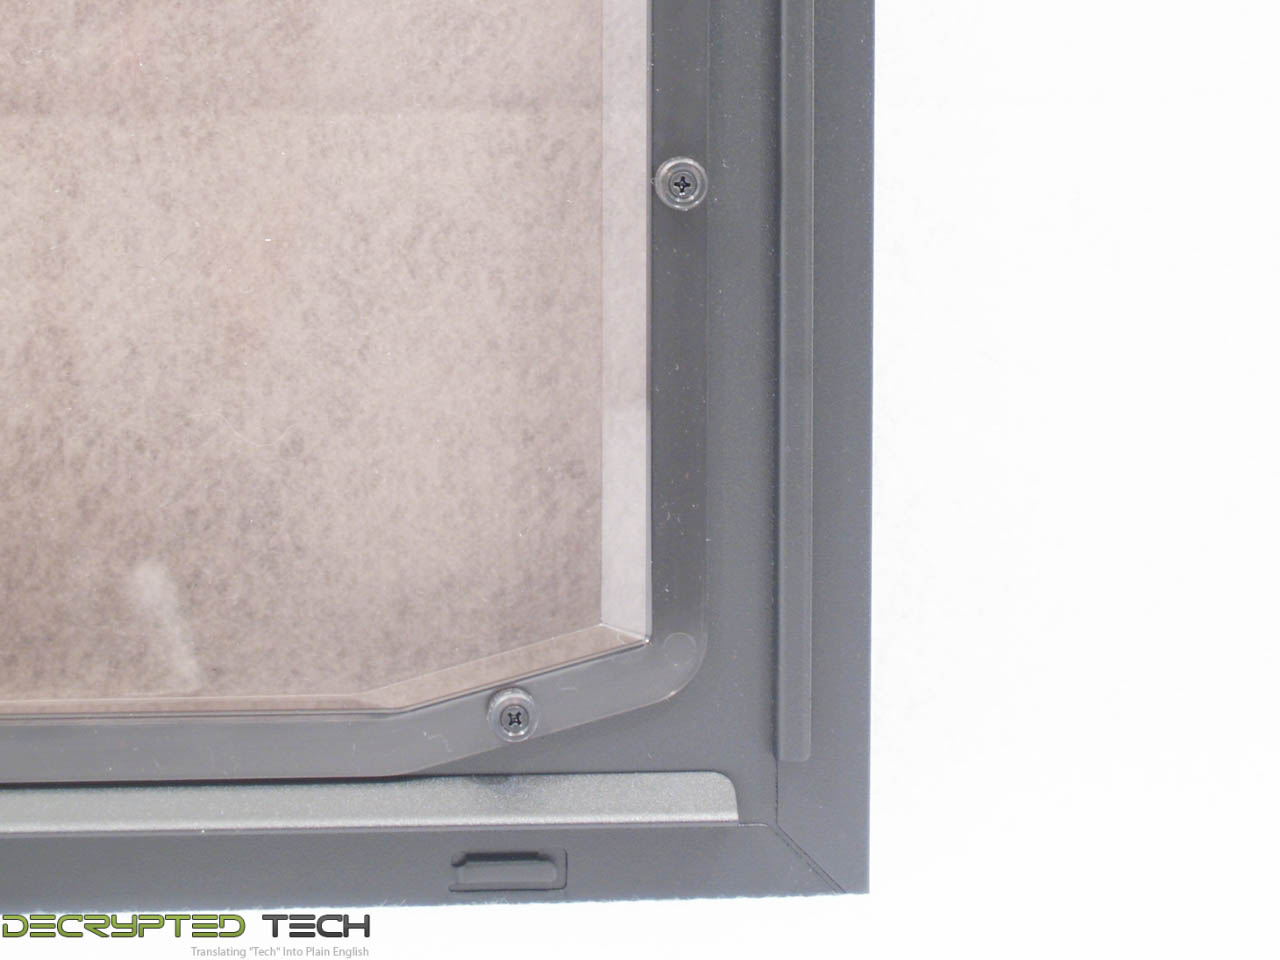
That beautiful side-panel window is held in with screws, making it easy to remove for cleaning or replacement if needed.
That’s the main unit in a nutshell. We’ll come back and take another look in a minute. Let’s look at the other part of this system, the 915R.
The R in 915R stands for “rear”. There is also a matching 915F unit available. The positions refer to PSU mounting. The 915R is the unit that ships with the HAF Stacker 935 system.
Looking at the 915R from the front is like looking at the main unit’s little brother:
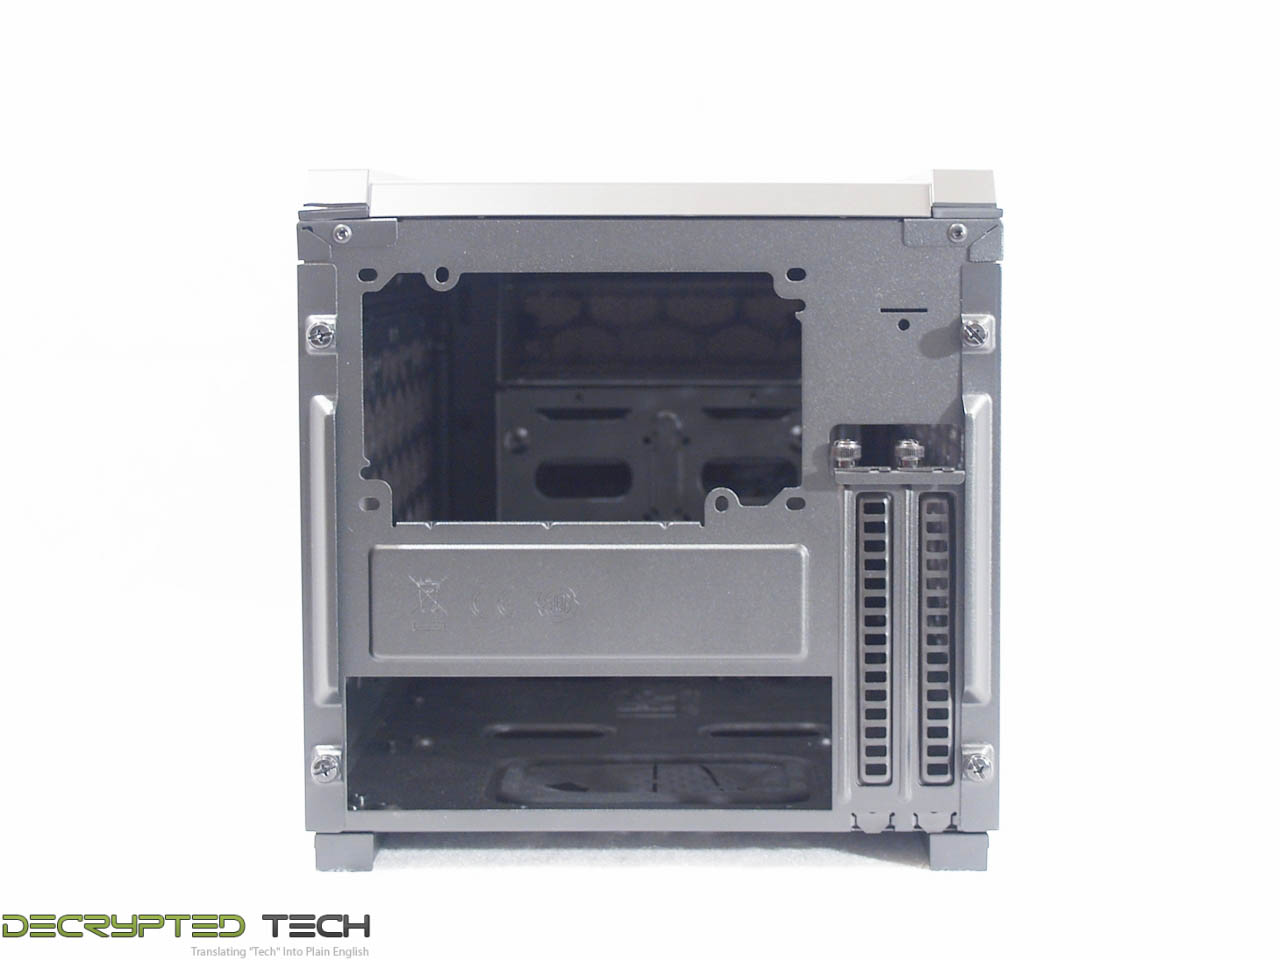
Believe it or not, the 915R will not only house a mini-ITX motherboard.
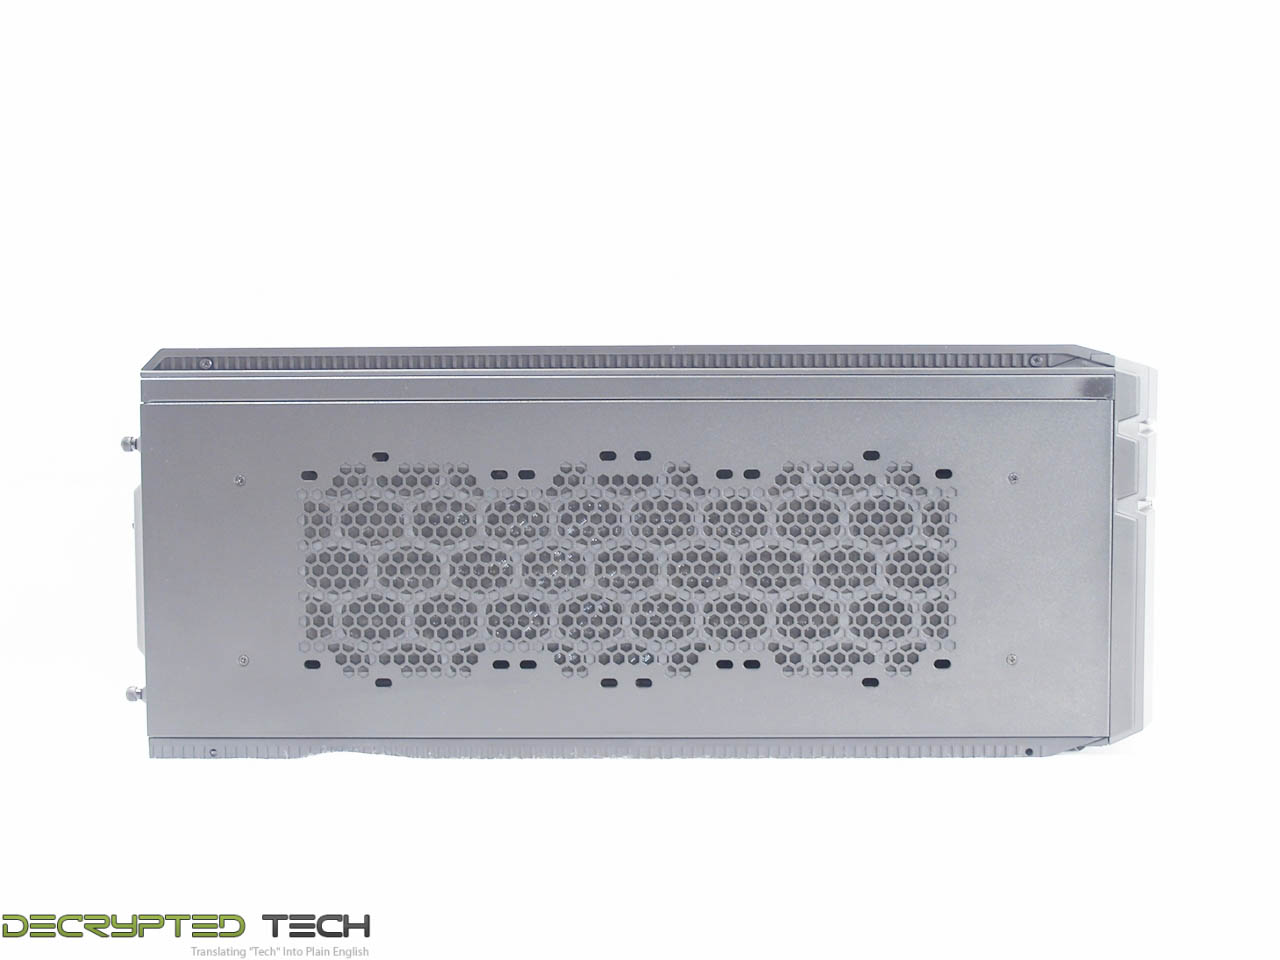
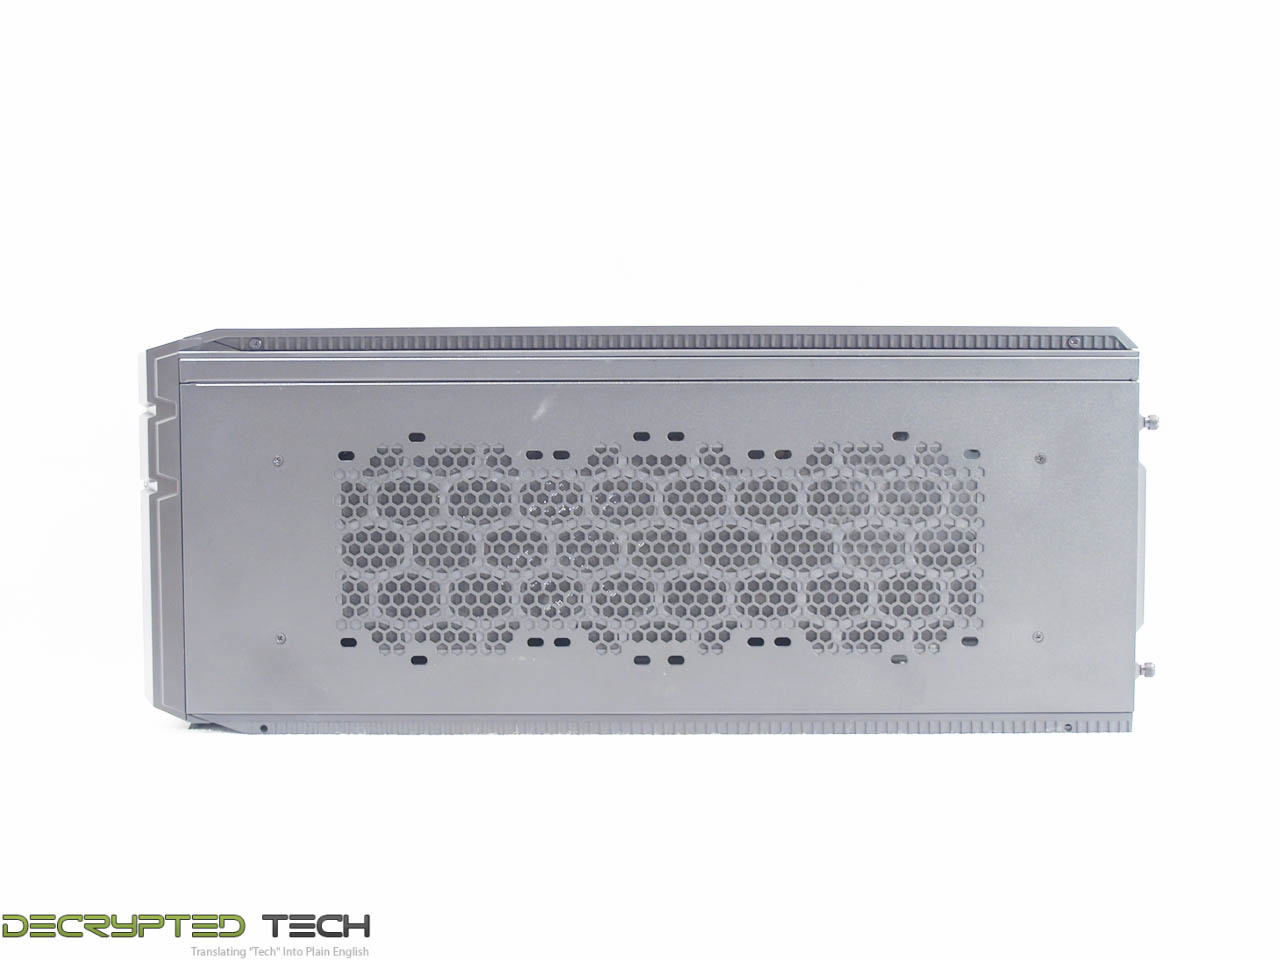
Turning it to the sides, the differences start to show. The left and right sides are identical, literally. The panels are interchangeable.
 |
 |
At the rear is the PSU mount, I/O panel cutout and two expansion bays.
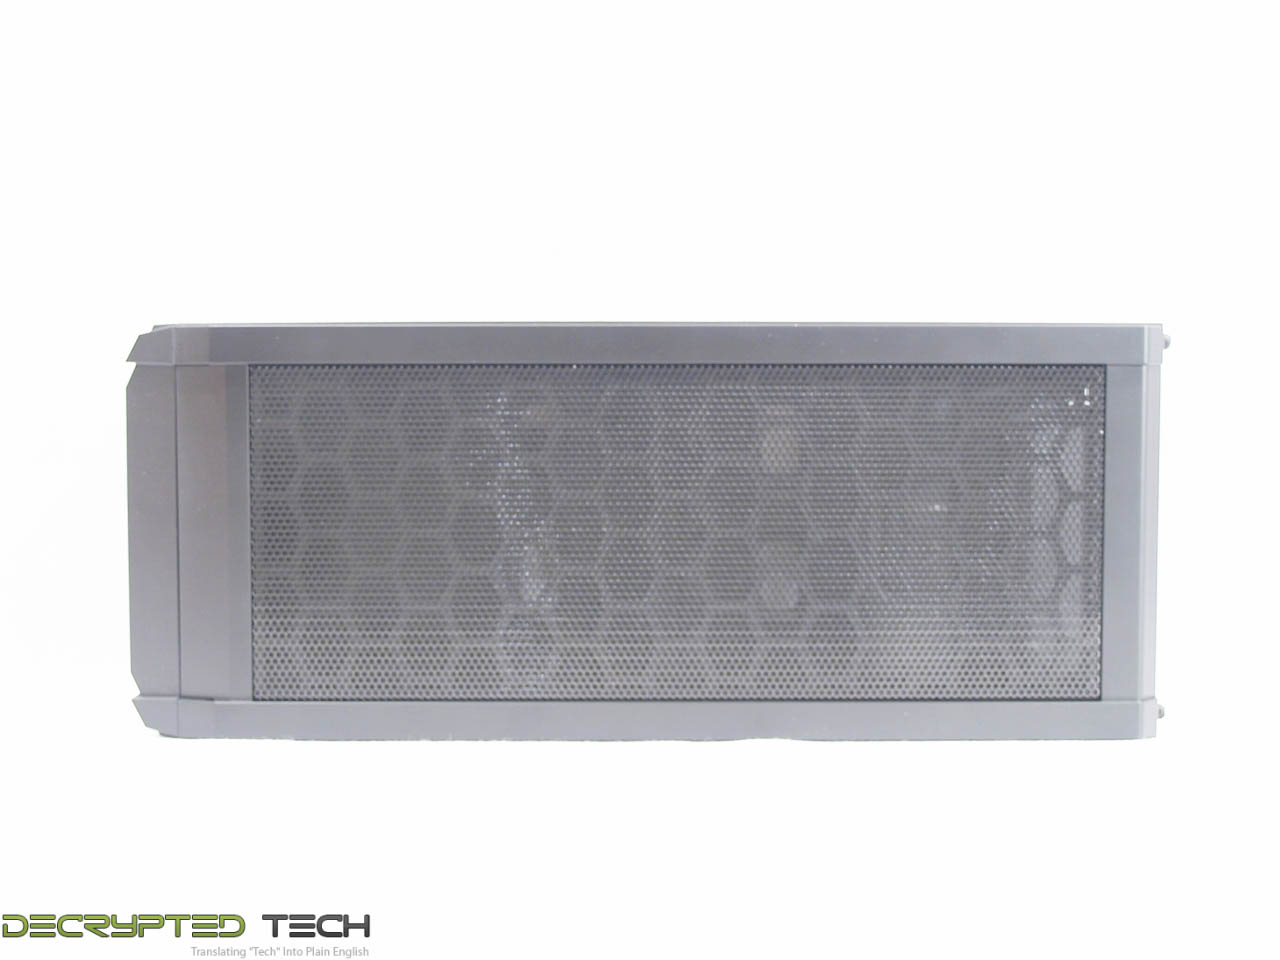
Laying the smaller unit on its side we find the mesh top that I had expected to see on top of the main unit earlier. Fit and finish are excellent as expected and the mesh-over-honeycomb appearance carries on with the HAF legacy here as well.
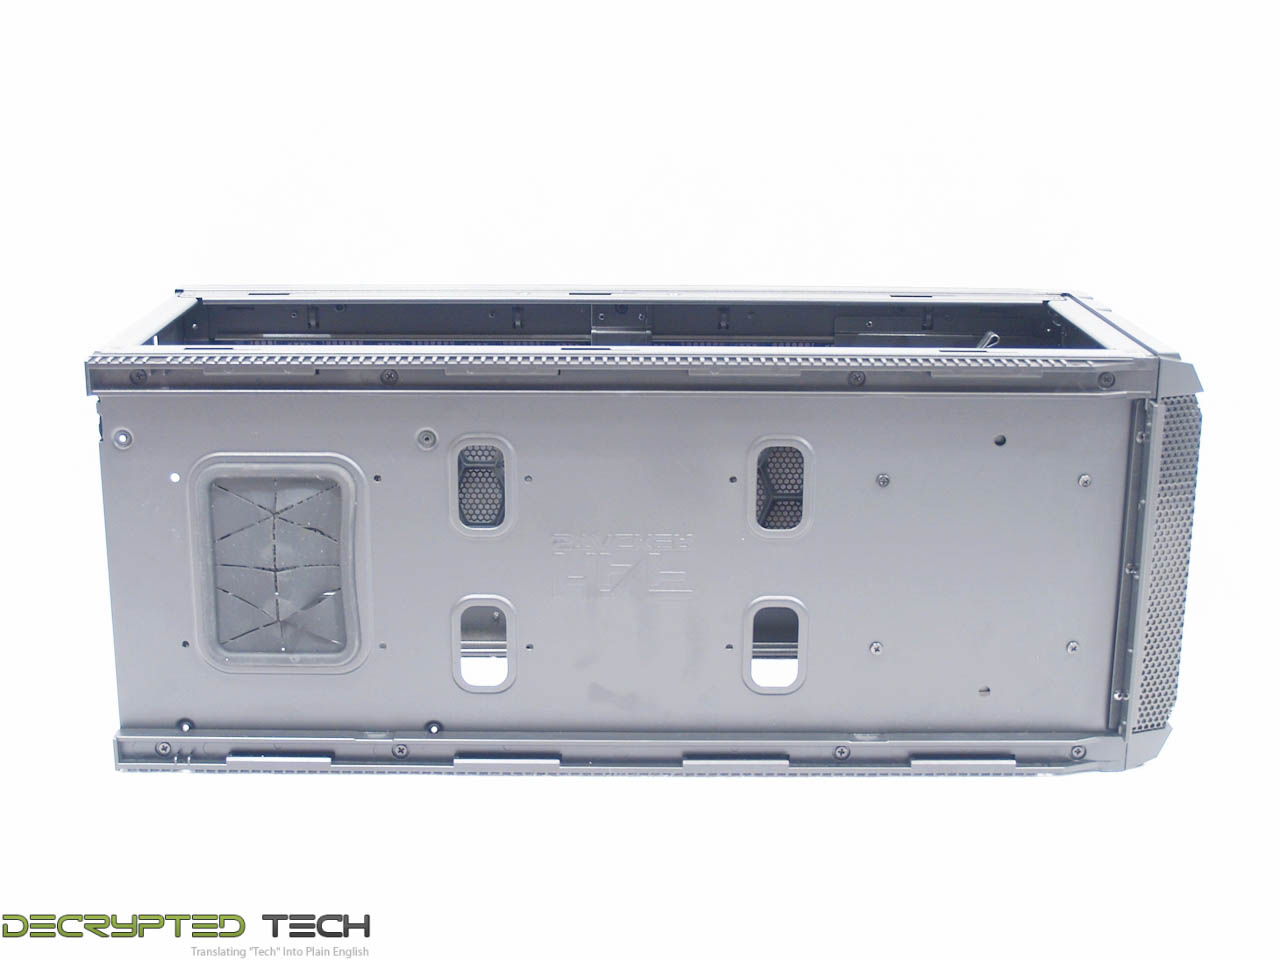
The bottom of the 915R is very simple with four smaller plain passthrough holes and one larger one with rubber grommet. Also visible in this image are the tabs used in the rail mounting system.
Looking at those identical side panels, each has its own full-length dust filter. These are very nice filters but they are not easily removable, each held in place with four screws. With the case as it stands now that wouldn’t be much of an issue, but given that these side panels also serve as mounting points for radiators this design could pose a problem.
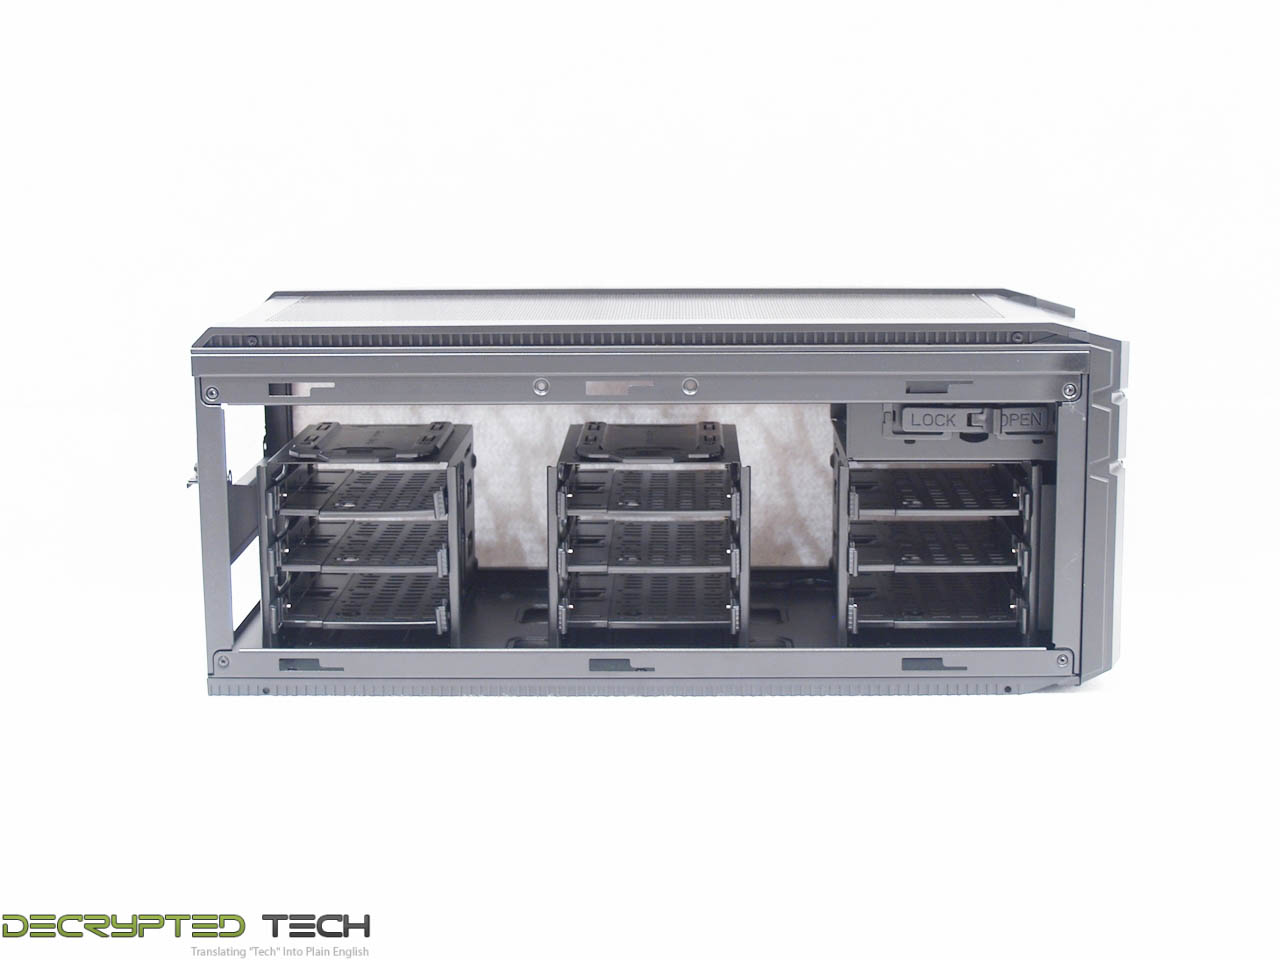
With both side panels off we see how empty the 915R really is. This unit is made to be versatile, and it fills that role very well. In what might be considered the default configuration, the 915R will house a mini-ITX motherboard, standard ATX PSU, one 3.5-inch external drive and up to three 3.5-inch or 2.5-inch drives in a modular drive bay identical to those in the main unit.
If the drive bays are removed the potential space is huge.
Removing the front panel is as simple as the one on the main unit, with only four tabs instead of six. Inside are the previously-mentioned 92mm fan and the single 3.5” external bay.
So we have two very different enclosures with the HAF Stacker 935 system. They are clearly meant to work together. I’m glad to say that mounting one onto the other really is as easy as it was made out to be. Each unit has two rails on it with notches along their length, shown previously.
This is the side of that rail on the main unit, toward the front. Note the screw hole. There are four of these, two on each rail, one at each end.
To mount the 915R on top of the main unit simply set it on top, slightly rear of center, with the rails lined up and slide it forward a little bit. When the notches line up the upper case will drop down in to the rail. Slide it forward until it stops and secure it with screws. Fast, easy, and evidently very strong. I was able to pick up the entire unit by holding only the 915R, though this is obviously not recommended.
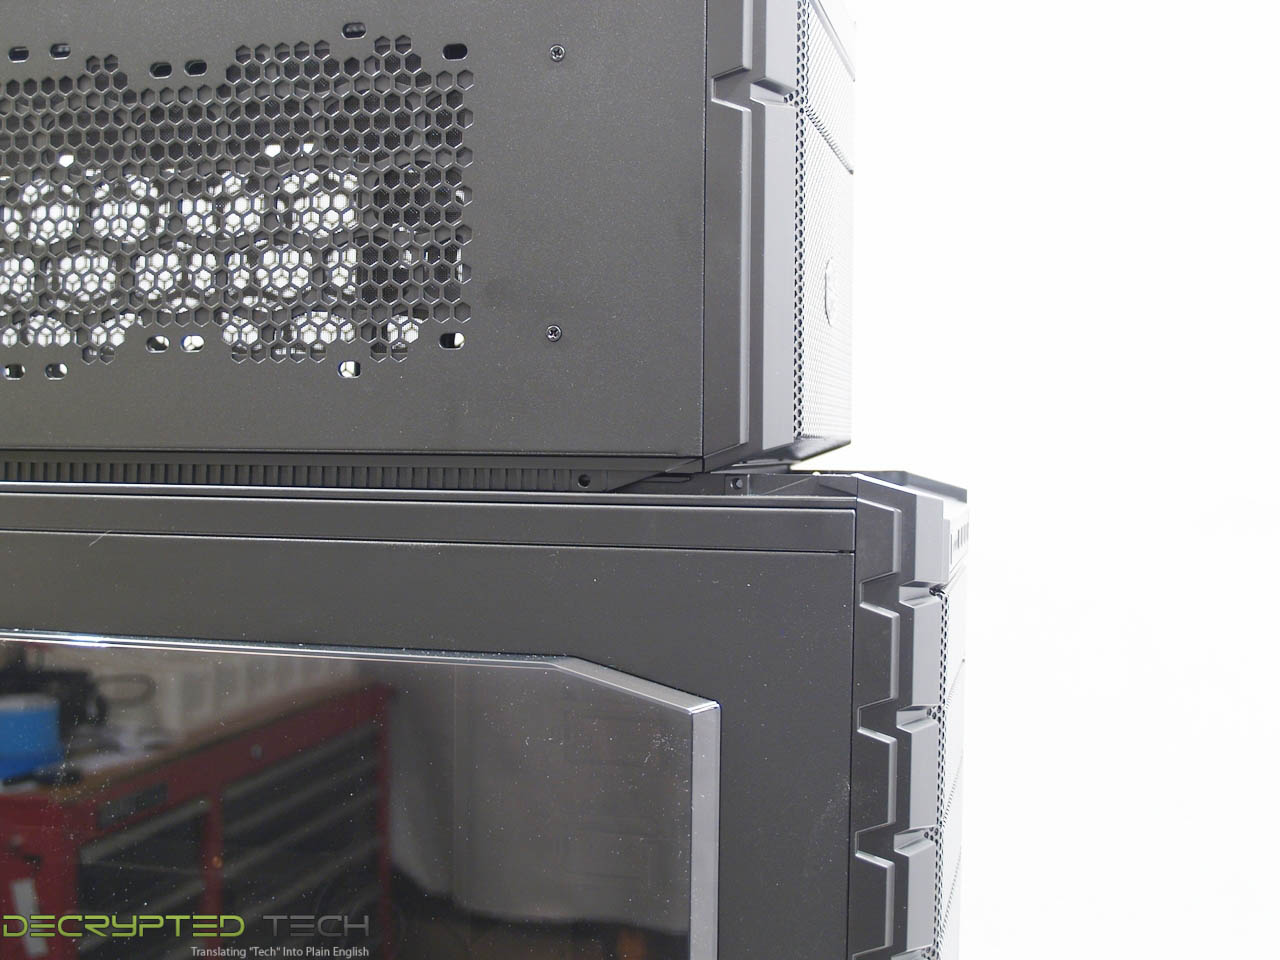 |
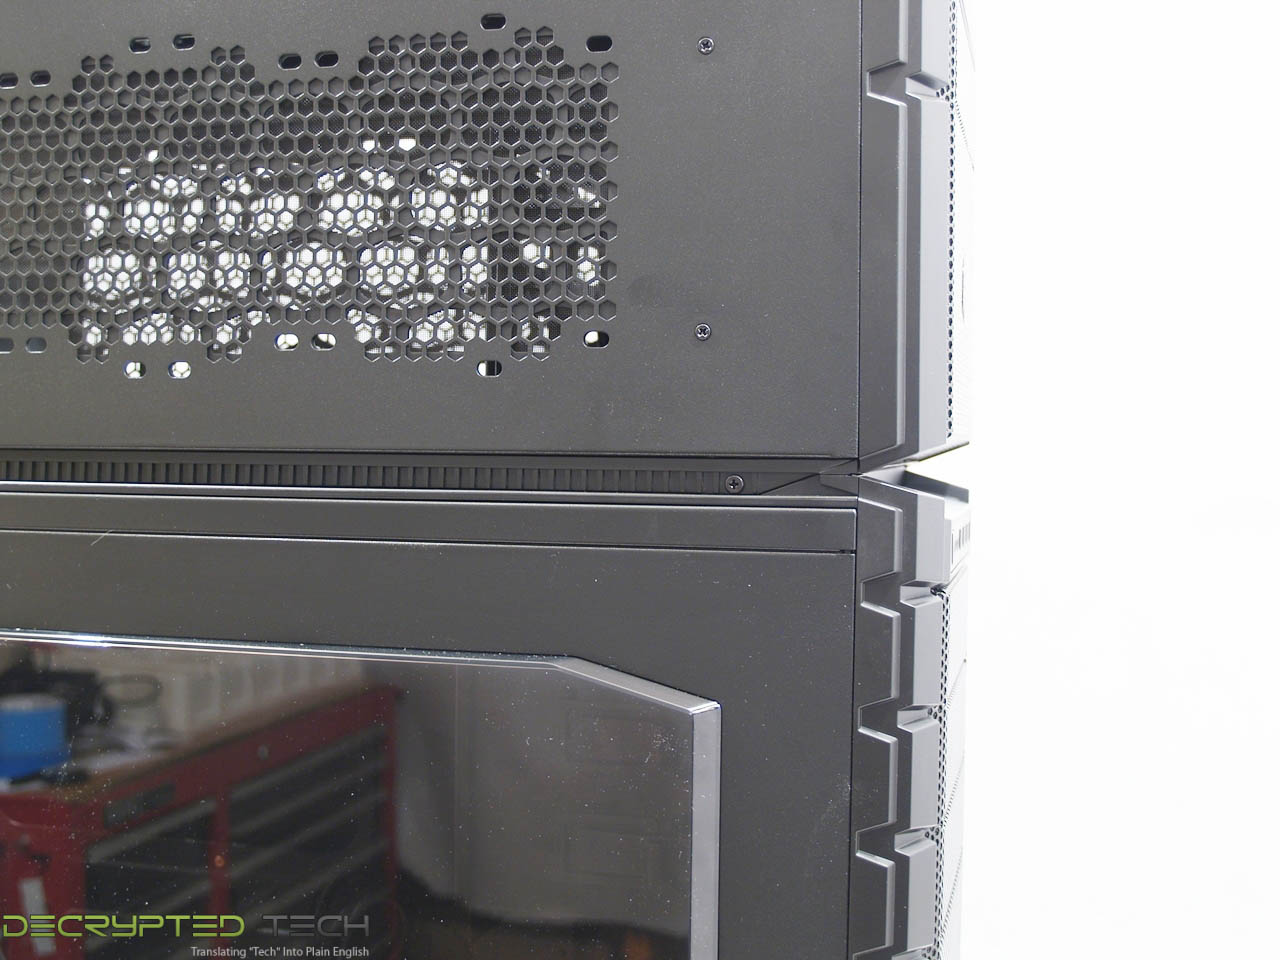 |
I was concerned about the visible gap between the cases, but the design team at Cooler Master though of that also, adding a small hinged metal flap that drops in place when the two units are combined to cover that gap.
Behold, the HAF Stacker 935 in its glory.
I have to say that I like it. I can see it not being to everyone’s taste but it meets mine just fine.
Versatility –
The HAF Stacker 935 is billed as the world’s first “mod-tower”. After some time with the product, I have to say that’s accurate. The possible combinations and uses for the 935 even as it comes out of the box are many and varied.
The 915R can be mounted on top of the main unit or underneath, allowing the user a choice of mounting locations for the PSU in a single-system setup.
It can serve as housing for a second mini-ITX system, to act as a media server, a second gaming system, a folding machine, a Steam box, whatever the builder wants without taking up a single additional inch of floor or desk space.
Without a PSU or mainboard in place, the 915R can house up to nine 3.5-inch or 2.5-inch hard drives, freeing up valuable real estate in the main unit.
Without any of these in place the 915R can serve as a cooling module, housing up to two 360mm radiators and their associated fans. Even with the drive bays in place, the larger cutout in the bottom of the 915R is large enough to fit the pump/block combo unit on most all-in-one water-cooling systems and will support 240mm radiators with room to spare.
To recap the items in this system that can be easily altered, moved or removed to customize the build to the user:
All of the drive bays in both units are identical, and all are easily removable with a few screws.
The 3.5-inch external drive bay in the 915R is easily removable.
The power and I/O panel that comes mounted on the main unit is easily movable to the 915R.
Ease of build –
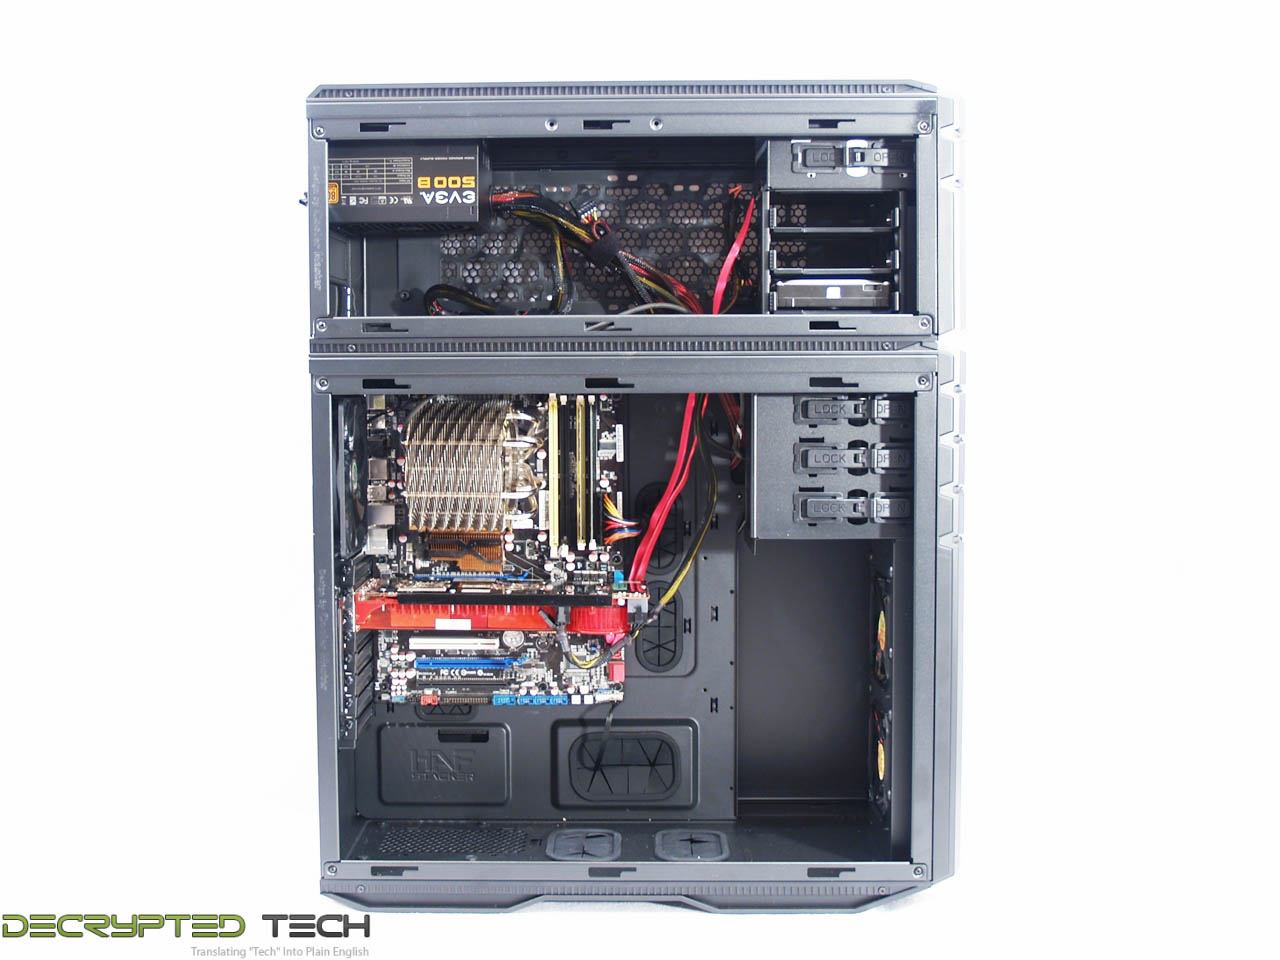
For this build I used an older Asus full-ATX motherboard, a huge ATI 3870X2 video card, one 3.5-inch hard drive, one EVGA non-modular PSU, and one Kingston 2.5-inch SSD. Two different configurations were made, one with a top-mount PSU and a large air cooler, and one with a bottom-mount PSU and a 120mm all-in-one water cooling system.
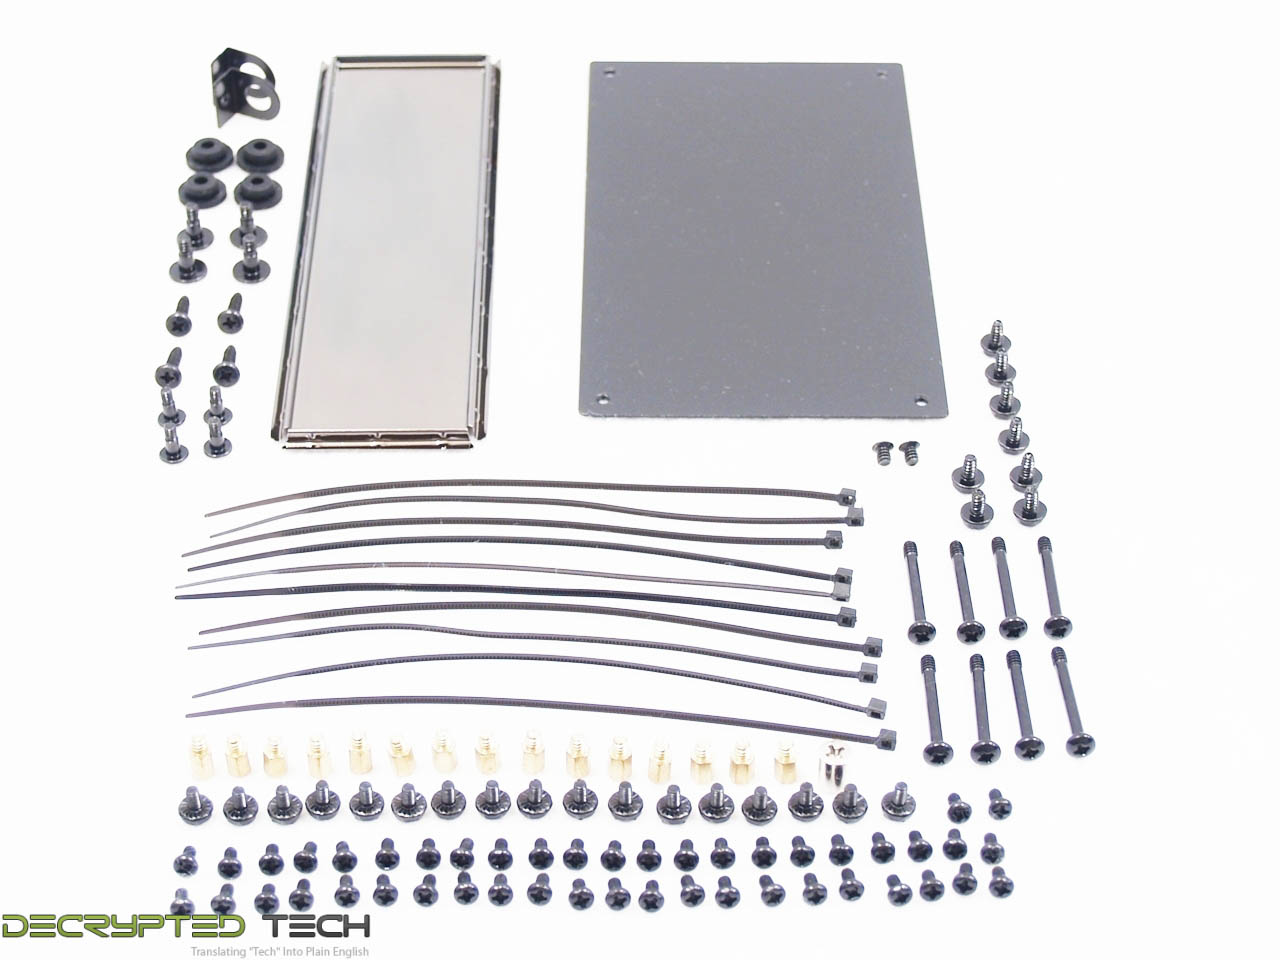
All in all the build went very well, with the HAF Stacker providing plenty of space for all of the hardware and plenty of holes and mounting points for cable management. Also of use was the vast array of hardware that came with the system:
 |
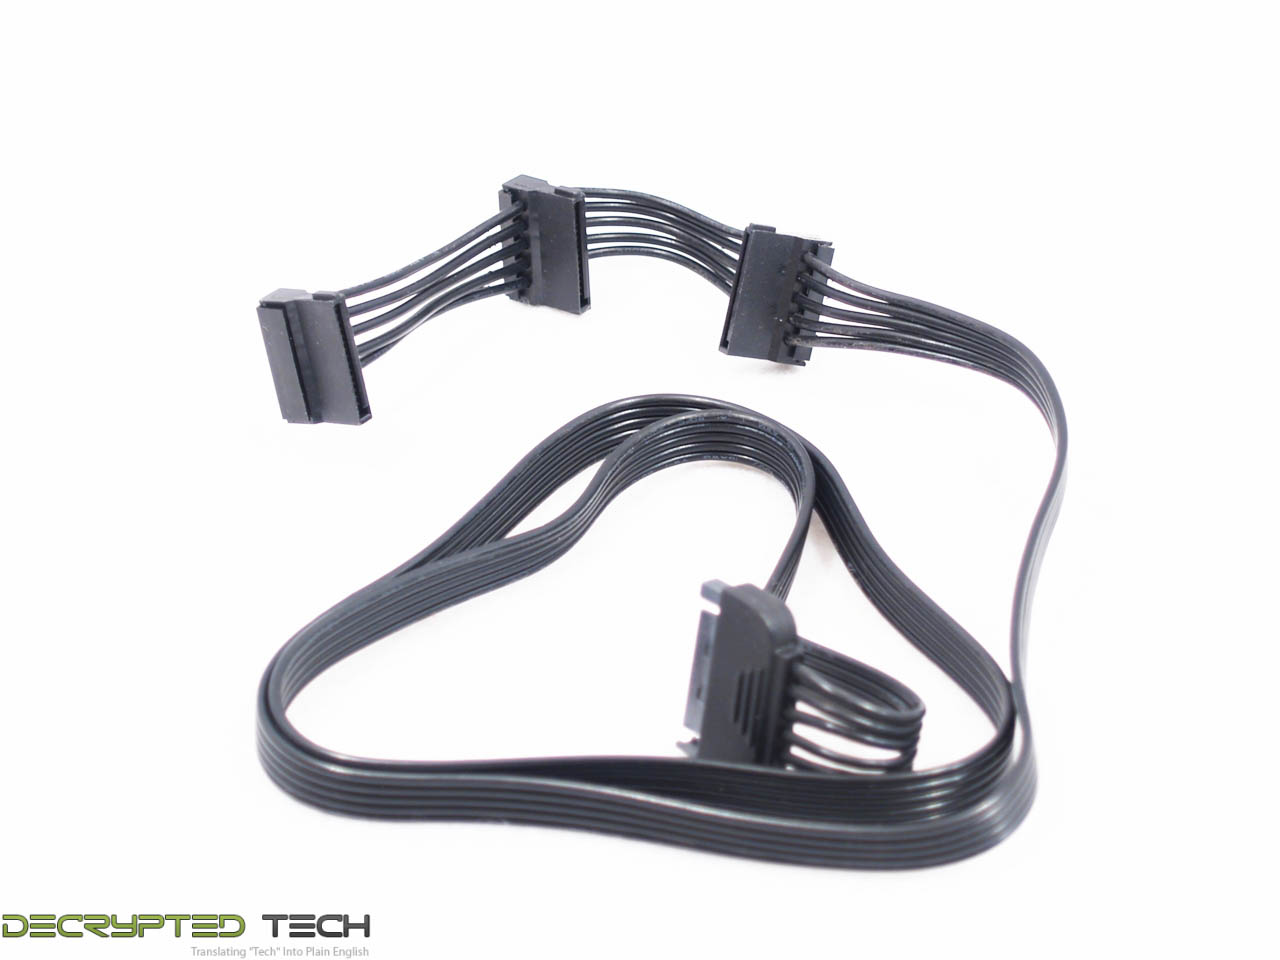 |
Included with the 935 system are numerous mounting screws, standoffs, grommets and wire ties, as well as a blank I/O shield and a cover plate for whichever PSU opening is not being used. I had some difficulty with data cables reaching their intended locations, but thanks to this little gem provided with the system, power was not a problem:
What was *not* included with the system was a manual. The only documentation in the box was a short flyer on “how to stack”. How to stack the units isn’t going to matter if the space inside isn’t utilized to the best potential. A manual is a must in any case, but especially with a product as varied as this one.
Nevertheless the build was completed.
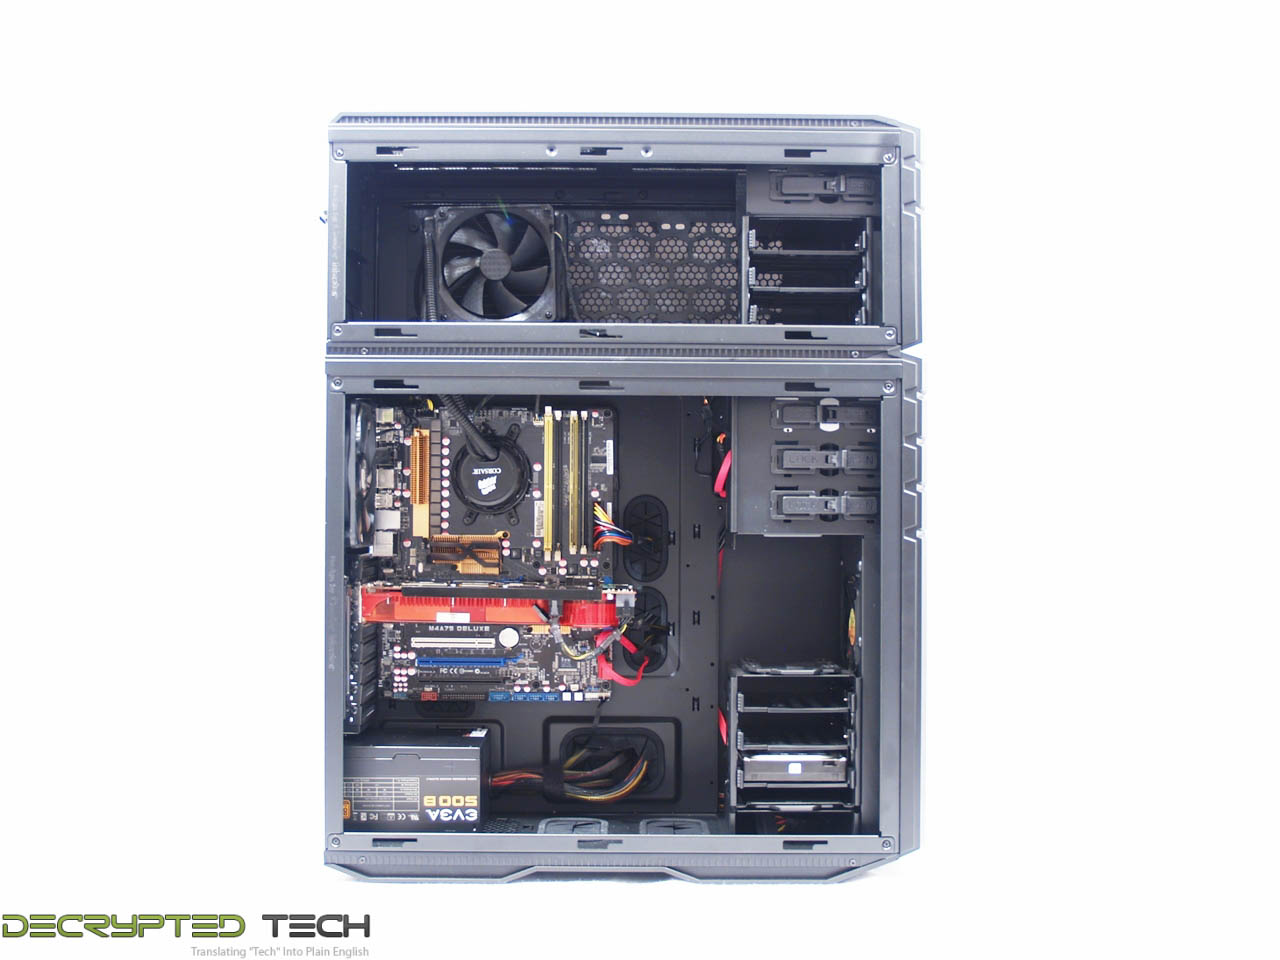
Top-mount PSU with air cooling, note the lower drive bays have been removed and two 120mm fans installed in the front panel for air flow.
Bottom-mount PSU with all-in-one water cooling system. The bottom drive bay was reinstalled and one fan removed. The radiator on the cooler is crooked but at the risk of damage, I refused to straighten it further. I blame that on the very stiff tubing used on this first-generation H50, no fault of the case here.
Overall I enjoyed this build and will likely be putting another system in it with a lot more complication to take advantage of the system’s versatility.
Aesthetics –
This, of course, is subjective, so I have to report for myself only: I like the look of the HAF Stacker 935 very much. The side window is absolutely beautiful and the mesh is aggressive without looking garish. Along with the simple all-satin-black finish I call this one a win.
Value –
Value is another very subjective topic. What is expensive to some might be a deal to others. You can look at this topic in multiple ways. One is raw price and the other is what you get for your money. Each is an accurate measure and both are correct ways to look at price/value. We tend to look at features, performance and real-property when we discuss value. However, we also take into account the raw cash cost of the item.
Value is an important topic with any case, but even more so with this one. The MSRP on the HAF Stacker 935 on release is $169.99. Obviously this includes the 915R and the larger main unit. That price is dead on with cases like the Phantom 630 from NZXT and the Corsair Obsidian 650D. I’ve had my hands on both of those as well and I can honestly say that while they are both very nice cases with all the bells and whistles, they are far less value for your money than the HAF Stacker 935.
Let’s look at some of the things I mentioned that many might take as a strike against this system: only two fans included, no reset switch, slide-and-latch side panels, and only one I/O panel. A possibly excessive use of plastic as well, but I saw nothing that looked or felt flimsy in any way.
All of the above are the way they are for a reason: price. The team at Cooler Master has eliminated what they (and many of their fan base) felt could be done away with. Every feature they eliminate lowers their production cost and allows them to lower their sale price. They’ve managed to bring what really should have been a $250+ case (given its innovations and versatility) to the masses at $179. No, it doesn’t come loaded with fans, but you’re not paying for fans you’ll be taking out anyway. No, it doesn’t have a second I/O panel in the smaller case, but you can buy one aftermarket if you need one.
In fact, Cooler Master is coming out with an extensive list of items to go along with the 935 system, from I/O panels to a bracket that will allow the installation of that front-mount 240mm radiator we mentioned.
Planned accessories include:
-Storage kit – Quick detach pins (also available separately), HAF Stacker series HDD cage, SATA power extender cable (also available separately)
-Stack-It Kit – Quick detach pins, HAF Stacker series top rail, HAF Stacker series bottom rail, HAF Stacker series feet
-1.5m SATA data cable (black)
-Main Unit Window + 200mm Fan Combo Side Panel
Some will say that all of this should have come with the case out of the box, but I disagree. Adding these would have raised the price considerably, and I for one would rather just buy what I need.
Let’s not forget one of the most important point here either: expandability. The 915R and the 915F can be purchased separately for $69.99 each. If the 935 system gets too small, one of the 915 units can be added at any time. In fact, a system could be built with nothing but 915 units, stacked as high as needed for the system at hand. (Note that Cooler Master recommends a height maximum of 935+915 or 915x3 without securing to a fixed object.)
Modding –
This is my favorite. I love looking at a case (especially one that’s brand new to the market and showing off its lines and windows) and figuring out what else can be done to it. This one is called a “mod-tower” after all. Modding can be any number of things: from adding lights or fans to full-out Dremel cutting, paint, fiber-optics and servos. It’s whatever the modder wants it to be; that’s the beauty.
Interestingly, without getting out cutting tools and paint I think it would be hard to “mod” this case. Modding is by definition modifying something to do what it was not designed or meant to do, and this system was meant to do whatever the user wants. Added fans, water cooling, removed drive bays, different PSU locations, different cooling options… all factory stock. It’s meant to do that.
I can only speak for myself once again, but in the HAF Stacker 935 I see a LOT of possibilities. This thing is huge, and with all of the factory-ready variables it’s a canvas waiting for someone to do something with it. In the end I see this case on my desk with a full custom water loop, including a cylindrical fish-eye reservoir dead center in the front of the top-mounted 915R, and the entire case cut painted and dressed up in an industrial-revolution style complete with vacuum tubes, pistons and even a camshaft. The size, the trim, the color, it all just speaks Dieselpunk to me. Time will tell.
Conclusion –
Cooler Master has done something new here, and in today’s market that’s not easy. This isn’t the first computer case to offer modularity, but it is the first one to do it with striking good looks, expandability (in the form of accessories) after the sale, and most importantly a decent price tag.
Almost all of the evident shortcomings of this system can be forgiven considering the price tag. I consider it a discount for goods I don’t need or want anyway. The obvious exception to this is the power switch. Seriously, guys: with your buying power you can probably get quality switches for a dime a piece. While shipping the 935 with an additional top and I/O panel (so it truly is two separate cases if desired) would be excellent, I think that falls into the price category as well. Should I need those things, they will be available for purchase alone.
Once everything is considered, I am happily handing Cooler Master the Gold Key Award for the new HAF Stacker 935. Excellent work.
 |
Author's Note - I would like add to my Moddings section of this review. With the rails and feet for the HAF stacker system being sold separately as an accessory, the potential additions to this system really are bounded only by the imagination. The applications of these go far beyond modding the existing HAF Stacker setup also. I plan to pick up a couple of sets to serve this same function in other areas.
Tell us what you think in our Forum

