The HAF Stacker 935 –
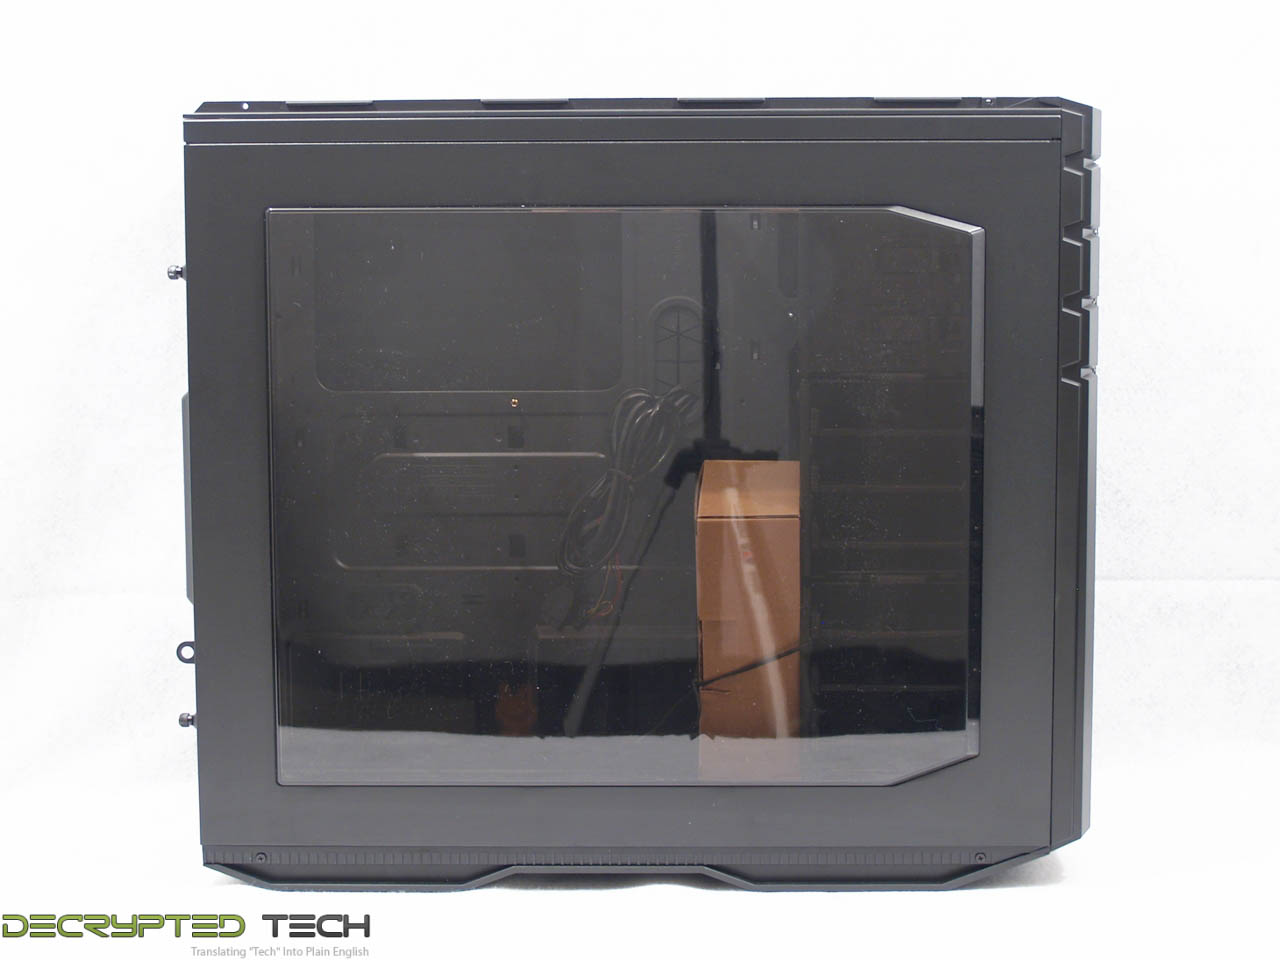
Once I had the box and protective covering off of this behemoth I was treated to two very nice-looking cases. As the two are very different, I’ll break this into two parts starting with the mid-tower main unit of the set. As soon as it was on my bench I peeled the blue protective plastic off of the huge side window. Who can resist pulling that off? What greeted me behind it was one of the best-looking windows I’ve seen to date.
As you can see, it’s huge, and takes up just about as much room as it possibly could in that panel. I love that. I’ve never understood the partial window myself. If I want a window on my case I want to see what’s inside. This window is not only huge, but also beautiful in its own right. The angles on the front, the bevel on the sides, even the slight tint are just gorgeous.
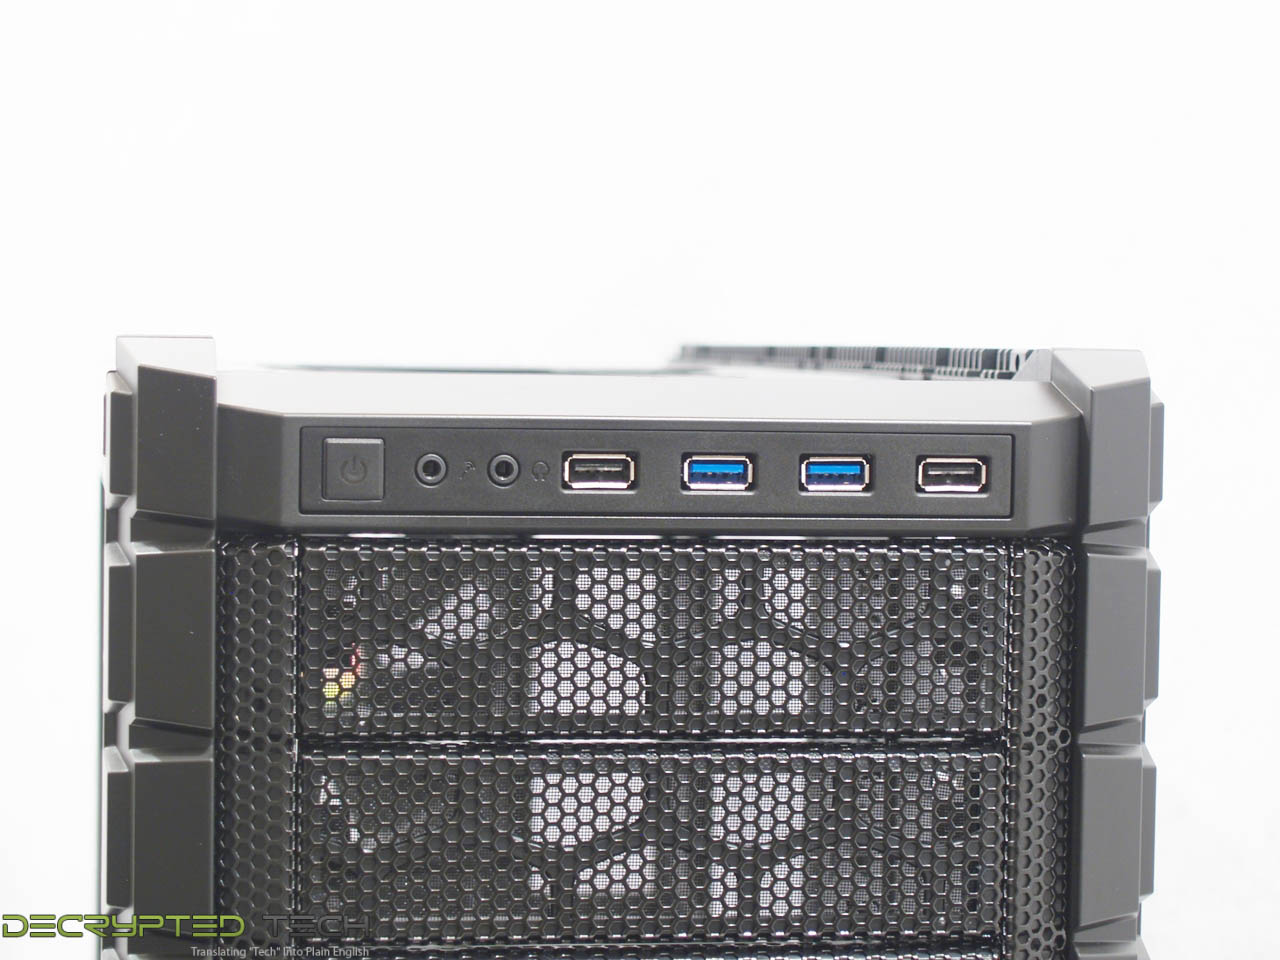
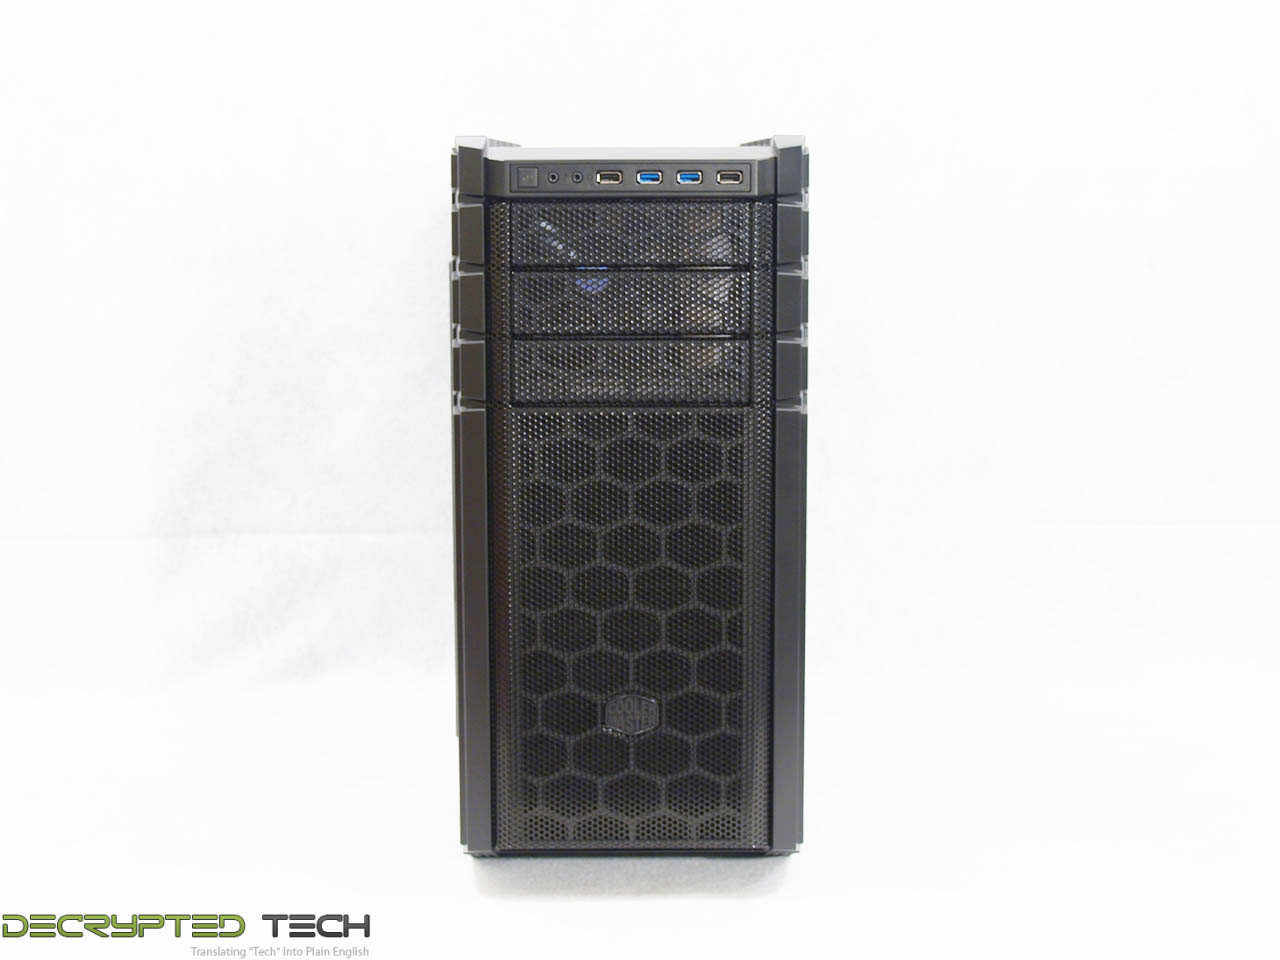
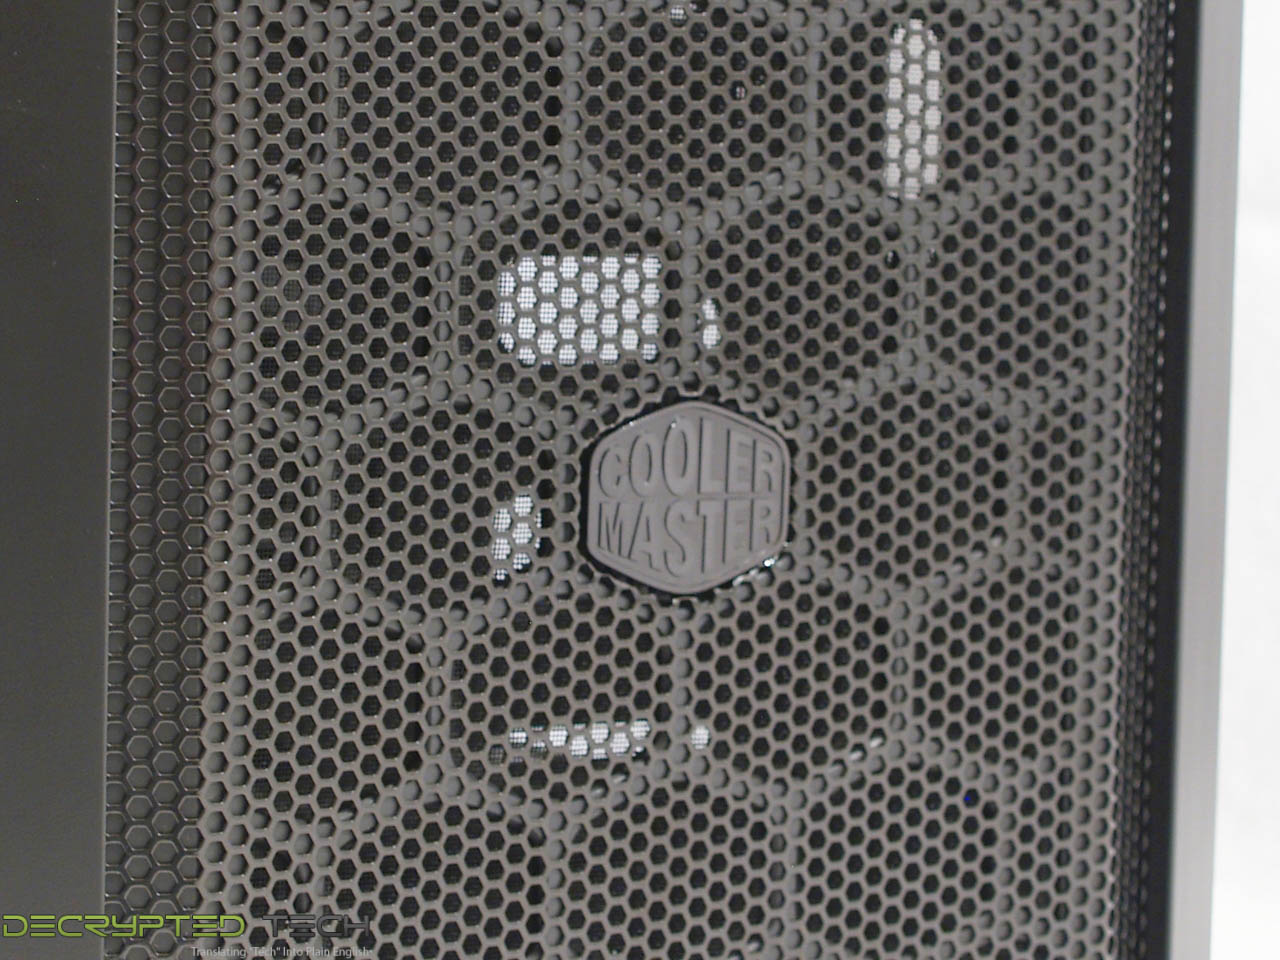
On to the other views of the outside. Looking at the front of the HAF, the lineage of this case is clearly visible in its lines and the mesh that covers its entire front. The Cooler Master logo is proudly displayed front and center.
 |
 |
At the top of the front is the I/O panel. Here we have a power switch, headphone and microphone jacks, two USB 2.0 ports and two USB 3.0 ports. If you note the lack of a reset button, that’s by design. The team at Cooler Master decided that since the power switch will do the same job it was redundant. Also missing is a hard drive activity light, though the power switch is illuminated from the power LED pins on the motherboard, so simply putting the harness for that light on the HDD activity pins will make it serve that function instead.
I want to take a minute and talk about the power switch. Another of the first things I do when I open a new case is press that button. I’m very picky about my power switches. A power switch in a modern PC case should not click. At most you should feel the muted tactile feedback you feel in an aftermarket Bulgin switch. It should press in slightly and come back out without a sound. The switch on the HAF Stacker clicks, and loudly. Somehow it just screams cheap to me. This is the most common tactile interface between the user and this case. It should look nice, and more importantly it should feel nice. I understand the reasoning behind the choice on this switch by Cooler Master, a reasoning which has had an impact on several elements of the case we’ll get into later, but I honestly think an extra $5 each for a top-notch switch would have been worth the investment.
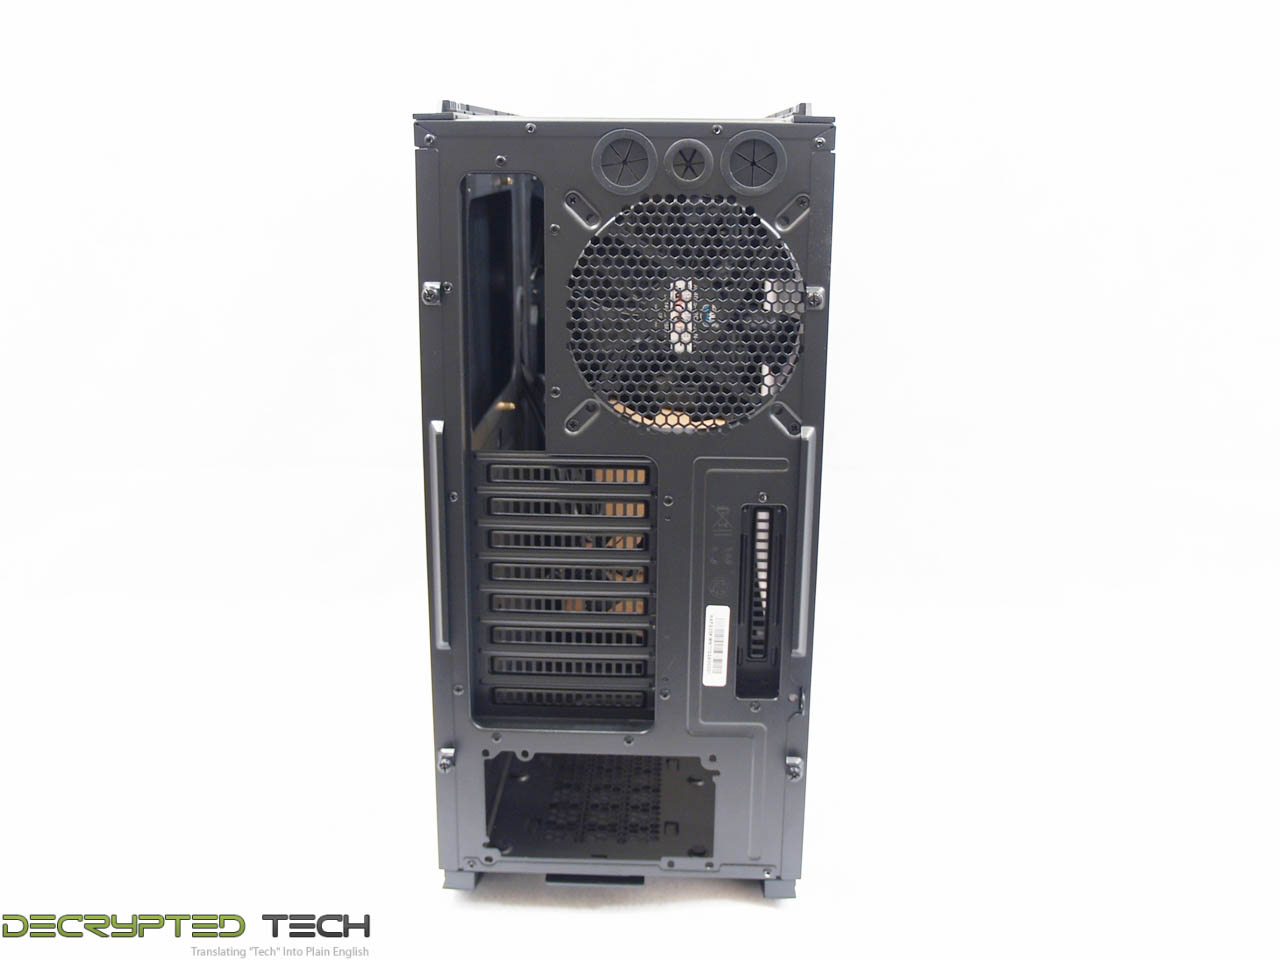
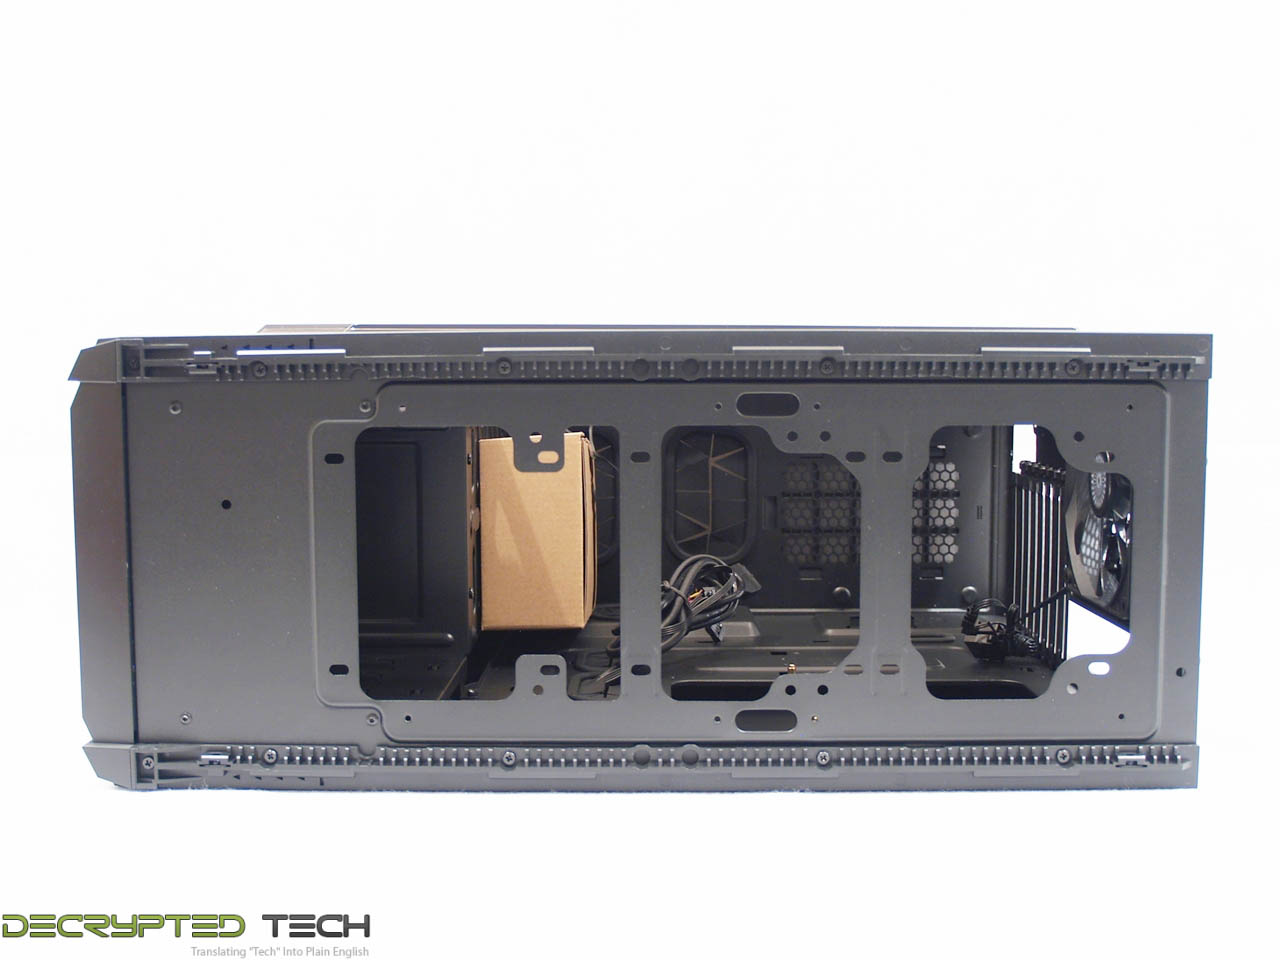
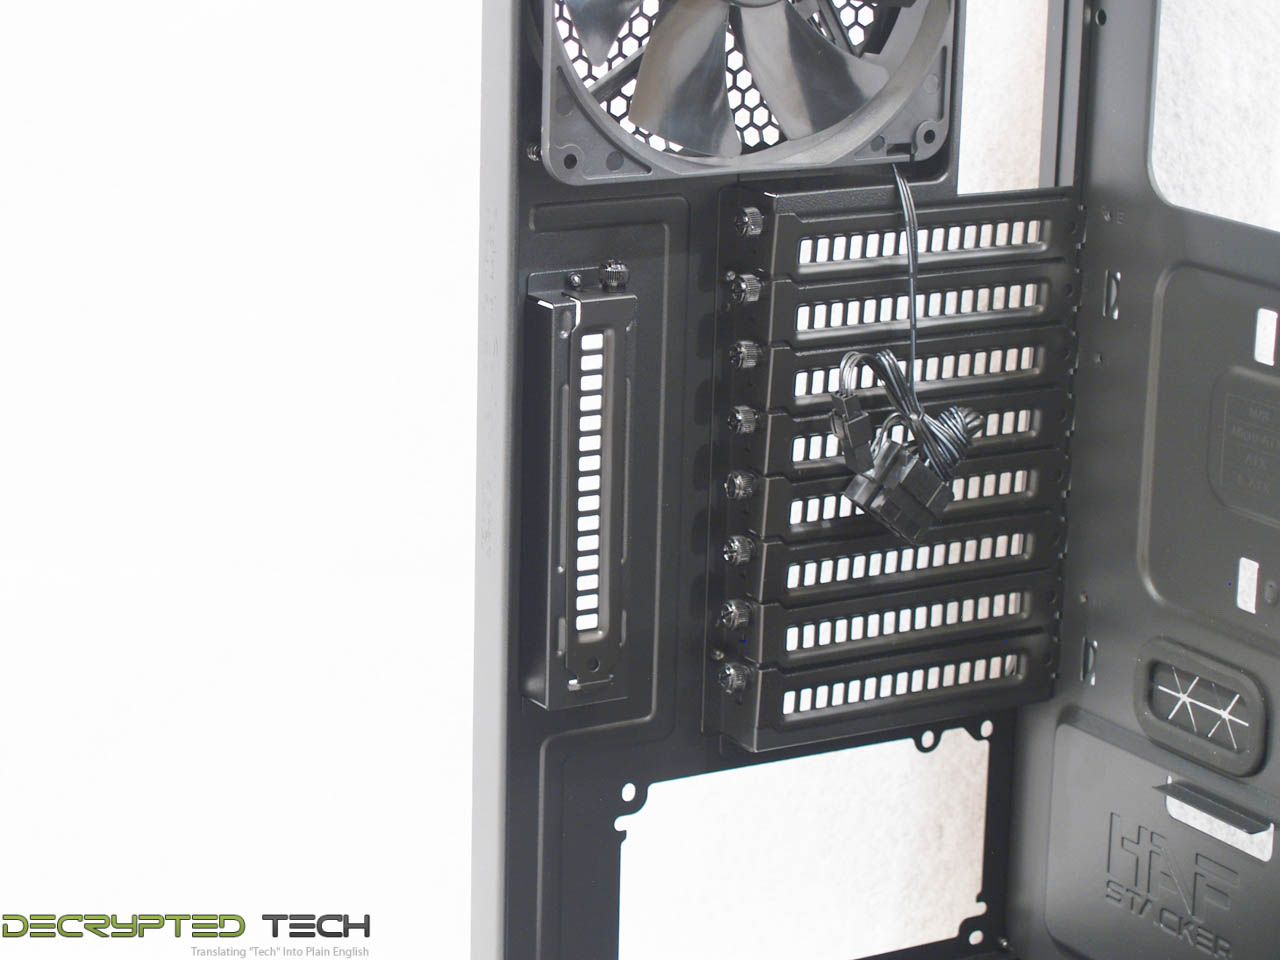
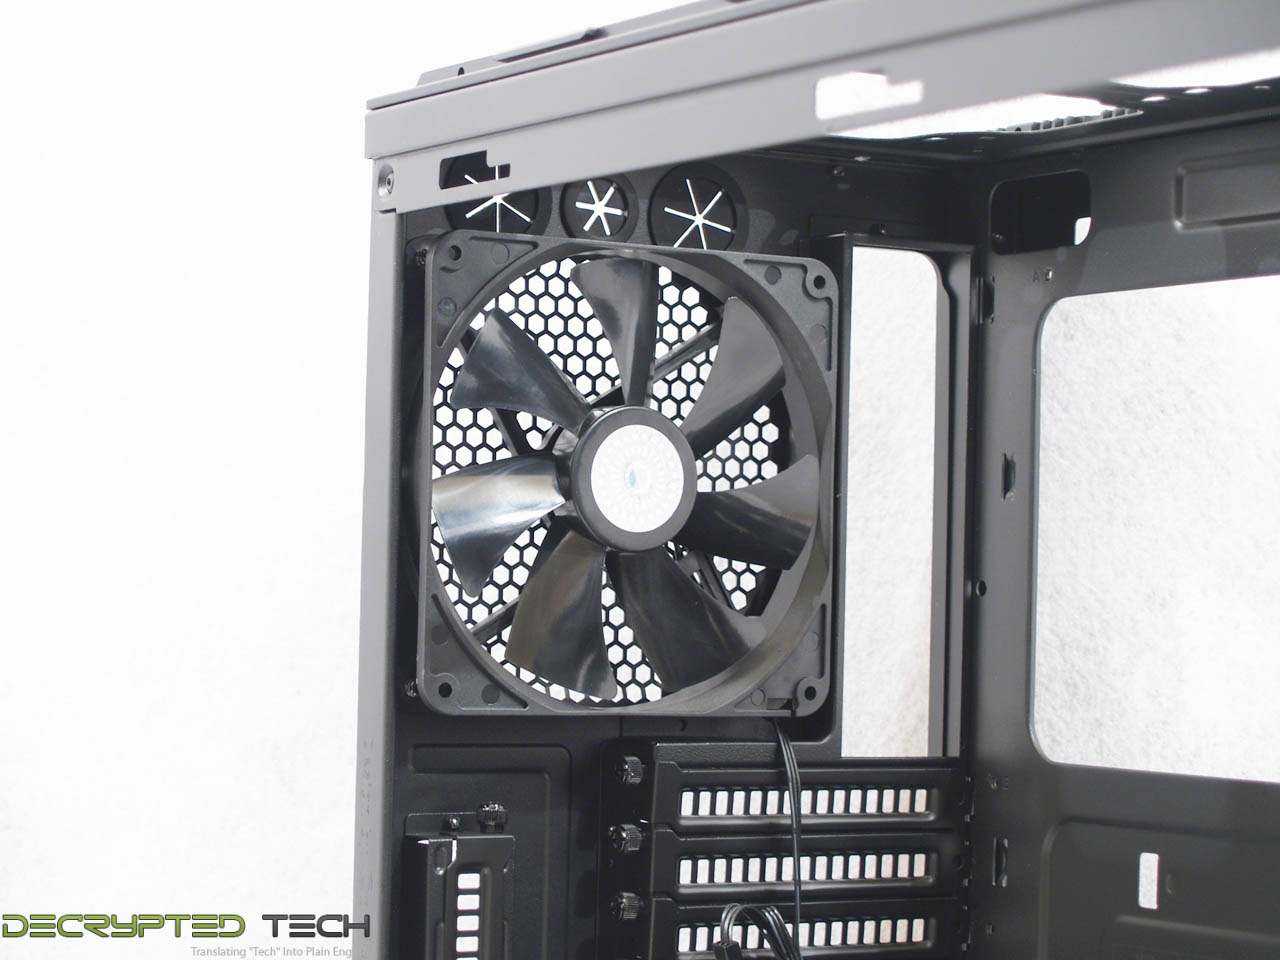
Turning the case around we see a fairly standard modern case setup with bottom-mounted PSU tray with removable dust filter, I/O panel cutout, water-cooling passthrough holes with grommets, a single 140mm fan, and eight (or is it nine?) expansion slots. There is one extra slot toward the window side of the case, oriented vertically.
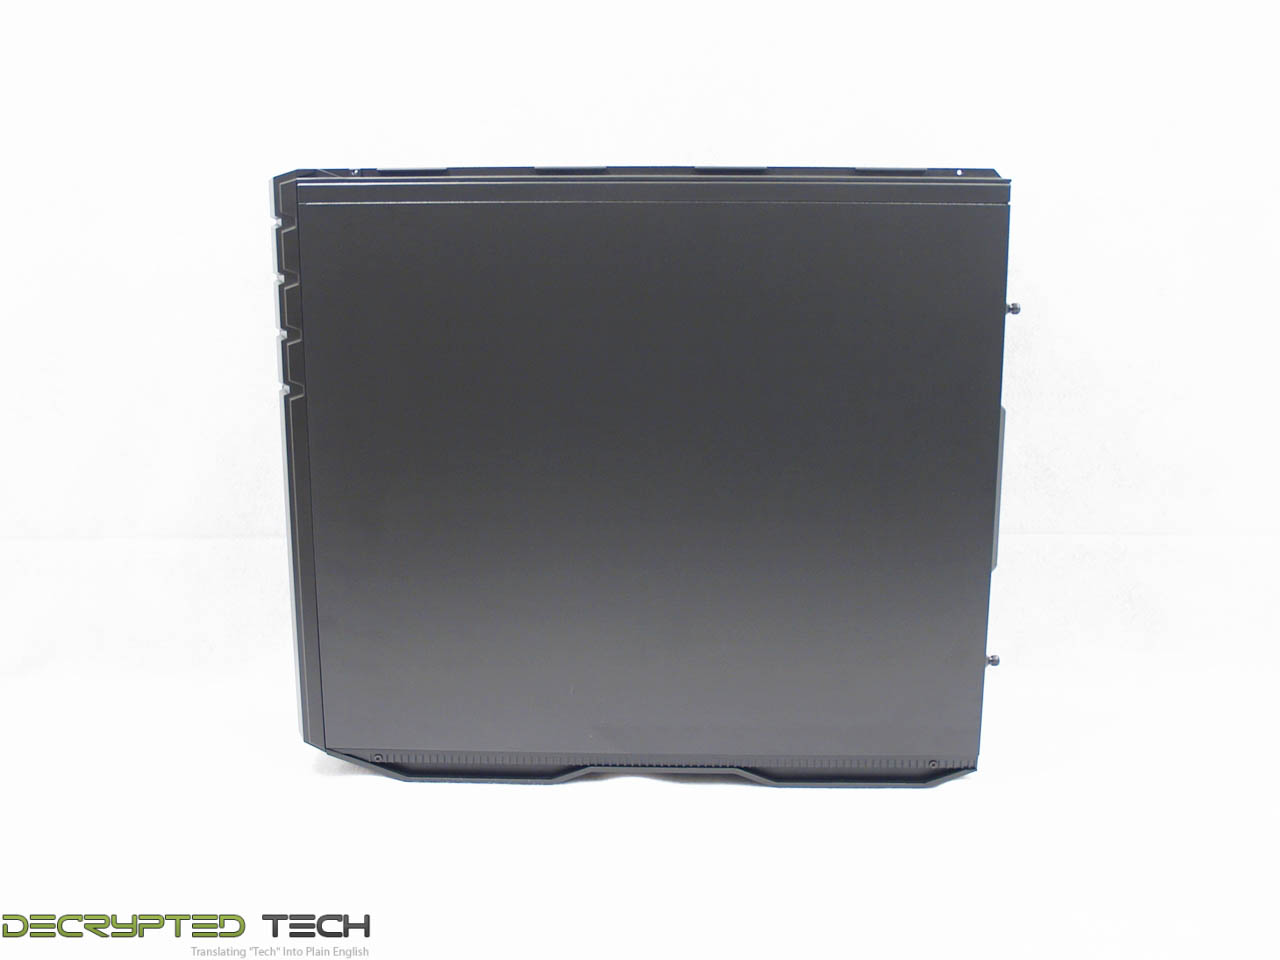
The right side of the case is completely bare, nothing to see here but smooth satin black finish. Since there was obviously no reason to put a window on this side I think this plain approach goes nicely with the other side.
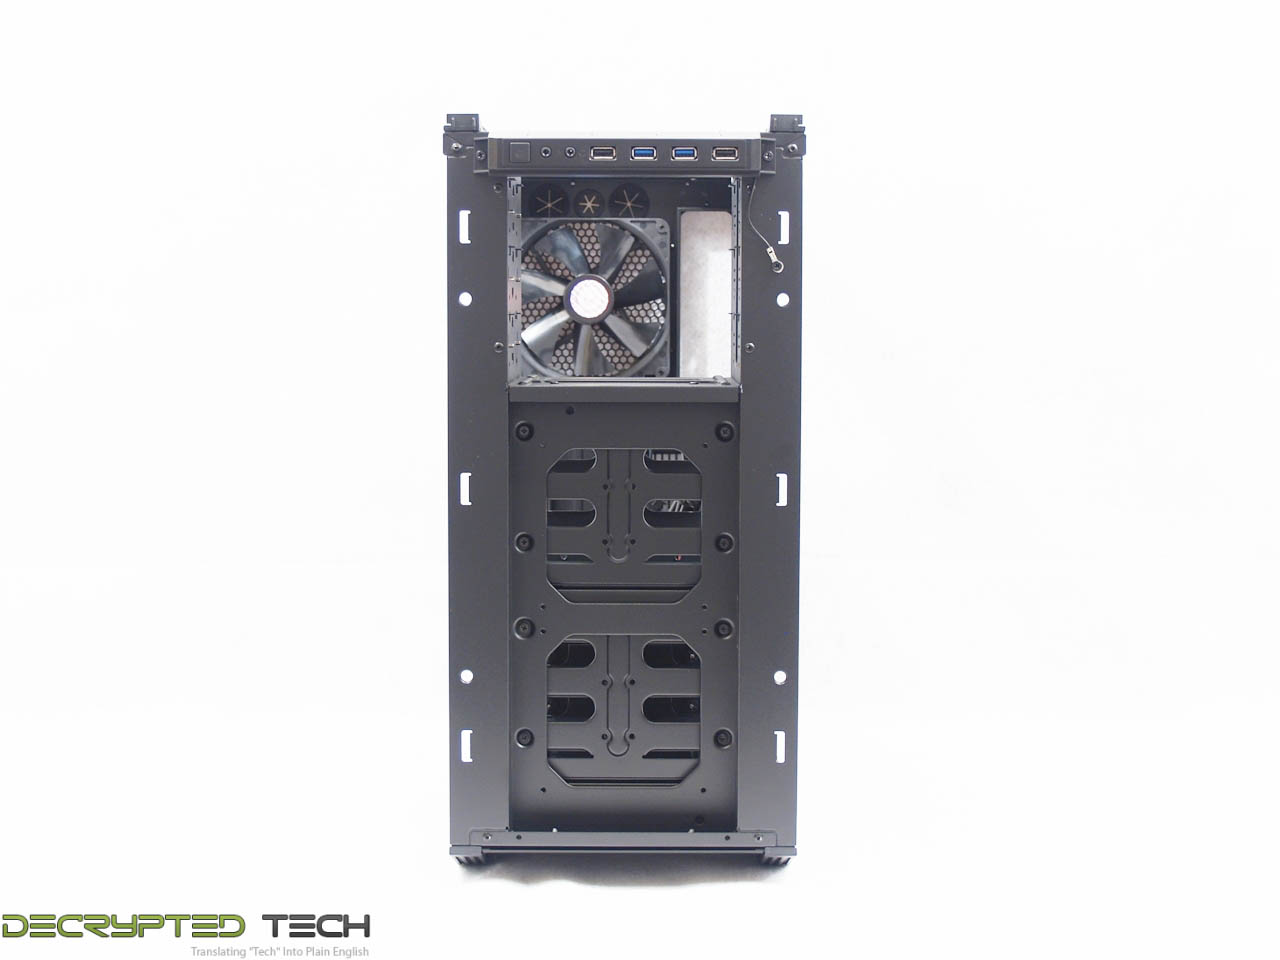
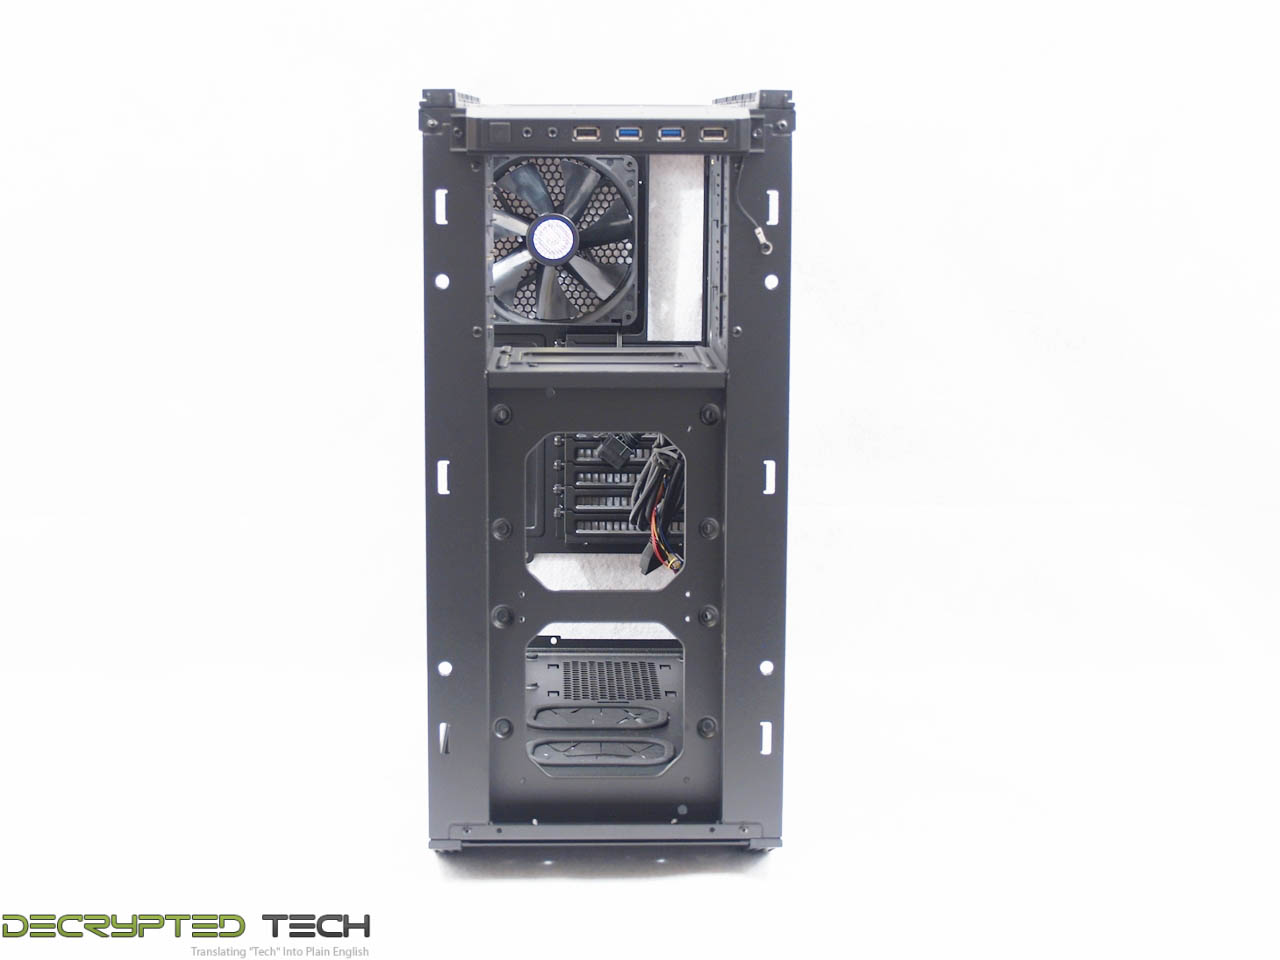
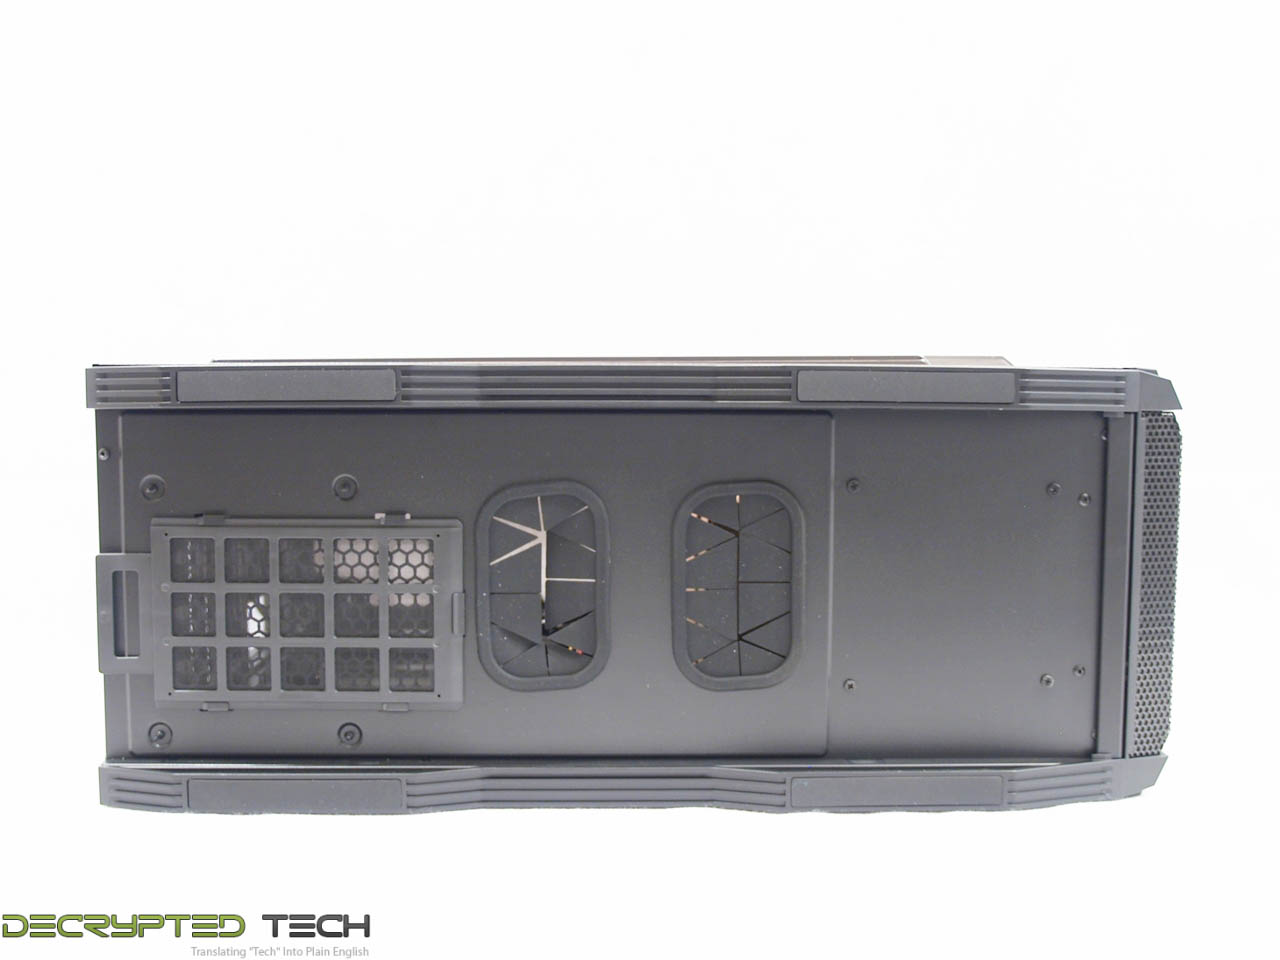
The main unit of the set doesn’t have a top on it as it comes out of the box. Laying it down on the bench we get a clear shot of the naked top and the cutouts there. Despite what the number and layout of the holes might imply, a radiator cannot be mounted to the top of the main unit. Don’t let that deter you, water-coolers. The HAF Stacker has that well in hand, as we’ll see shortly.
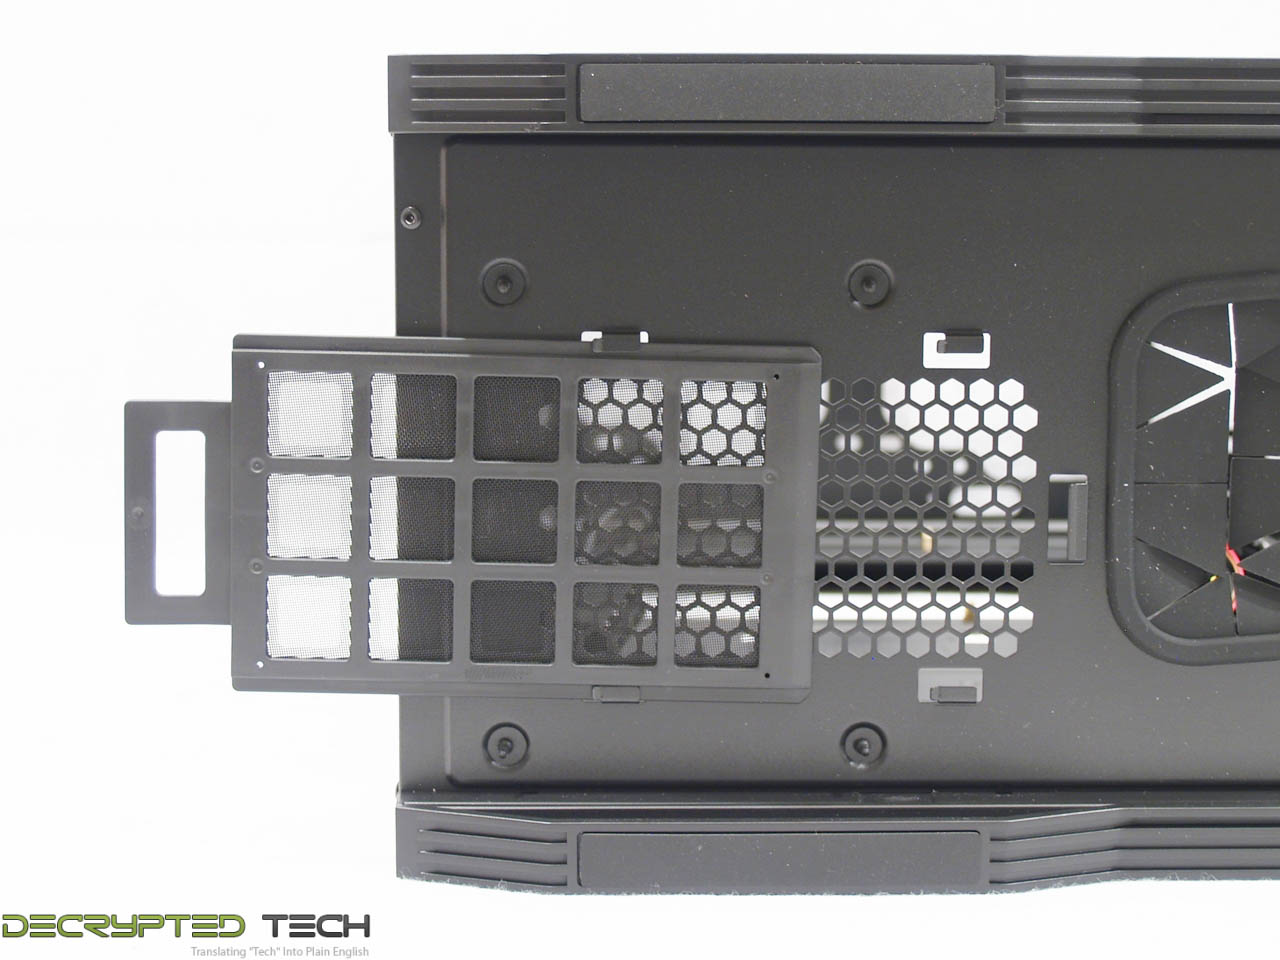
On the bottom of the main unit are two more large passthrough holes with grommets and the dust filter mentioned earlier. This filter is very fine and easy to remove from the rear without opening the case.
 |
 |
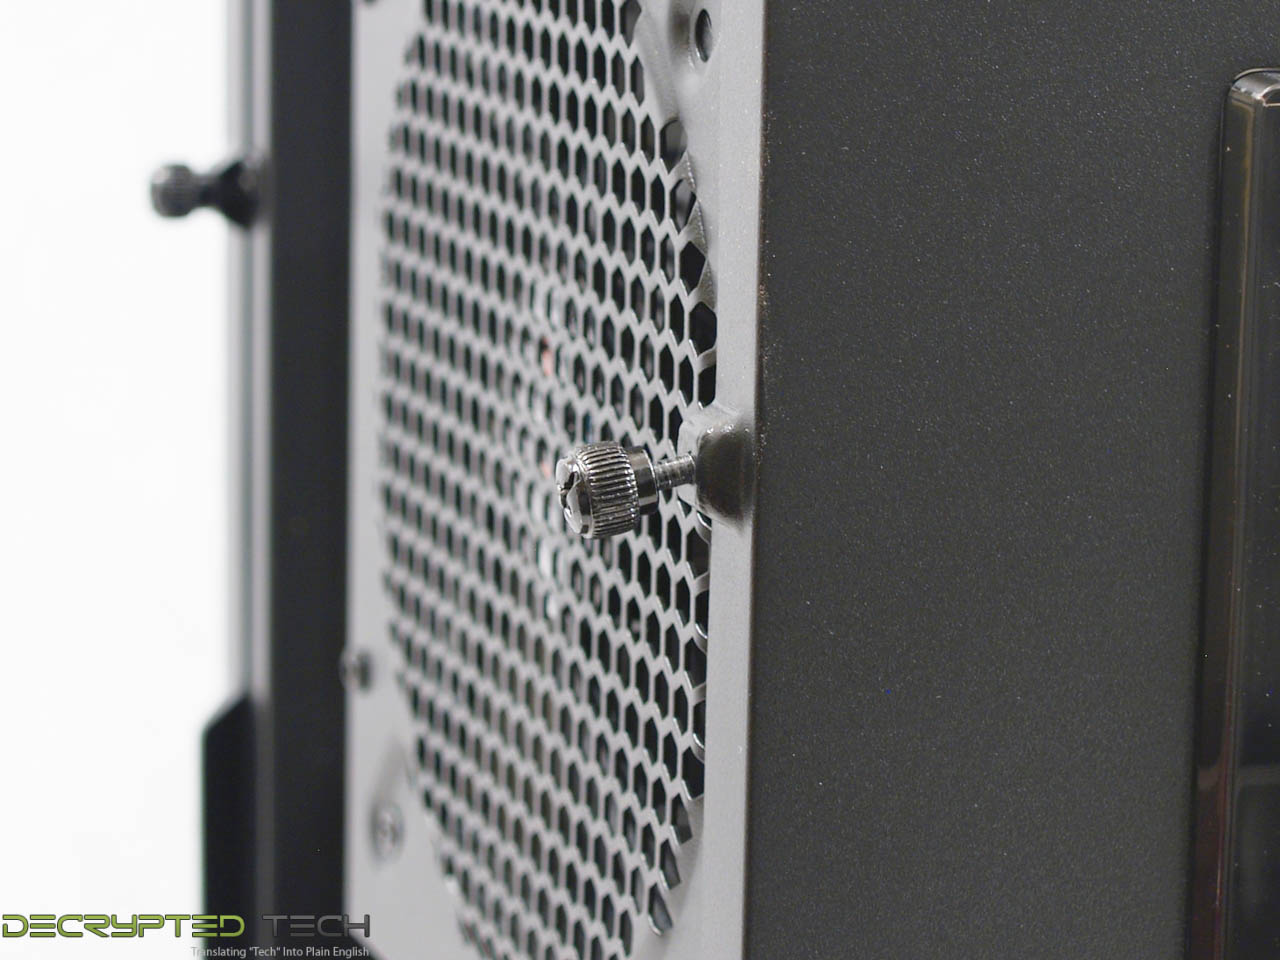
Okay, that’s the outside of the main unit. So far, pretty impressive except for that power switch. Time to open it up. I was a little disappointed on the side panels, as they use the old slide-lock retention system with thumb screws in the rear. In a case with this much hype I was hoping for more. I’ve had a lot of trouble with panels like these before, but I’ll give credit where credit is due: not only did both side panels come off easily once the screws were taken out , someone at Cooler Master evidently hates chasing dropped thumb screws as much as I do, as these don’t come out. They screw in and out of the threaded holes in the case itself but will not come out of the holes in the panels. Well done!
At last, our first glance inside! Again, here we have a fairly standard layout: motherboard mounting points for motherboards all the way up to E-ATX, several passthroughs for cable management, a huge backplate access hole, six tool-free hard drive caddies and three tool-free 3.5-inch drive bays.
One thing that may have been noticed already is the lack of fans. The entire HAF Stacker 935 system comes with two fans. The main unit includes the previously-mentioned 140mm rear fan, and the smaller 915R unit includes a single 92mm fan . This seems like a curious omission from a company that consistently makes some of the best fans on the market, but Cooler Master says the decision was made with the thought that anyone who built a system with this chassis would immediately replace the stock fans anyway. A good point, and another of those design decisions to keep in mind for later in this review.
 |
 |
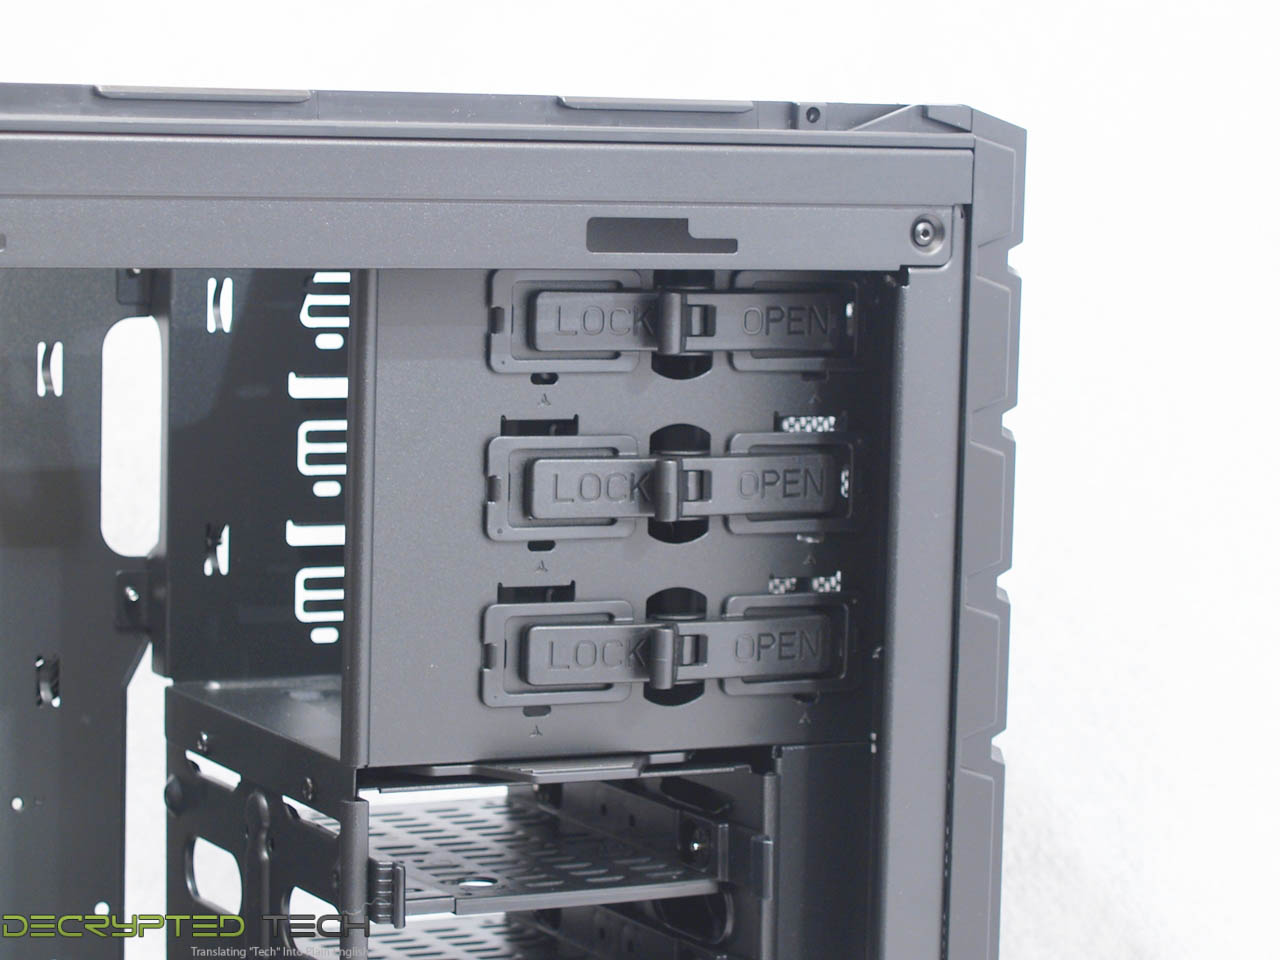
The tool-free 3.5-inch drive bays function very well, with a positive snapping action that lets the user know that they are fully seated where they should be. I always add a screw to the other side myself but I don’t think it’s strictly necessary with this setup.
Let’s take a closer look at those drive caddies.
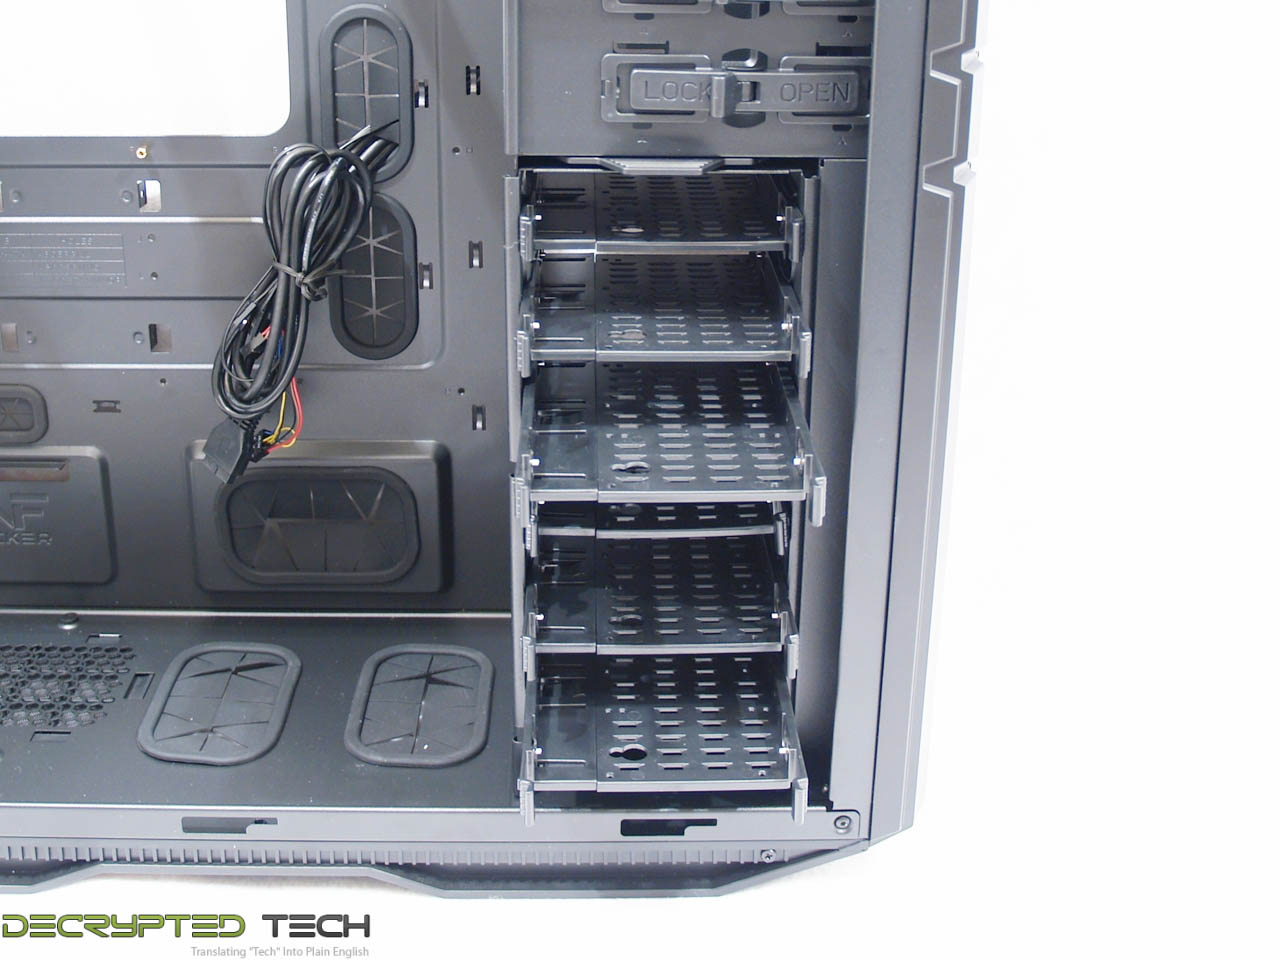
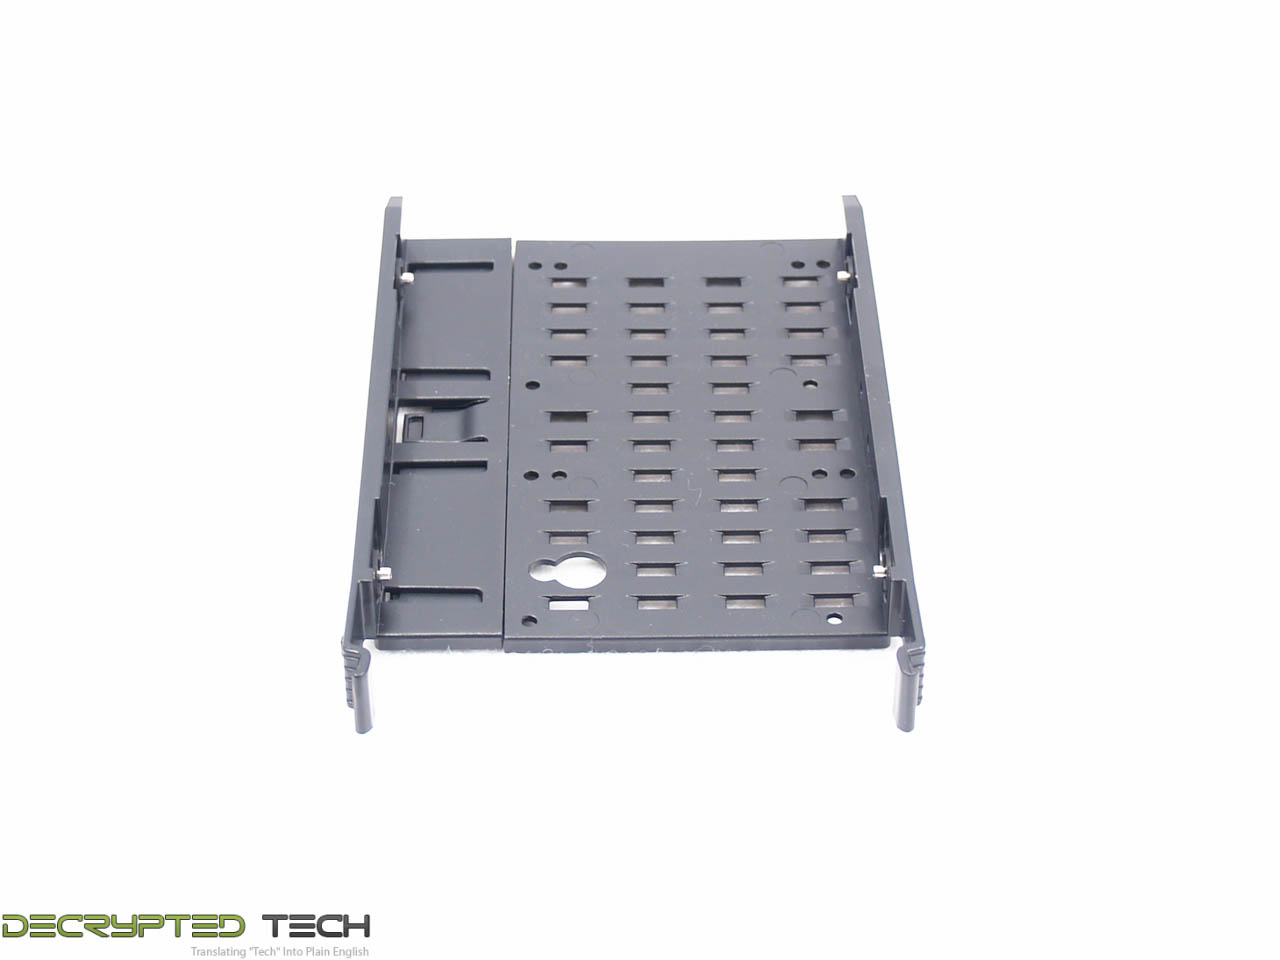
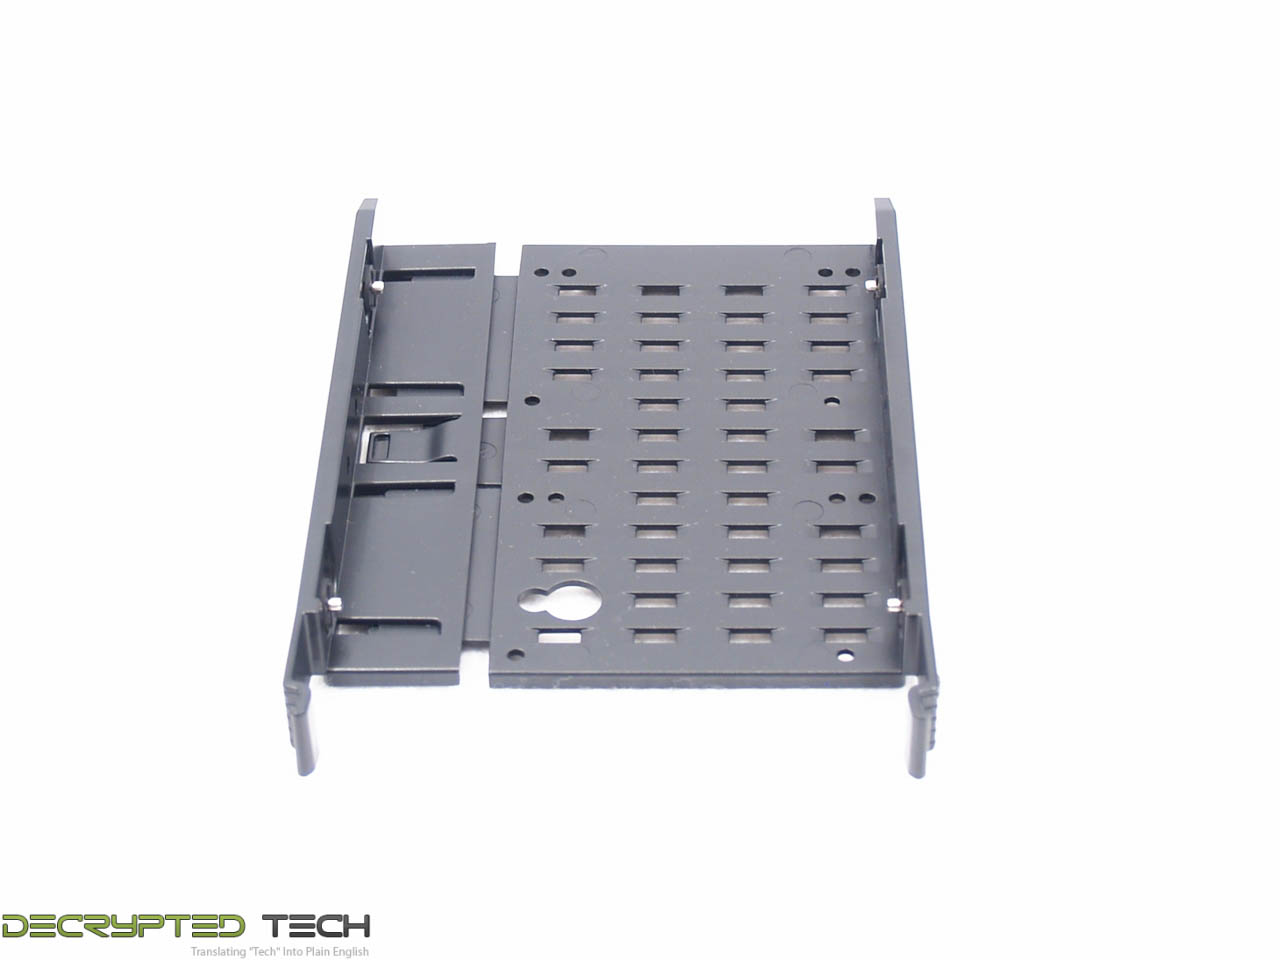
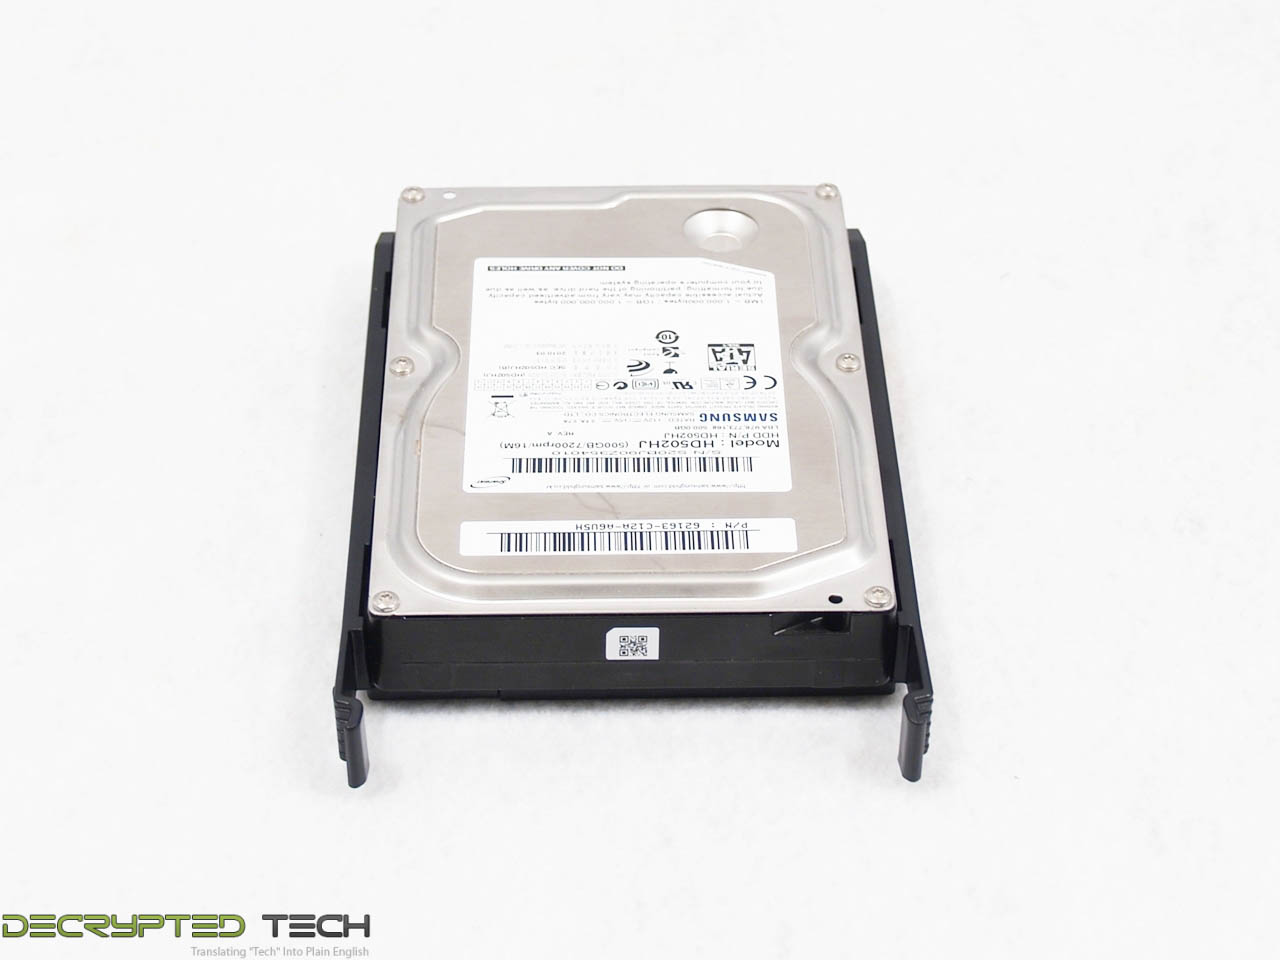
As mentioned there are six total here, in two modular bays. I want to talk about the modularity of the system as a whole later, so for now we’ll focus on the caddies themselves. Unlike some of these that I’ve had hands on, these are very well made. They come out of their bays fluidly and snap back in place firmly. As expected, they will house 2.5-inch or 3.5-inch drives. Mounting for 2.5-inch drives is accomplished by screwing them in from the bottom through the provided holes, but the 3.5-inch setup is more interesting.
On the bottom of each caddy is a plastic tab. To mount a drive in the caddy, this tab is pressed and the side of the caddy is pulled outward. That side slides out just enough to put a 3.5-inch drive in place, then the side is pressed back in place with the pins in the drive’s screw holes and the tab locks it there. This is the first time I’ve seen a setup like this and I have to say it is easily the most convenient drive mounting system I’ve used outside a true drive-only hot-swap bay.
 |
 |
 |
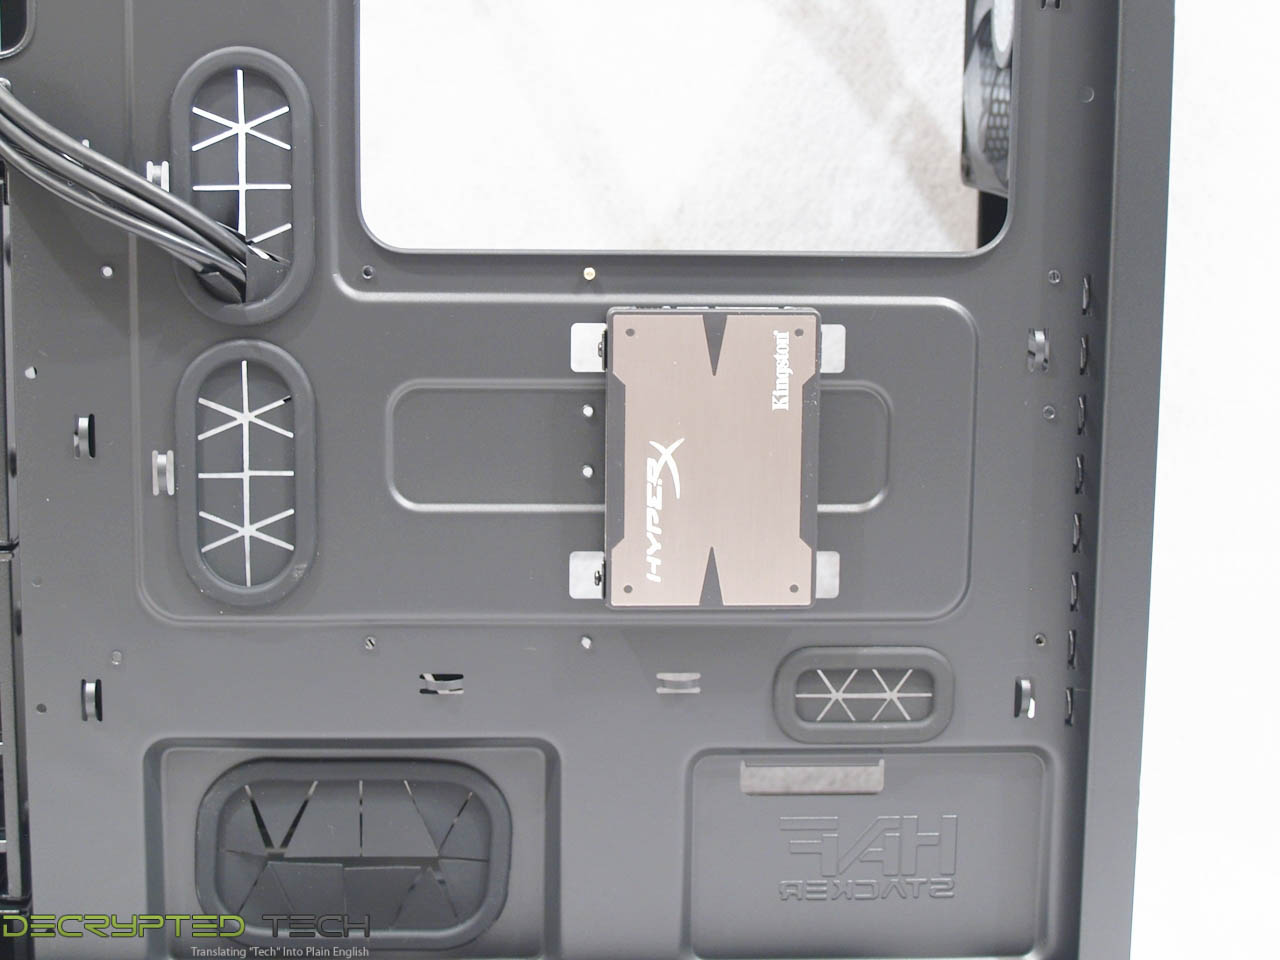
There is also a single 2.5-inch mount on the rear of the motherboard tray. Anyone who runs a single smaller drive will be able to make a system with a much cleaner appearance with this setup. It should be noted that this is only a two-screw mount. The right-hand bracket has two pins that go in the right-side screw holes on the drive, then two screws are used on the left side. I didn’t notice any play in the drive once it was secured, and I have to say it did make it easier as the pins held the drive in place while I mounted the screws.
Proceeding to remove the rest of the panels on the main unit, I found the front panel held in place with six plastic tabs, three on each side. While the side panels obviously have to be removed to access these, these tabs are made to bend inward with the fingers to disengage, a huge improvement over the press-fit plastic tabs I’ve seen on other cases. If all three tabs are released on one side, then the other side the front panel can be removed with no force whatsoever.
Inside we see the three drive bays and mounting points for two 120mm fans. Those fans obviously aren’t going to do any good as it stands here, but if the hard drive bays are removed, air flow is unobstructed. Water-coolers, don’t get too excited just yet. Although two 120mm fans will fit here nicely, these are threaded holes in the chassis itself. Unless you’re willing to drill them out, a 240mm radiator will not work here. Don’t give up hope though, more on that at the end of the review.

