The Box and Goodies -
The box that the DX513 is shipped in is nothing to exiting. It is sturdy and will do a good job of protecting the goodies inside. We are not going to dwell on it here.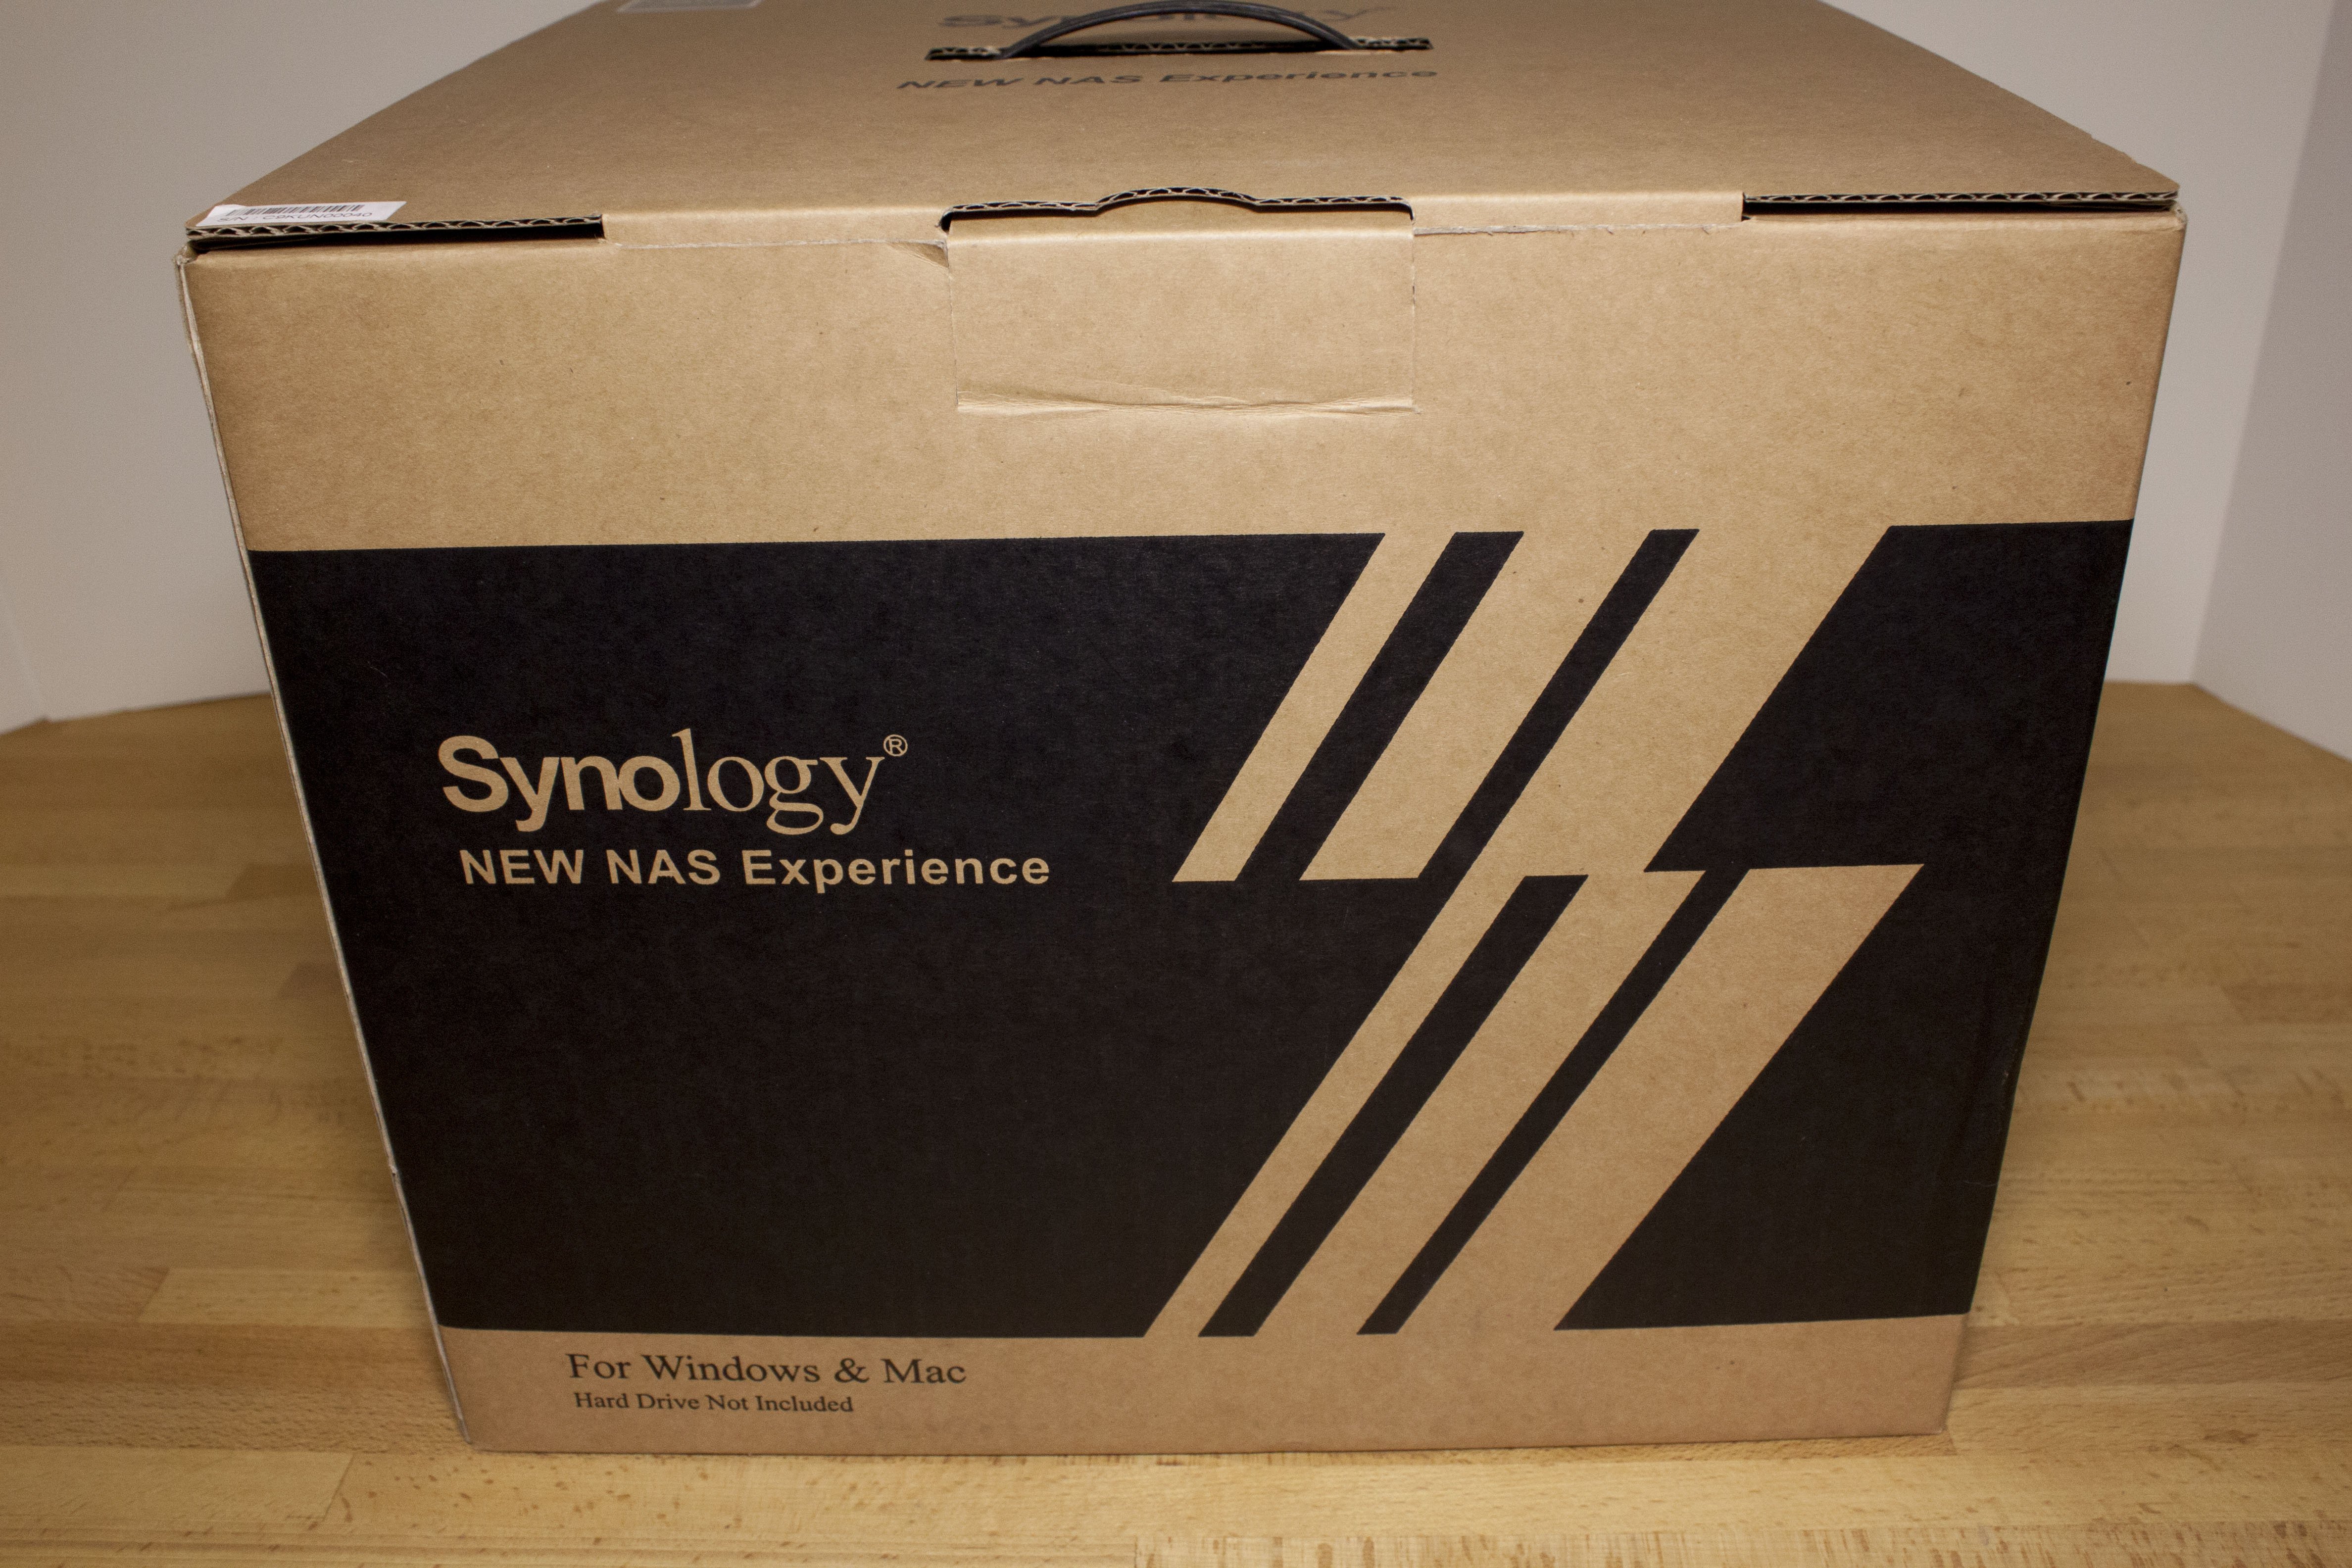
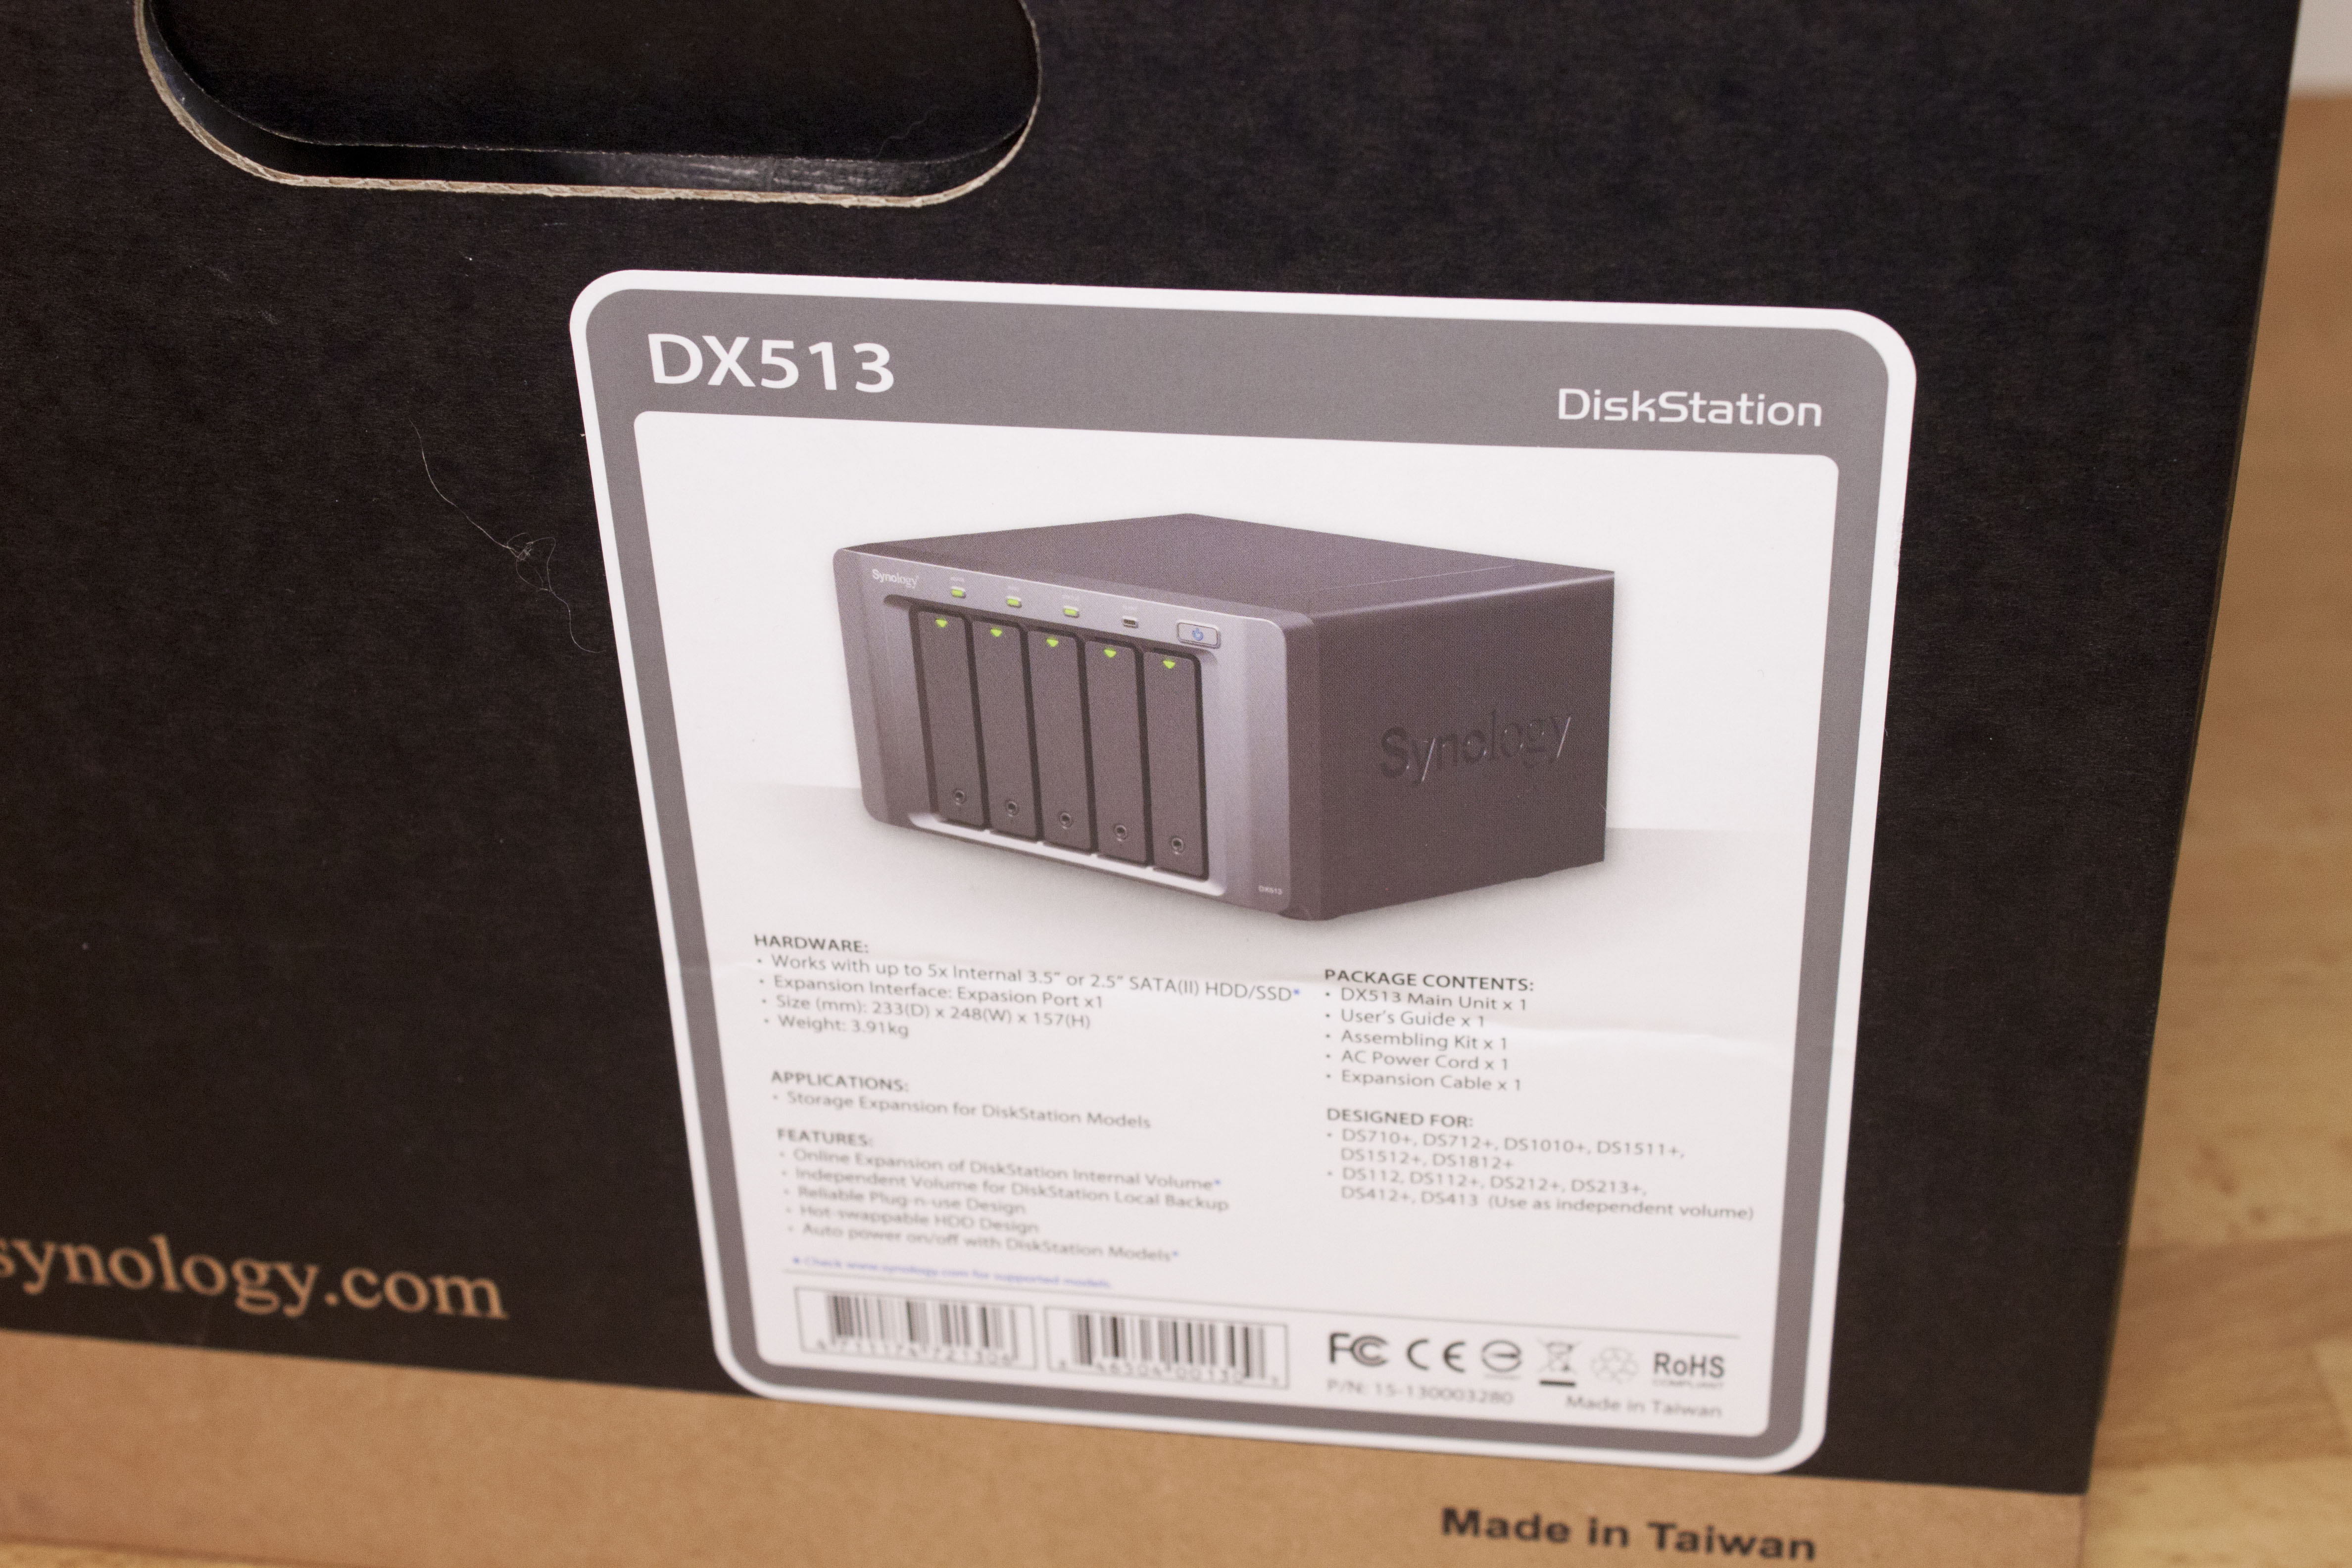
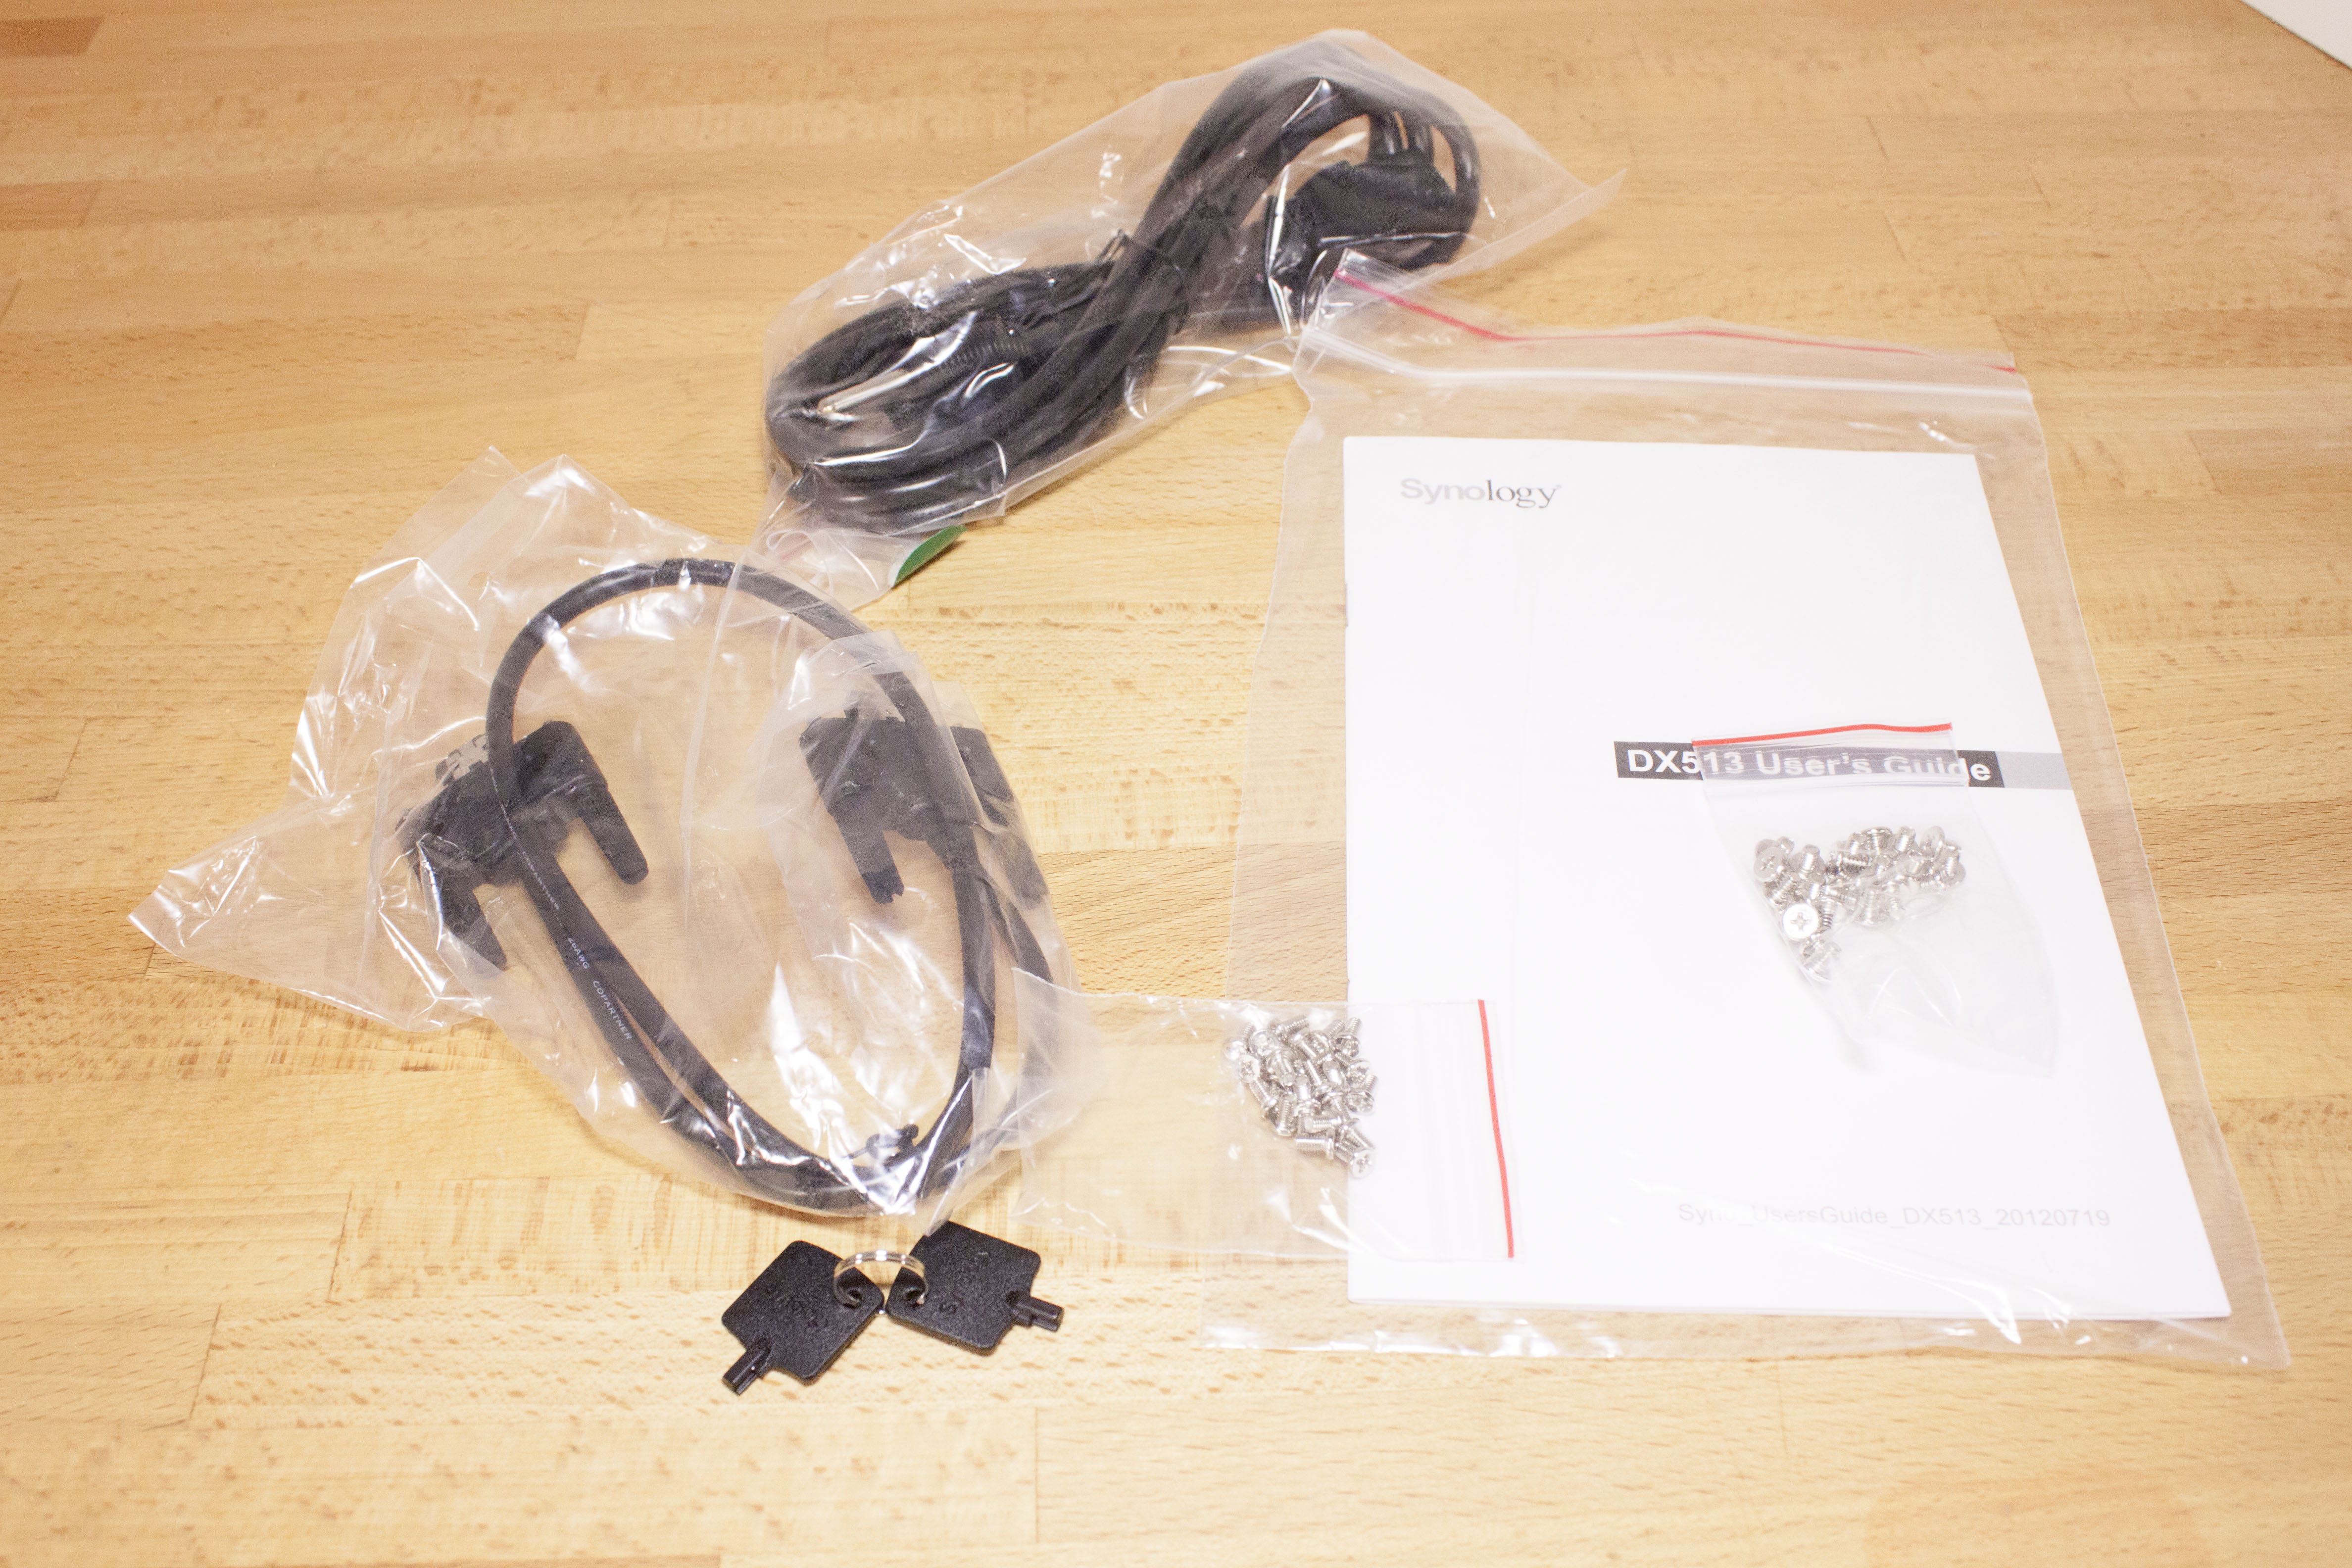
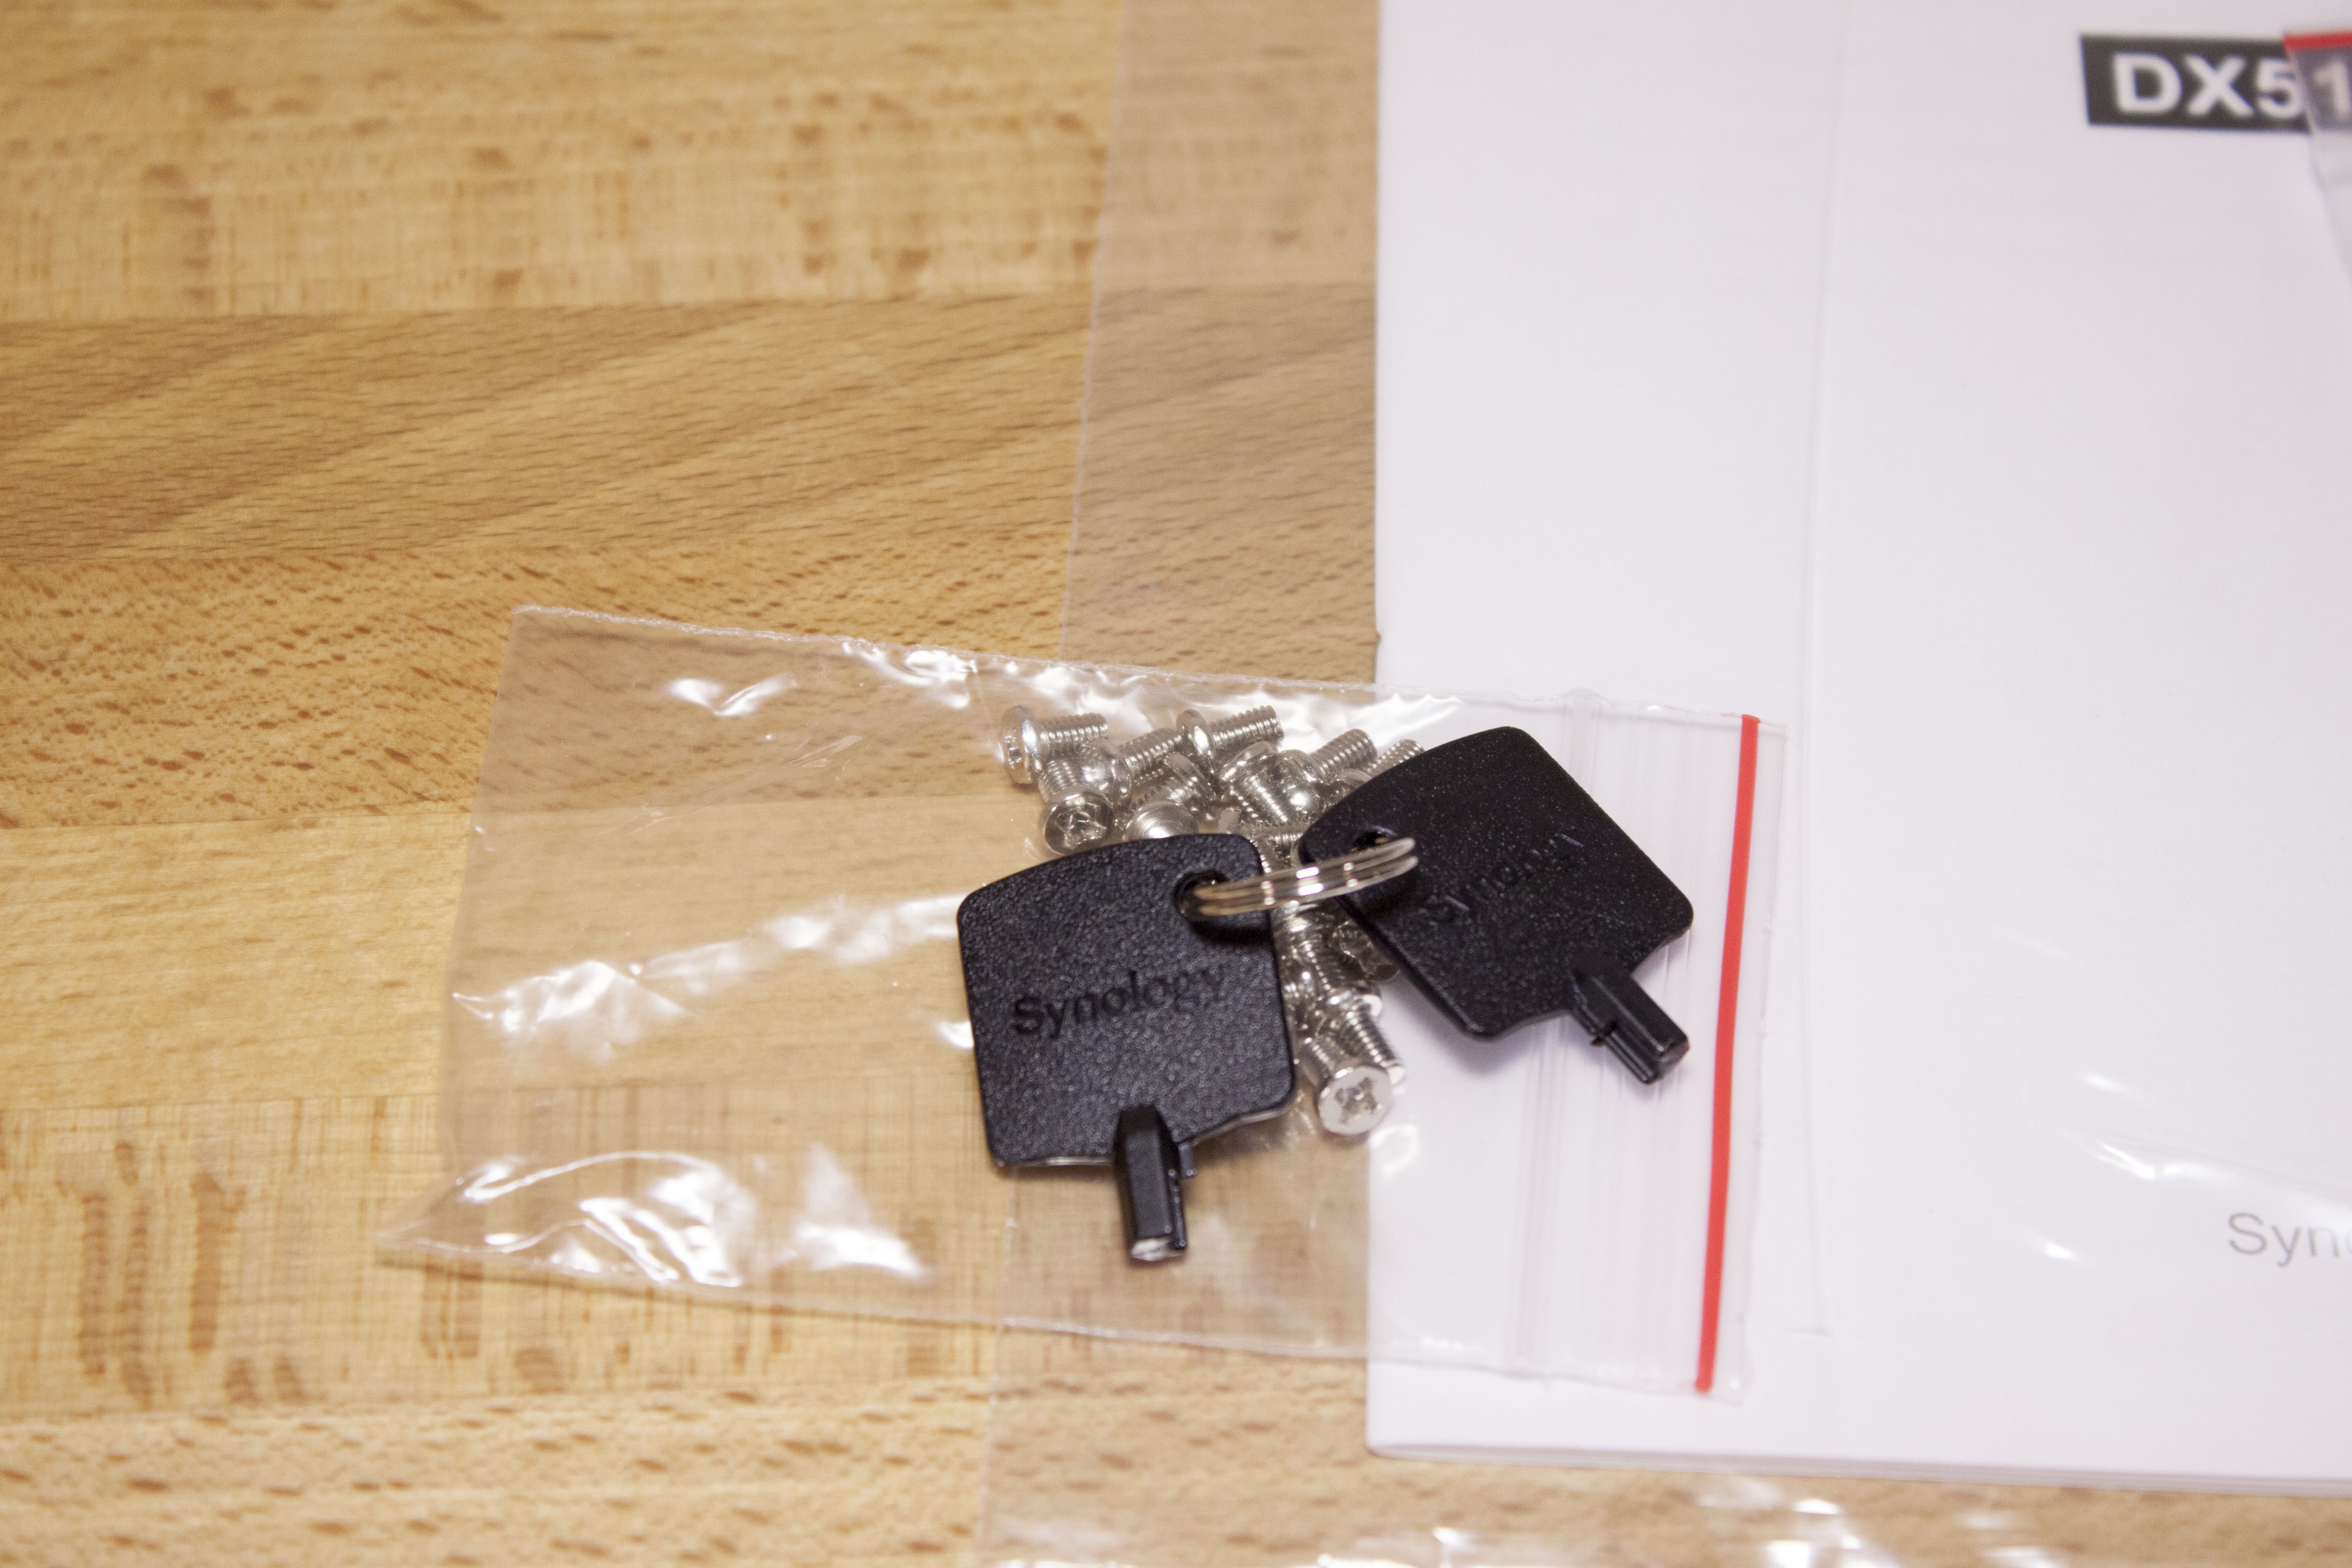
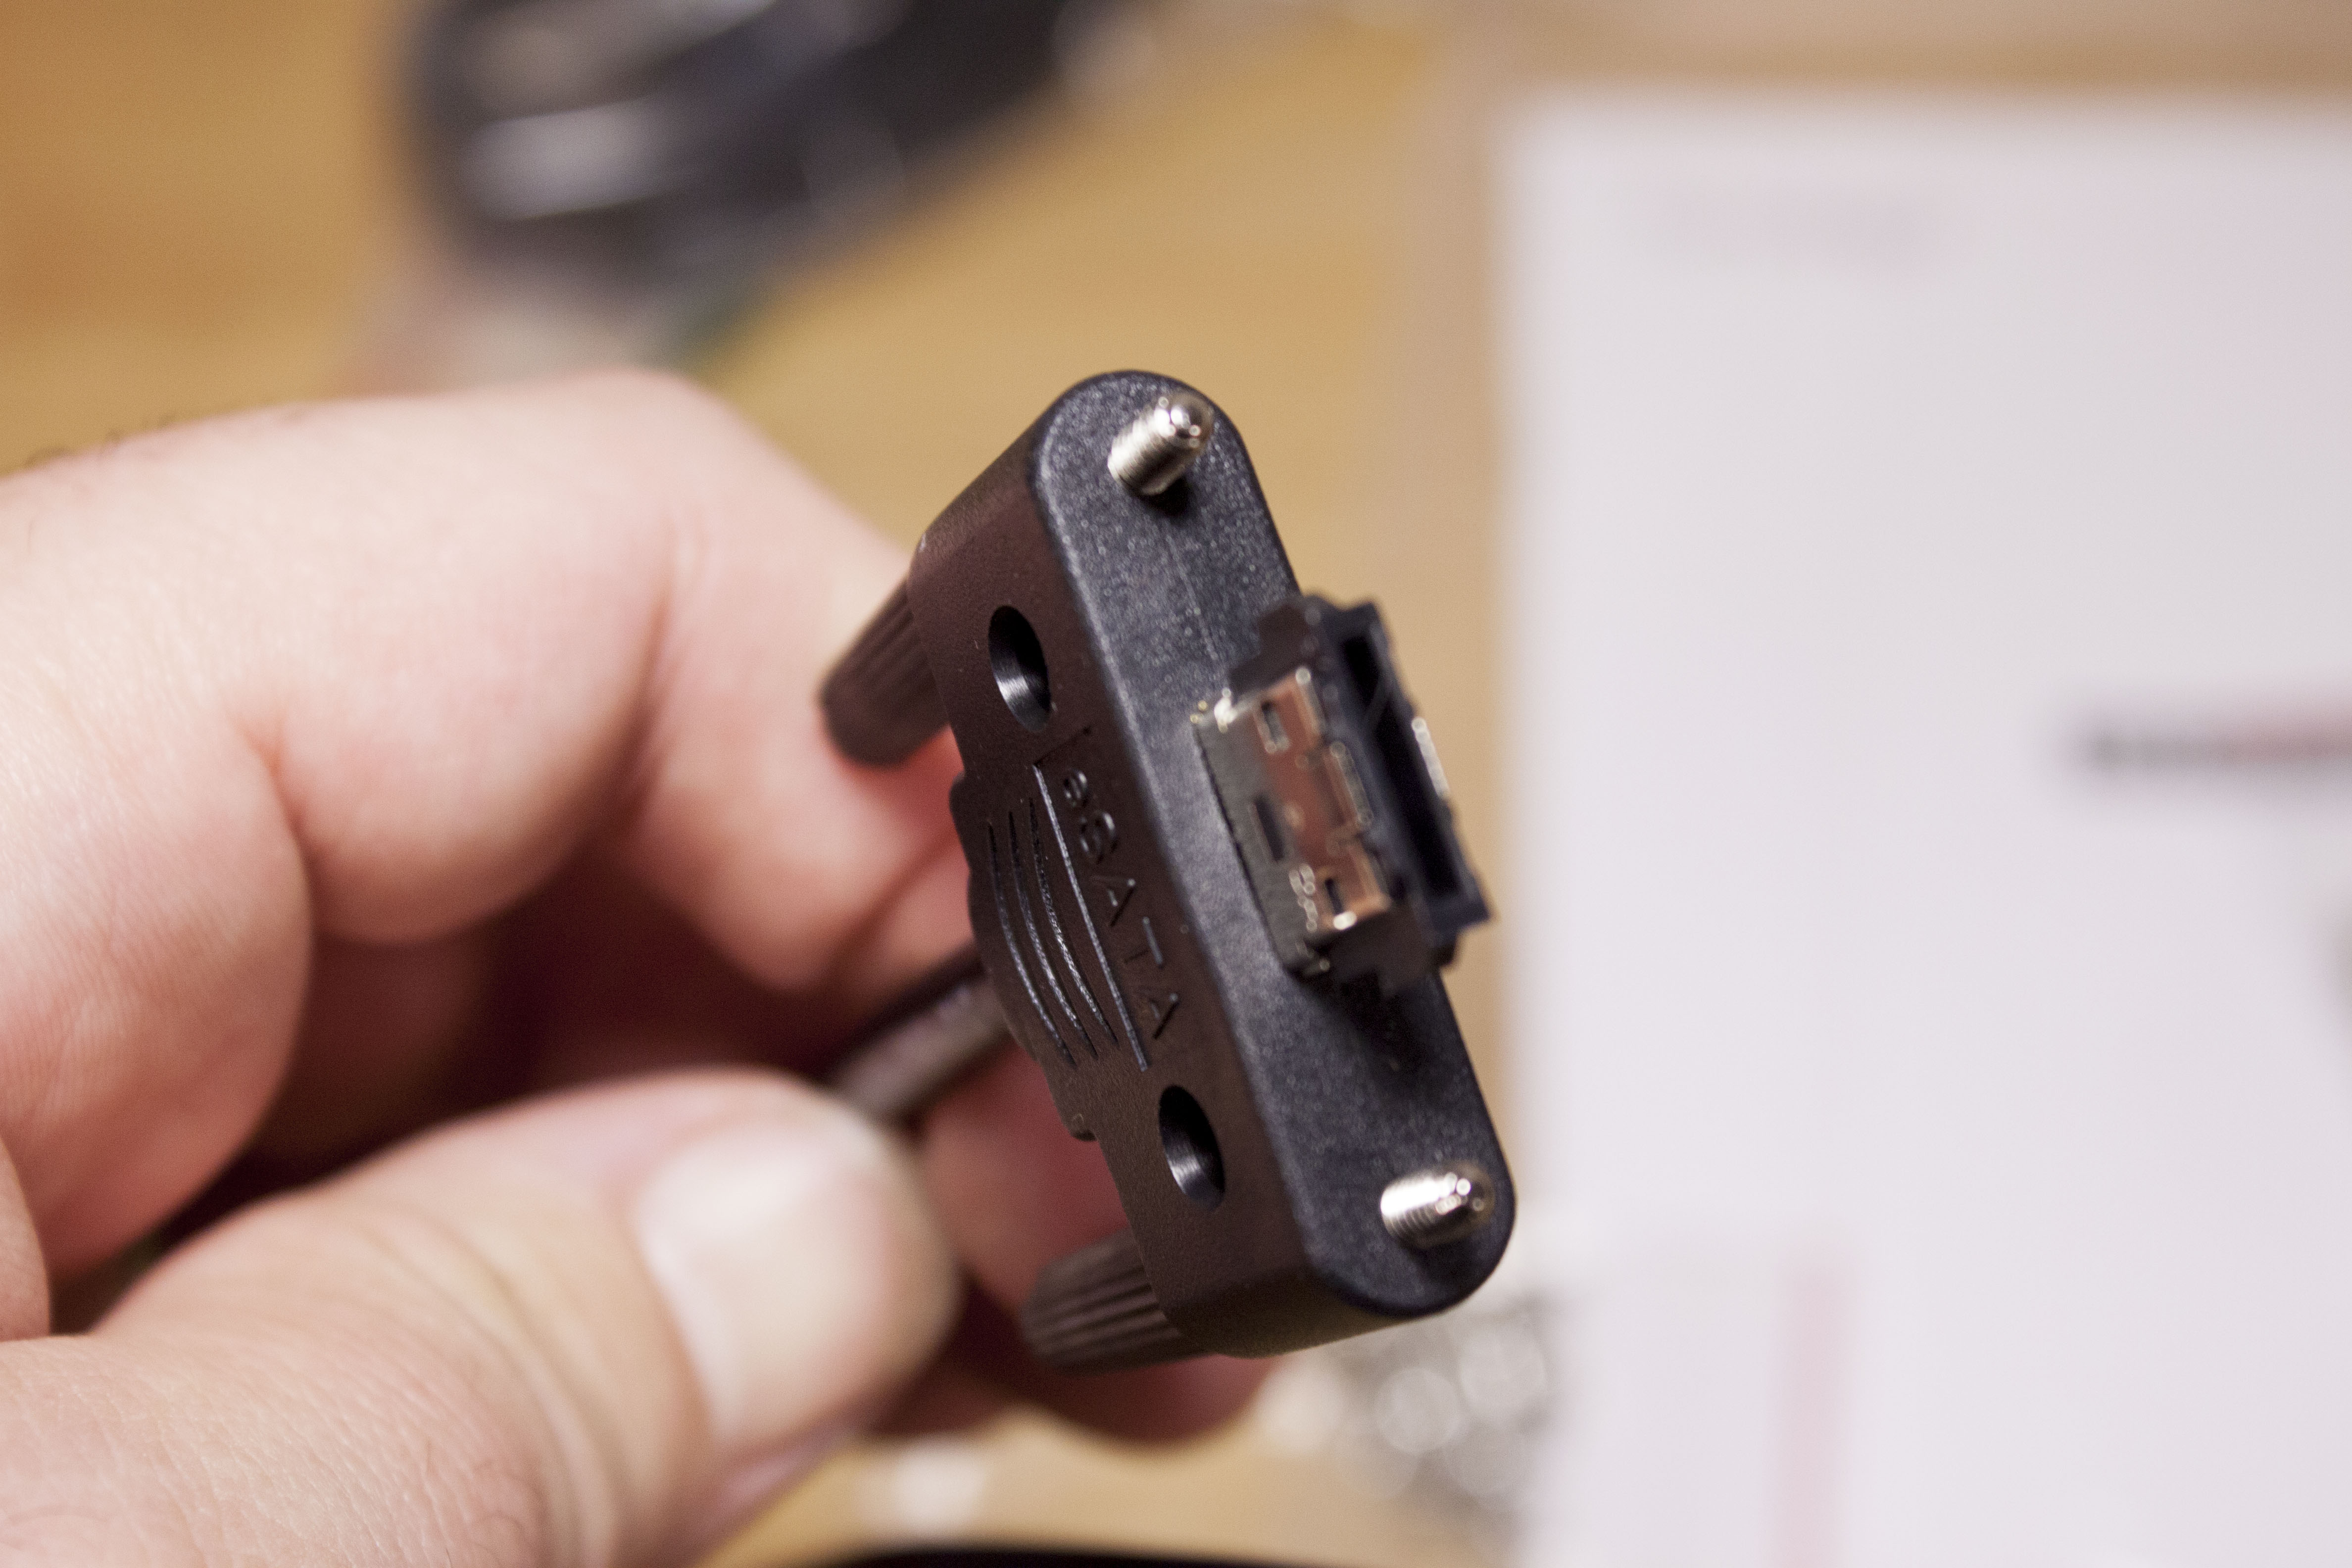
Inside the box we find a few things that are much more interesting. You get the typical power cord, mounting hardware (screws), manual and other things as well as an e-SATA cable that is designed to work with the DX512 and a few NAS boxes from Synology. The cable is a typical e-SATA cable until you get to the ends where it has a larger head and thumbscrews to ensure a solid connection.
 |
 |
 |
With these few items in hand you are ready to get this connected to your existing NAS and expand on the storage you have.
The DX513 -
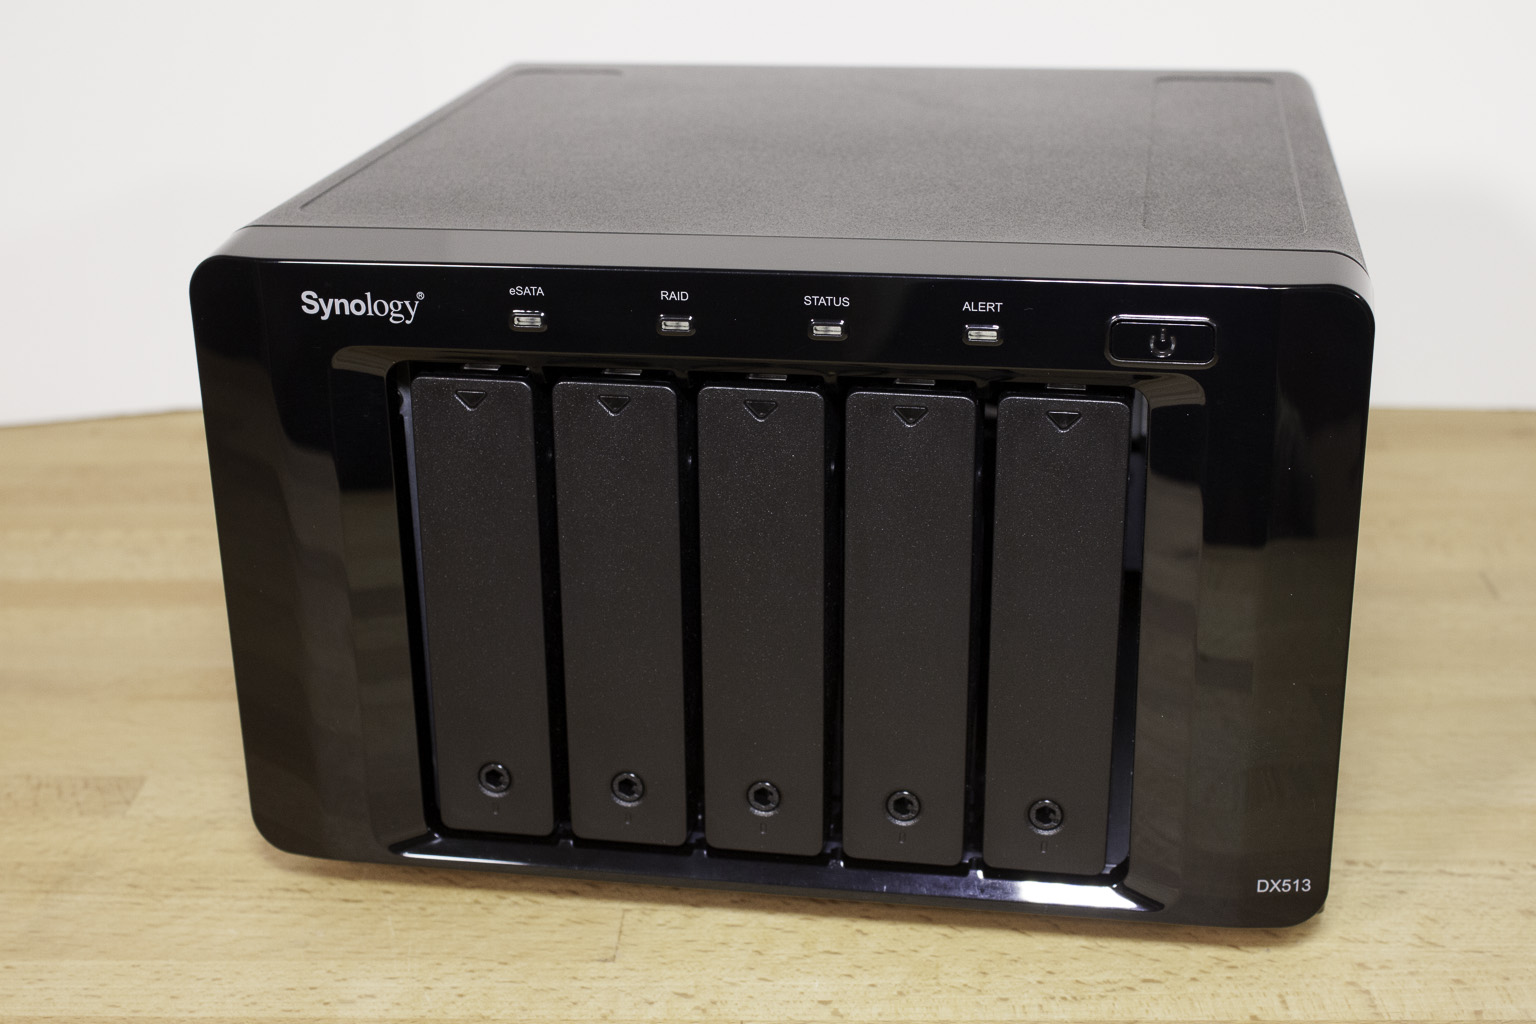
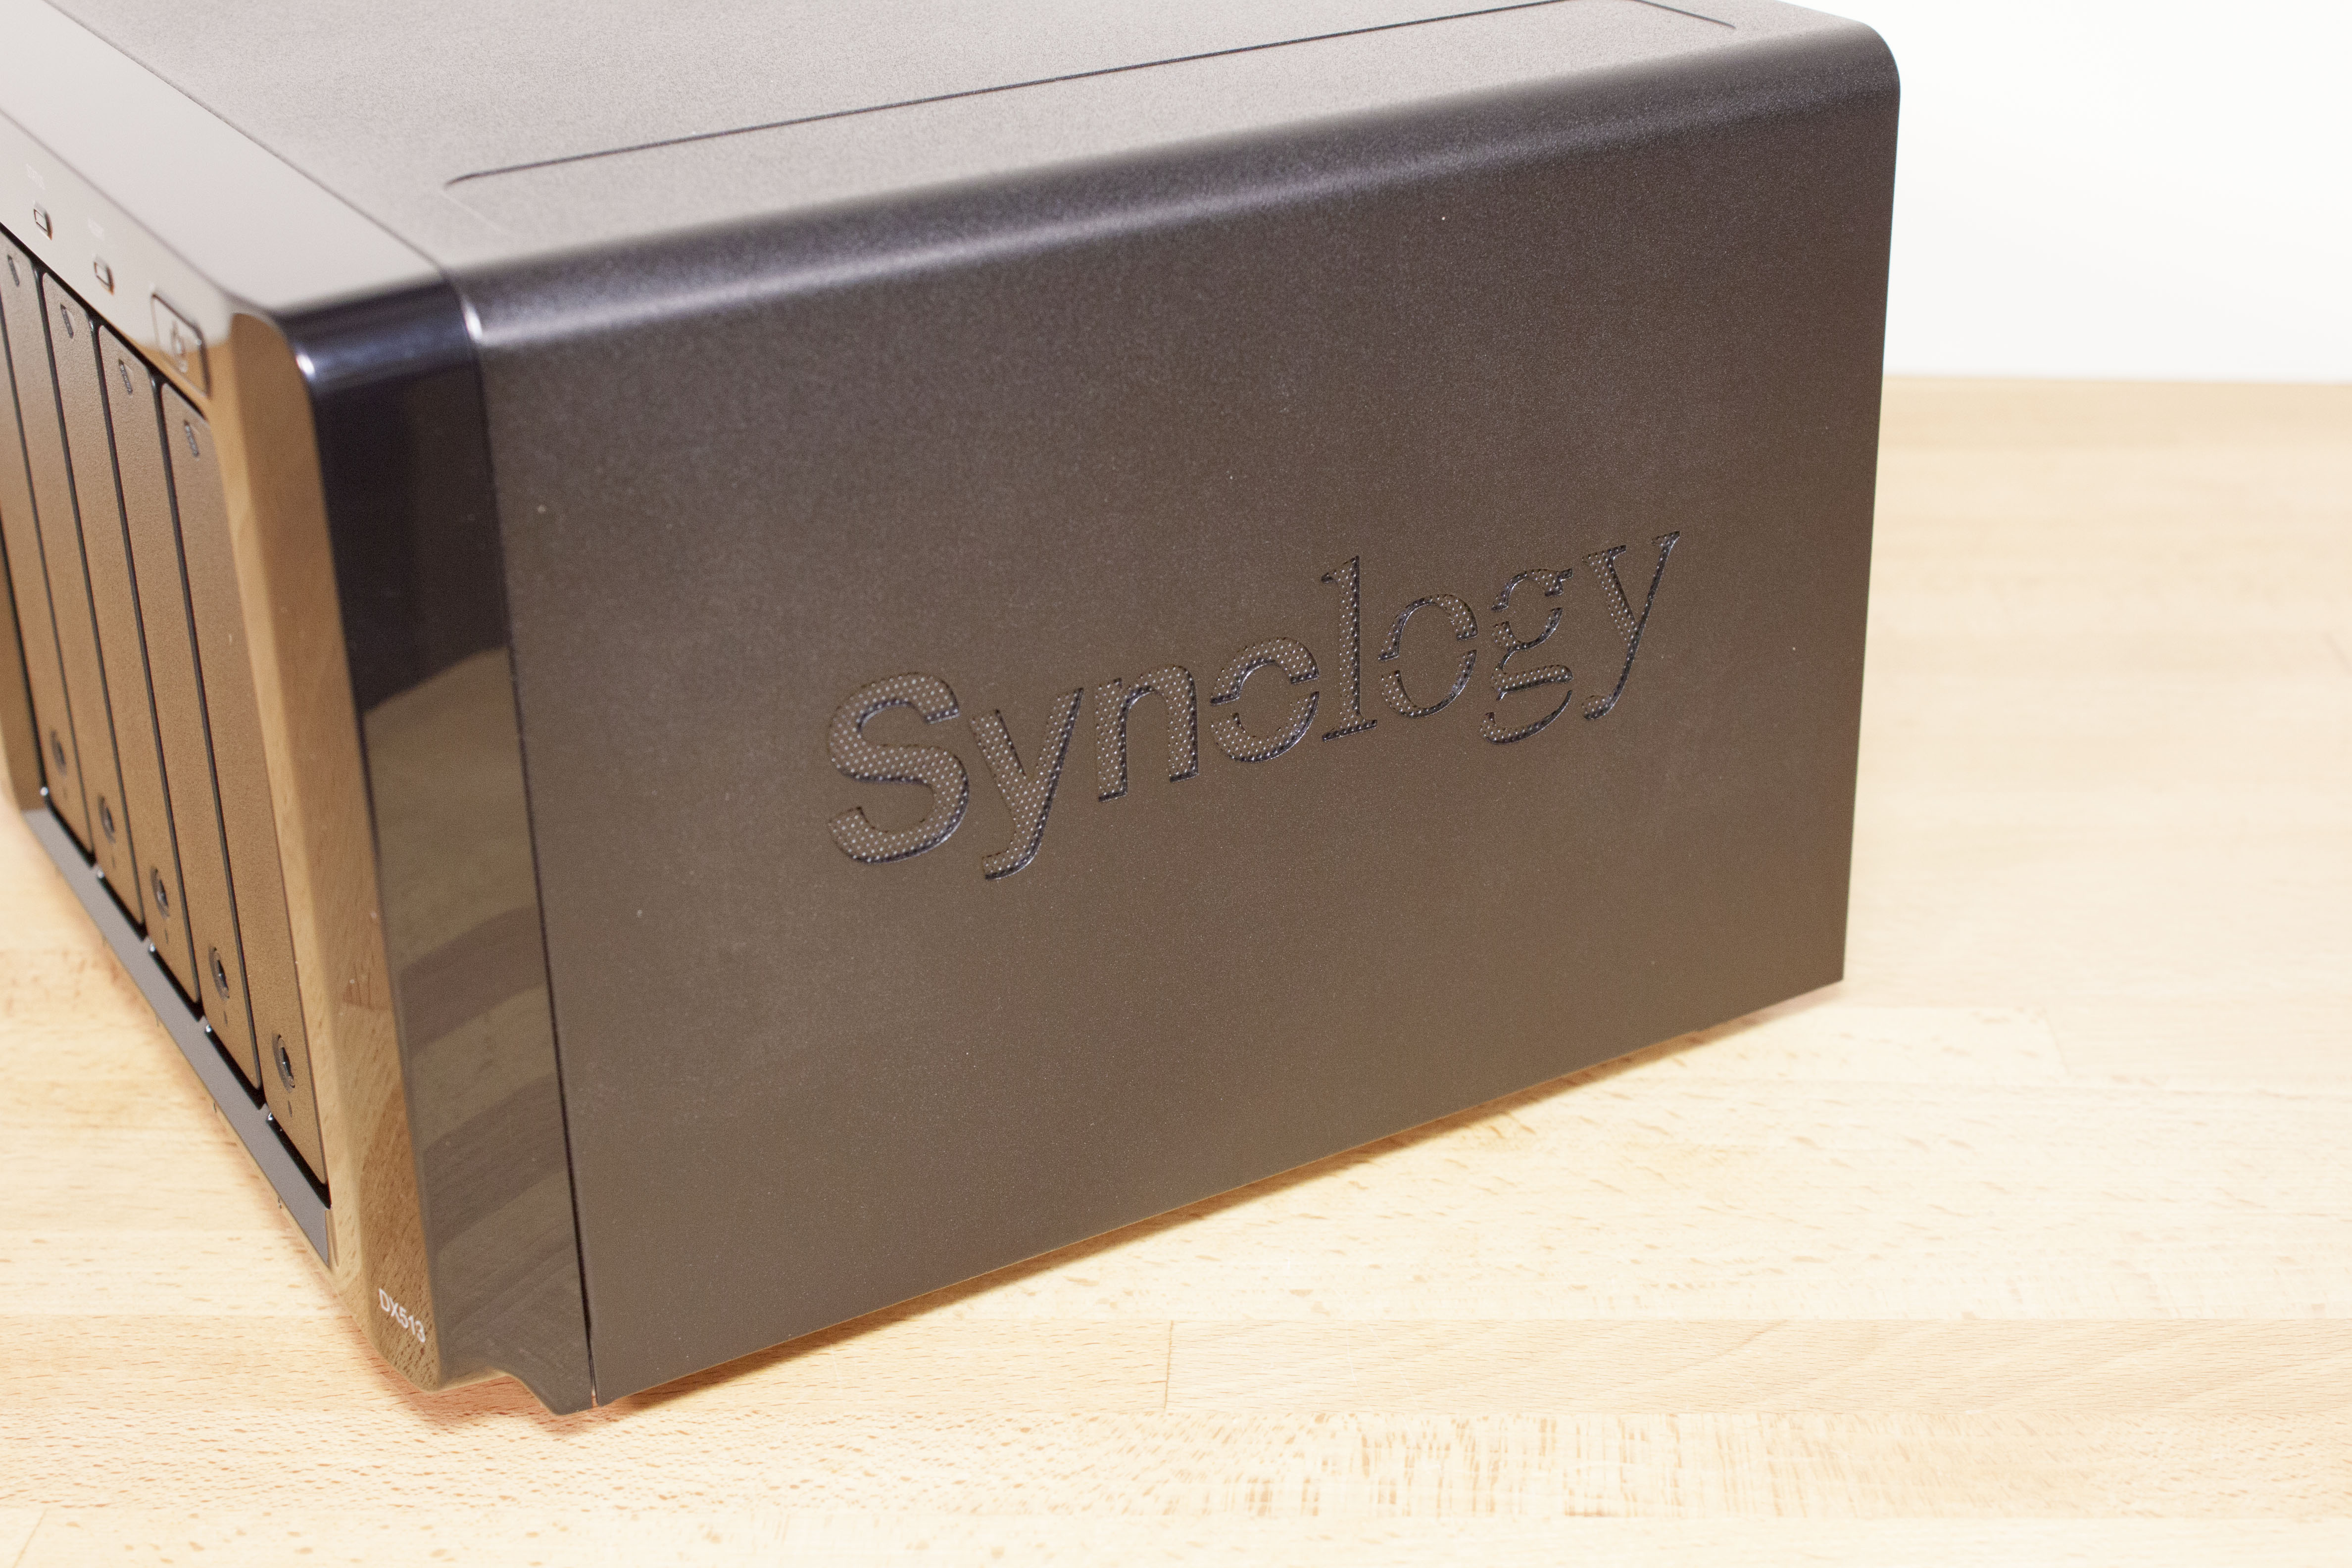
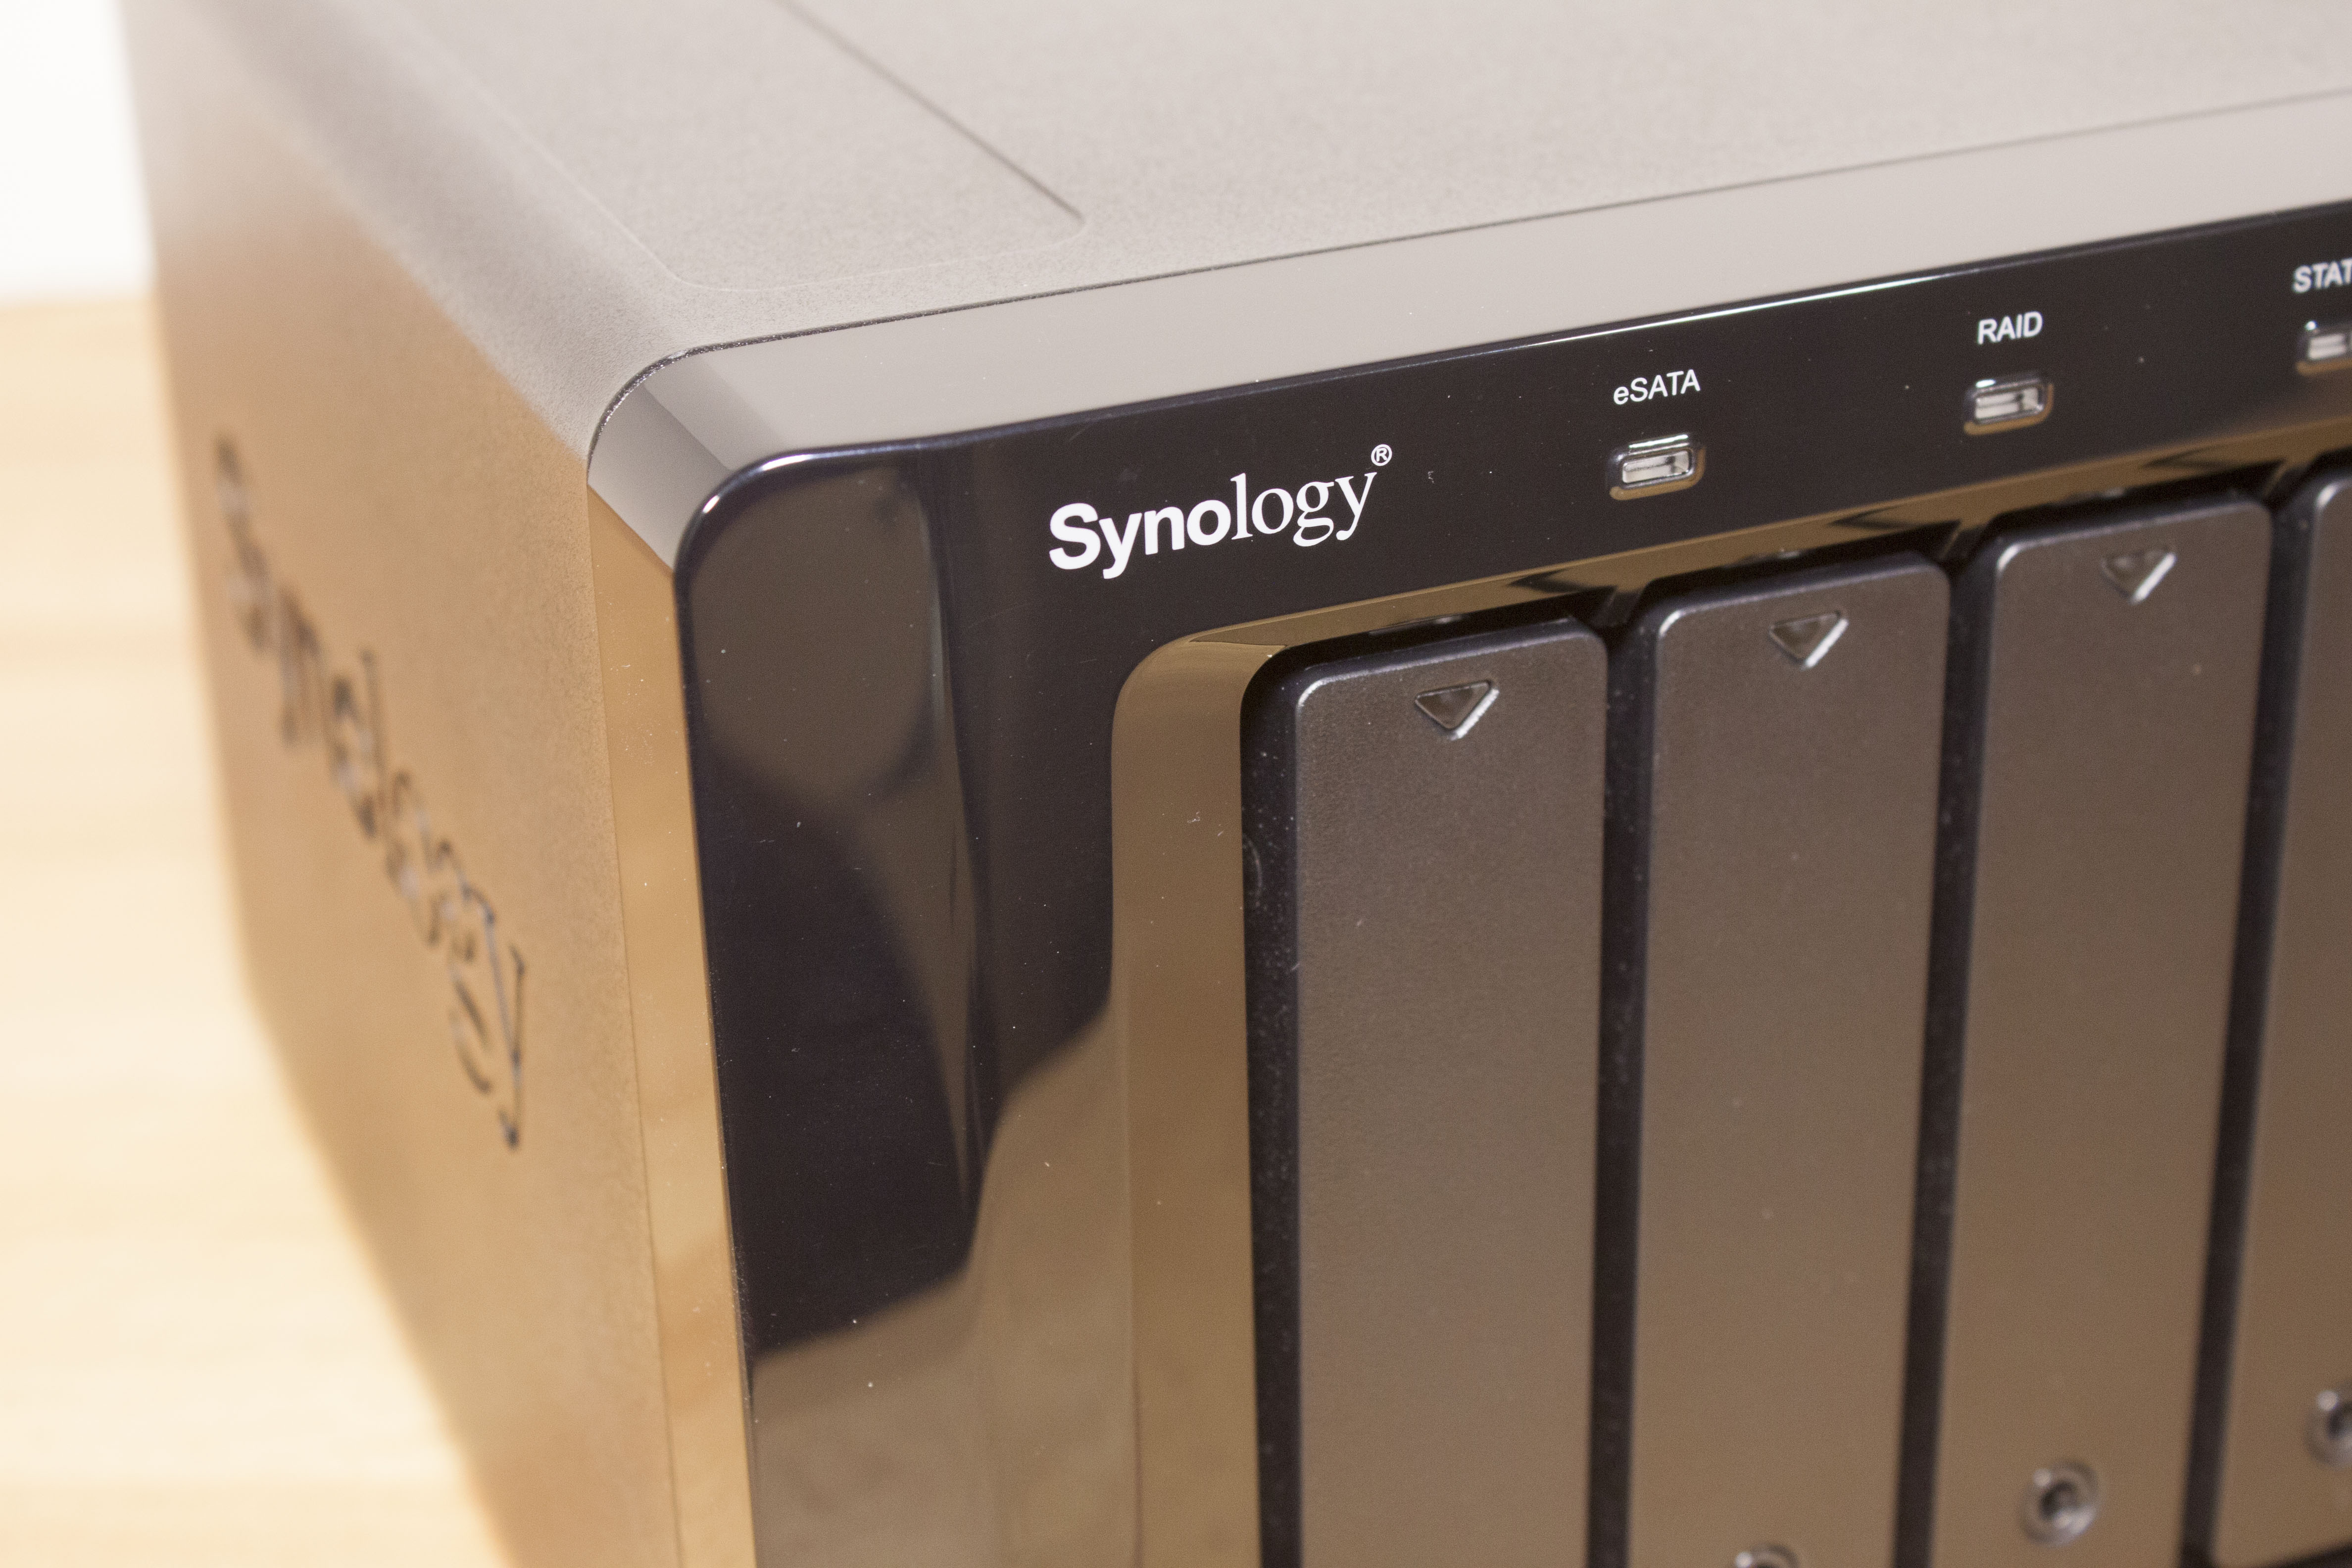
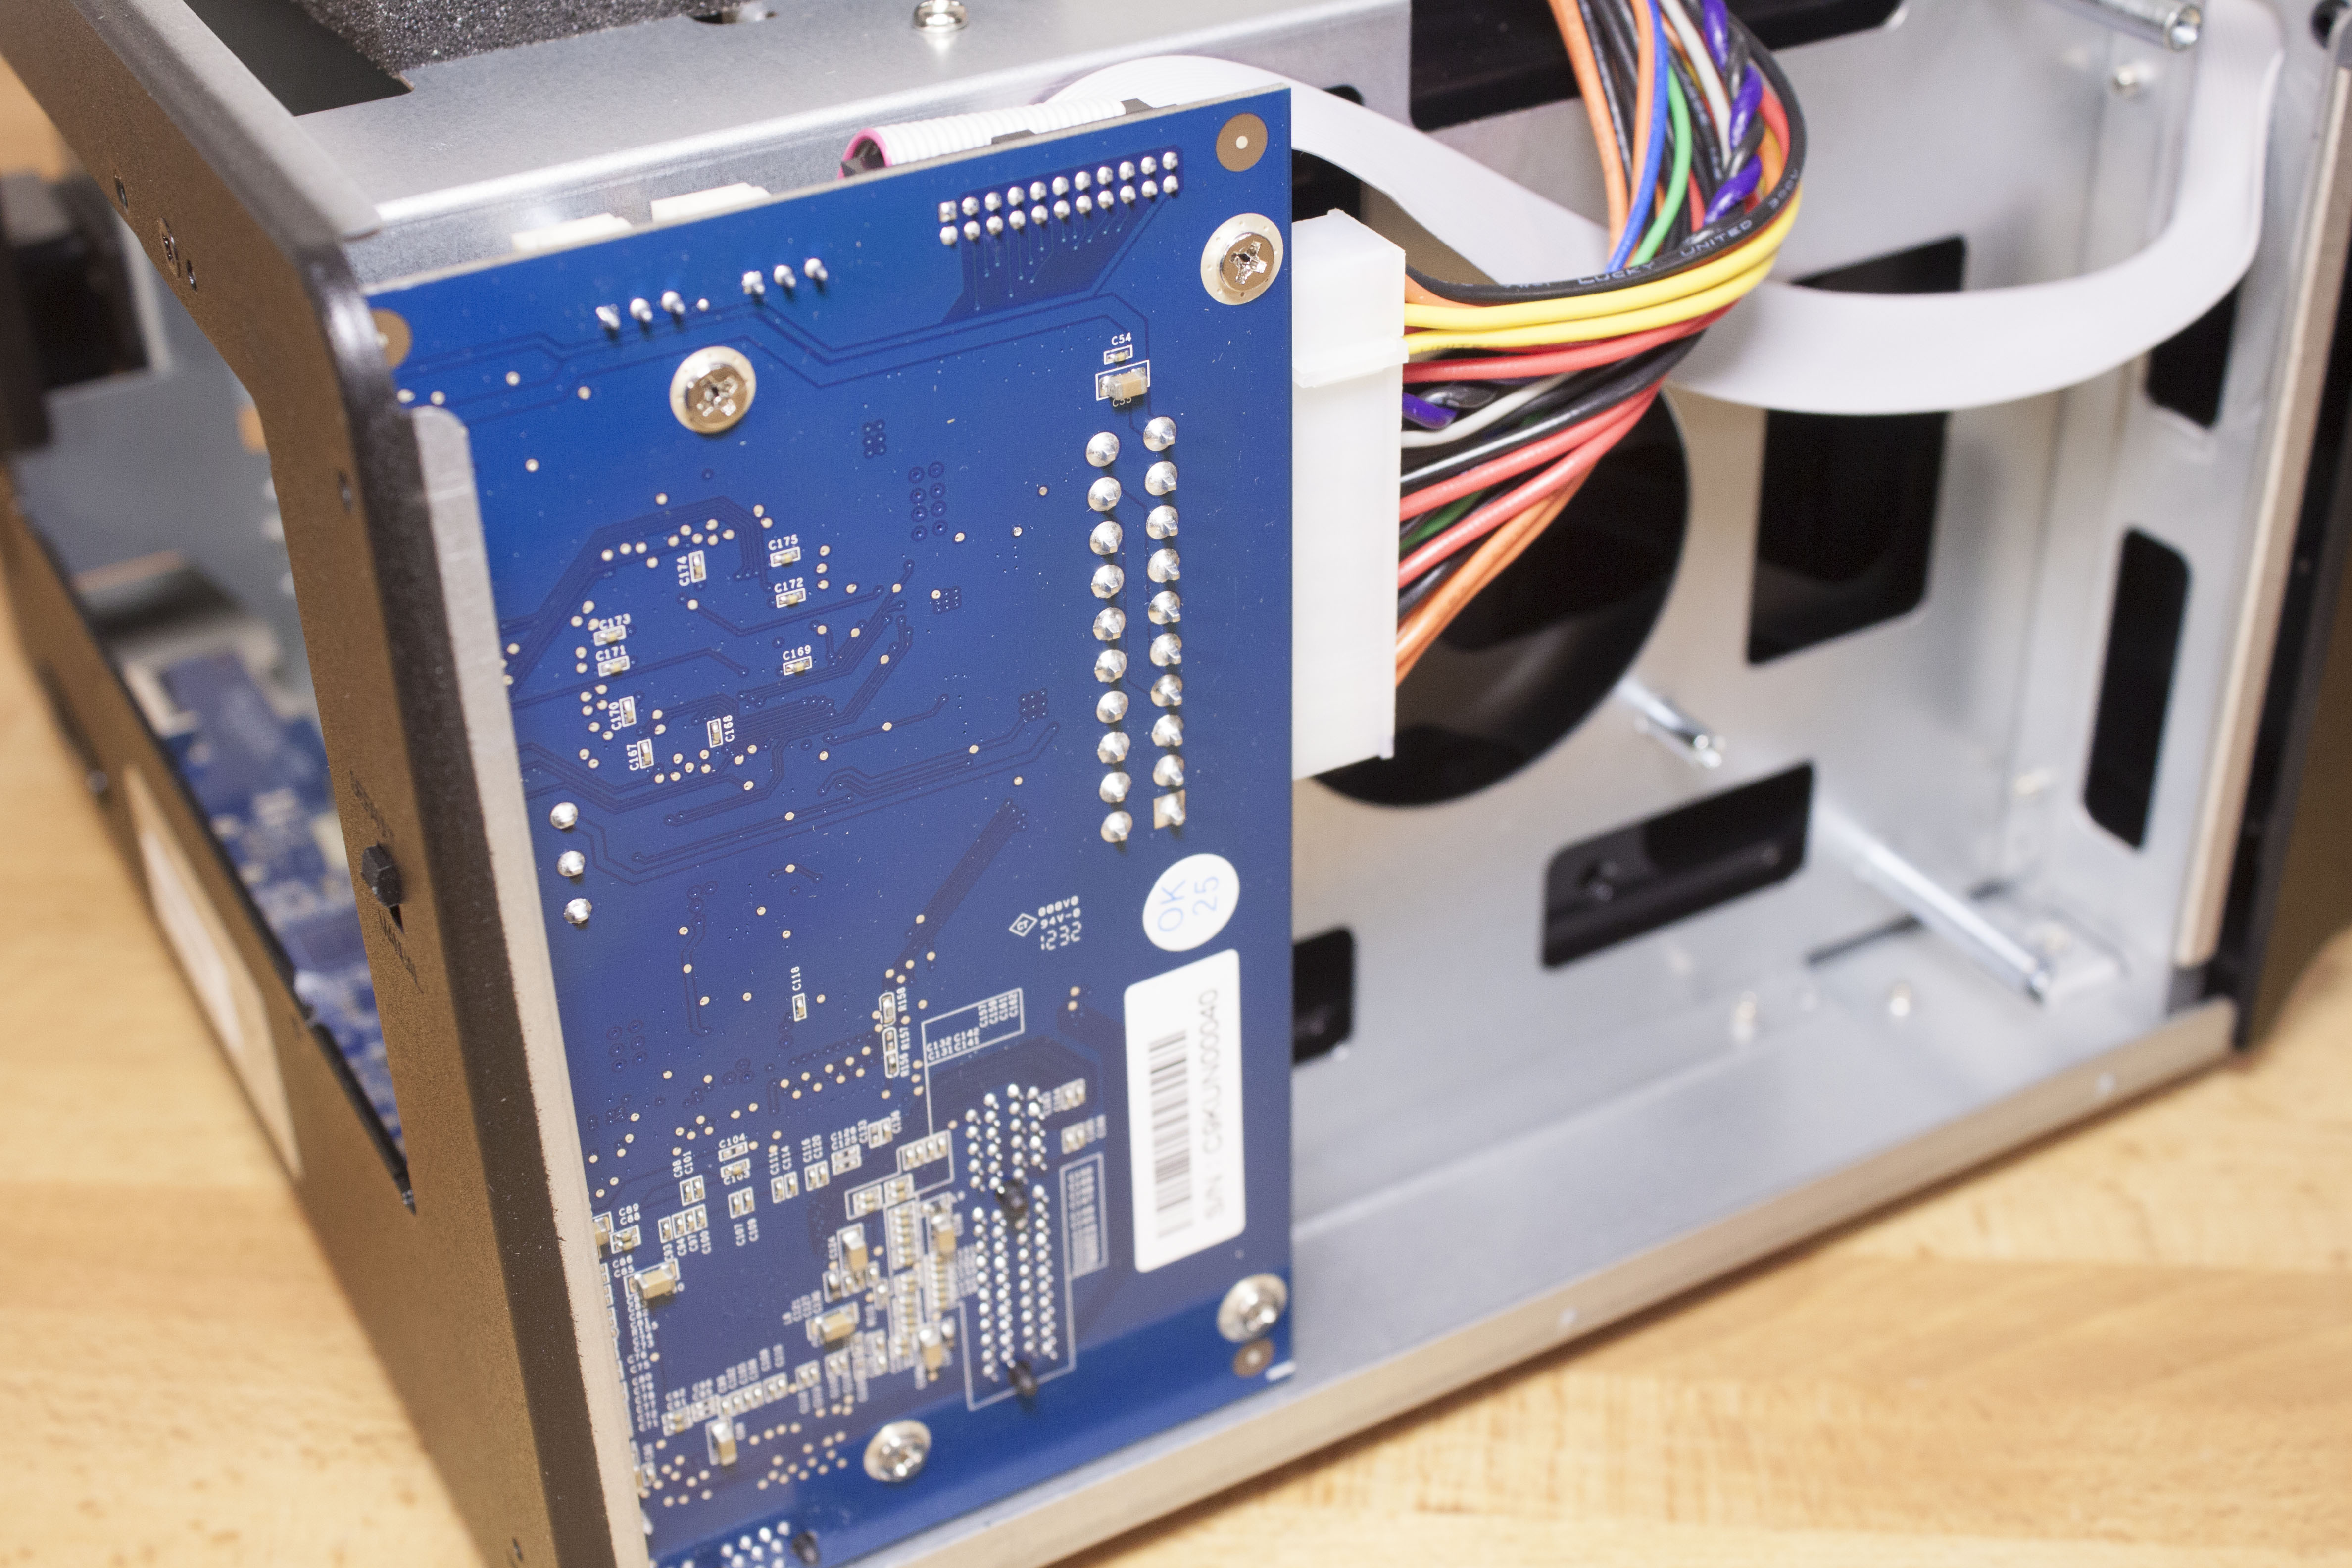
Synology’s DX513 looks very like the DS1512+ on the surface It is a 5-Bay device with the same general layout and shape as the DS1512+. This is partly because the DS1512+ is one of the NAS devices that the DX513 is designed to work with. It does this through the use of a SATA/RAID controller from Silicon Image. The ASIC in question here is the Steelvine Sil3826CL UC, which according to Silicon Image is intended for use as a port multiplier SATA controller and RAID controller. They were not very specific on which it really was. The Sil3826CL UC provides the functions of all of these in the DX513. It must replicate the single eSATA port from the base DS1512+ into 5 other ports while also functioning as a SATA/RAID Controller for the five drives in the DX513. From there the DS1512+ acts as the brains and also to control the RAID configuration and monitoring.
 |
 |
 |
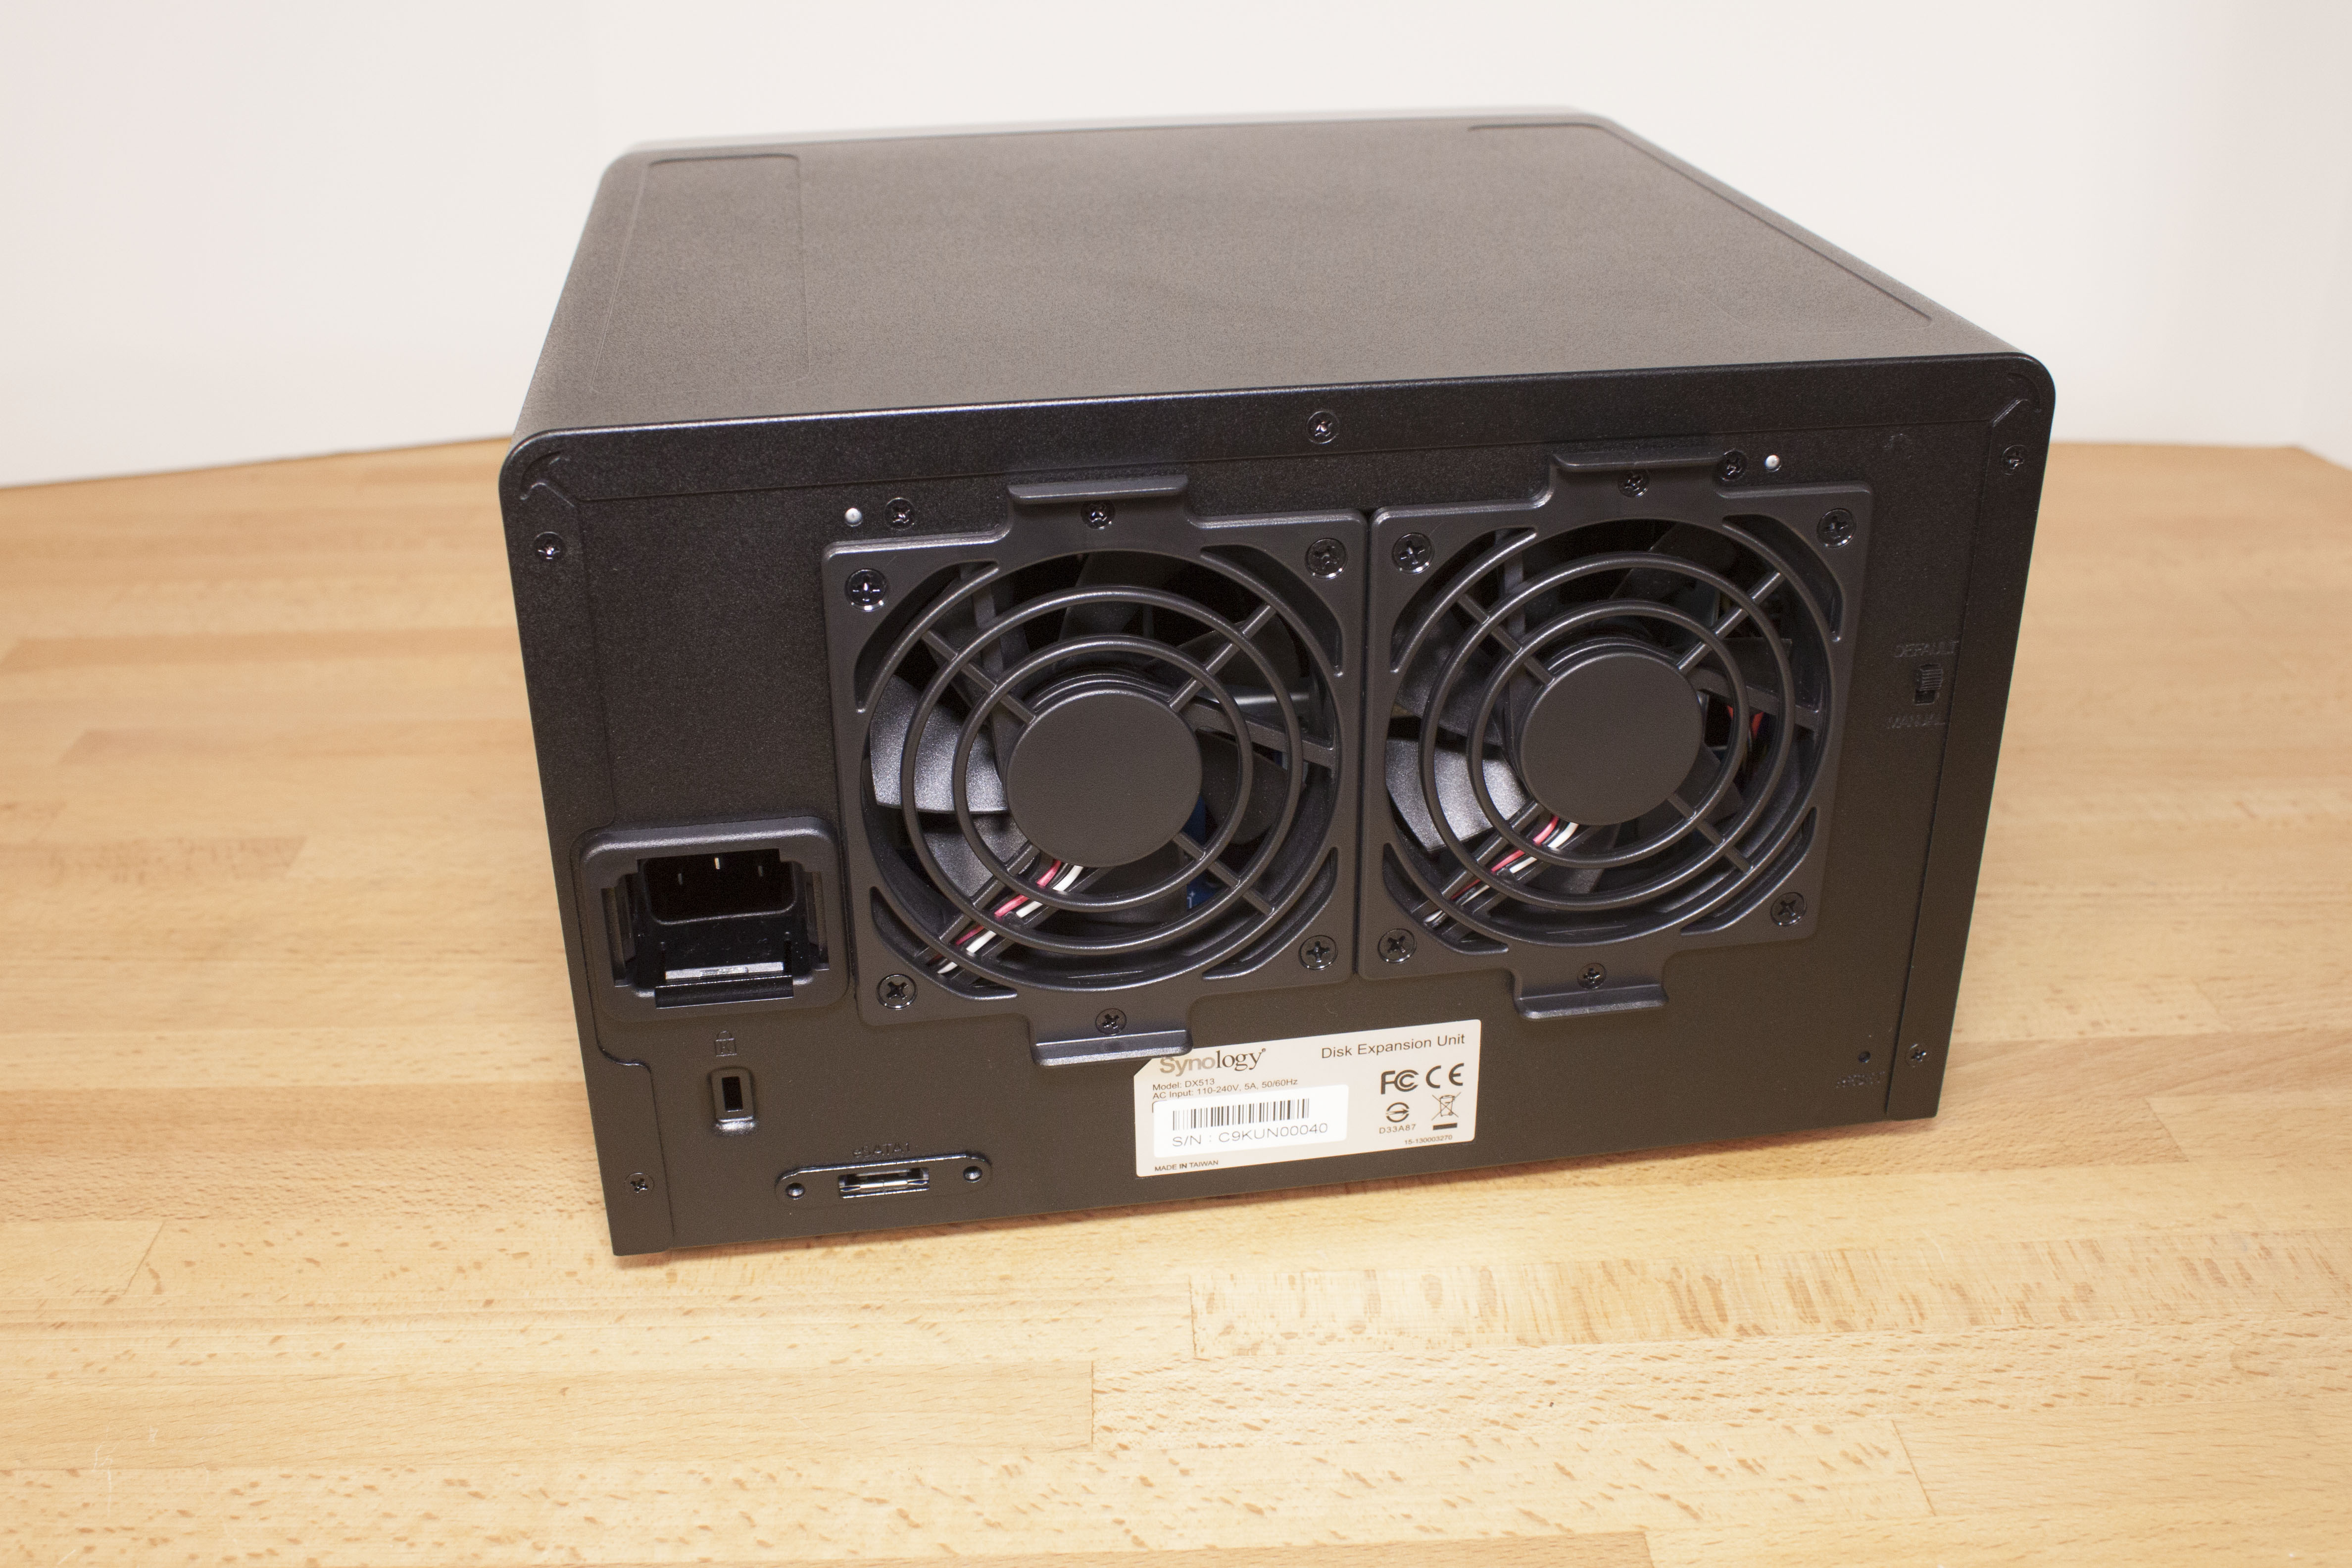
Now if this seems like the DX513 is a dumb expansion box you are partially correct. It does not do much more than transfer information from the drives back to the DS1512+ (or other Synology NAS) for processing there. However, it does this quiet efficiently and can send quite a bit of management data back to the control unit as well.
 |
 |
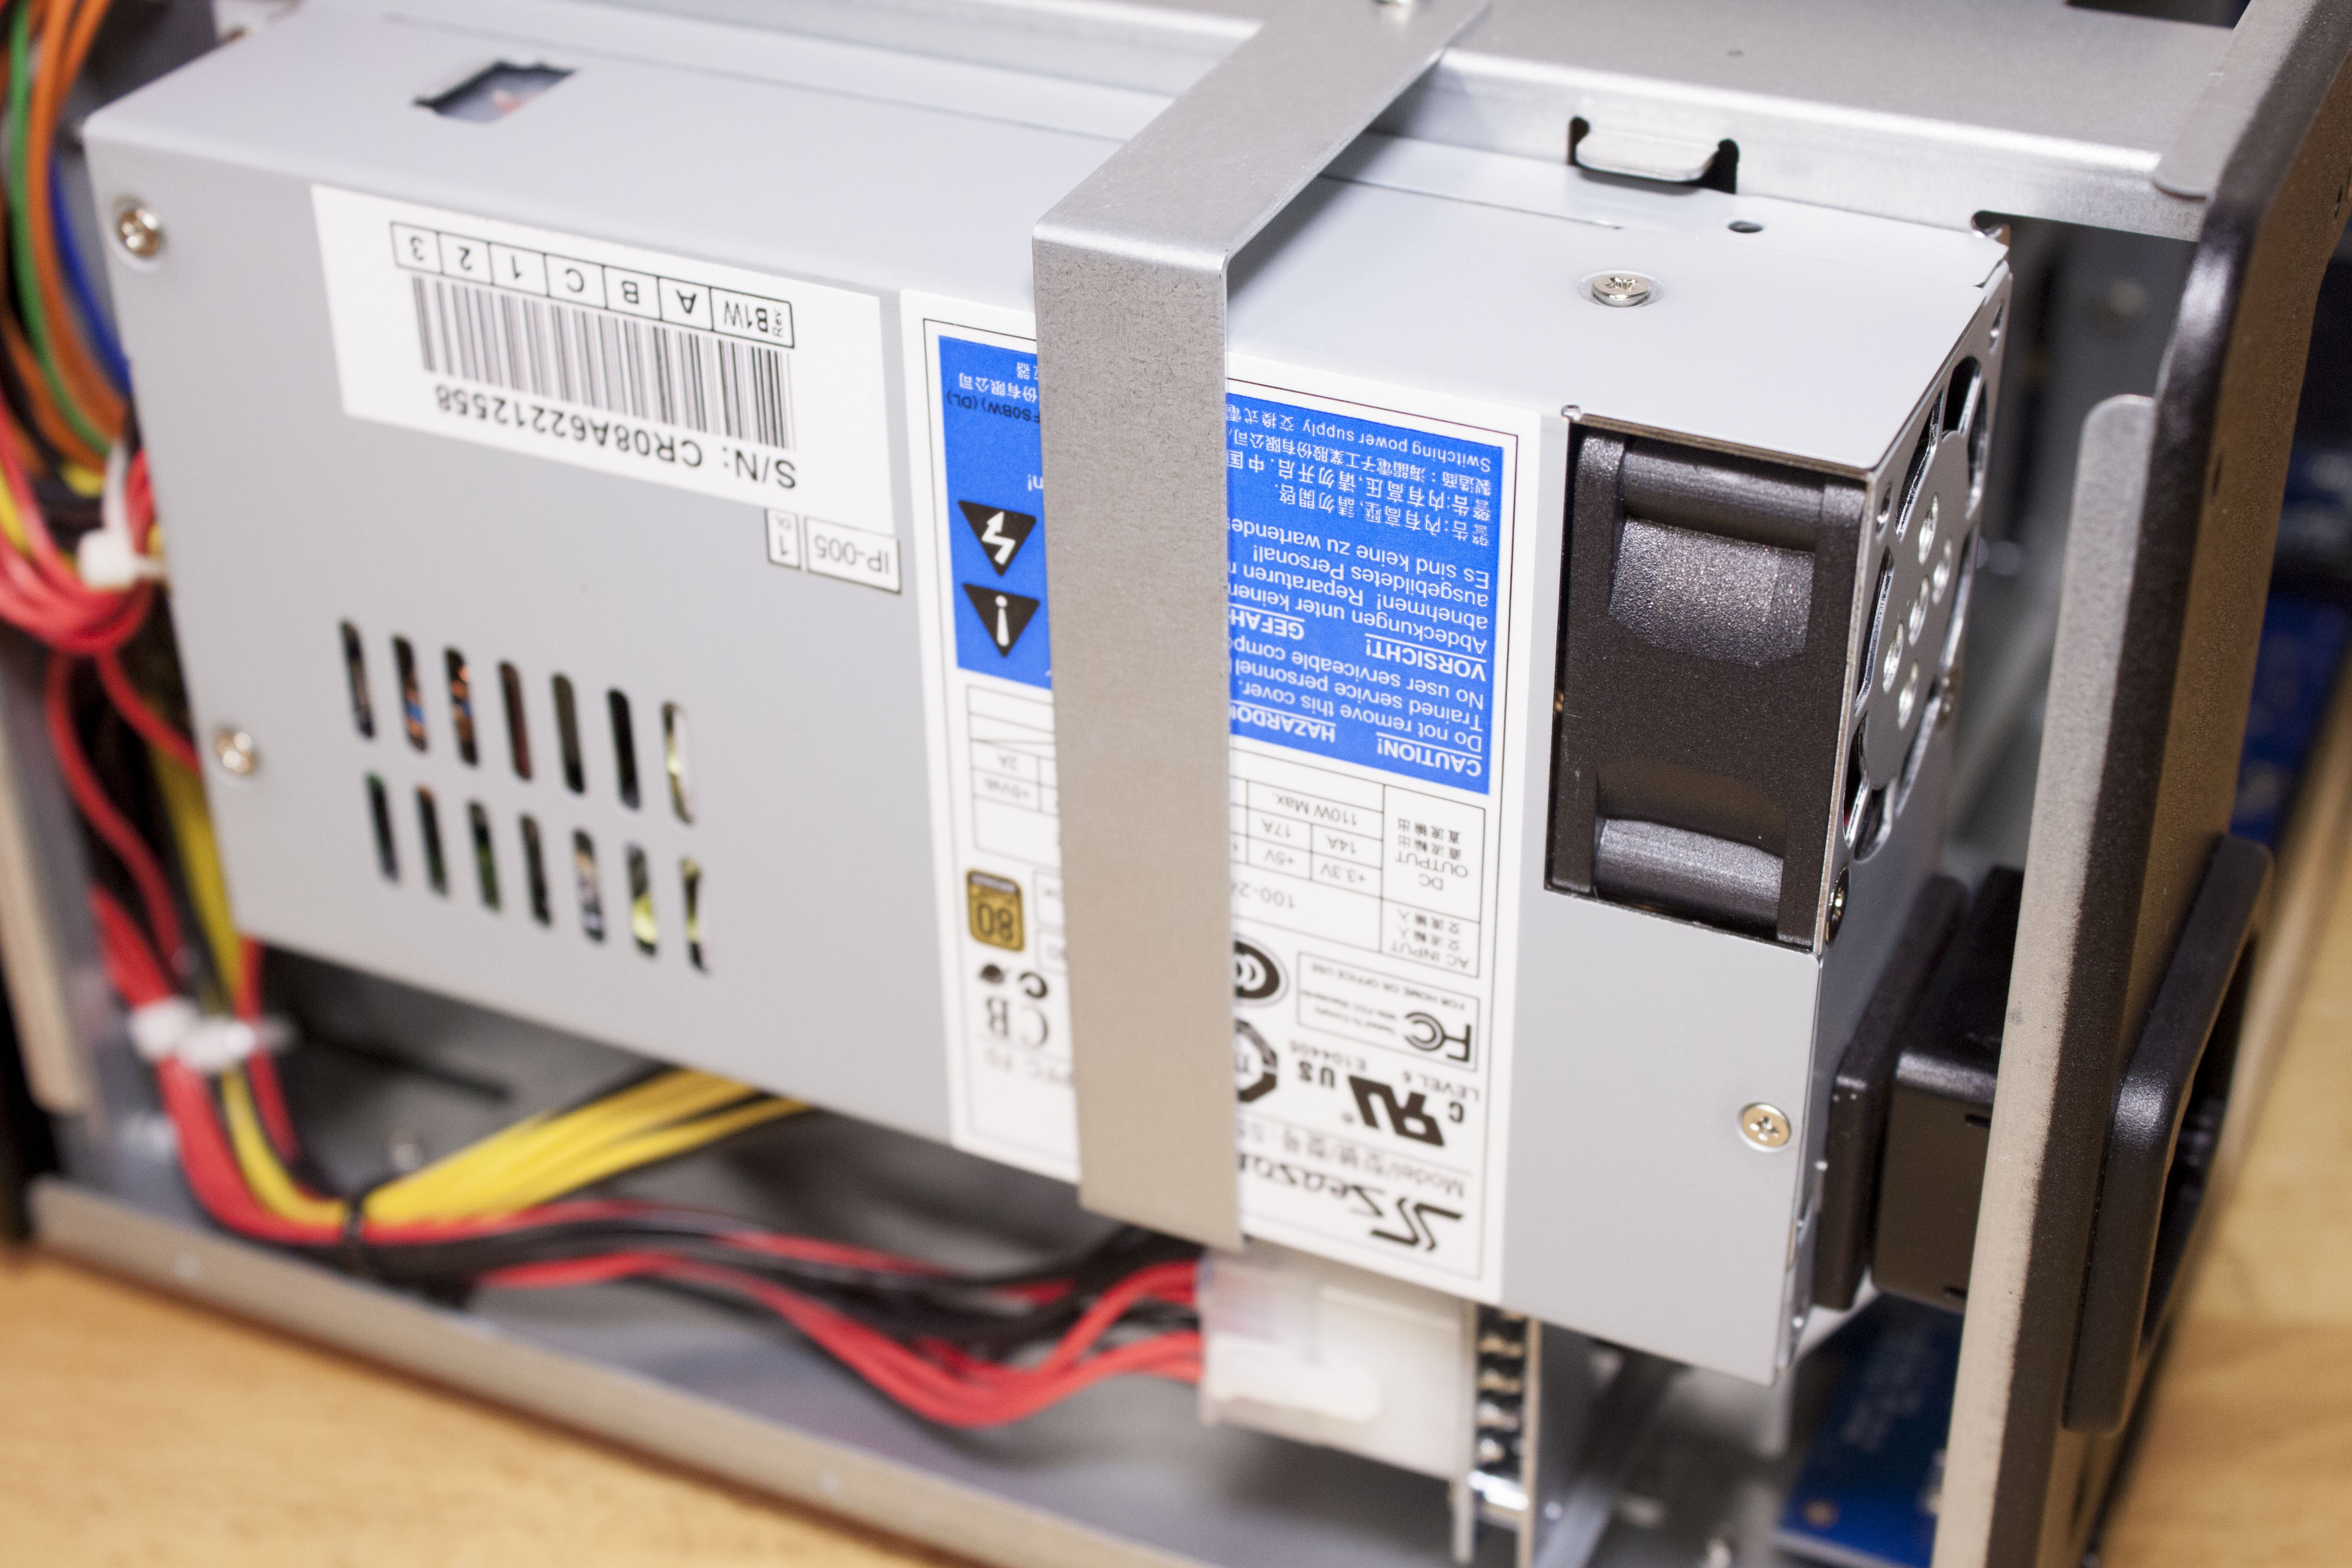 |
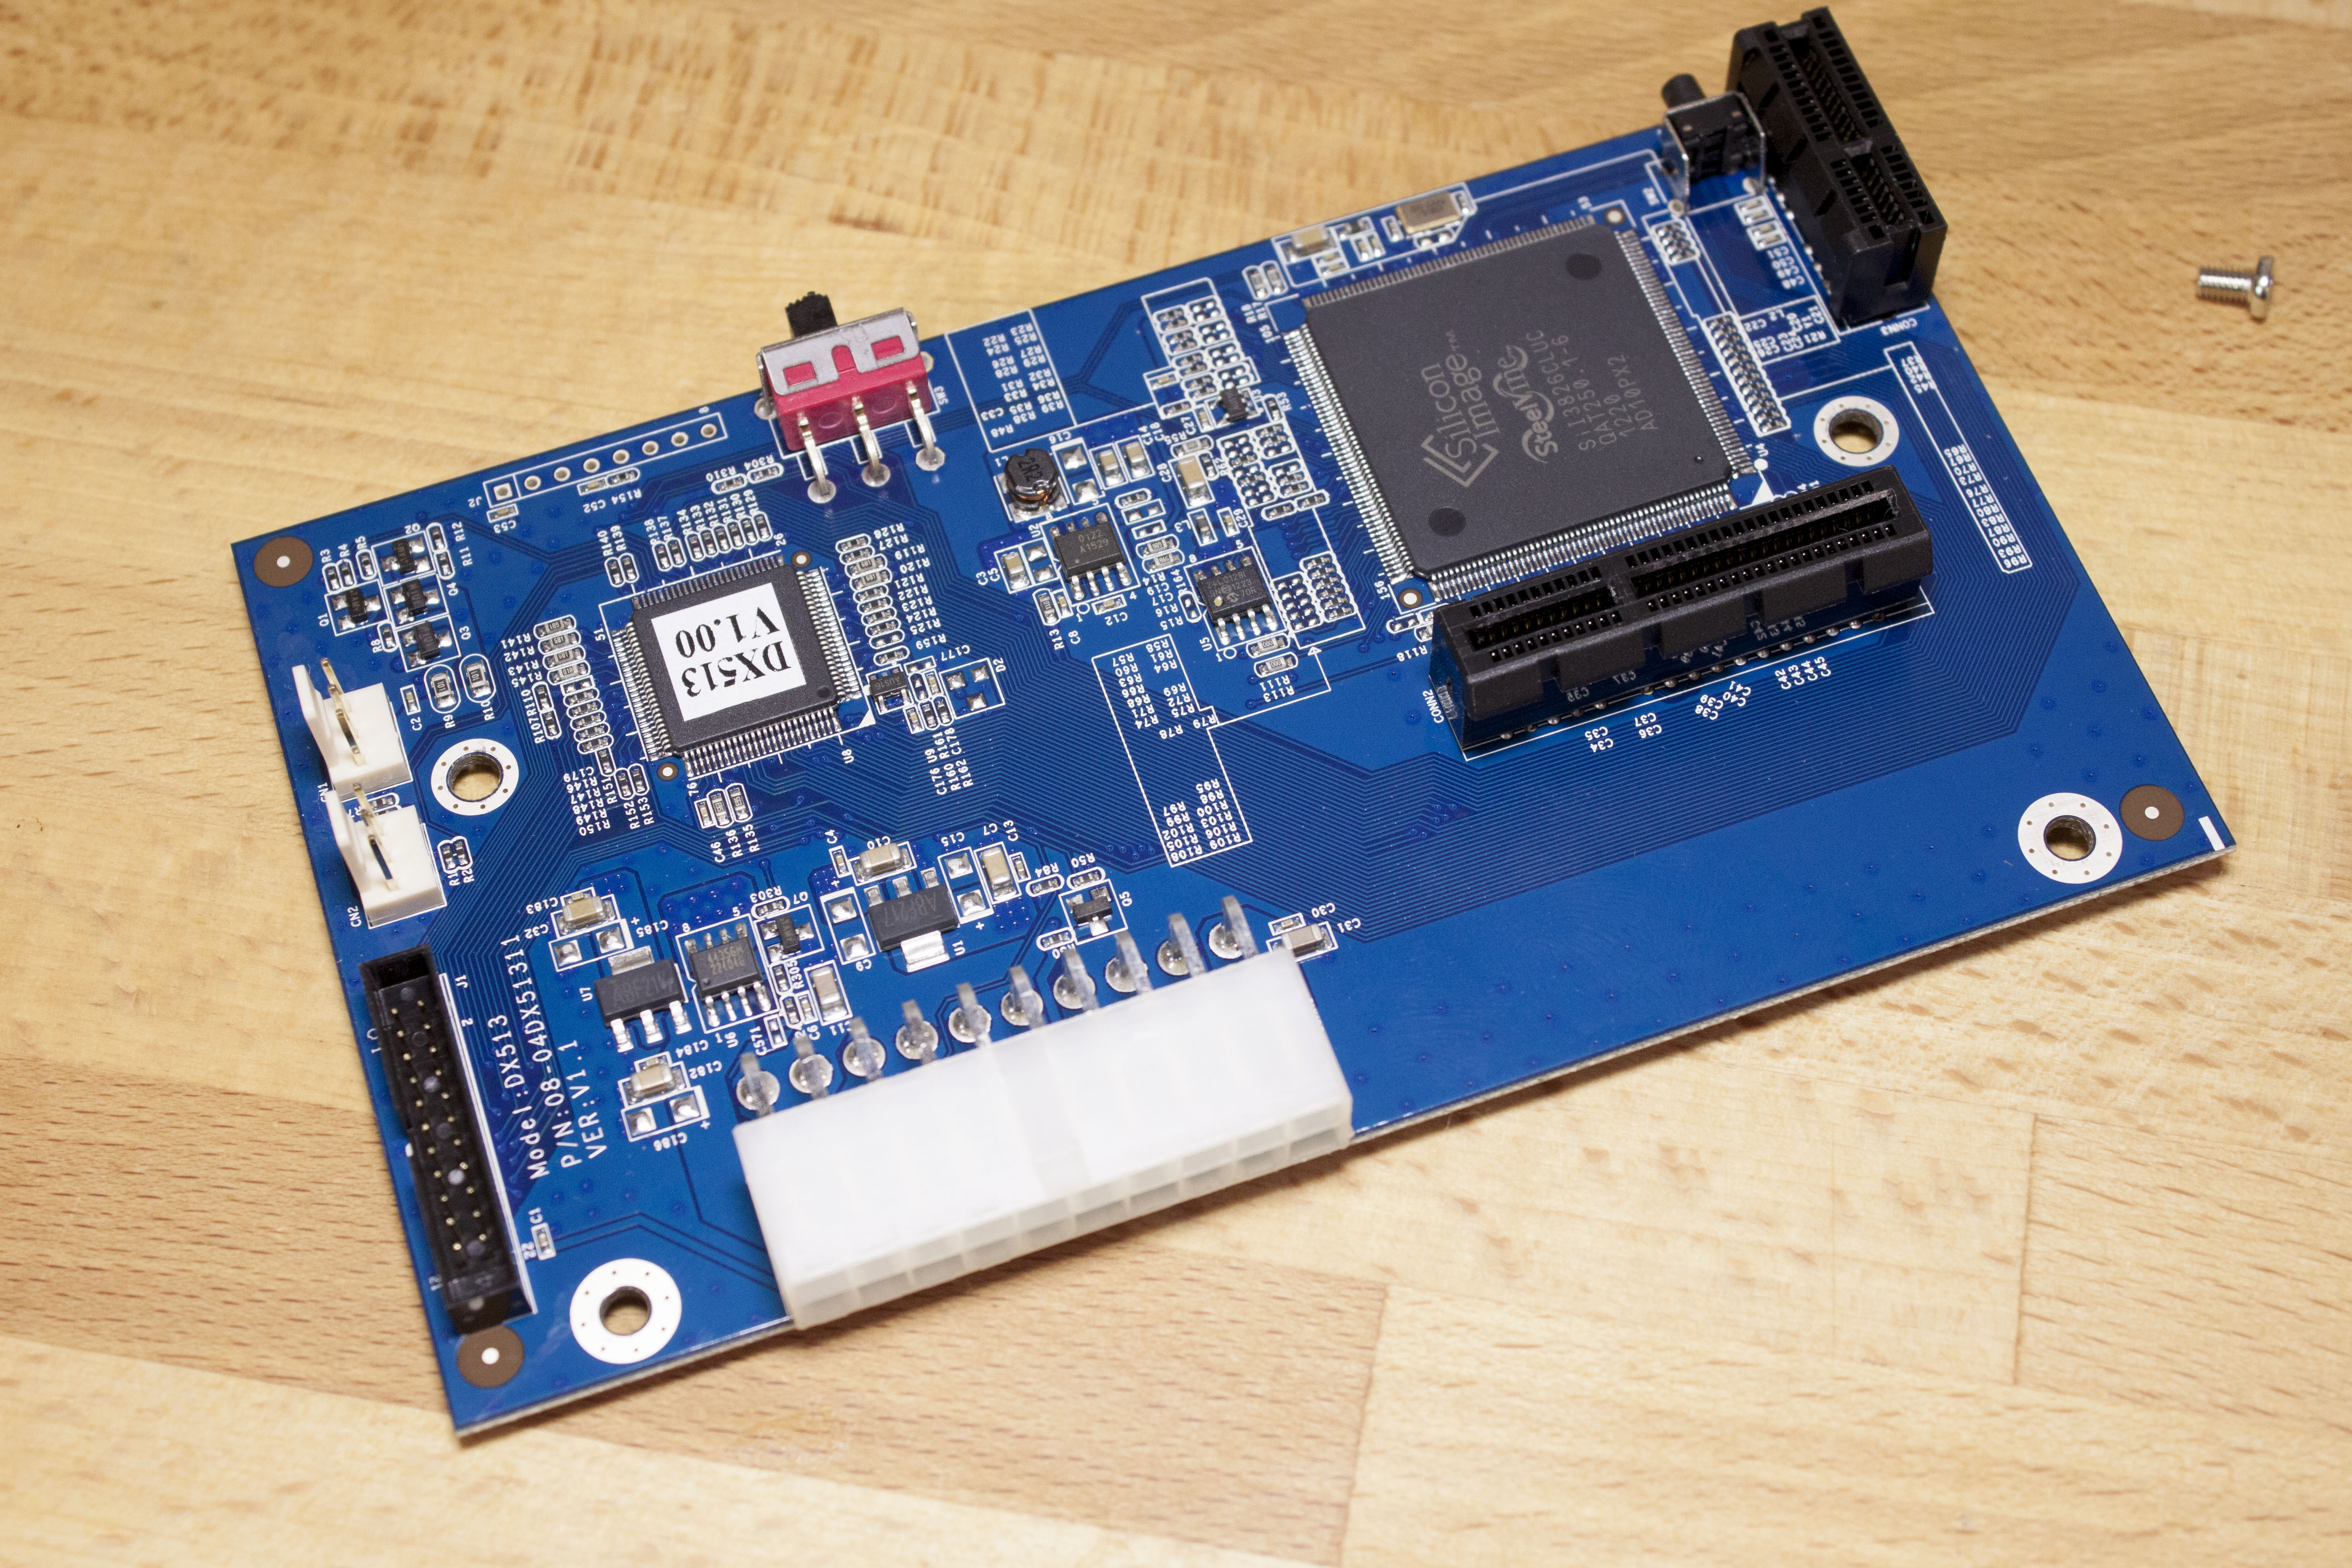
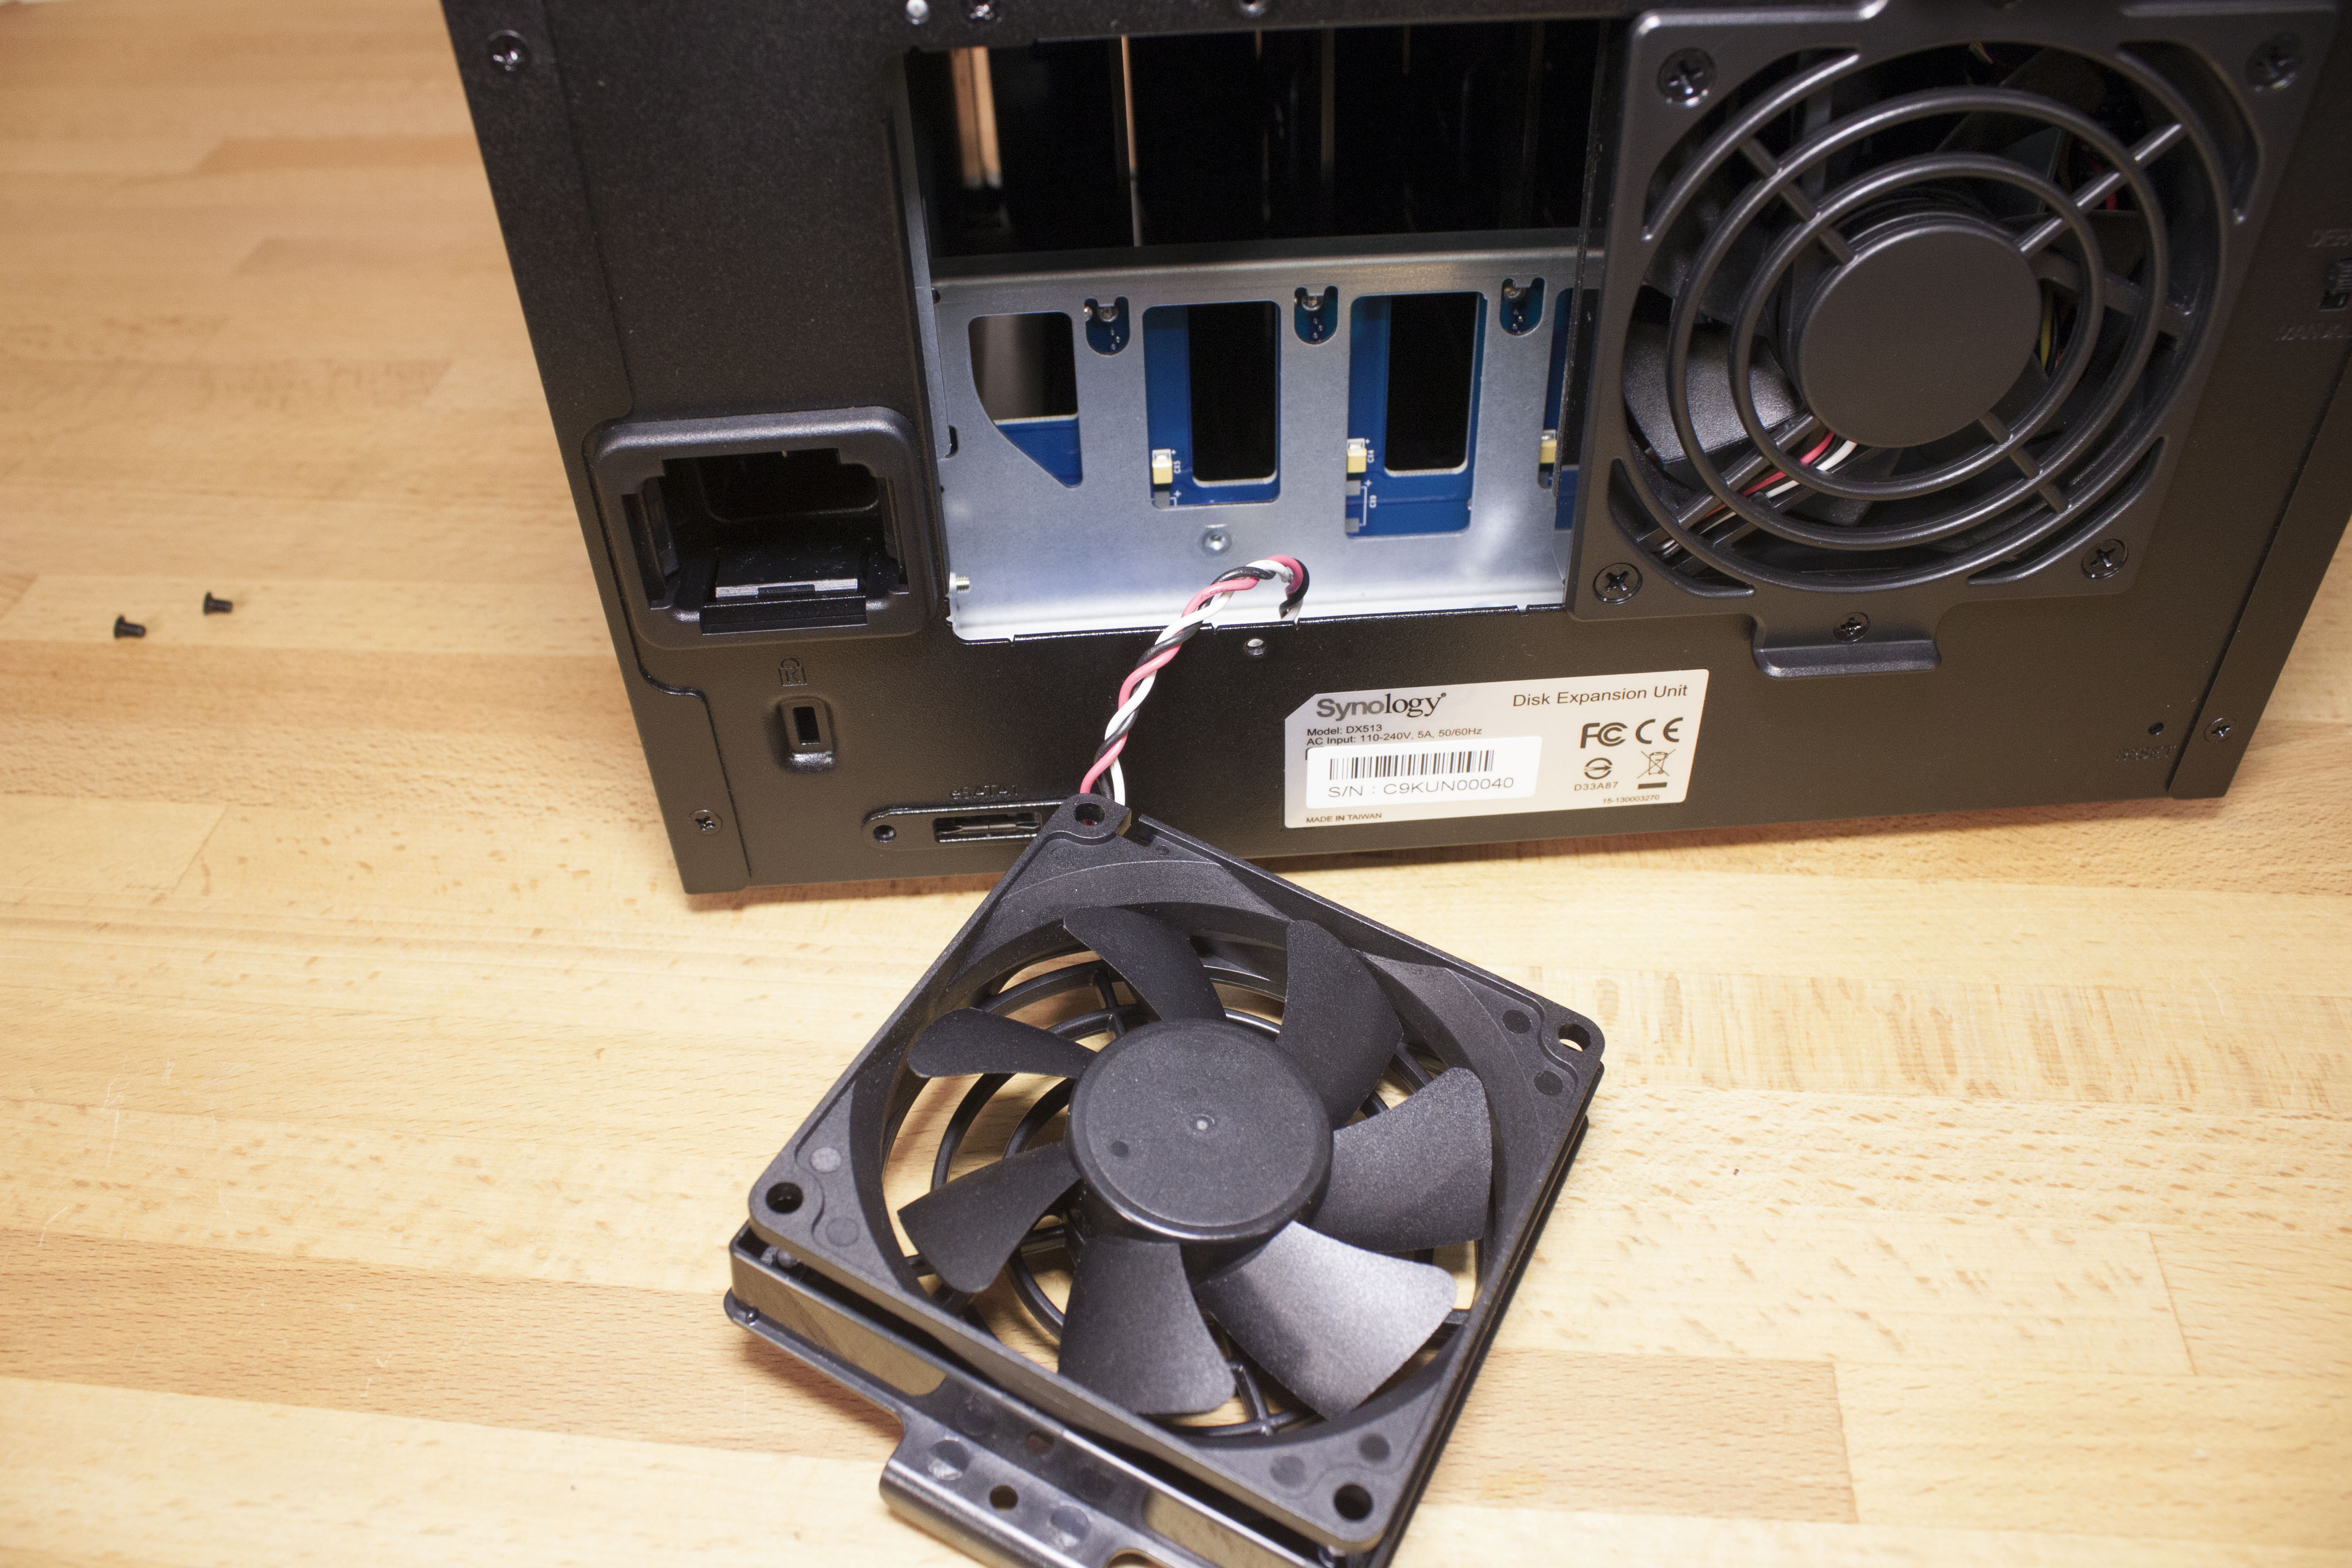
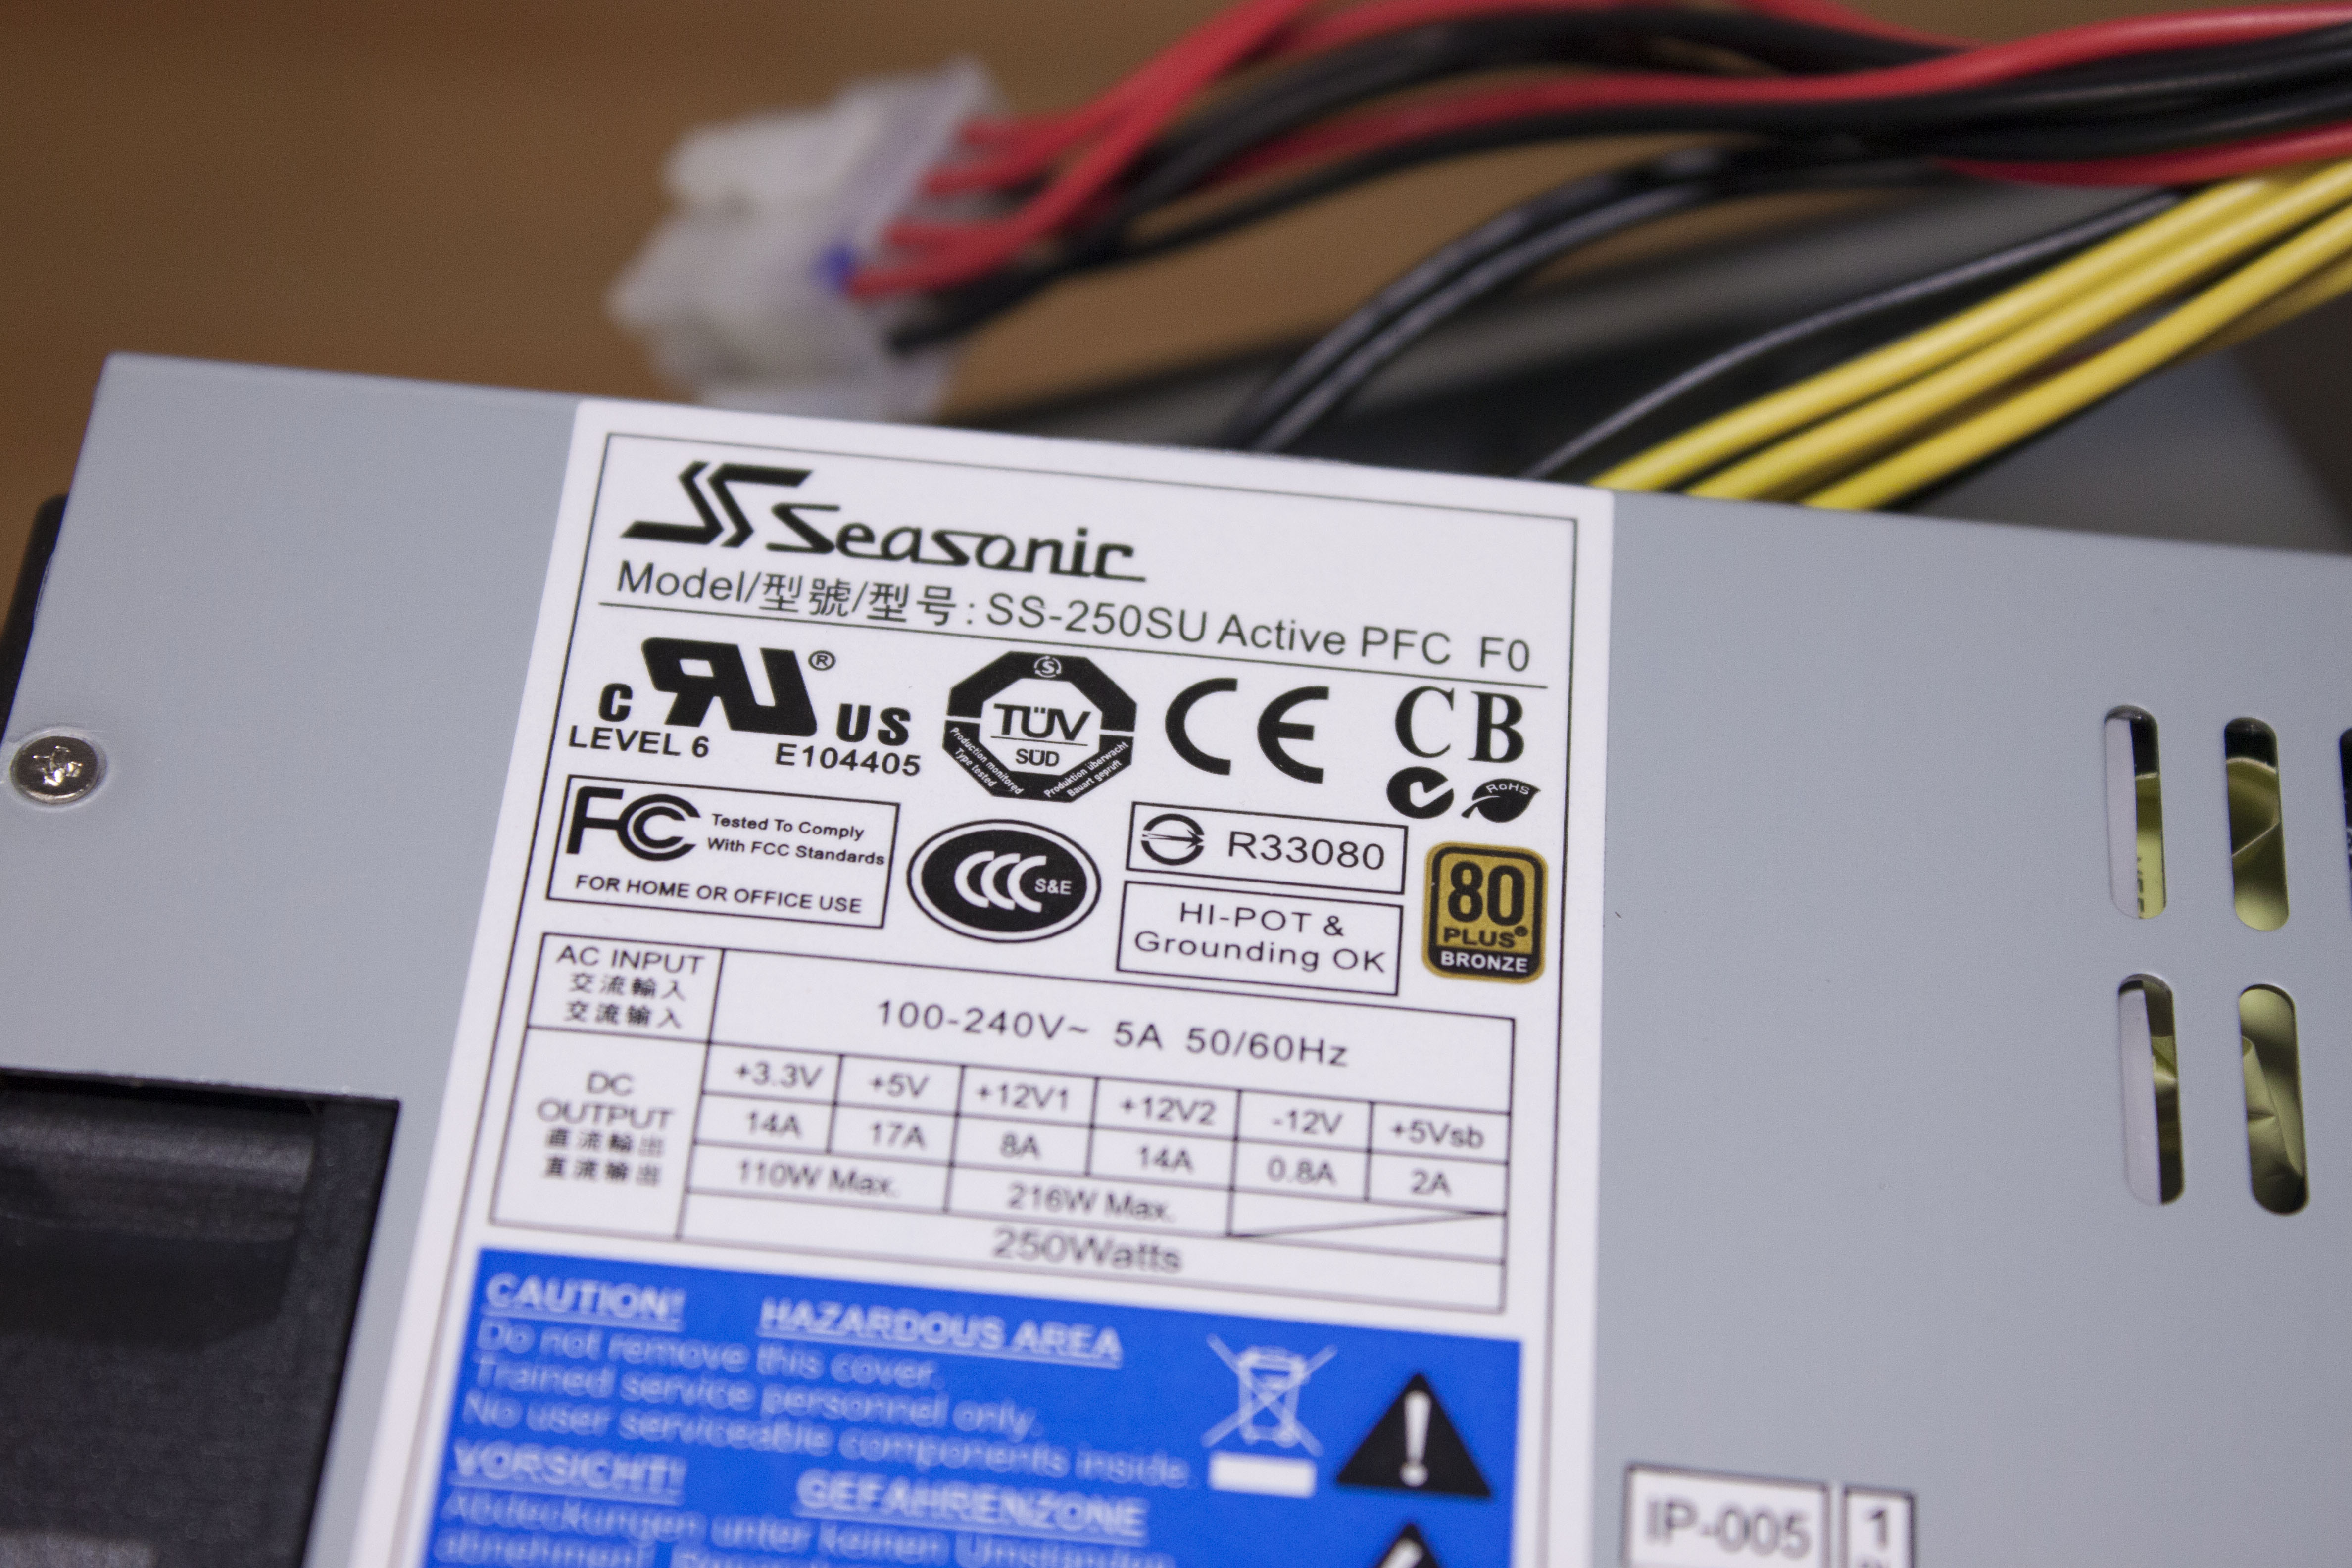
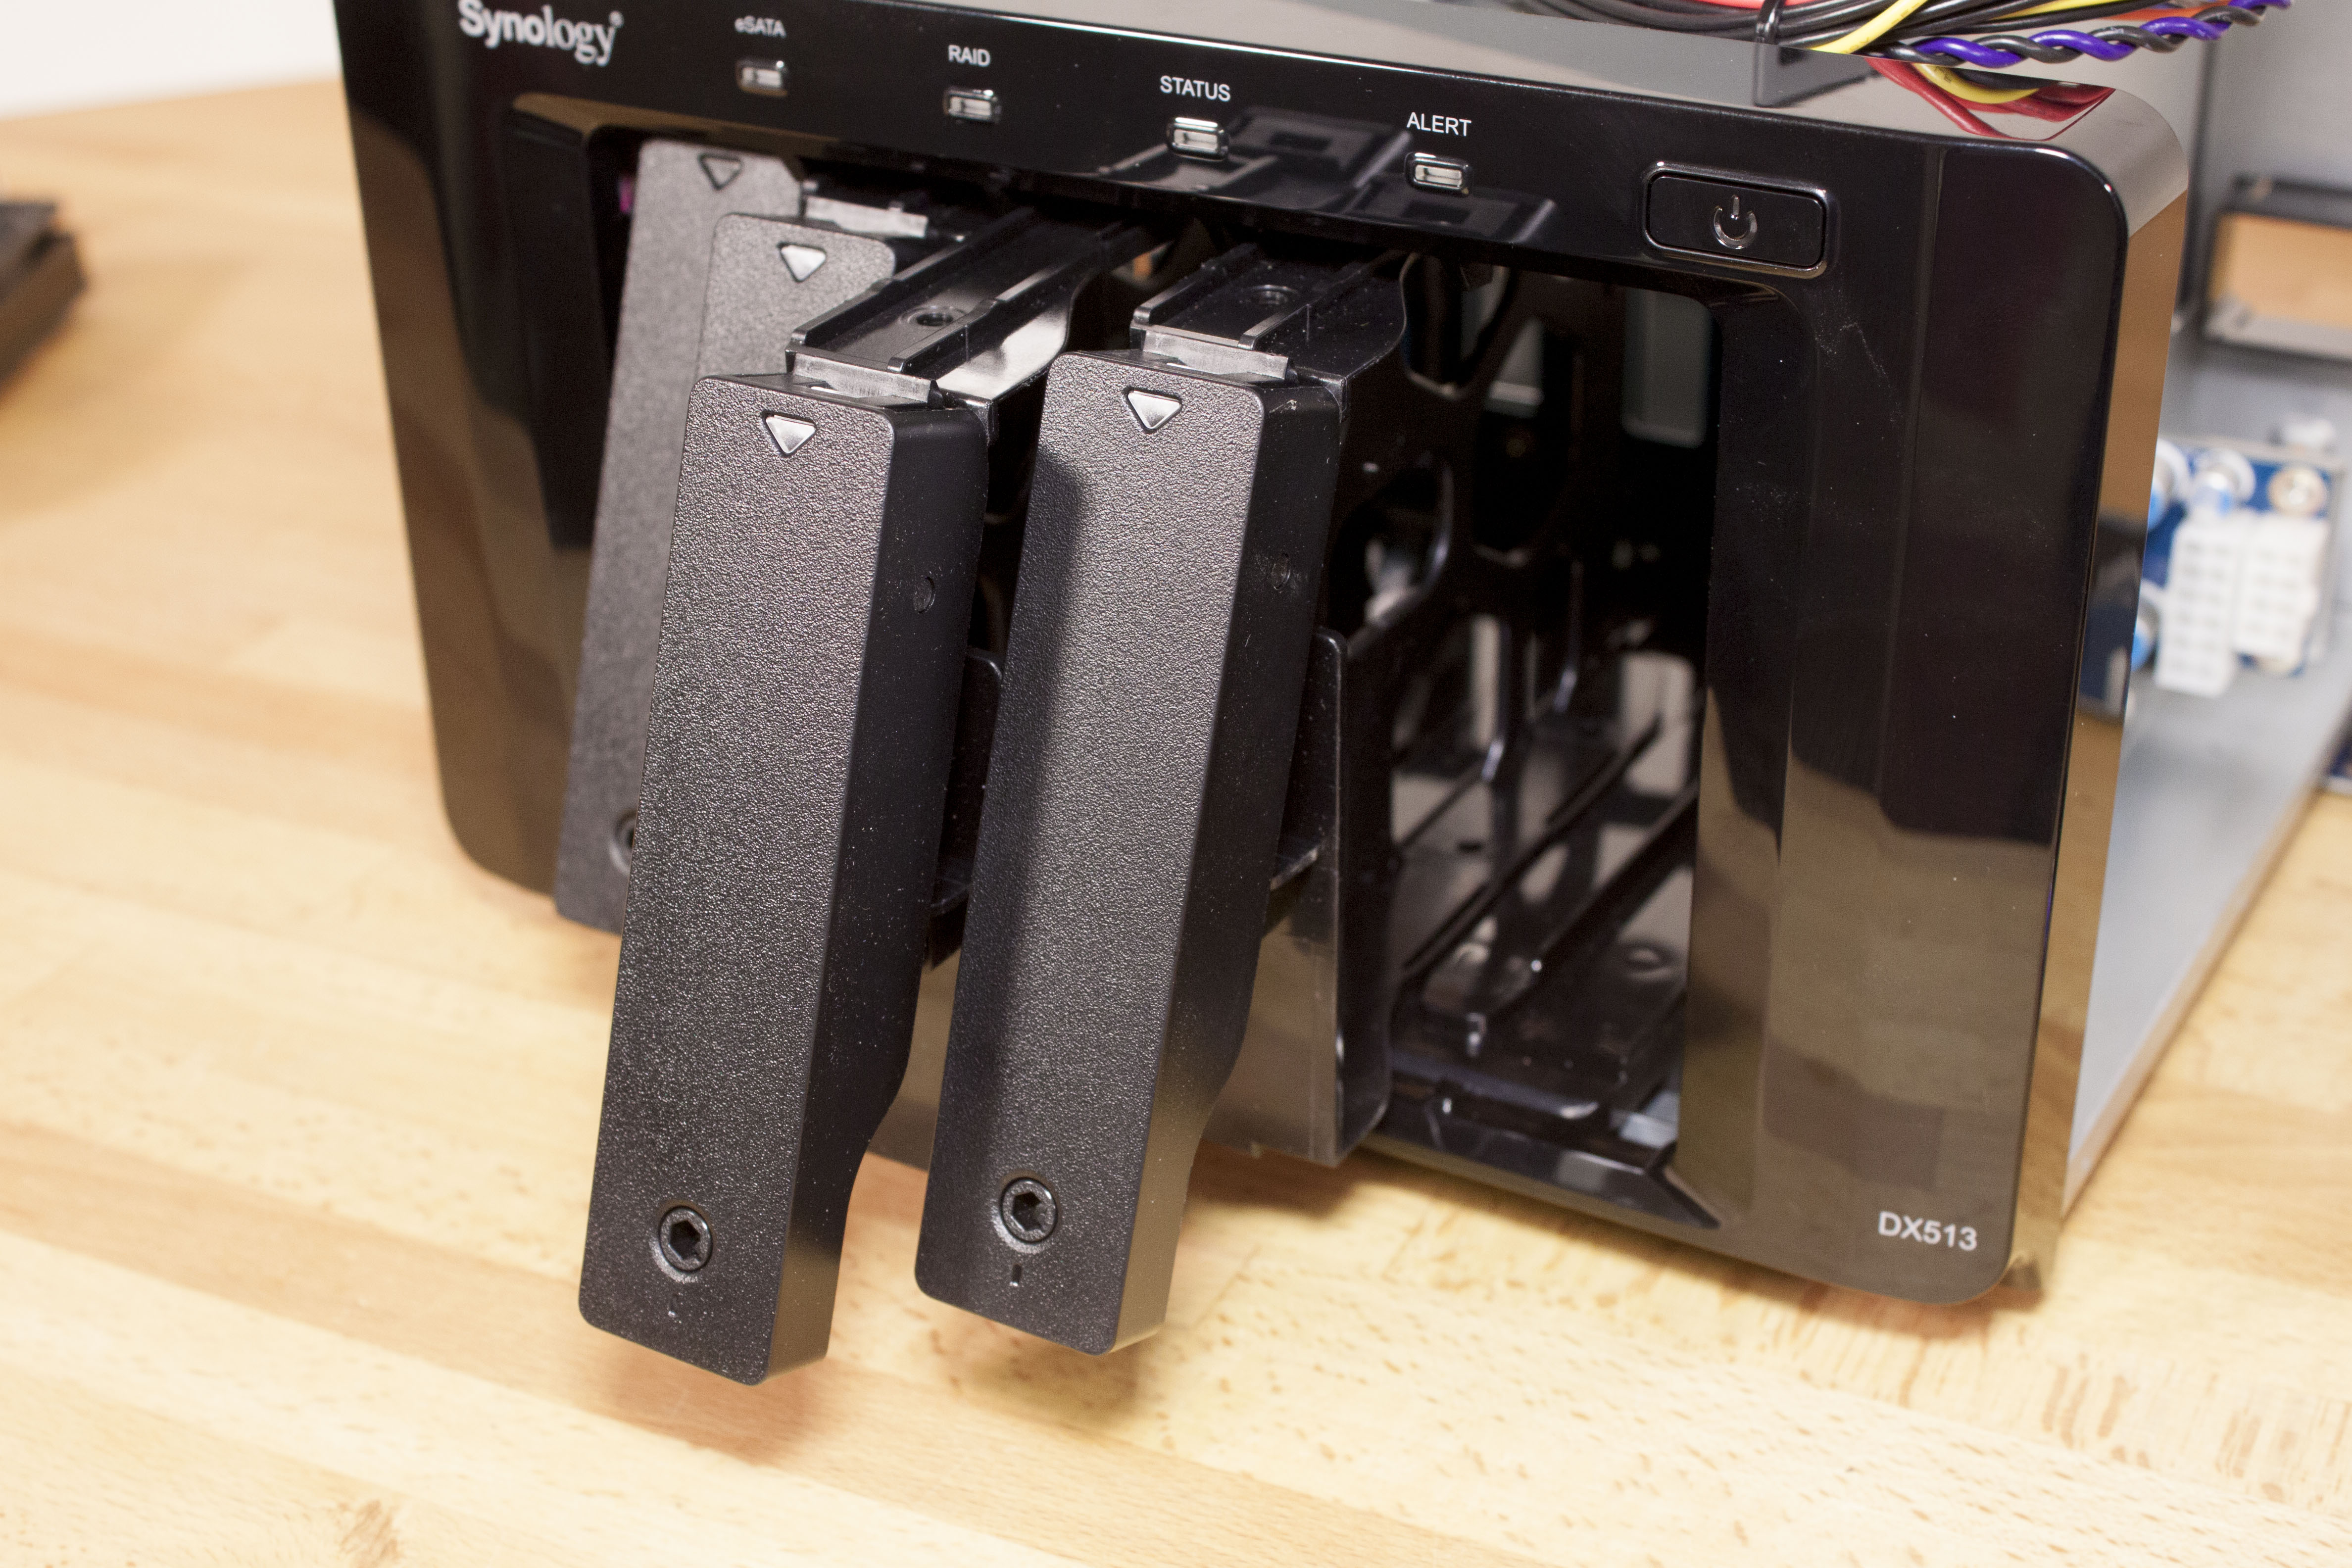
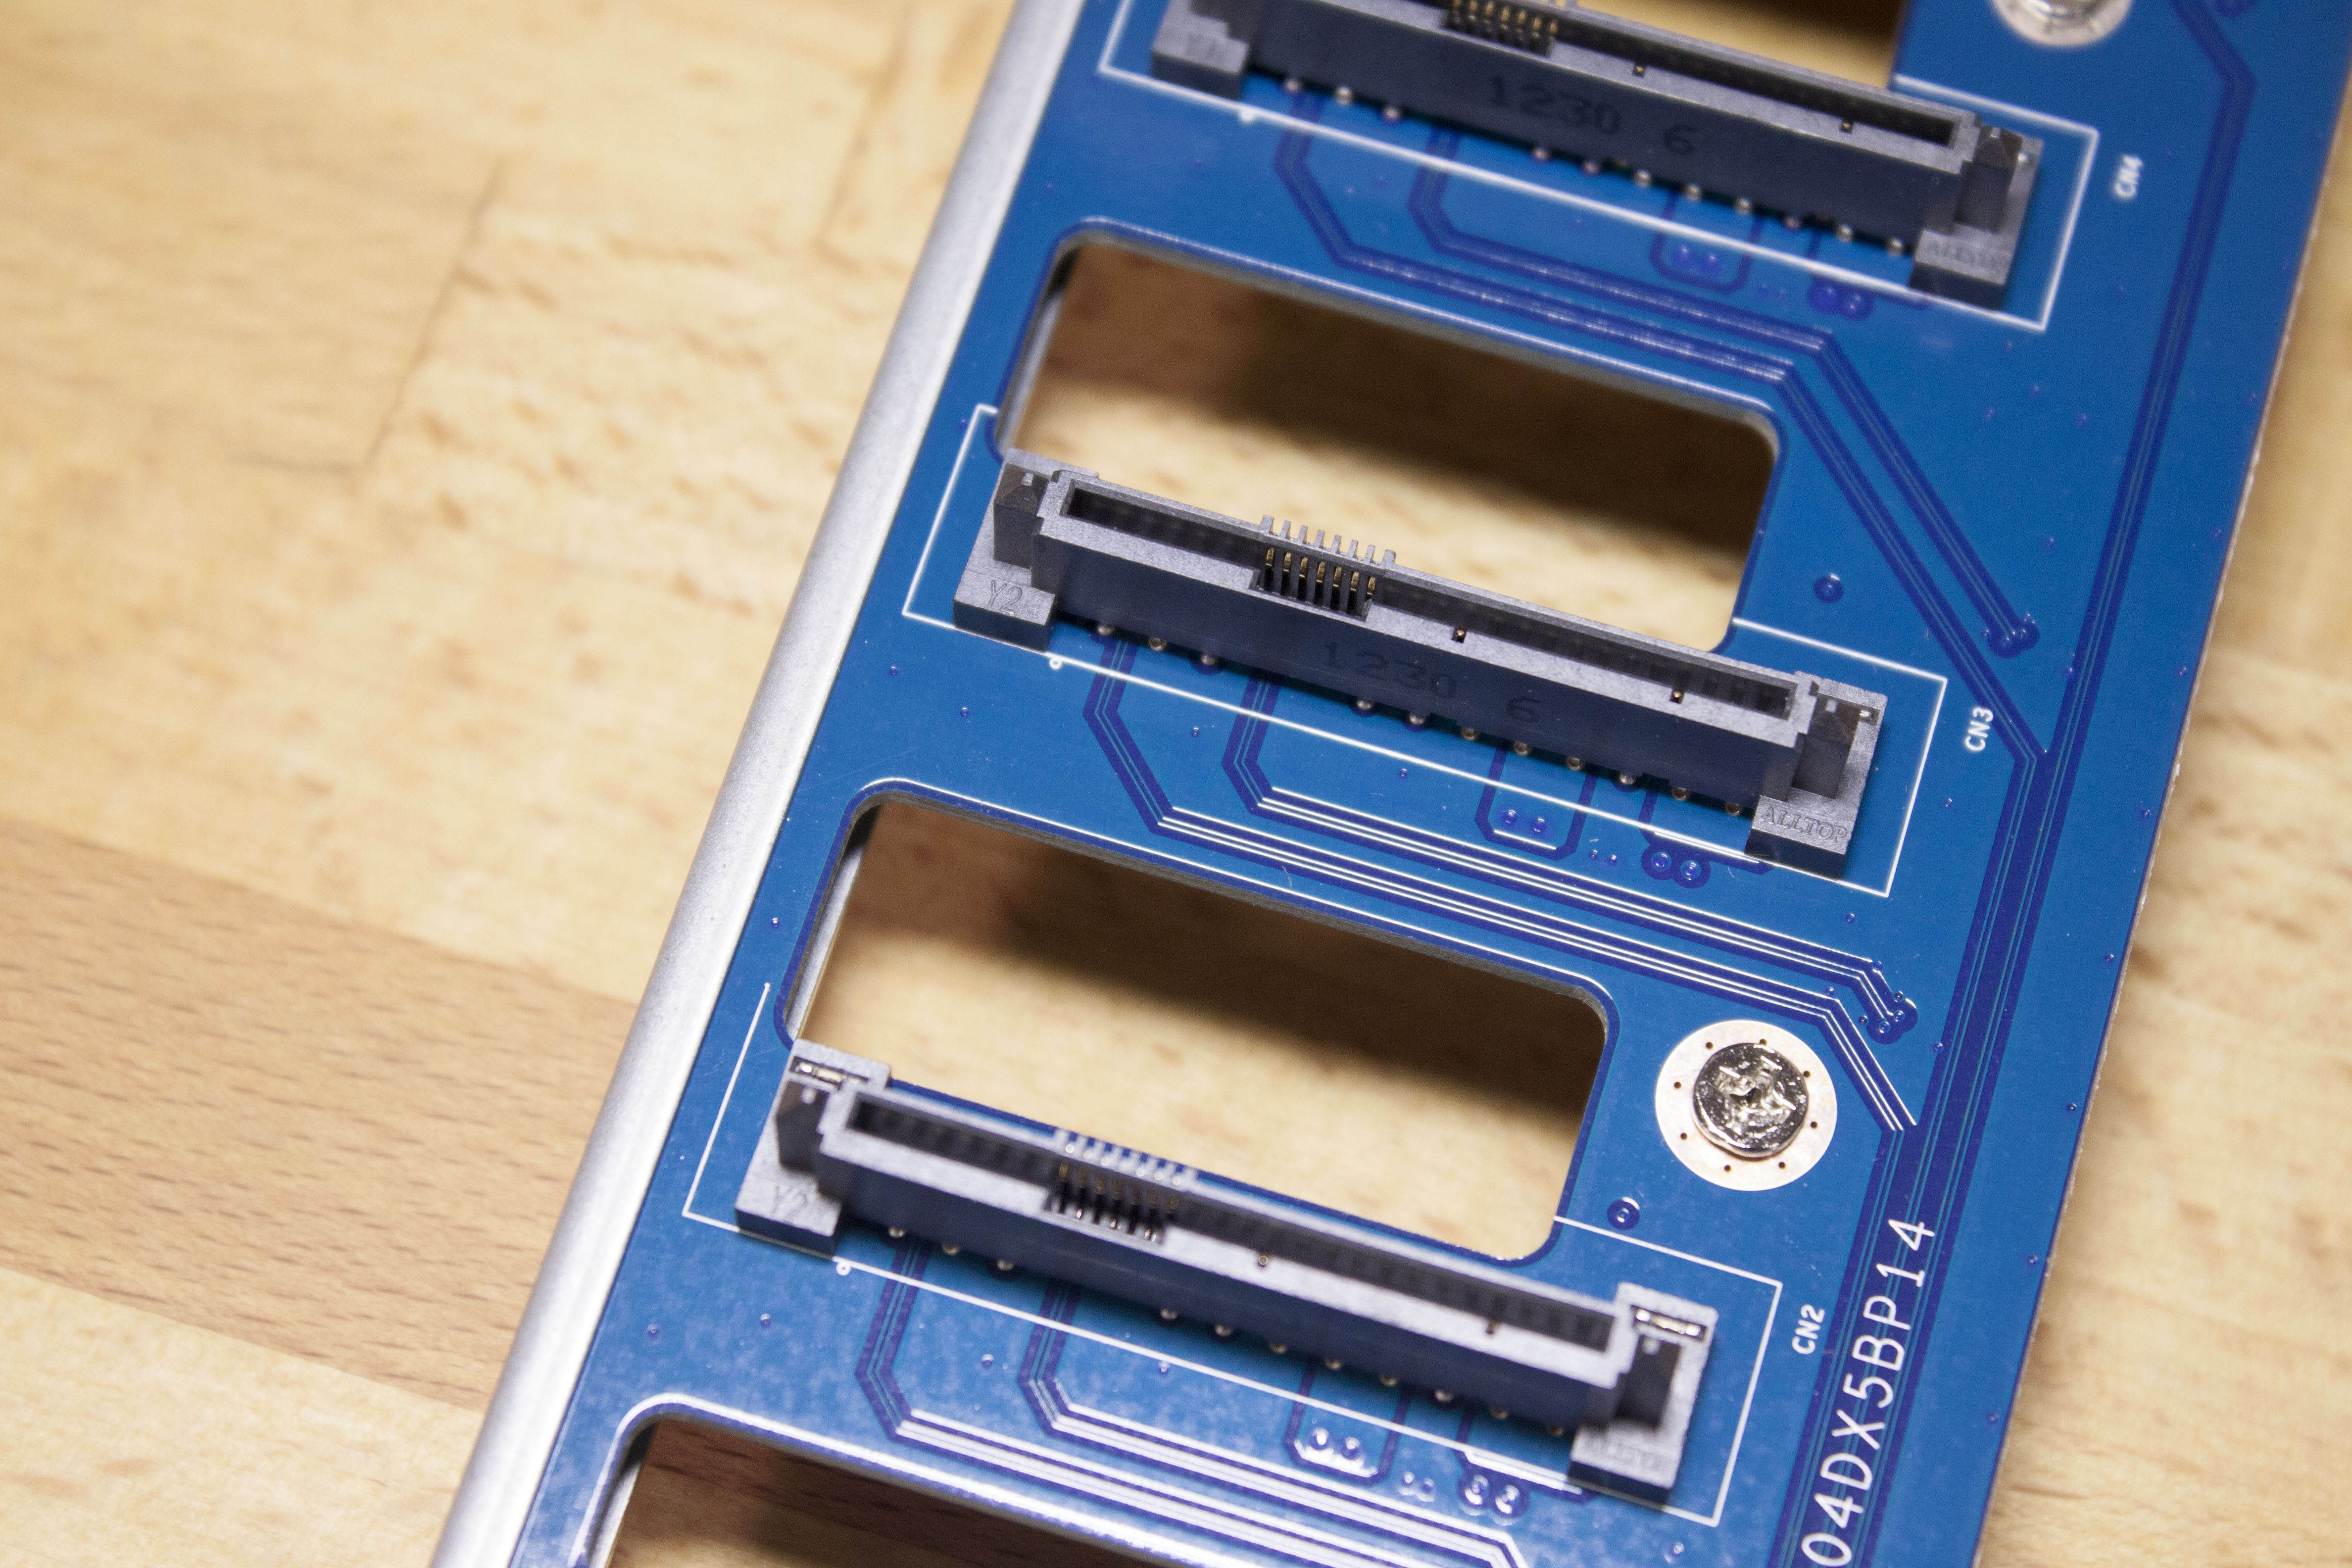
For the rest of the DX513 you are getting the same quality parts you saw in the DS1512+. You have the same drive cages, the same rails they slide in on and even that same Bronze 80 Plus PSU from Seasonic (which is a nice touch). Synology also made sure that your new NAS devise would get plenty of air movement with two fans on the back for exhaust.
 |
 |
 |
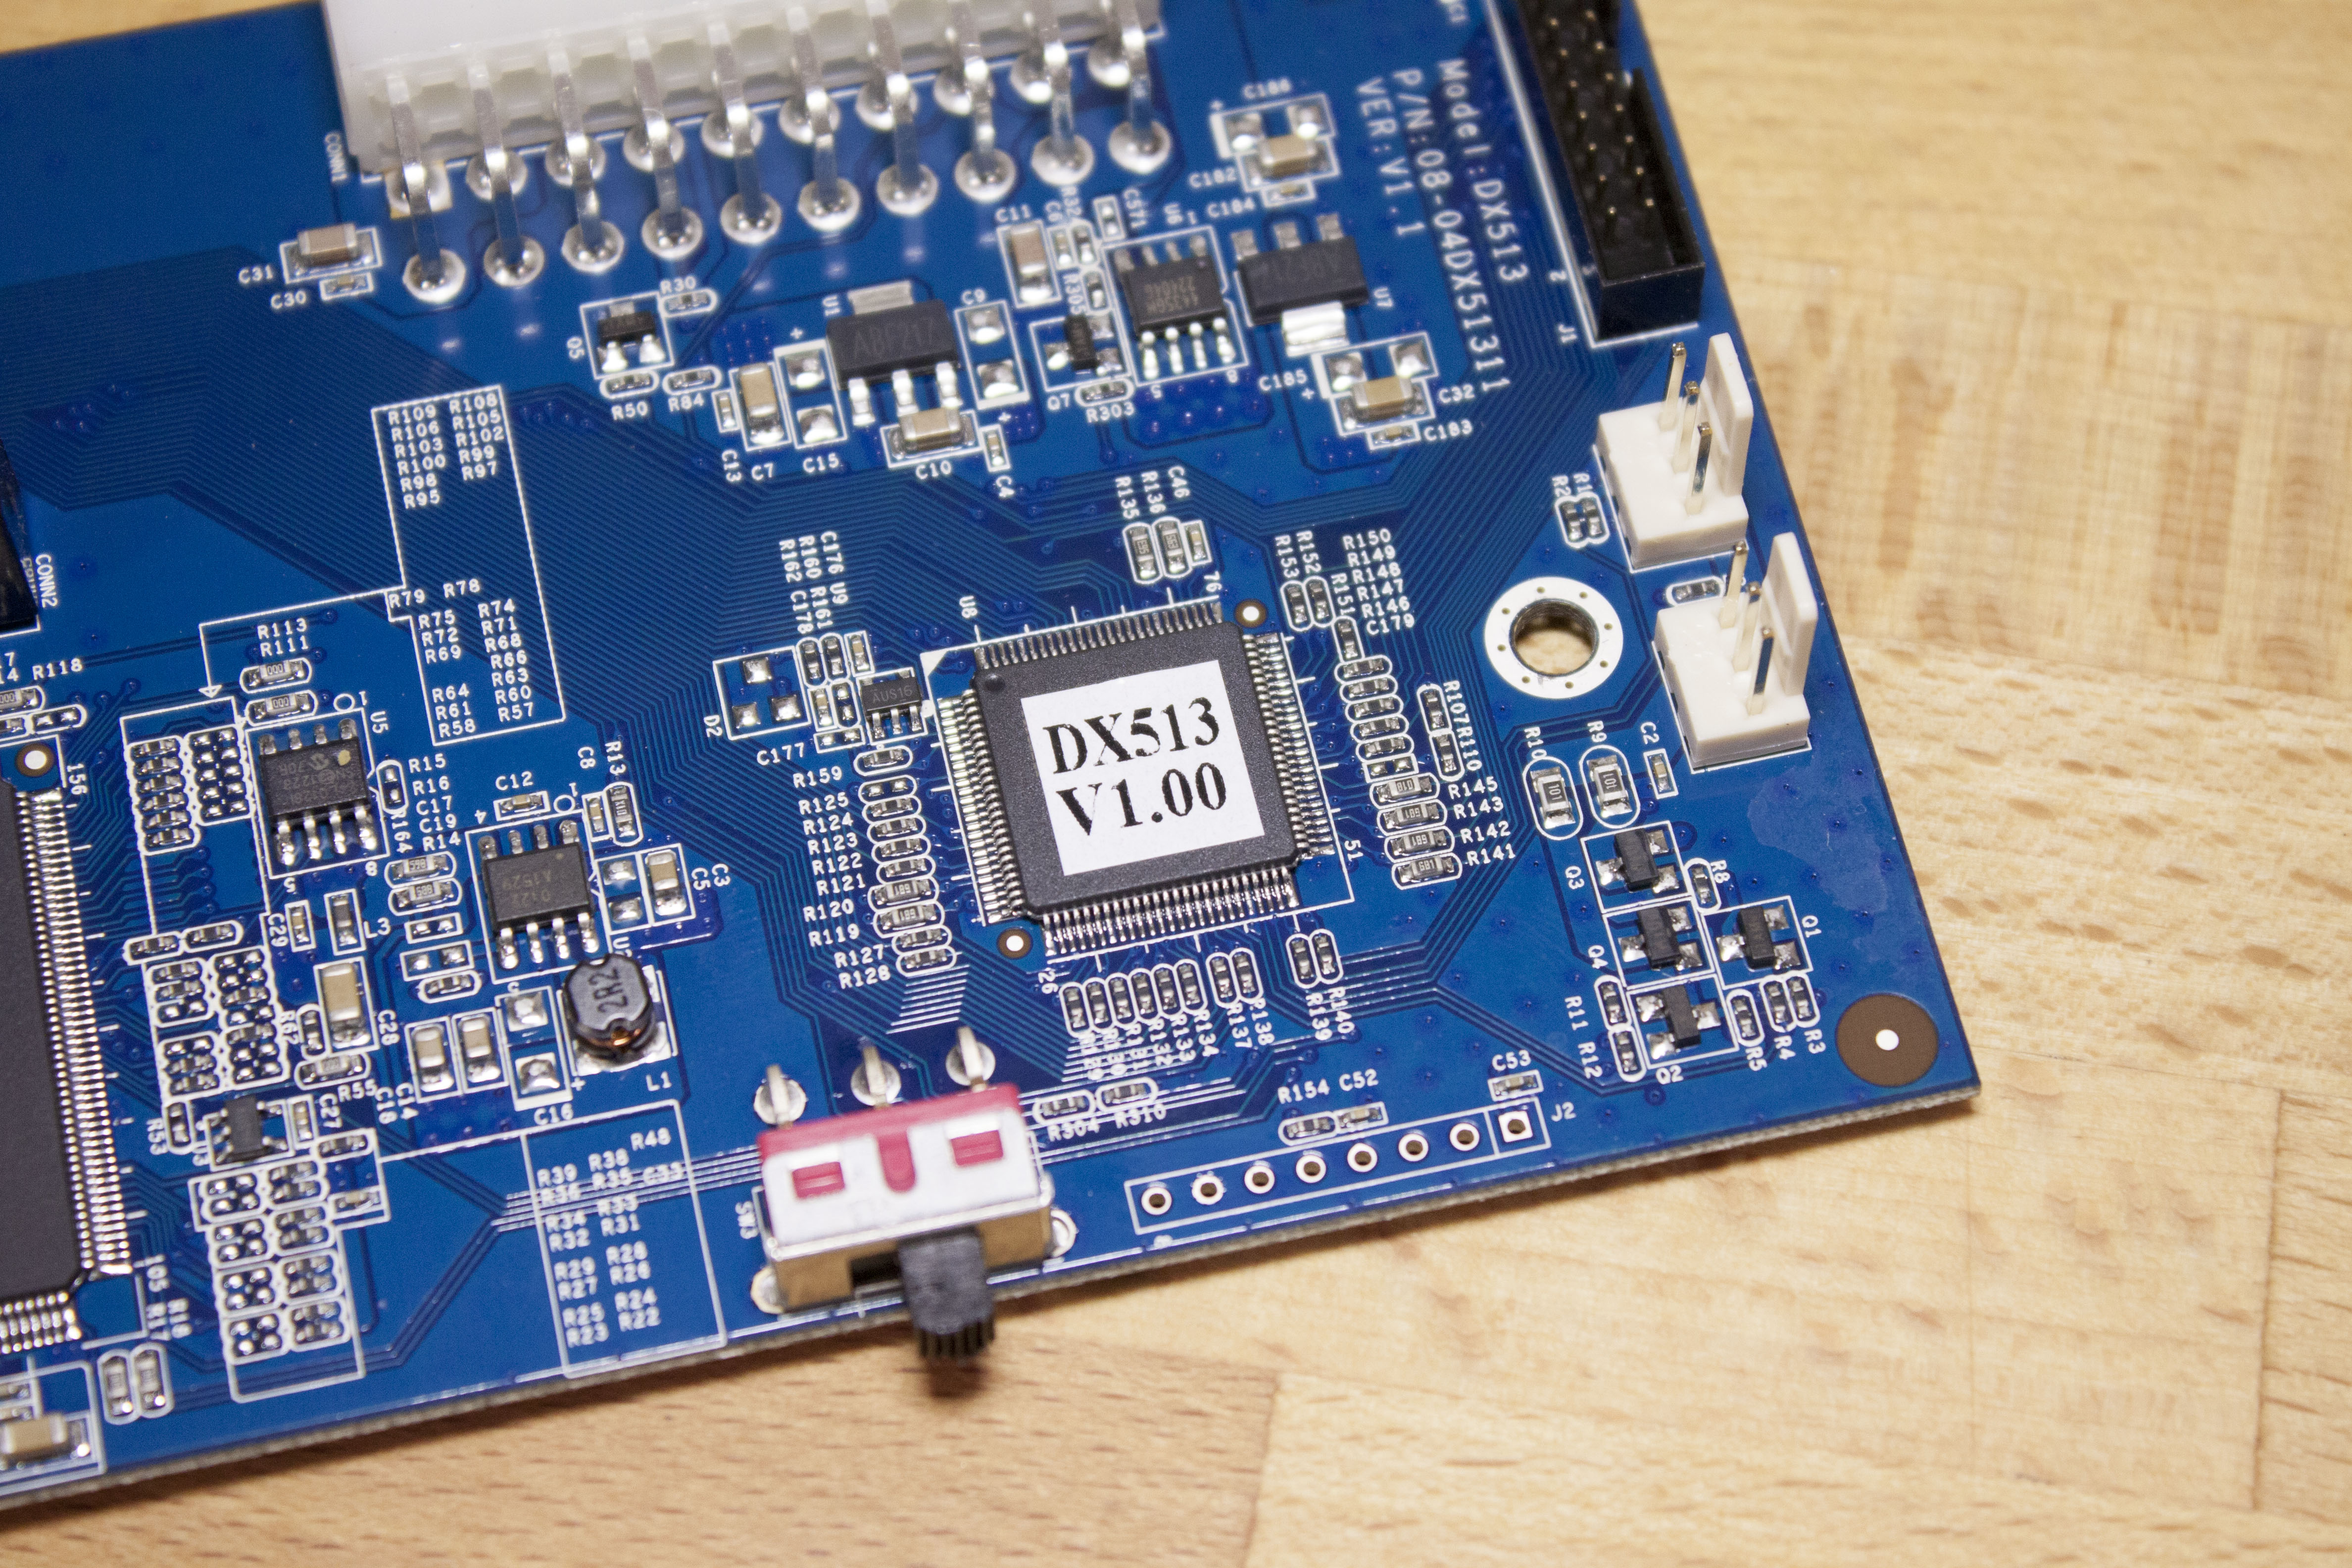
It is a pretty nice setup and one that works well with other NAS boxes from Synology with a similar design. You can check out the list of compatible products below. Now that we have shown you the insides of the DX513 let’s take a look at how easy it is to setup.
Setting up the DX513 -
If you want ease of installation you are going to get it with the DX513. The steps for getting this connected are pretty simple.
1 – Unpack
2 – Install Drives
3 – Set Auto Start Preference
4 – Connect the eSATA cable to The Disk Station you use (In our case the DS1512+)
Power on.
Now you might be wondering about step 3. Well that is still pretty simple as well. There is a small switch on the back of the DX513 that allows you to configure the way you want the DX513 to interact with the volumes on the head-end unit. If you leave it set to default the DX513 will power on and off with the head-end; if you set it to manual it will power off with the head-end but will not power back on. You might have guessed that we recommend leaving this set to default. After you get the unit powered on you will want to log into your head in unit’s web management console to configure everything else.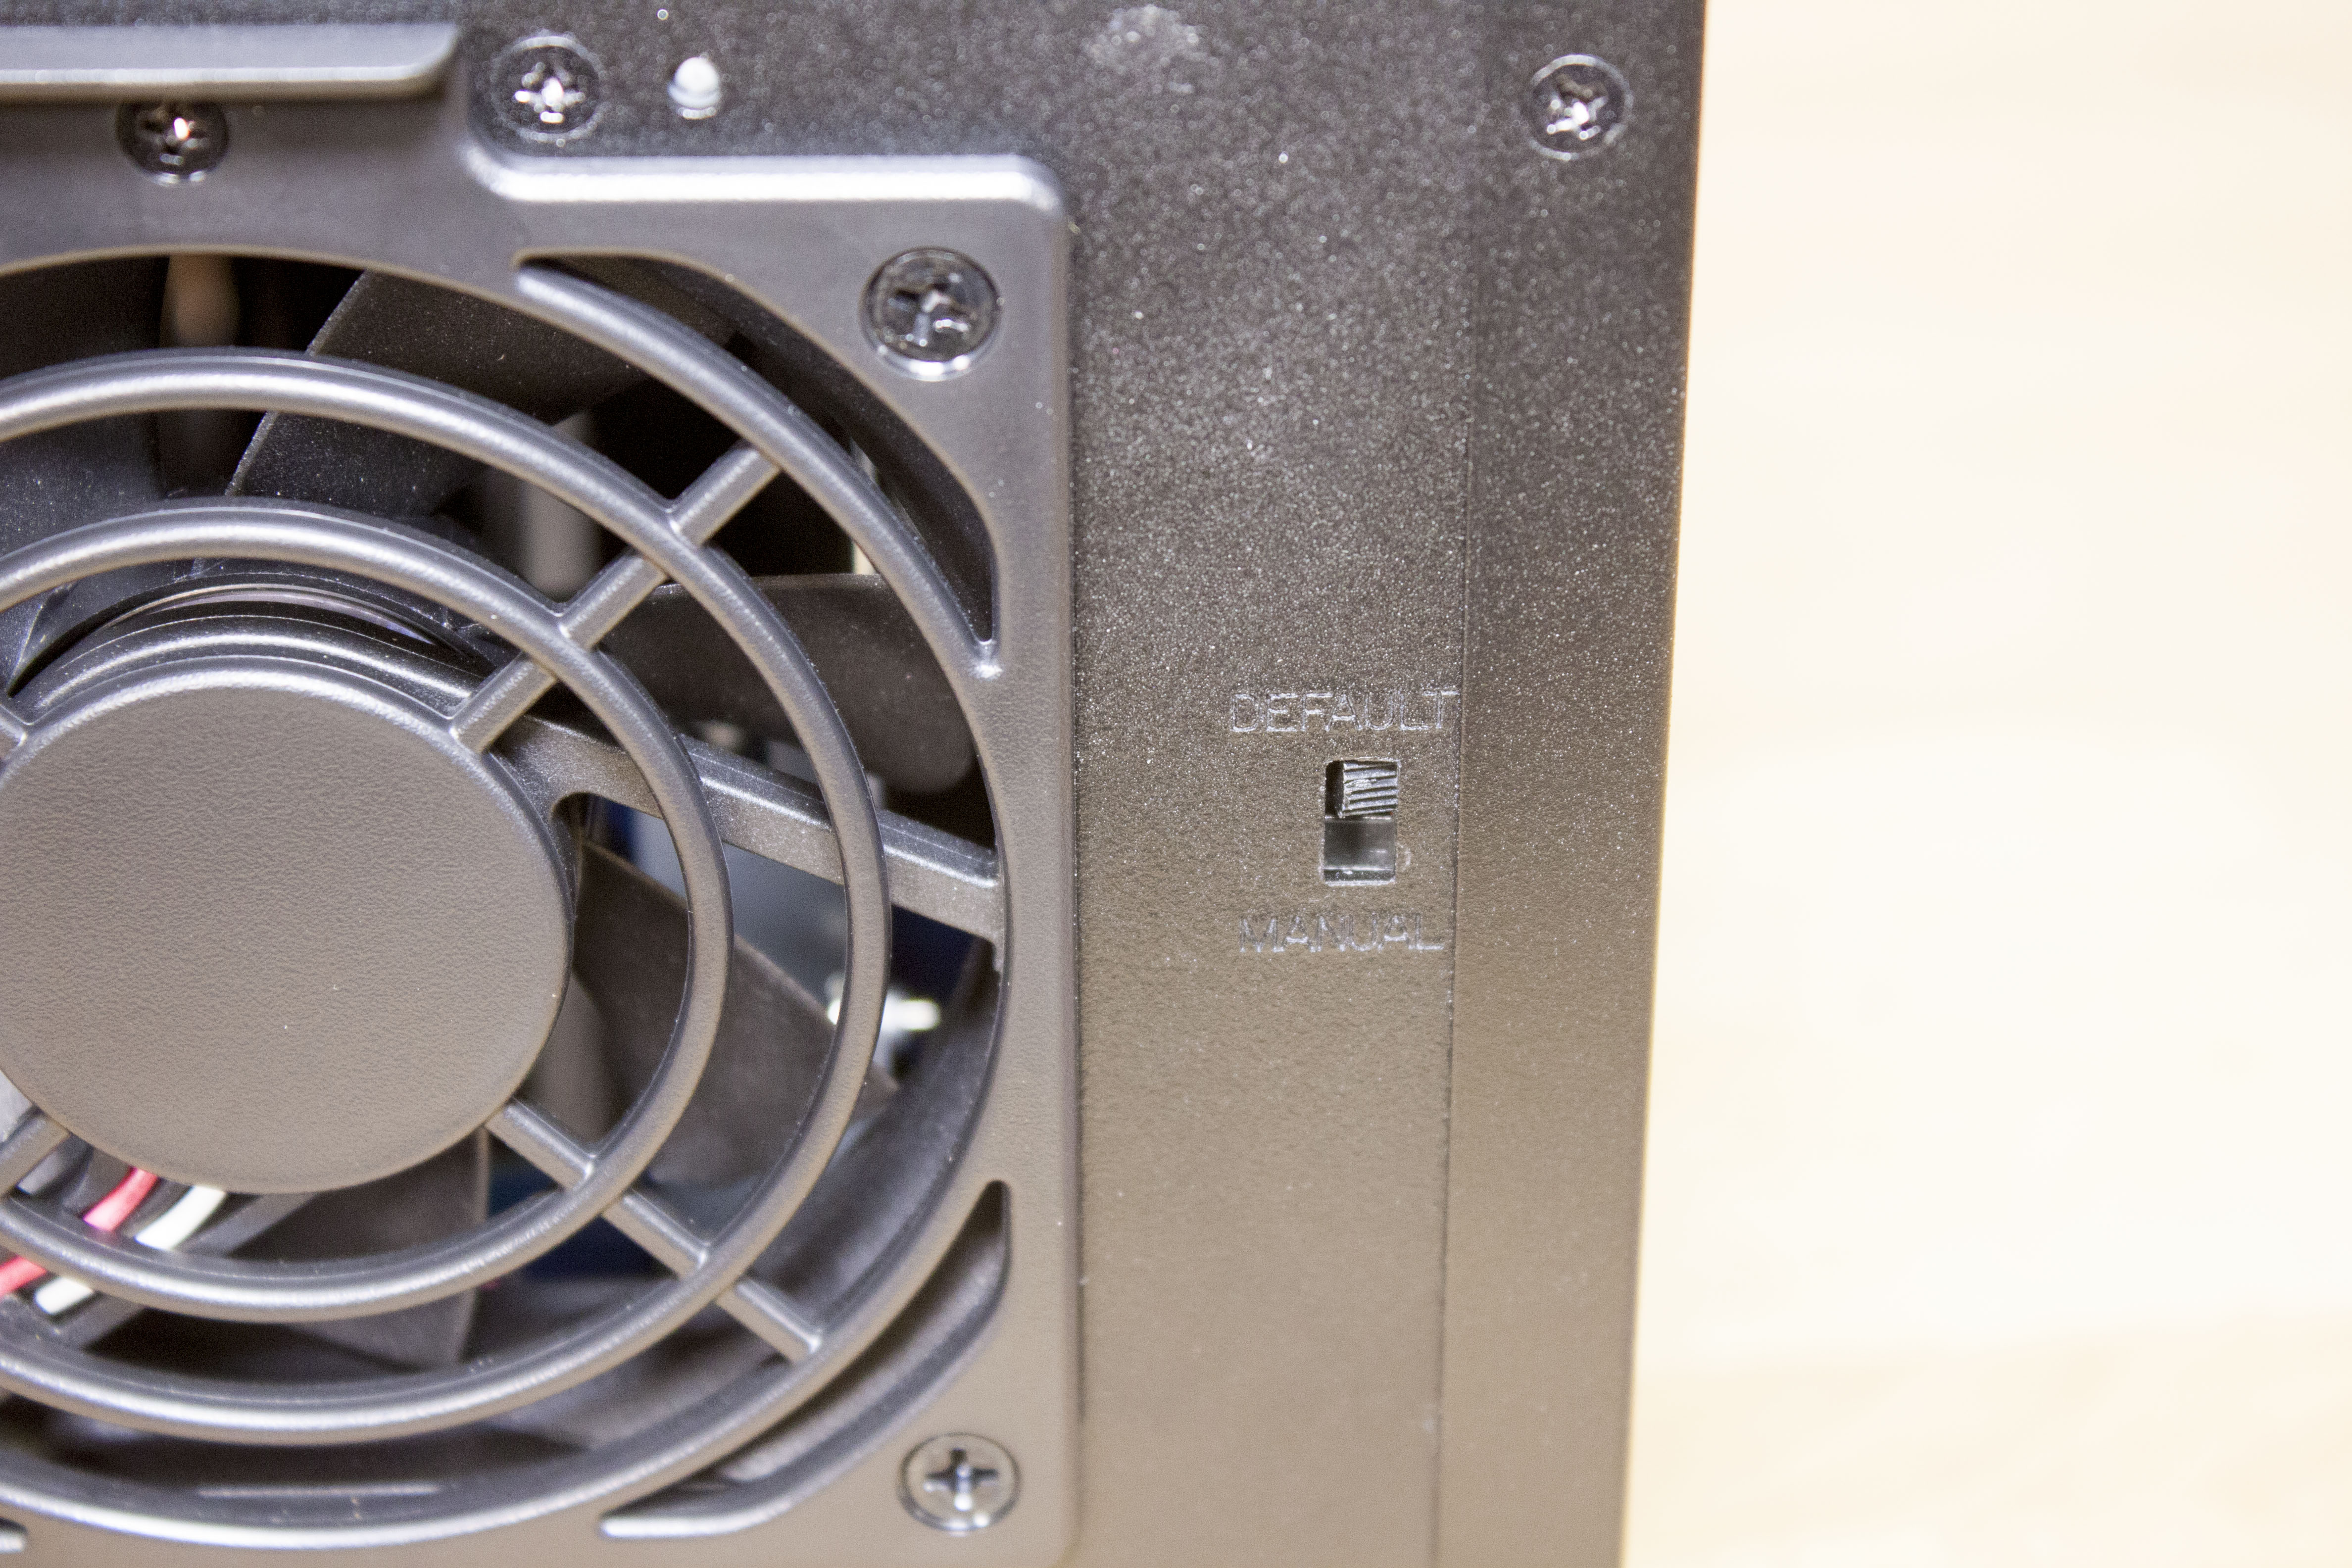
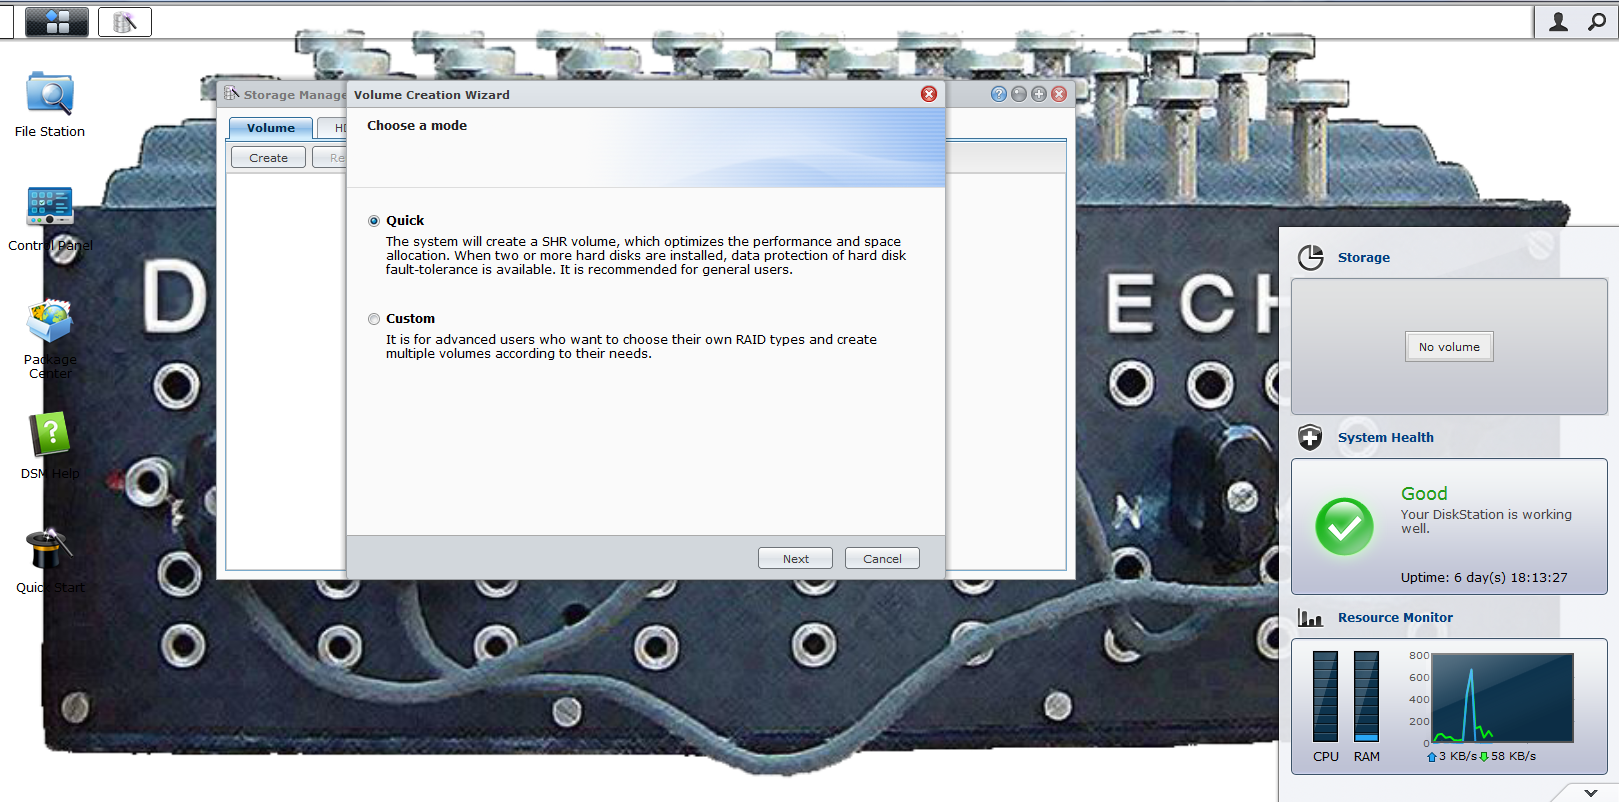
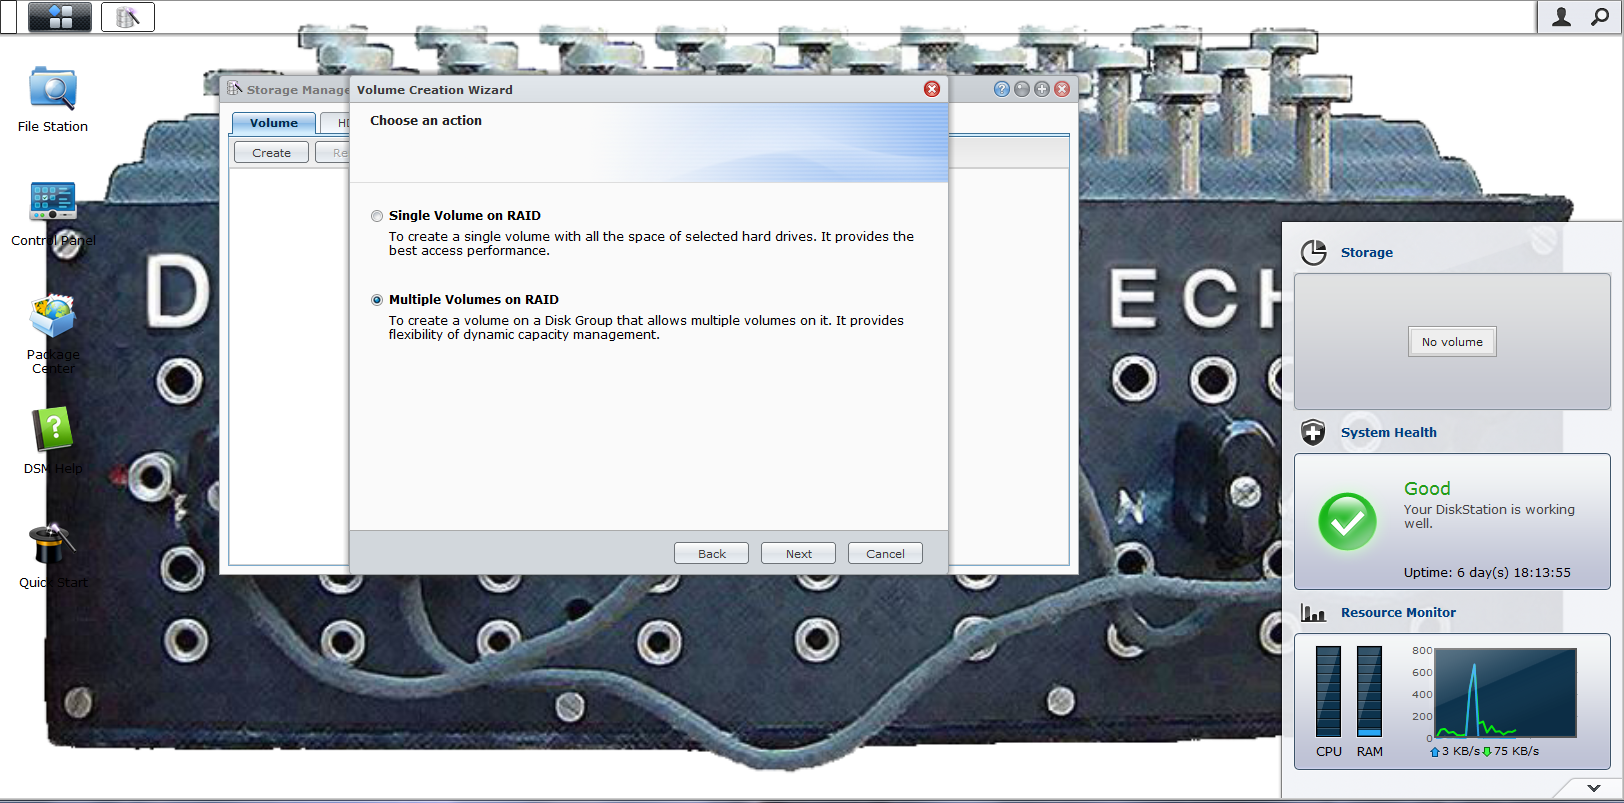
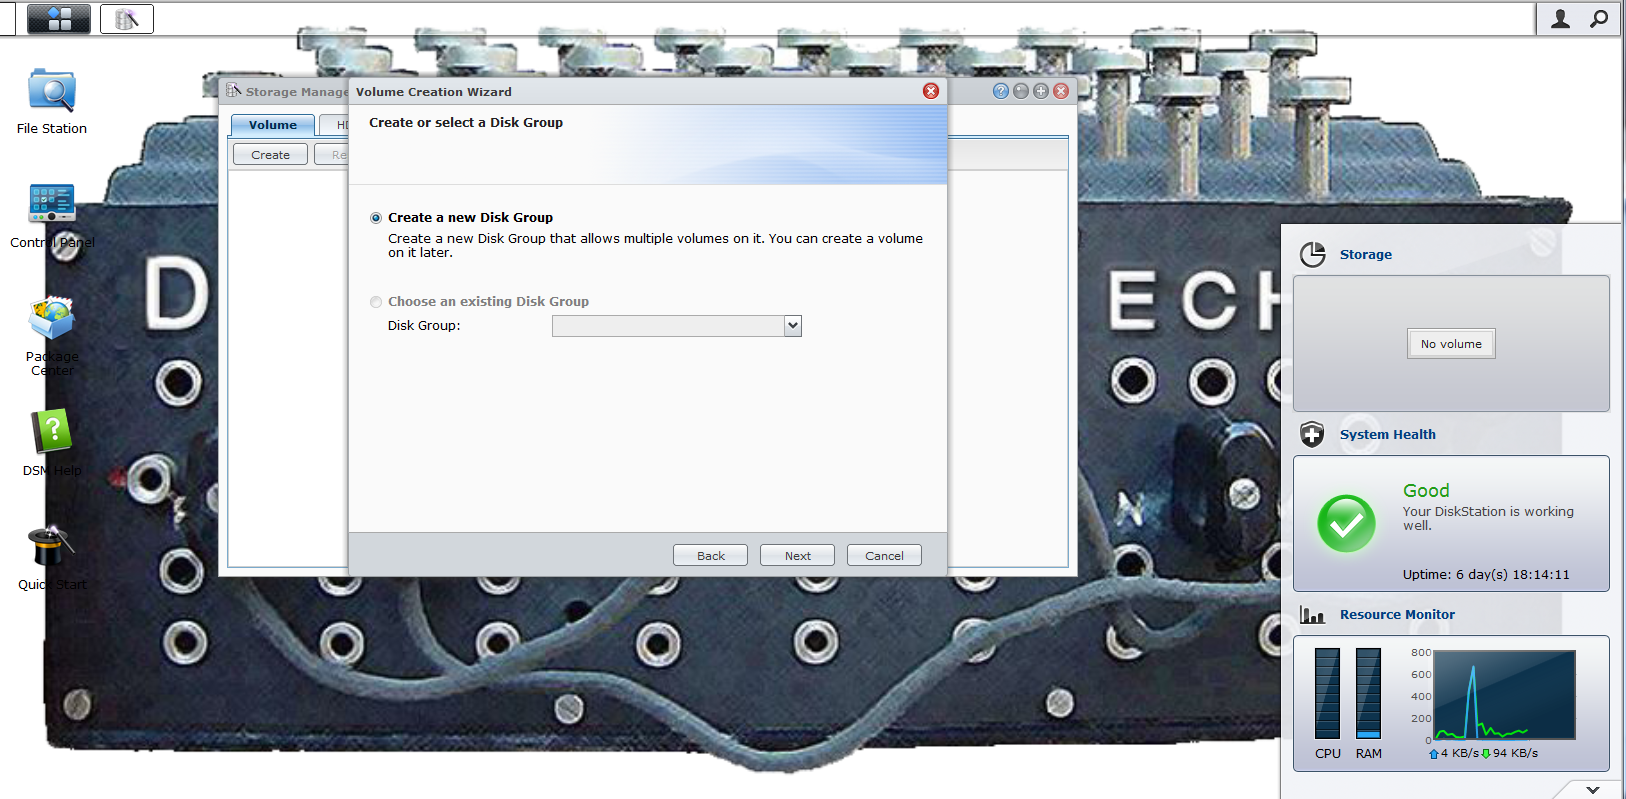
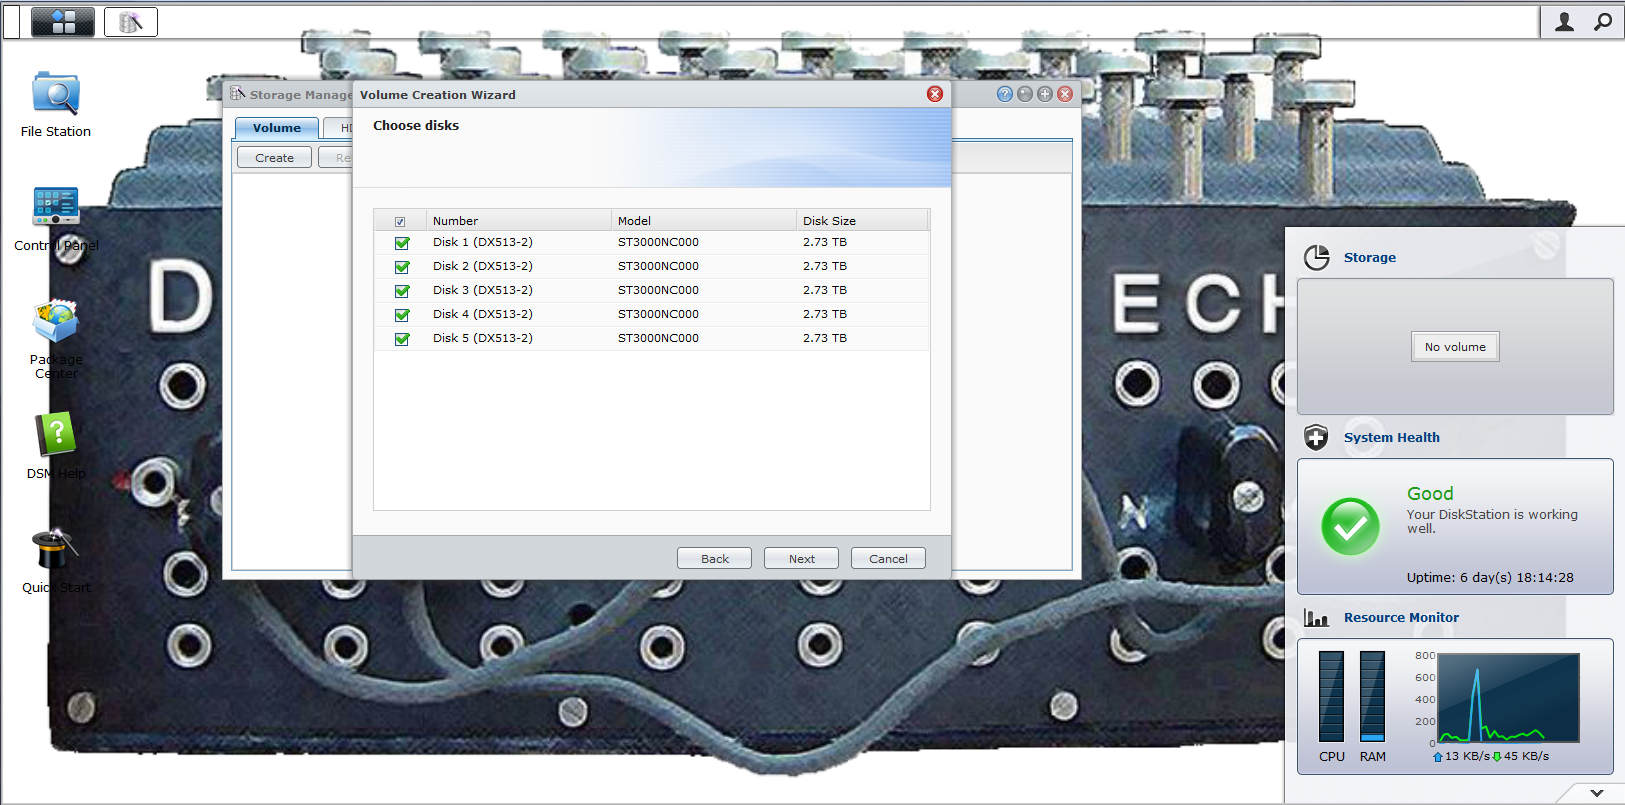
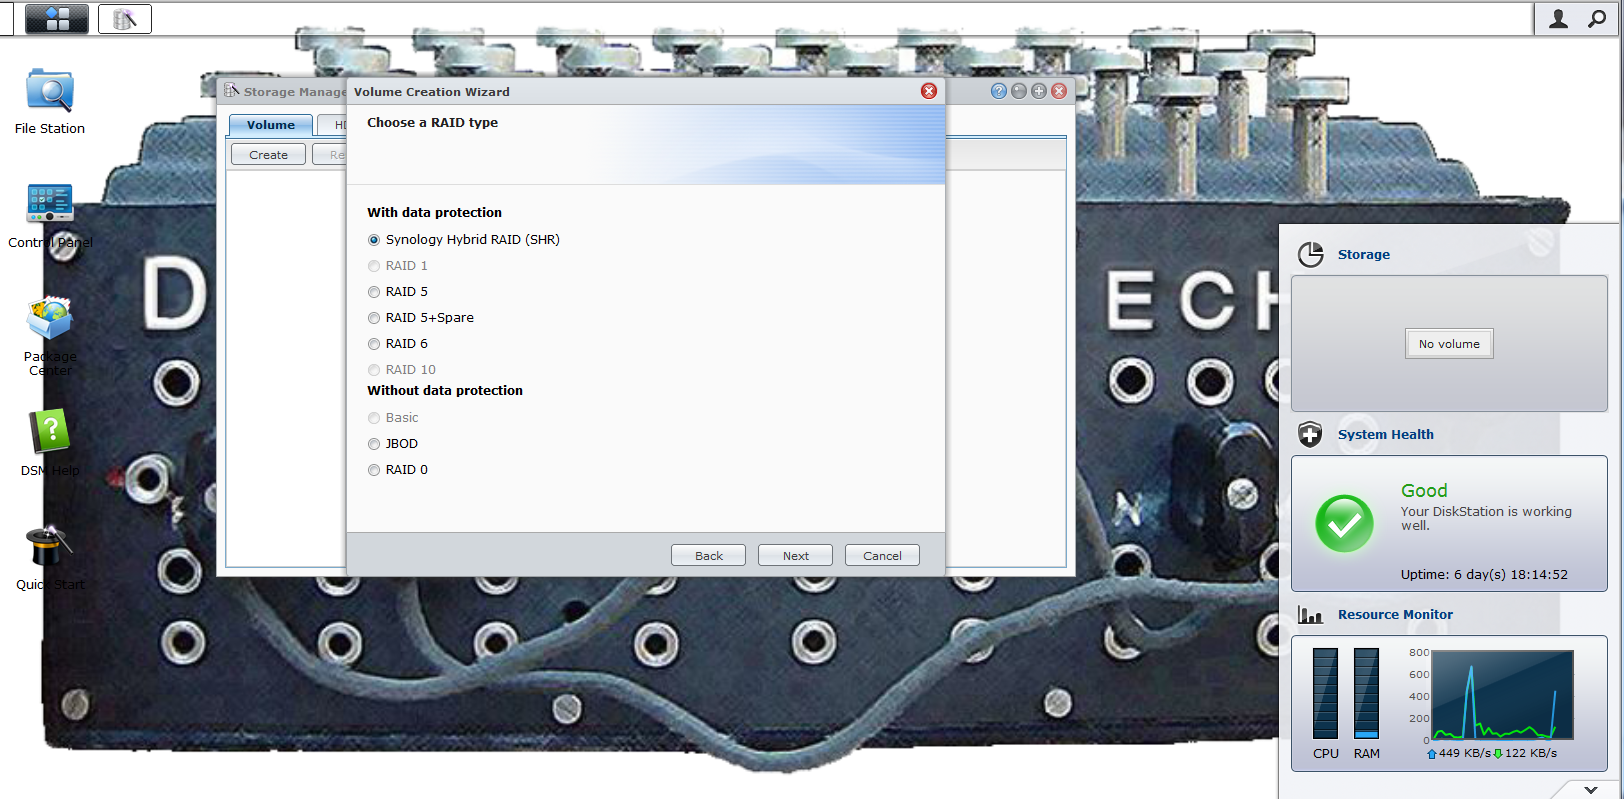
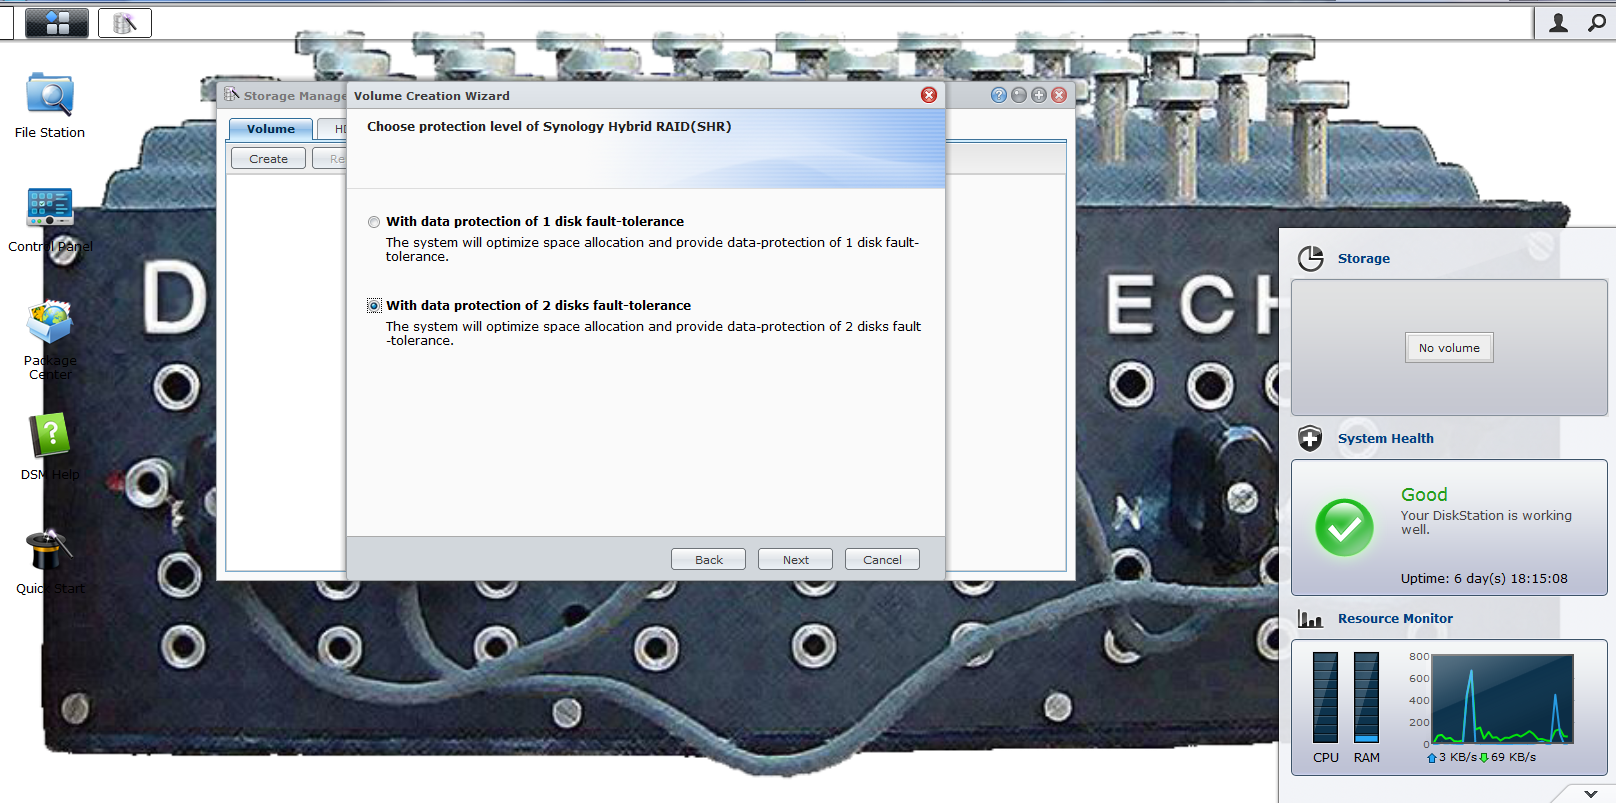
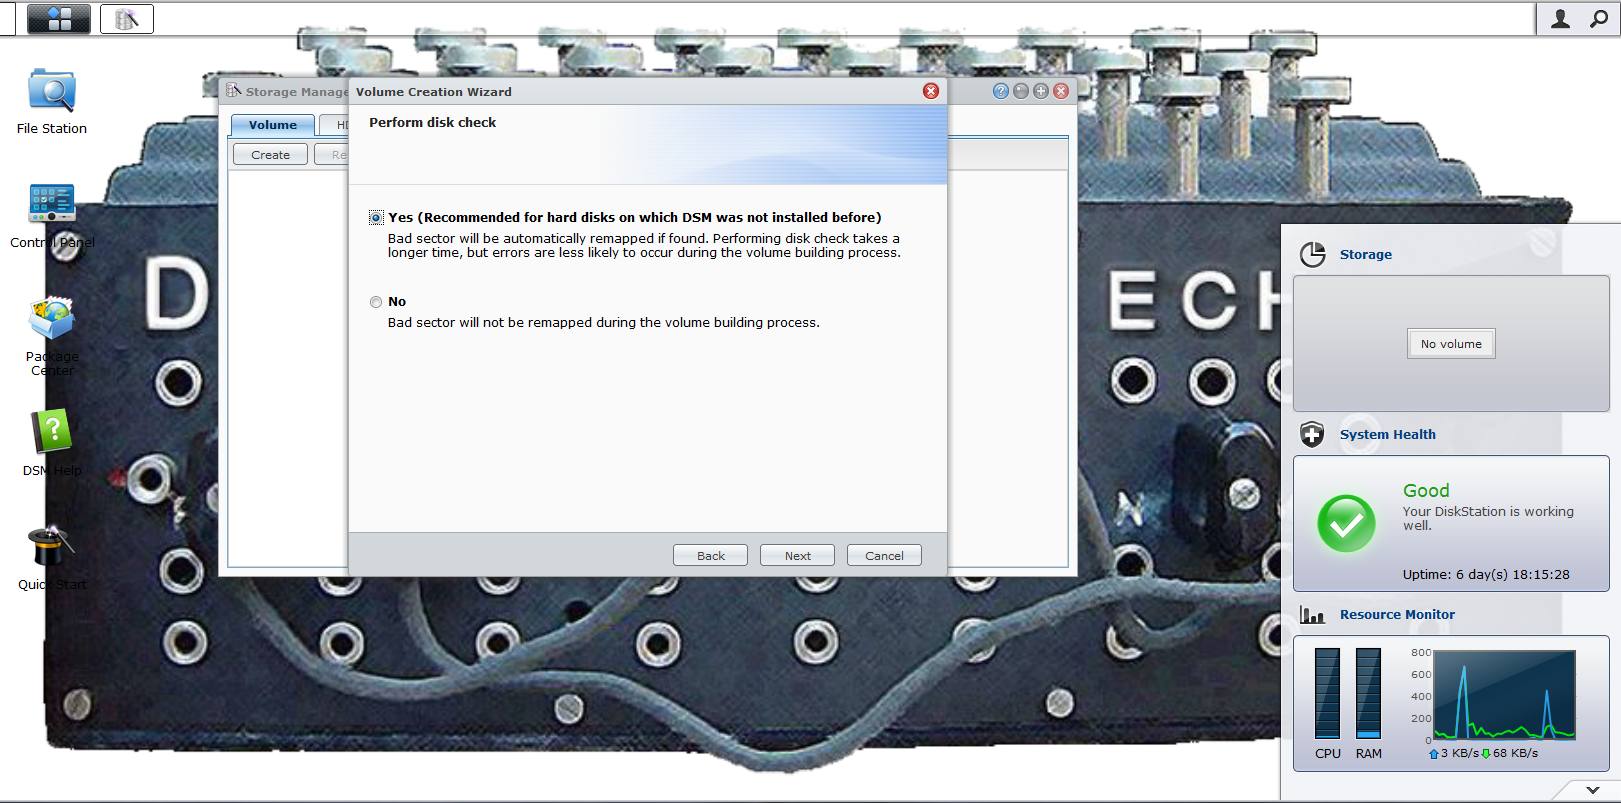
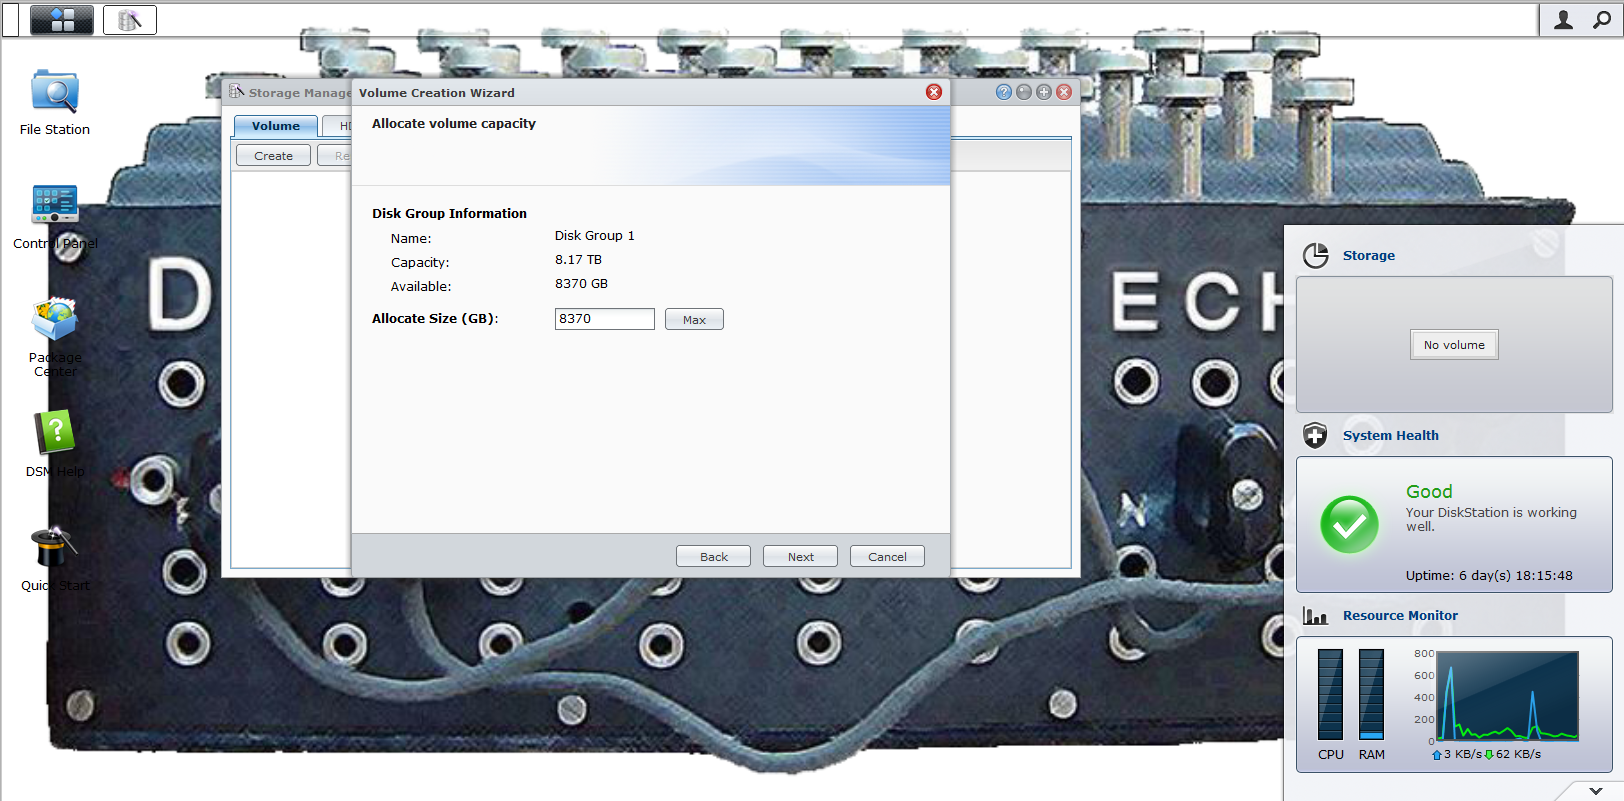
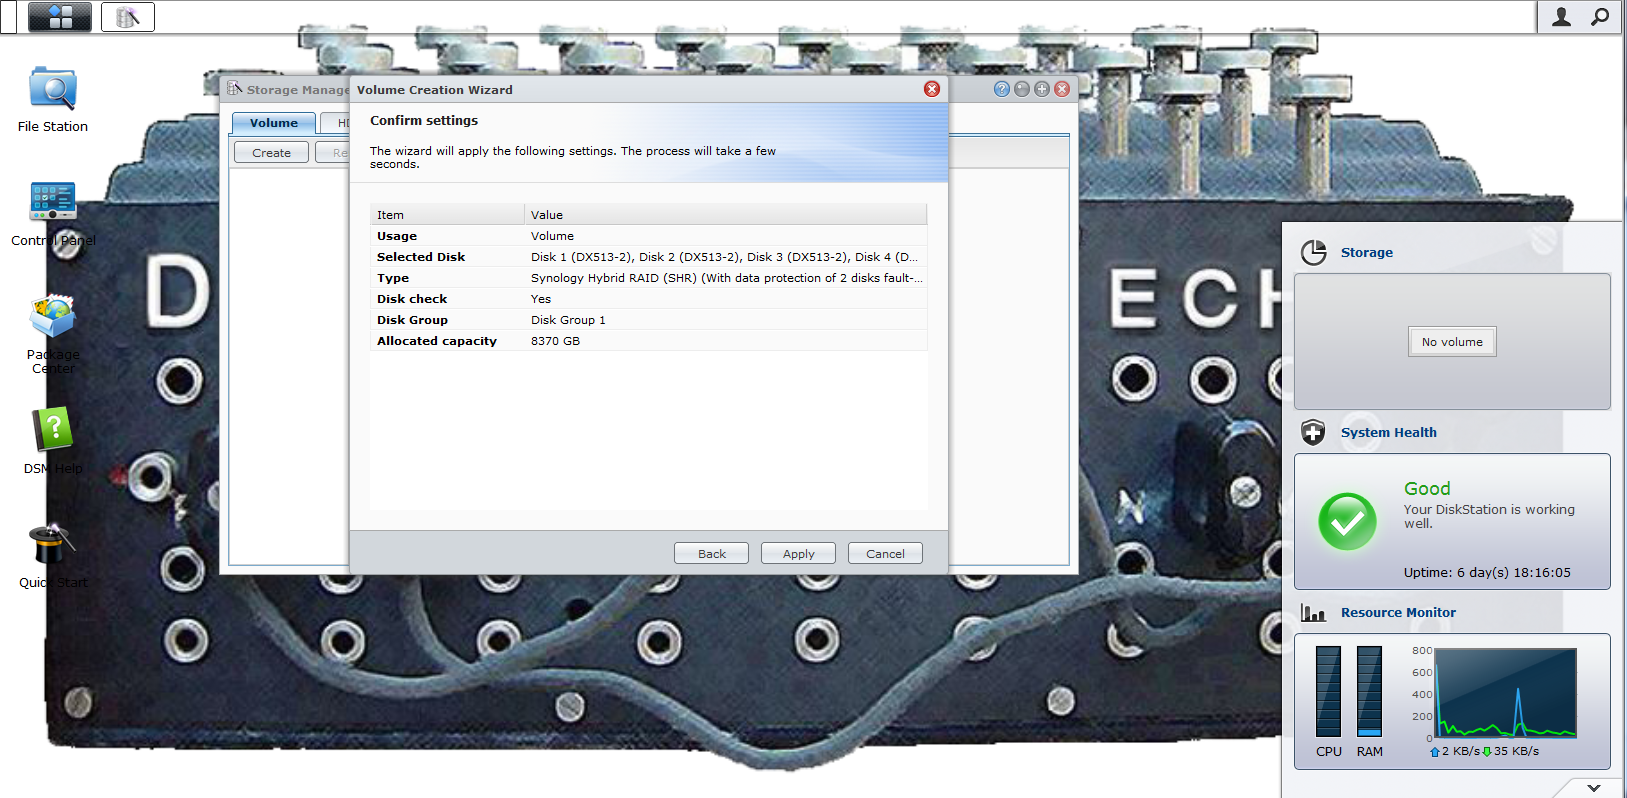
Once you are in Disk Station Manager the rest is easy you simply identify the drives you want to use, establish a disk group and then build the RAID structure you want. From there you can setup multiple volumes or make your new array one big volume. You can also add this to an existing volume that might be on the head-end unit. As we have the original DS1512+ setup as to be iSCSI volumes we created multiple volumes on our newly added DX513. We will say that while the volume creation was quick and simple the volume consistency check (which we recommend) took almost 24 hours to complete and there was a performance impact while it was running.
 |
 |
 |
 |
 |
 |
 |
 |
 |
DX513 Performance -
To test the performance of the DX513 we used a combination of real world file transfers and also Intel’s NAs performance test software. Between these two items we felt we were going to get the best indication of how well it will perform when you get it back home and installed. We also chose to use the default RAID Synology Hybrid RAID with two spare drives to mimic the best performance and redundancy the DX513 and DS1512+ had to offer.
The numbers here actually look better than we expected them to be. As you have quite a bit of data that has to move from the external box to the head-end over a single eSATA connection we were concerned that we would see performance drop on this second box. The good news is that is simply not the case here. You are going to get some solid performance out of your DX513.
For real world file moves and copies we were again very happy with the performance we saw from the DS1512+ and DX513. We moved a 569GB group of files between the DX513 and a second NAS that we have in the lab. The move times were fantastic. We moved this folder from one NAS to the other in about 2 hours which is an average transfer rate of 80MB/s and that is not bad at all when you think about it.
Value -
As we have said in the past value is exceptionally subjective, what is a good deal to me might not be to you. This is true despite the many attempts that people have made to quantify value and put a raw score to it. So let’s take a look at the value of the DX513 from both the view of actual dollars and what you get for your money.
On the surface the DX513 looks a little pricey. The lowest price we found for a new one online was $449.95. On top of that price you will need to buy drives to drop into your new NAS. For our testing we used five Seagate ST300NC000 3TB drives. These drives go for $207.99 if you stick with the configuration we have here you are looking at $1490 before shipping and any applicable taxes. That is a hefty chunk of change. Now let’s look at an alternative; if you were to simply swap out your existing drives you will have to back up your data to another device, take the unit down, install the new drives and then restore the data to your new volume. Depending on what business you are in that downtime can cost you more than $1490 and you have not really added to anything. If you choose to upgrade your storage and move the files over to a new unit (we will use a DS1512+ as the example) then you will spend another $850 and then you end up trying to find a use for your old storage. Although adding on a DX513 with five 3TB drives might not be the least expensive move, it is a good one and one that has a much better ROI than trying to swap out drives or replacing a storage device with a new one.
Conclusion –
The Synology DX513 is a great add-on product and one that gives more options for expansion and performance than it might seem on the surface. Of course this only works for you if you already have a Synology NAS that has support for the DX513, but you can get a good idea of the value you can gain from having a device like this in your network. The DX513 not only gives you room for expanding your storage, but also the ability to upgrade your whole storage network by moving data between the two devices while you install new and larger drives. We were and are quite happy with the DX513 that we added to our Lab Storage and can see where the Synology Eco System would fit into many business models quite well.
With its combination of quality, ease of use and performance we are happy to award the DX513 from Synology with our Gold Key Award.
 |
Tell us what you think in our Forum


