Installation
 |
 |
 |
 |
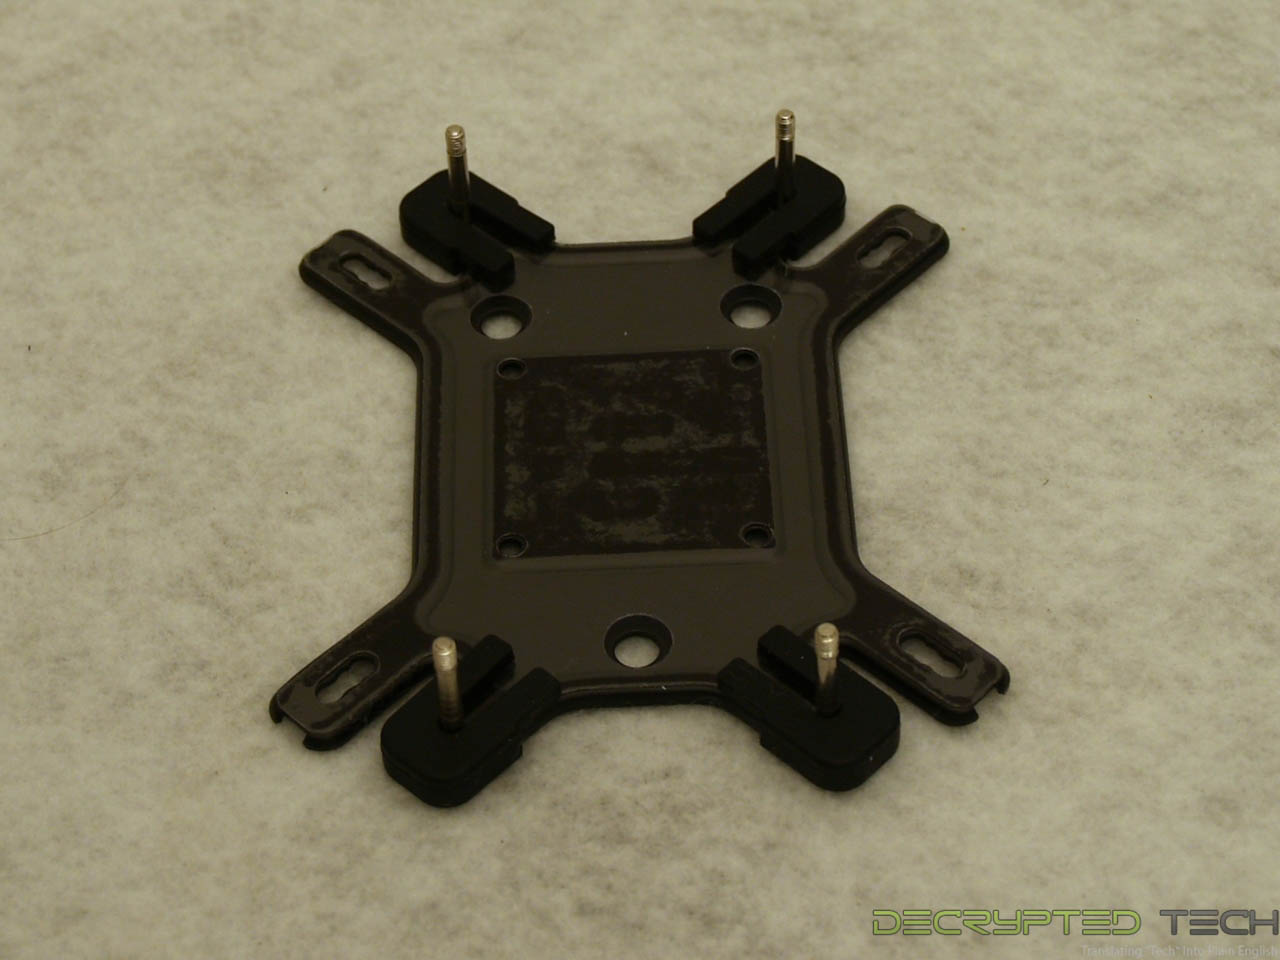 |
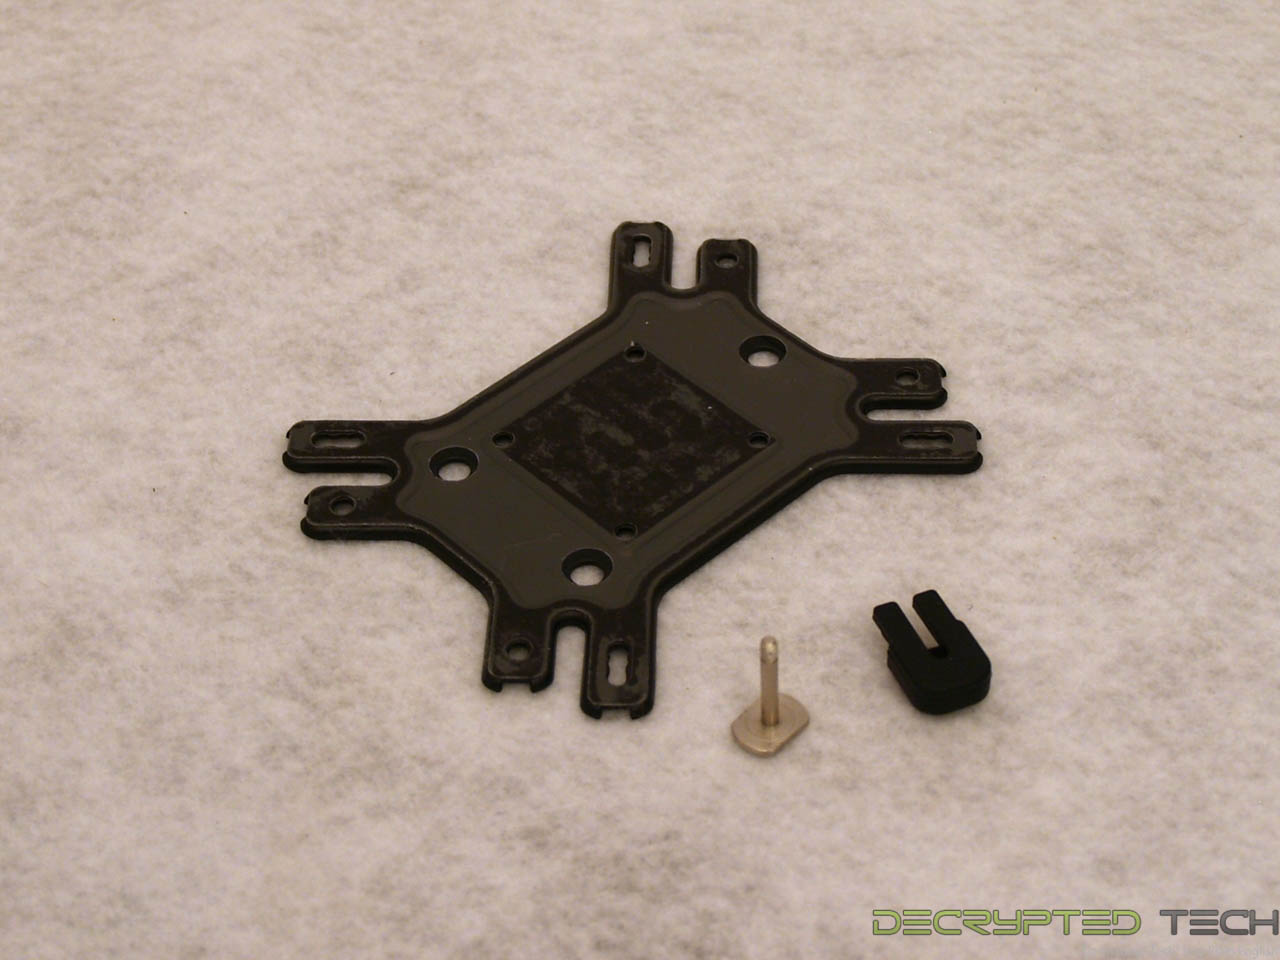
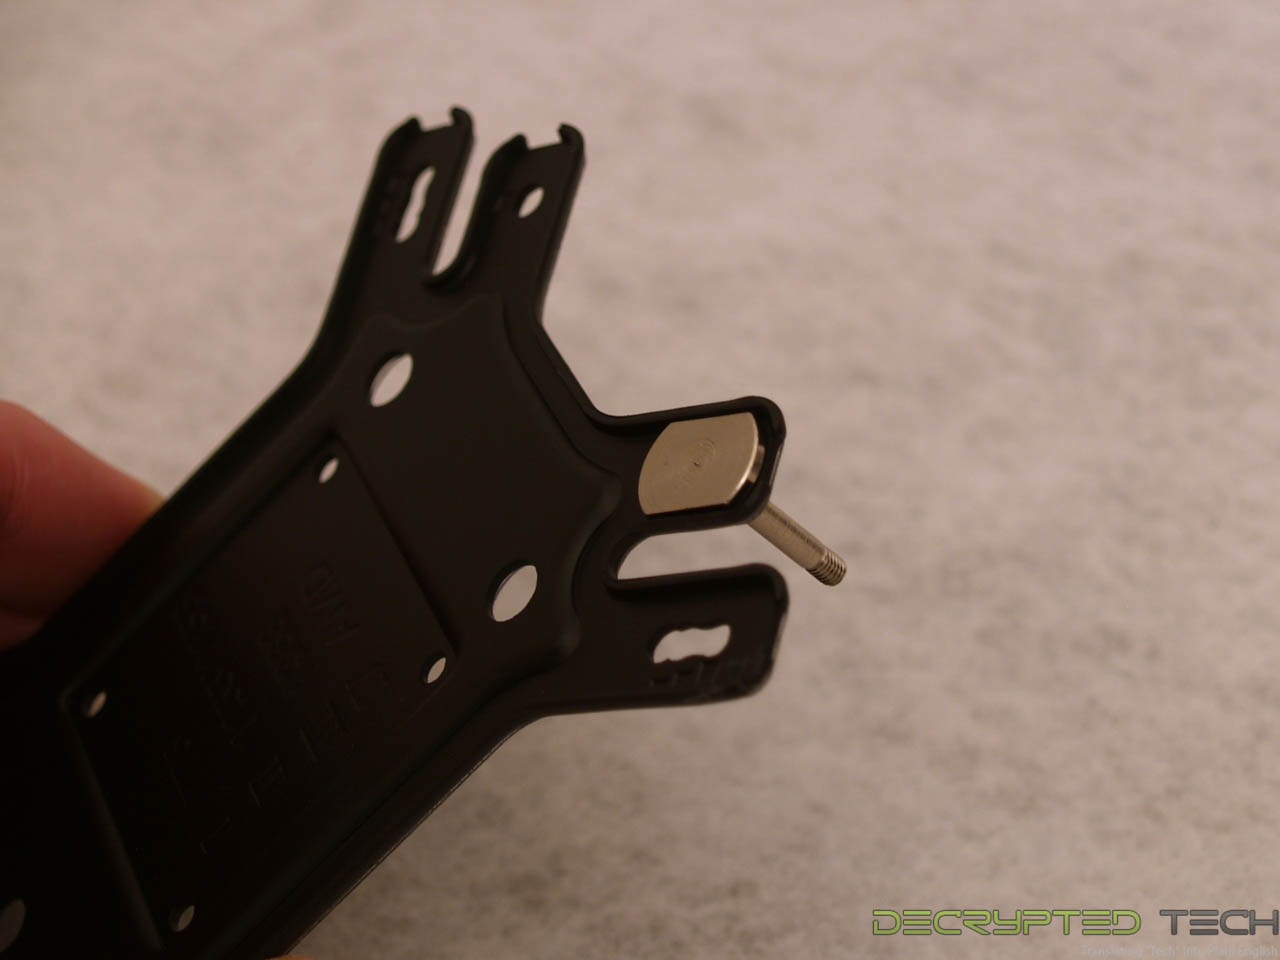
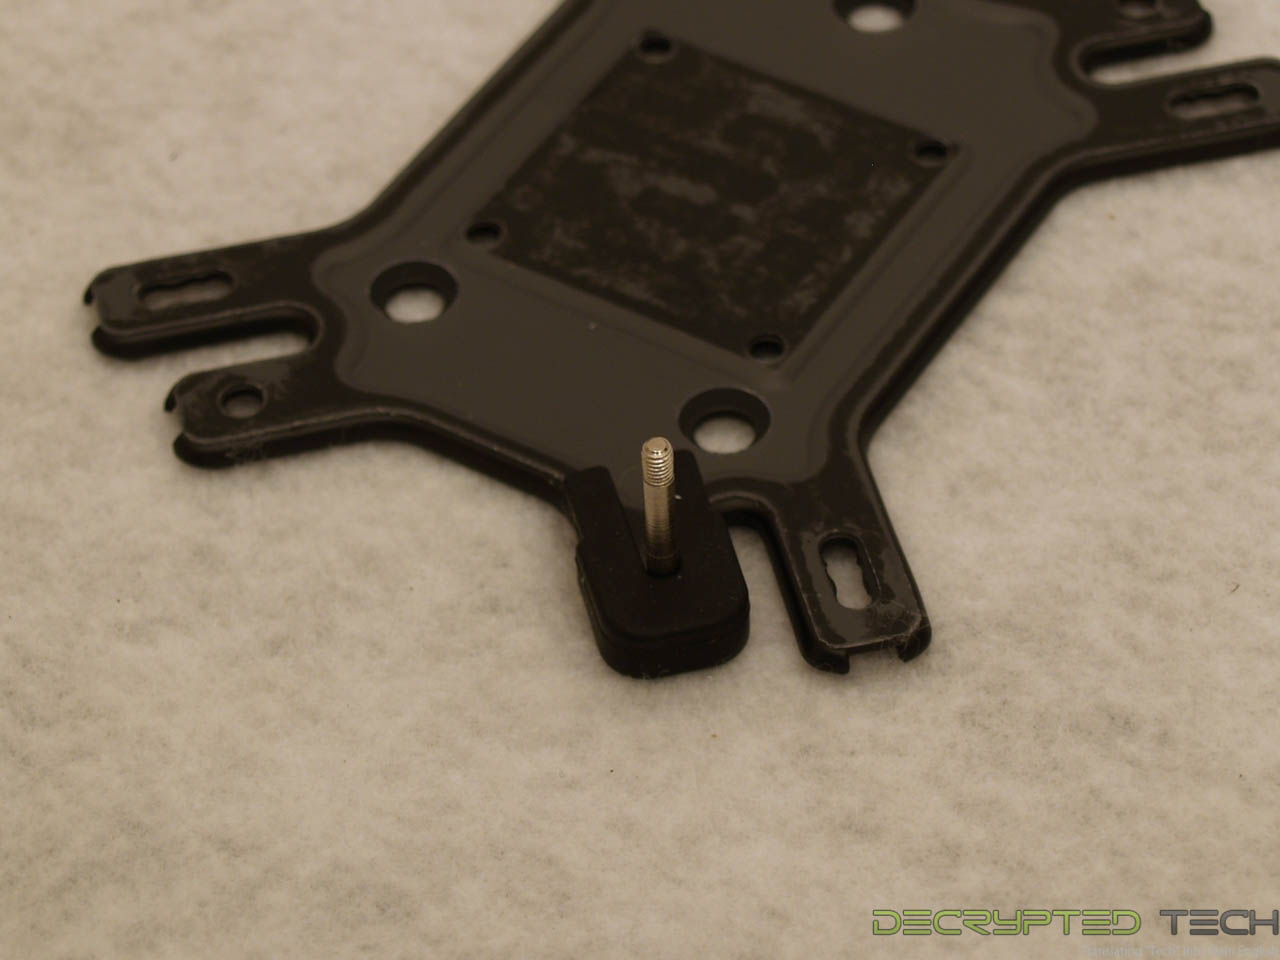
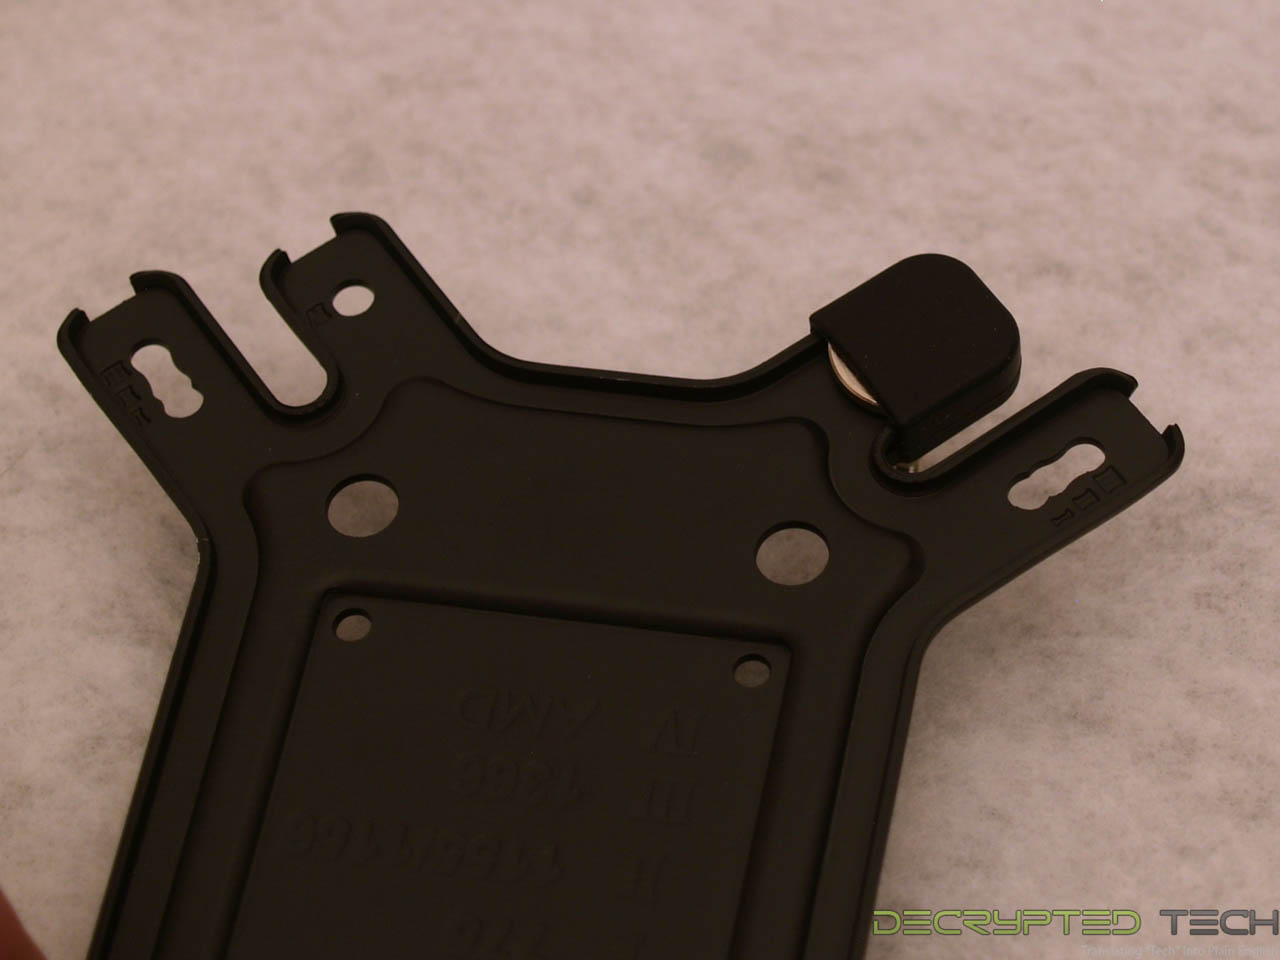
Installation began by setting up the mounting studs on the universal backplate. As mentioned, each hole is marked clearly with a number for the corresponding socket. For the AMD mounting setup, the mounting studs are slid in place from underneath the plate, where the rolled edge will prevent them from spinning. At that point split rubber covers are slid over them to hold them in place during installation. Total prep time: 60 seconds.
 |
 |
 |
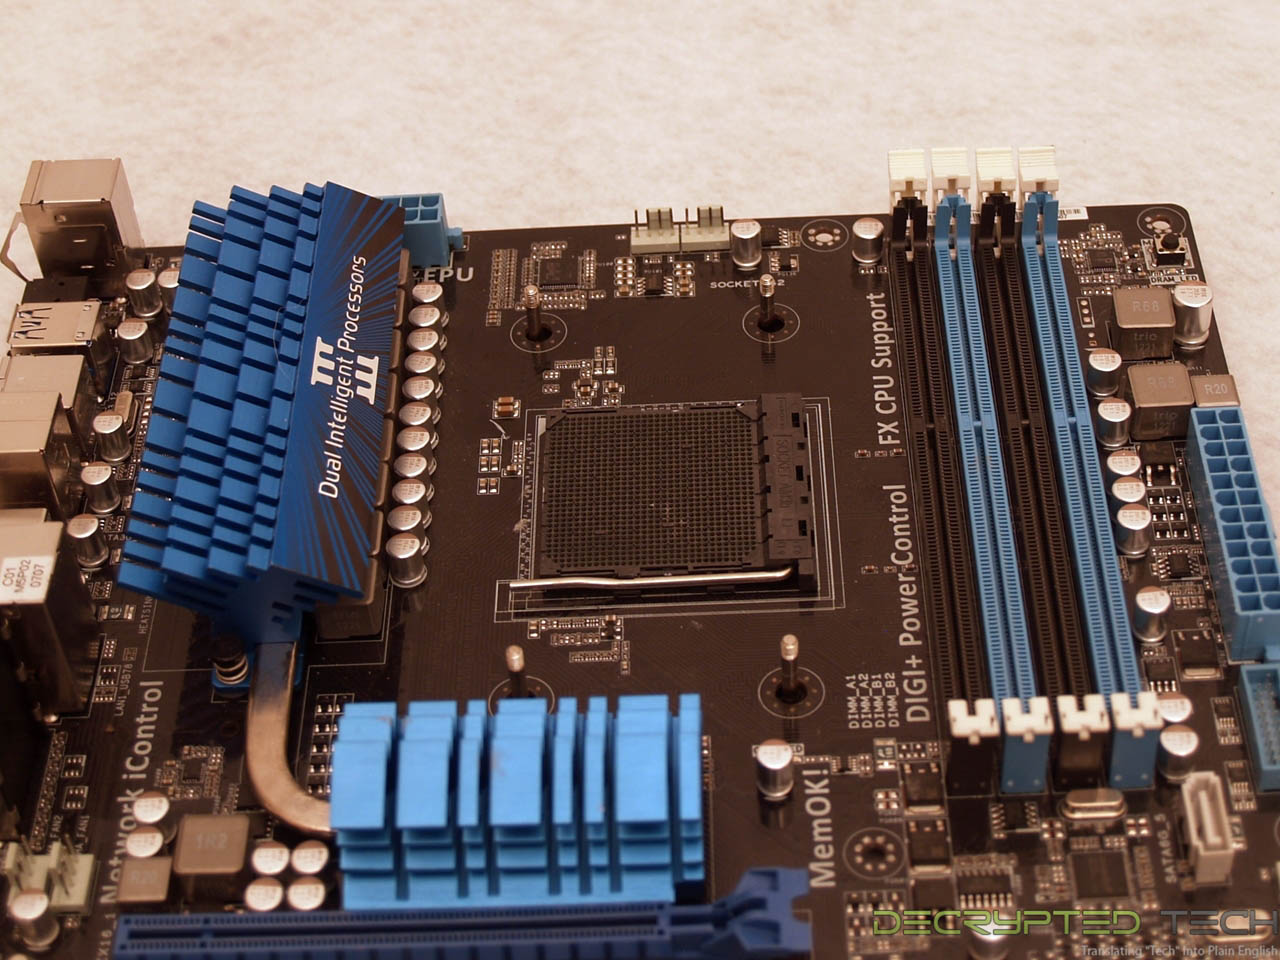
Once the stock backplate is removed the new plate is inserted in its place. Note how much “wiggle room” is left in the holes around the mounting studs. Given the weight of the cooler this concerns me. We’ll see if it moves once we’re all done.
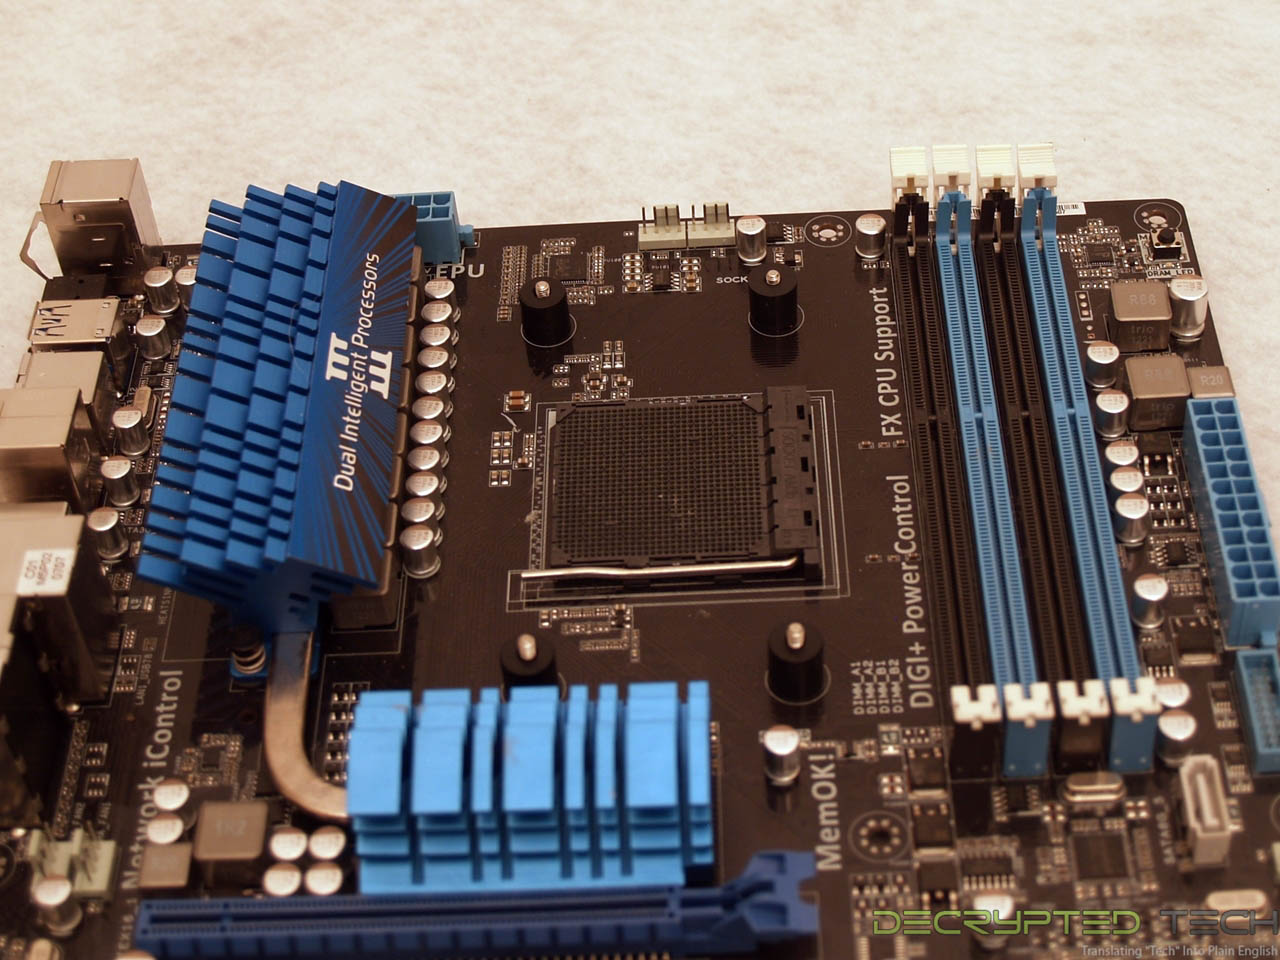
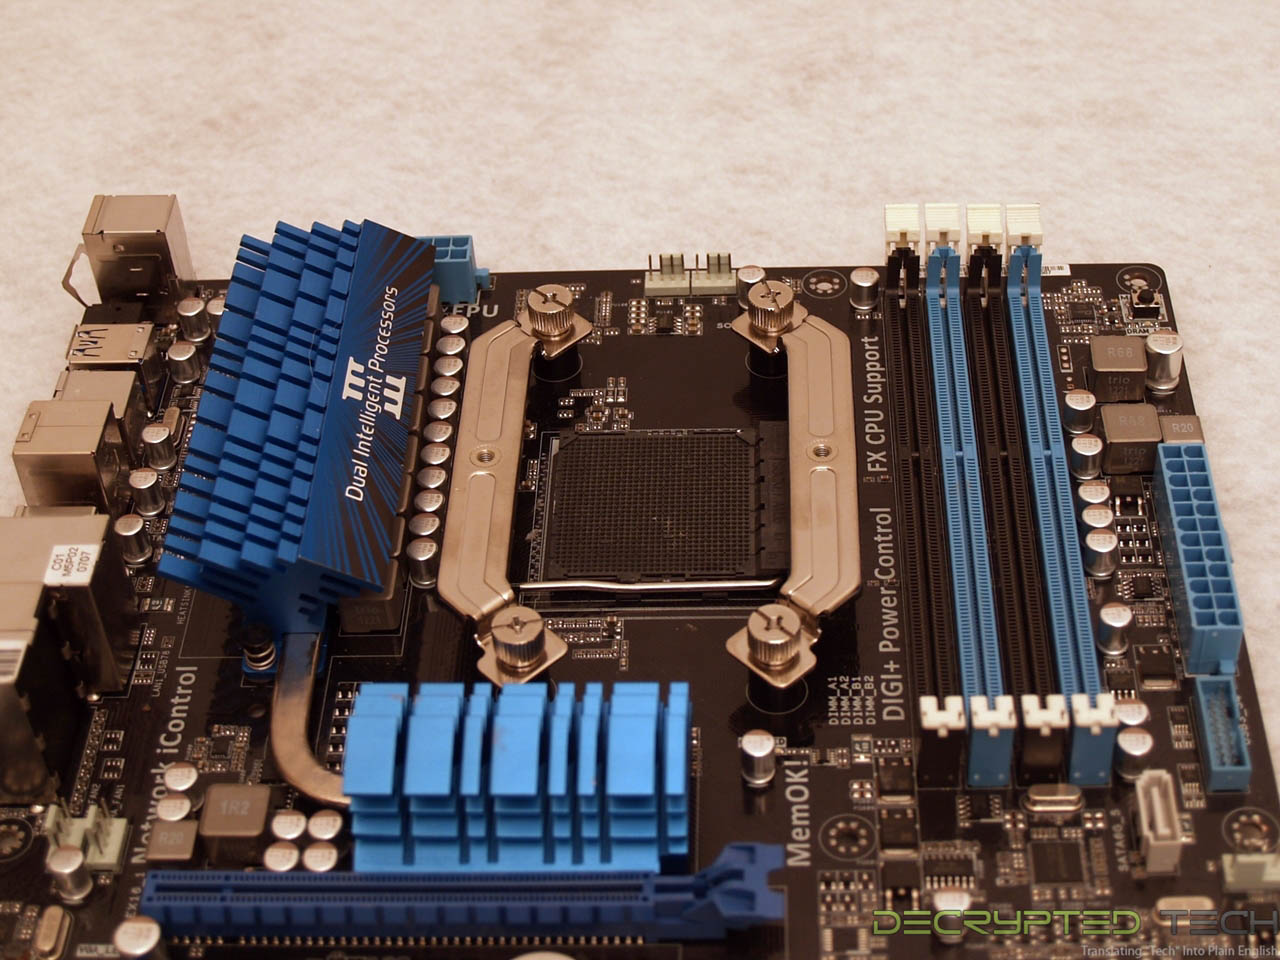
Once the backplate is in place, plastic spacers are installed over them, then the cross bars are mounted with the provided nuts.
 |
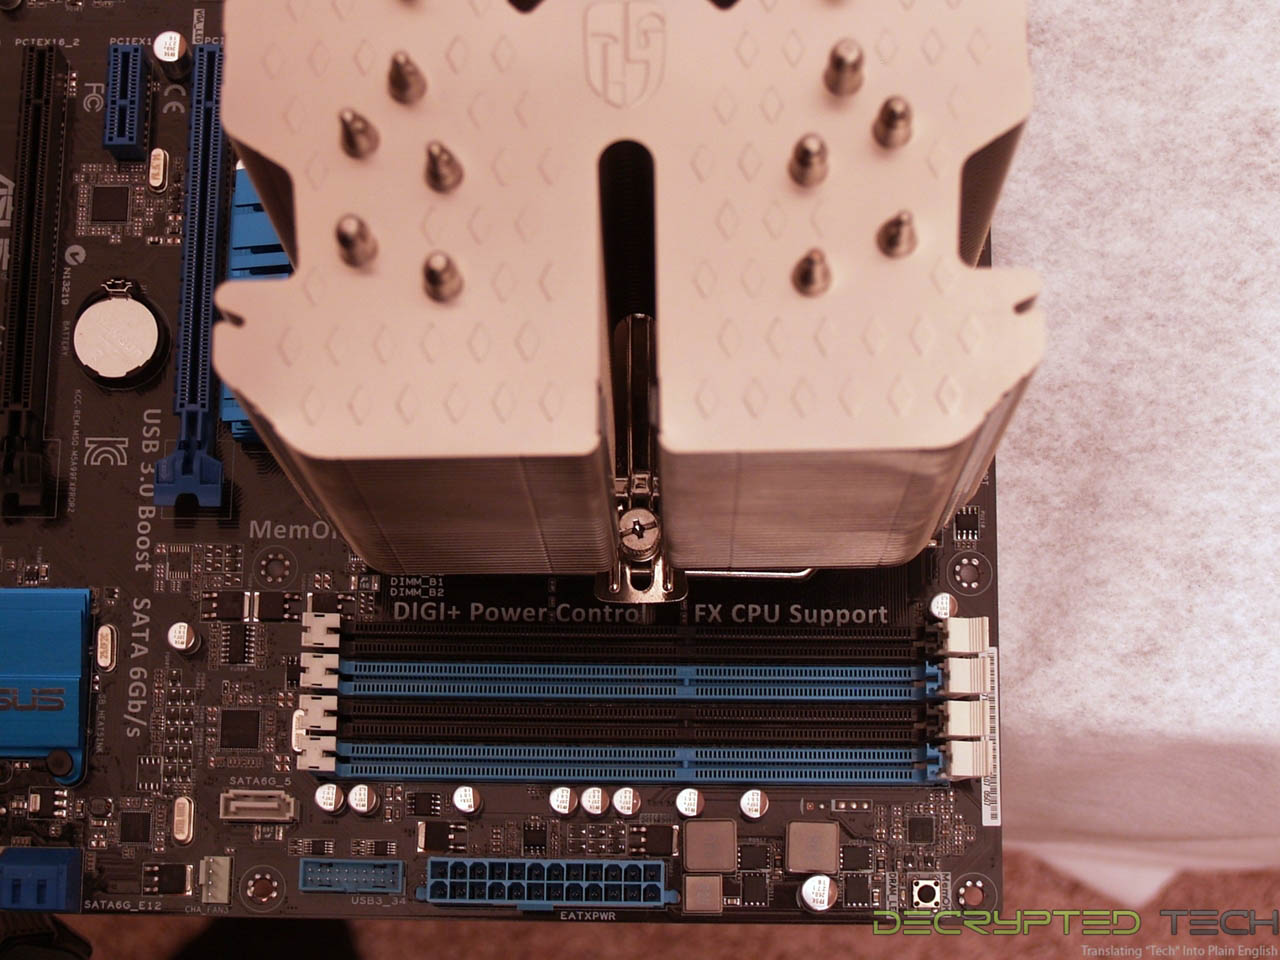 |
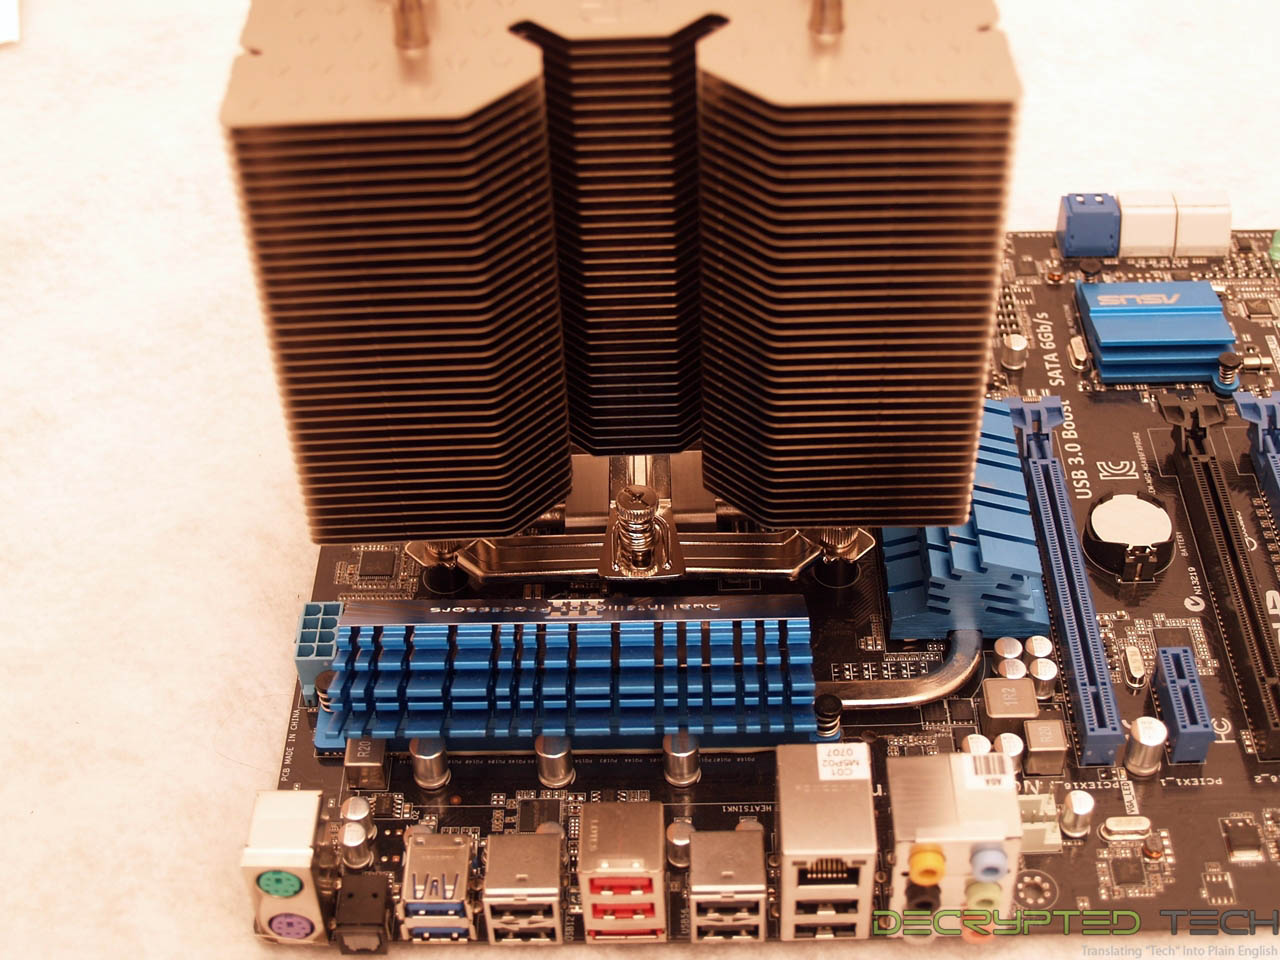
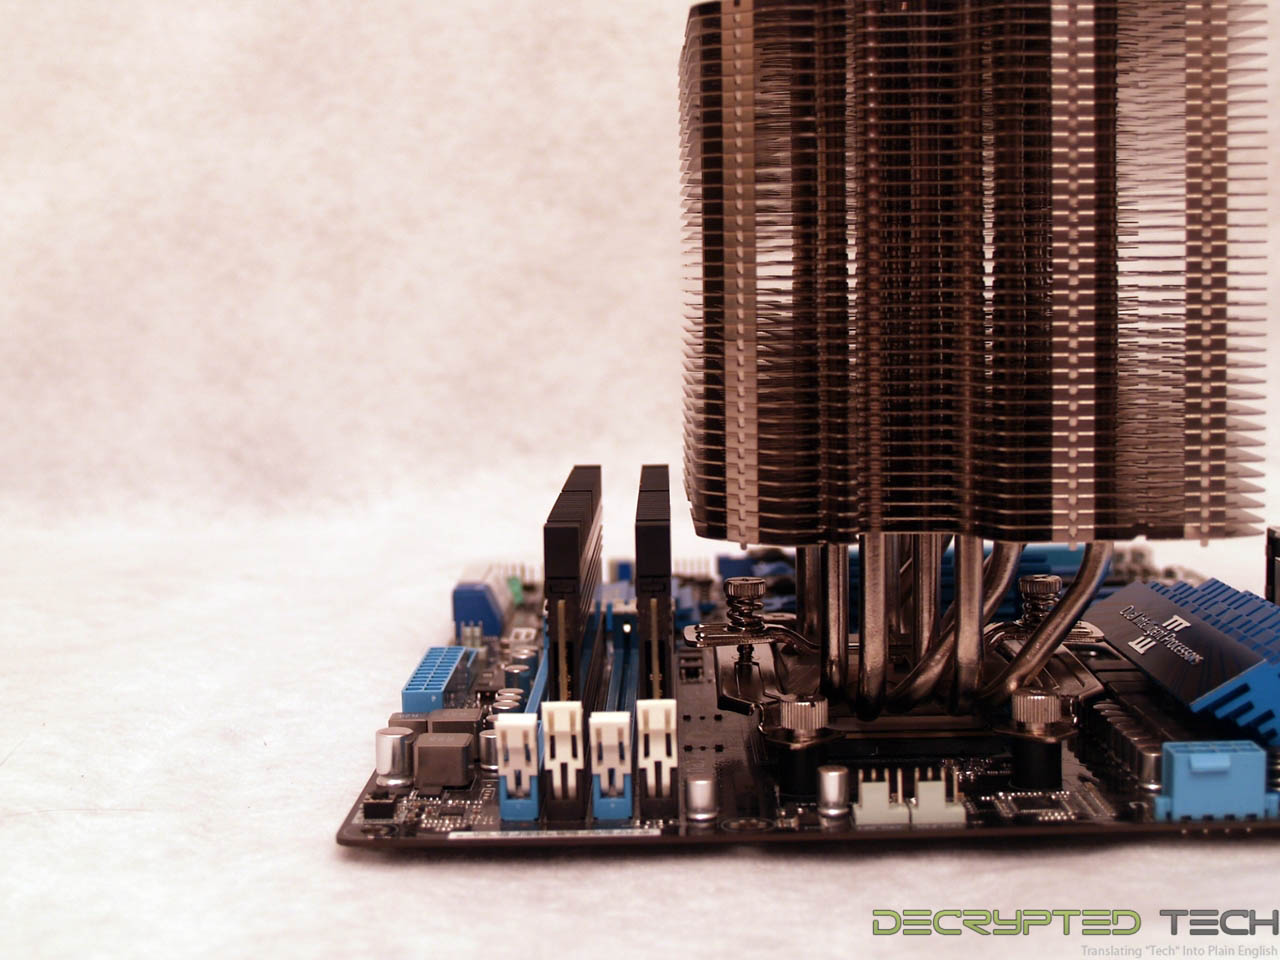
The final step in installation was a little bit tricky but hardly the worst I’ve run across. Once the TIM is in place the cooler is set on top of the CPU and a cross bar is lad on it. This bar fits inside a cross-shaped ridge on the cooler itself, making it impossible not to get it exactly centered on the CPU. The First mounting screw is tightened by hand, then the second requires a screwdriver. Ironically the second is easier to tighten since there is a slot in the fins the entire height of the cooler.
 |
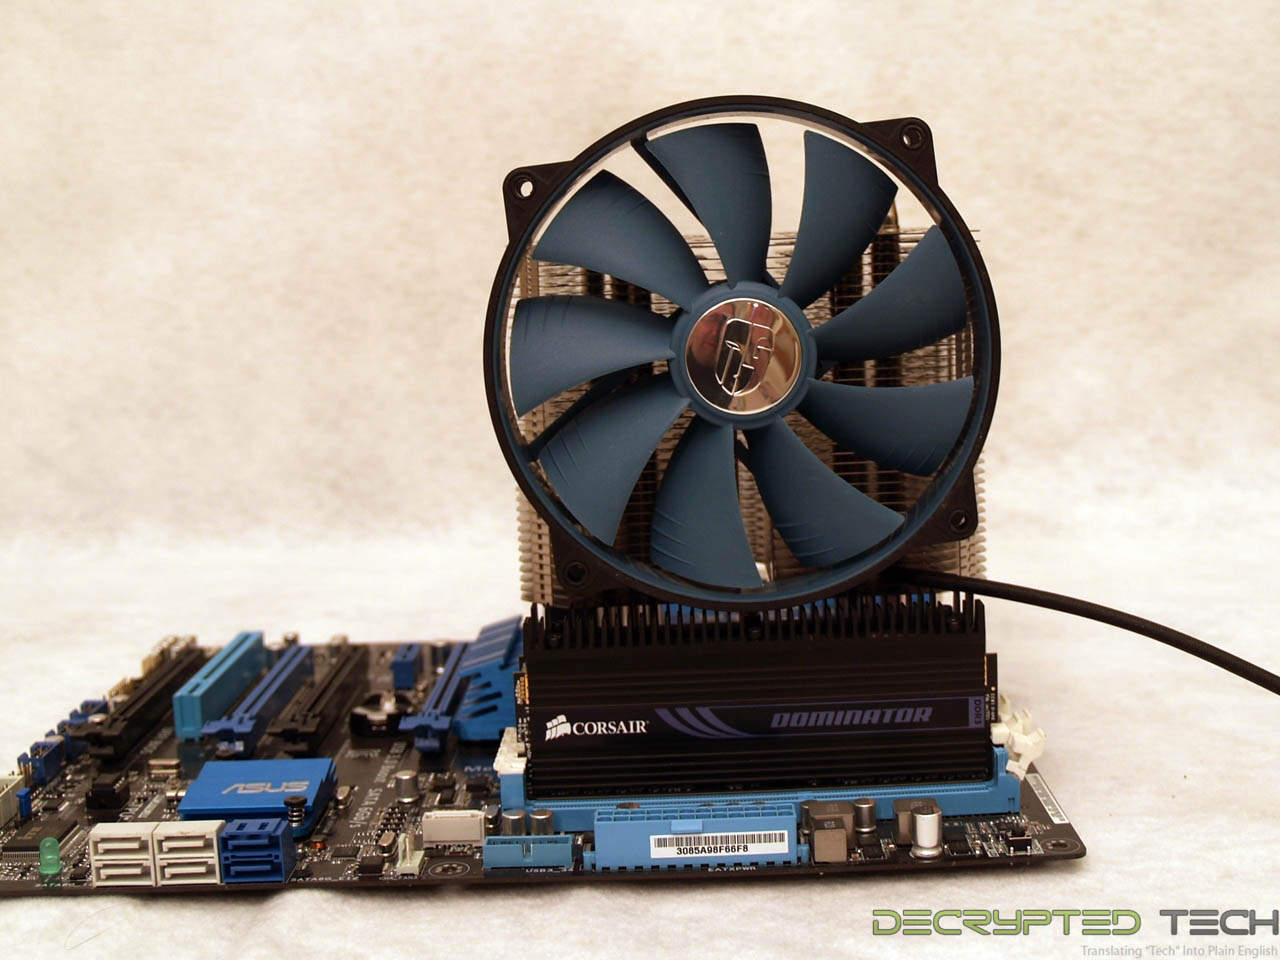 |
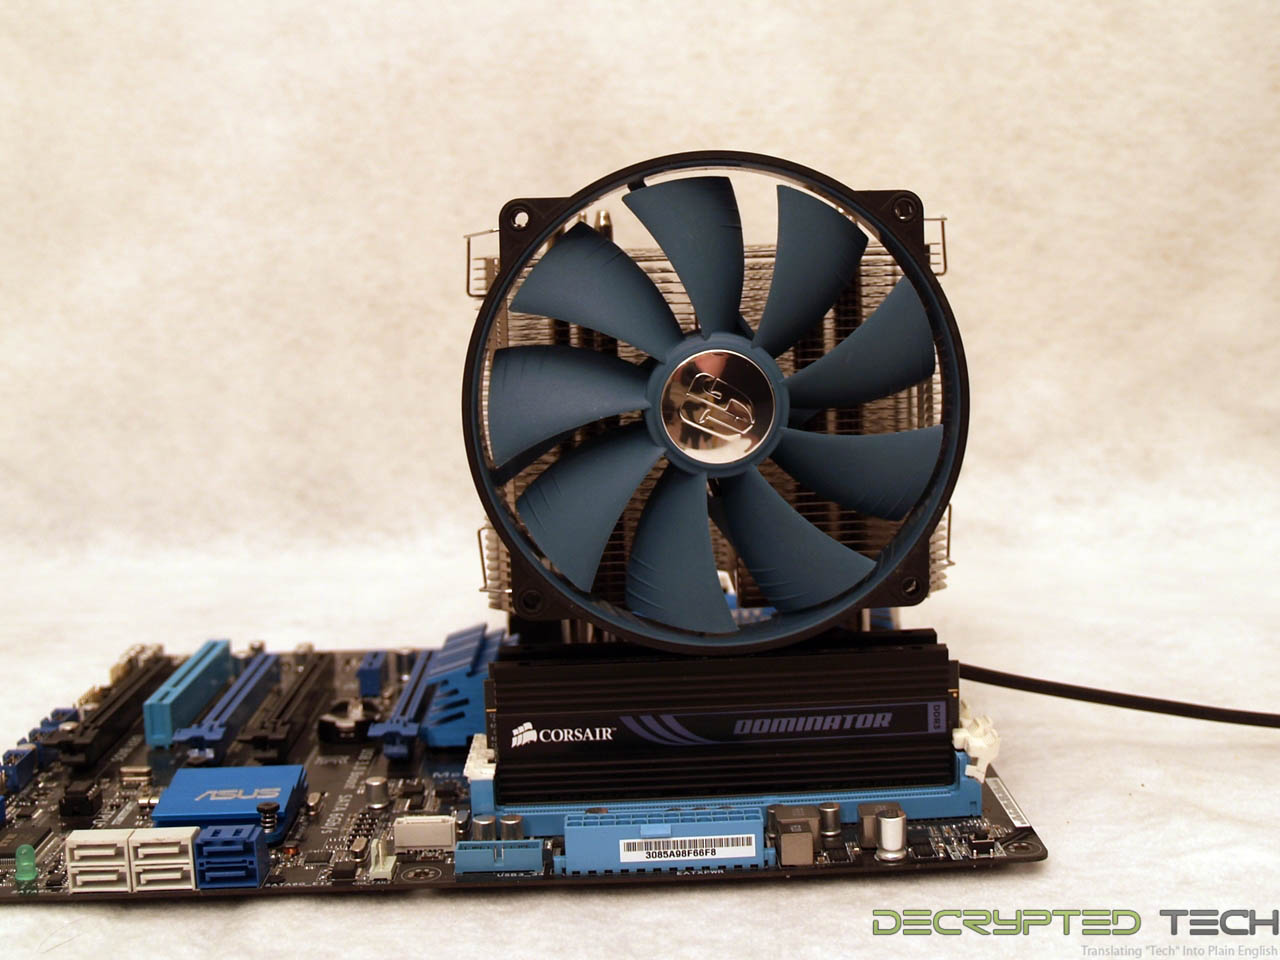
The test system uses Corsair Dominator RAM. Most readers will know the heat sinks on these RAM modules make it some of the tallest memory available, and thus a good test for the clearance on any new CPU cooler. This is where I hit a snag with the Lucifer.
While the flexibility of the included fan clips will allow the fan to be installed with this memory, it ends up sitting well high of center, causing loss of air flow on the fins on the lower portion of the cooler.
 |
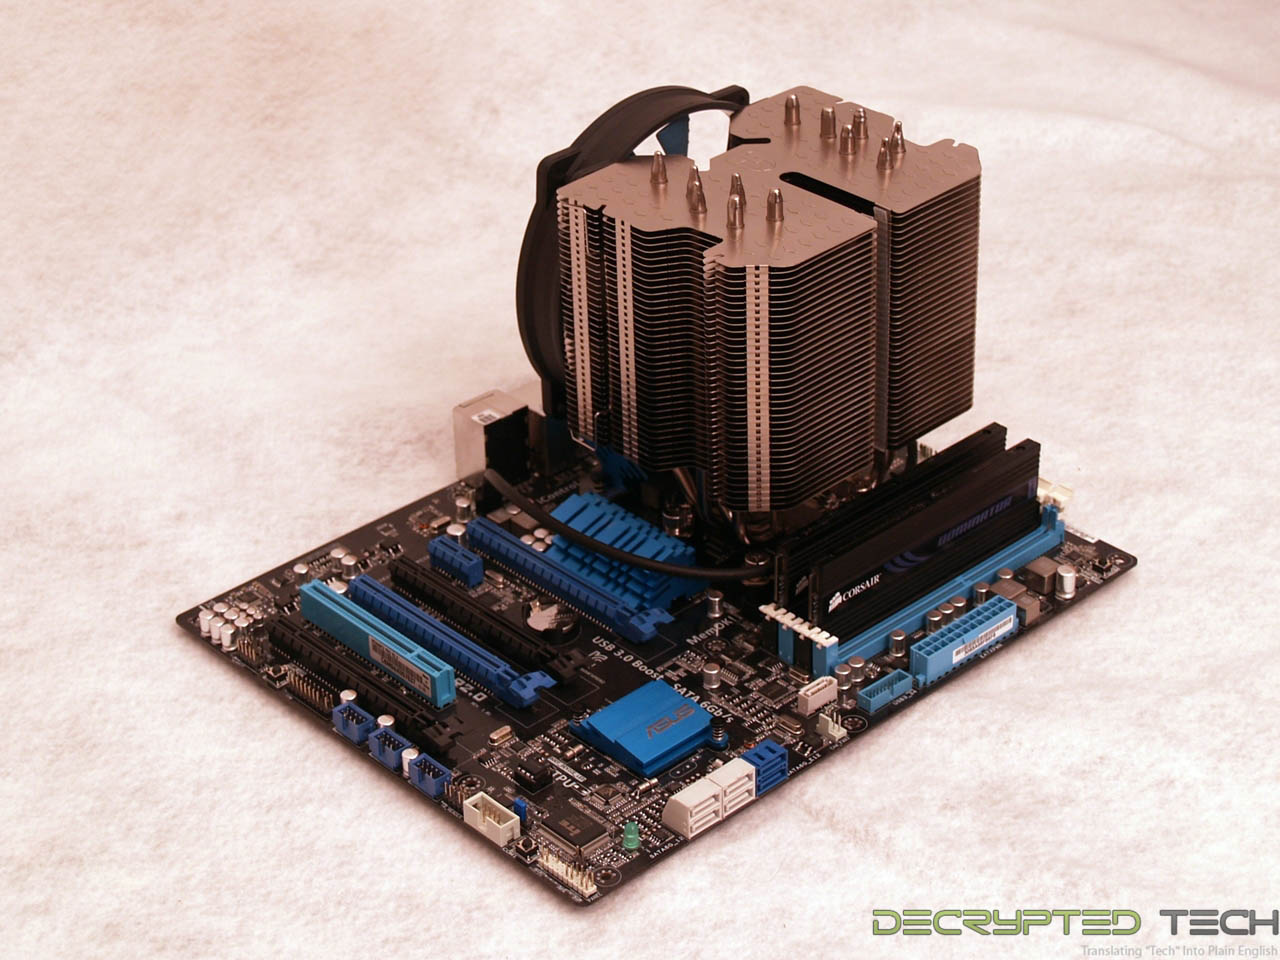 |
This is overcome in a couple of ways. In this case the heat sinks can be removed, thus simulating more common lower-profile RAM. This allows the fan to sit much lower on the cooler and should provide all of the air flow needed, but it is still not completely centered. For those who want every fraction of a percent of air flow the fan is capable of, it can also be mounted on the rear of the cooler as shown. For our testing we will leave it in the front of the cooler with the heat sinks removed.
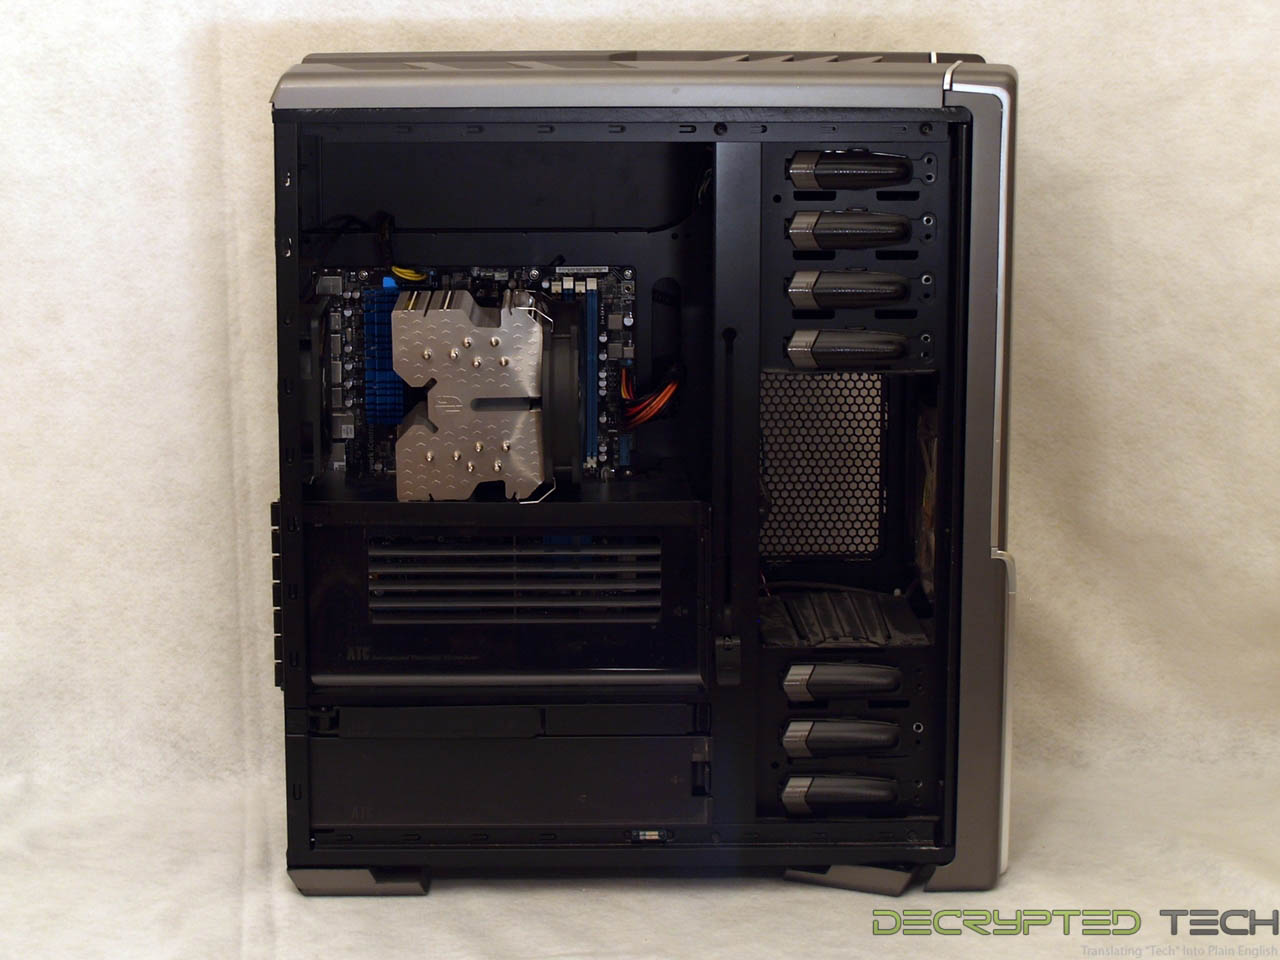
The cooler was installed in a Thermaltake Spedo Advance full-tower case and posed no problems with case clearance, although the upper shelf of the Advanced Thermal System was a tight fit. As always, check your particular case to be sure it will house this cooler, and be aware that in any configuration the fan will actually be the highest portion.
