Packaging and initial impressions:
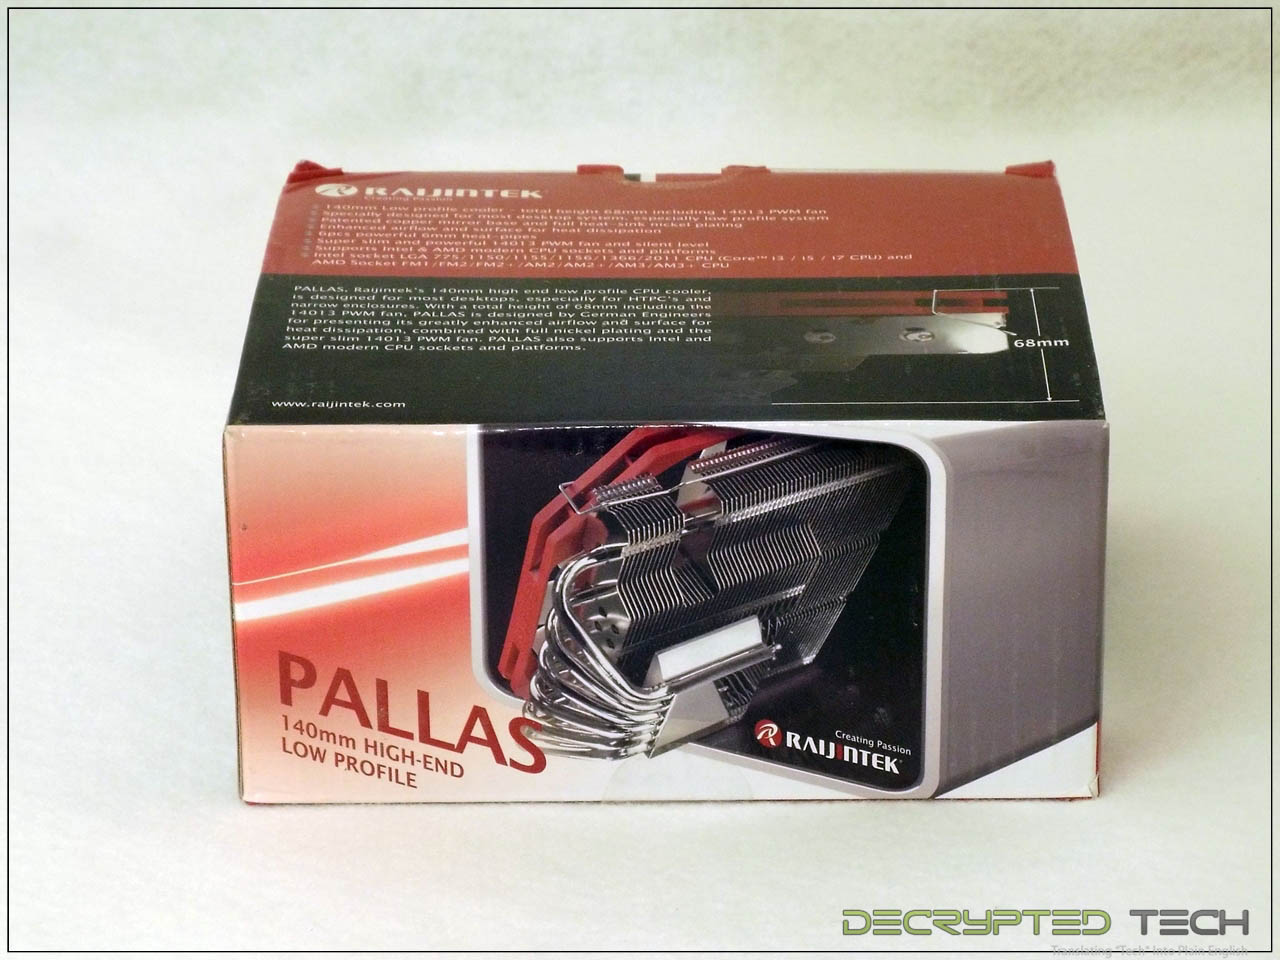
As always, I was amazed at the size of the box they were able to fit this cooler in. I swear there must be a school engineers go to where they learn how to package product in as small a space as possible. The exterior of the container gives us the name of the product as well as several of the specs listed above, an excellent step if these are to be sold on a shelf in a brick-and-mortar store.
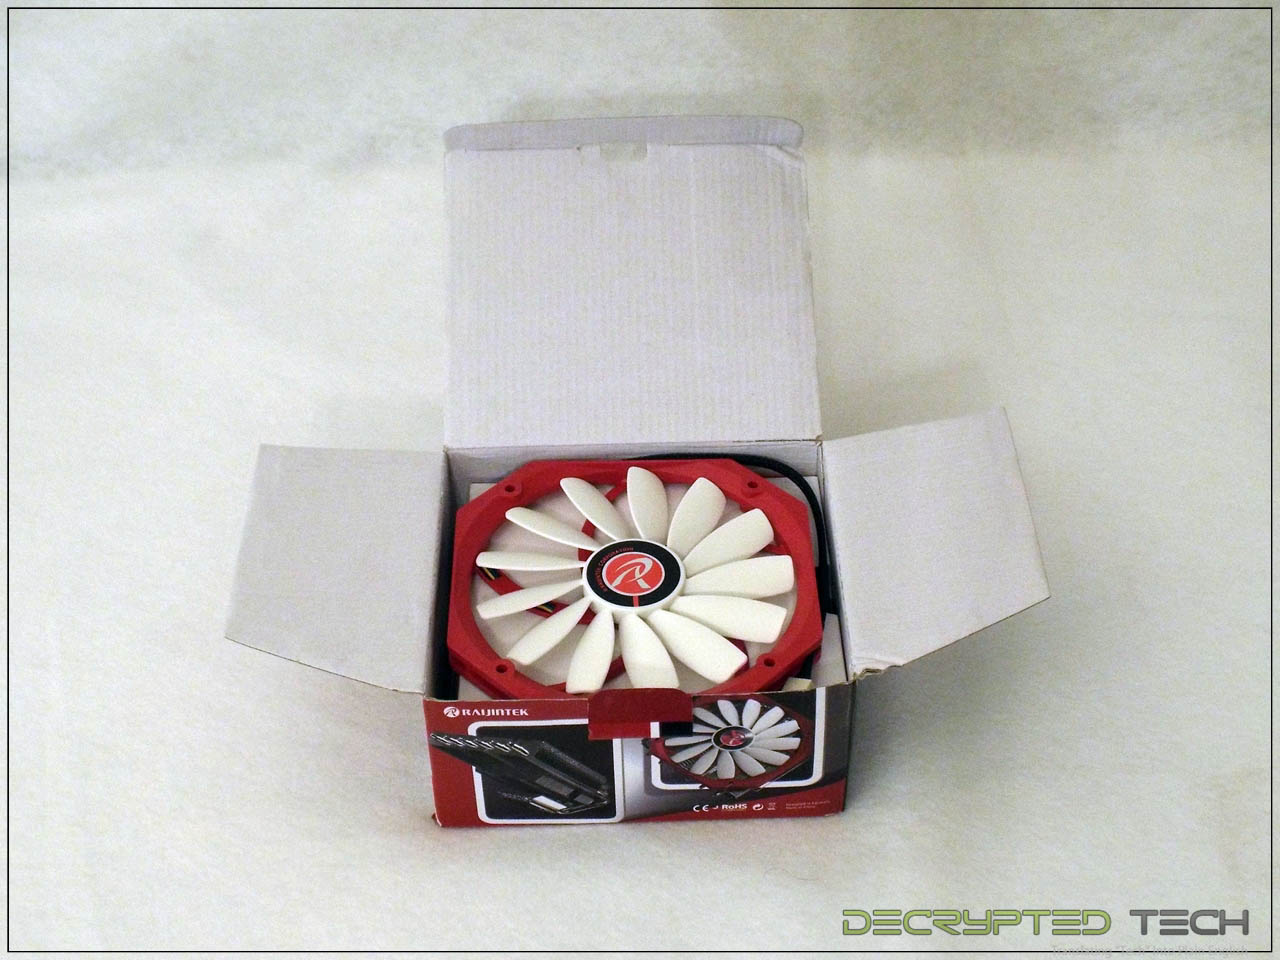
Opening the box the first thing we see is the slim 140mm fan. Personally I love the design of these fans. With the multitude of blades and the cut corners they really look different. It should be noted that the mounting holes are spaced for a 120mm mount, not the expected 140mm. This should make this fan useful in many more applications.
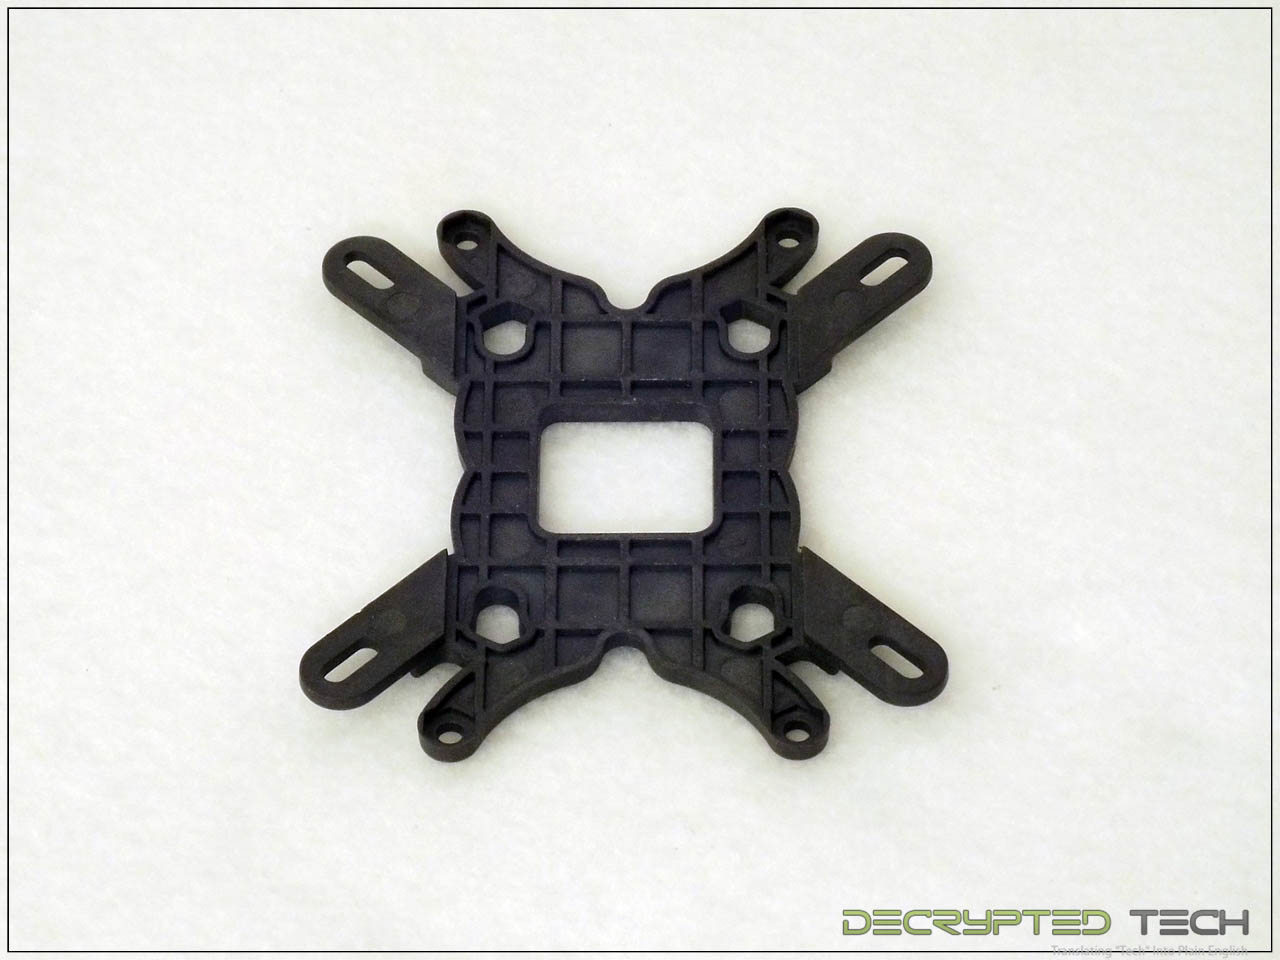
Universal backplates are the norm these days, and the Pallas is no exception.
The Pallas comes equipped with a single retention bar for the cooler and two sets of mounting bars for Intel and AMD mounting options.
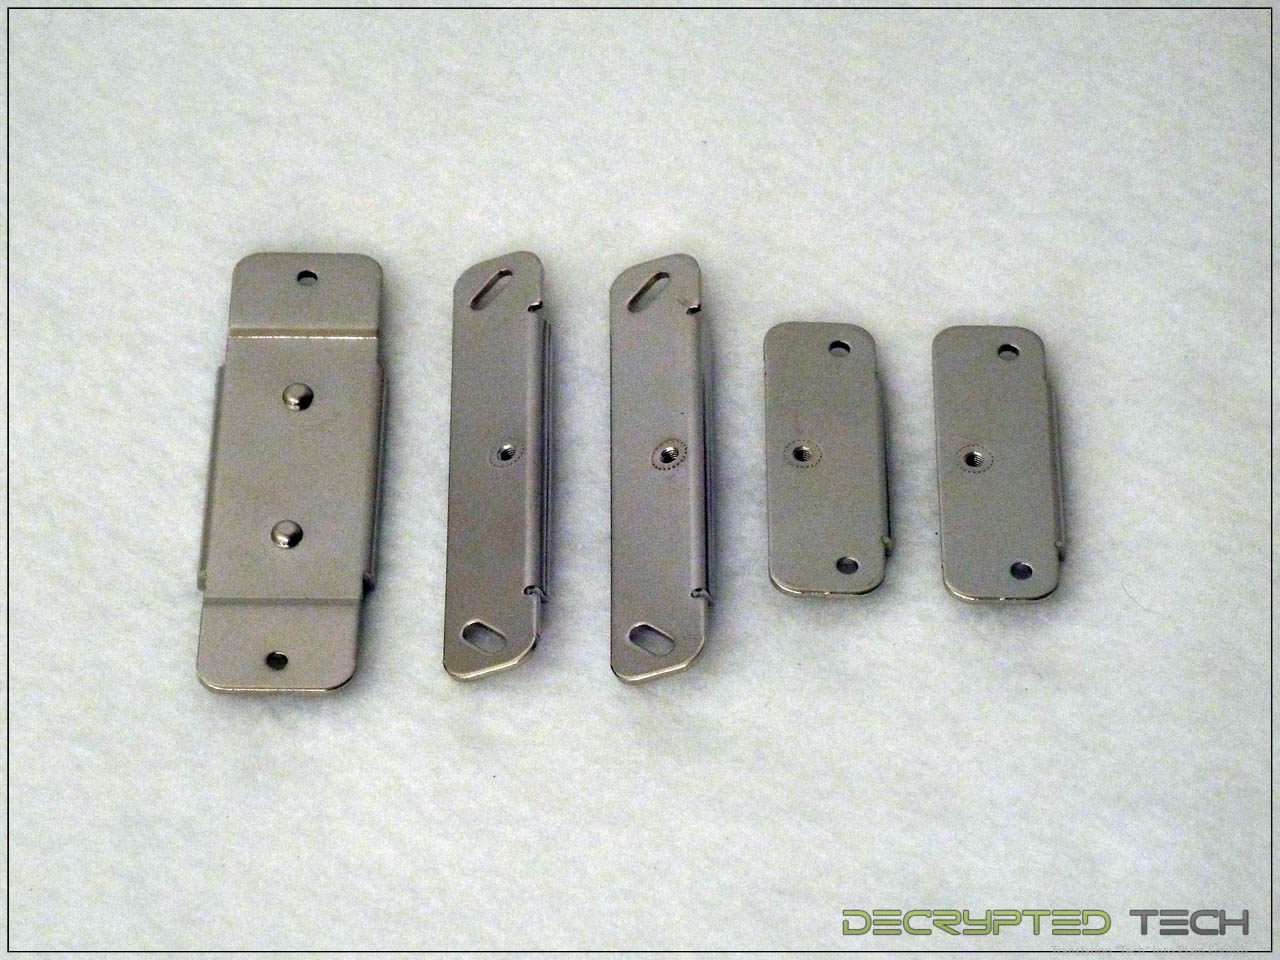 |
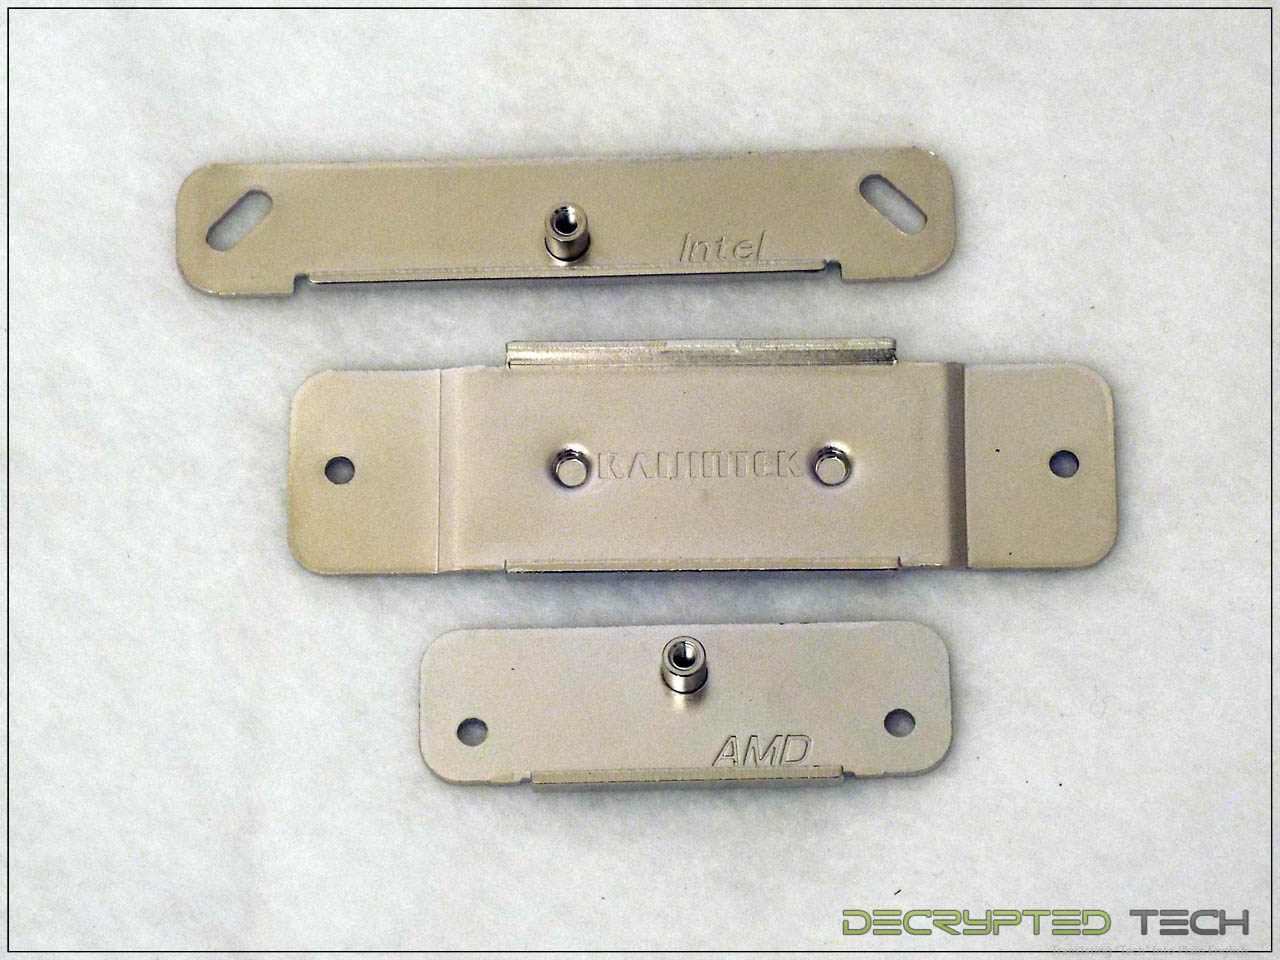 |
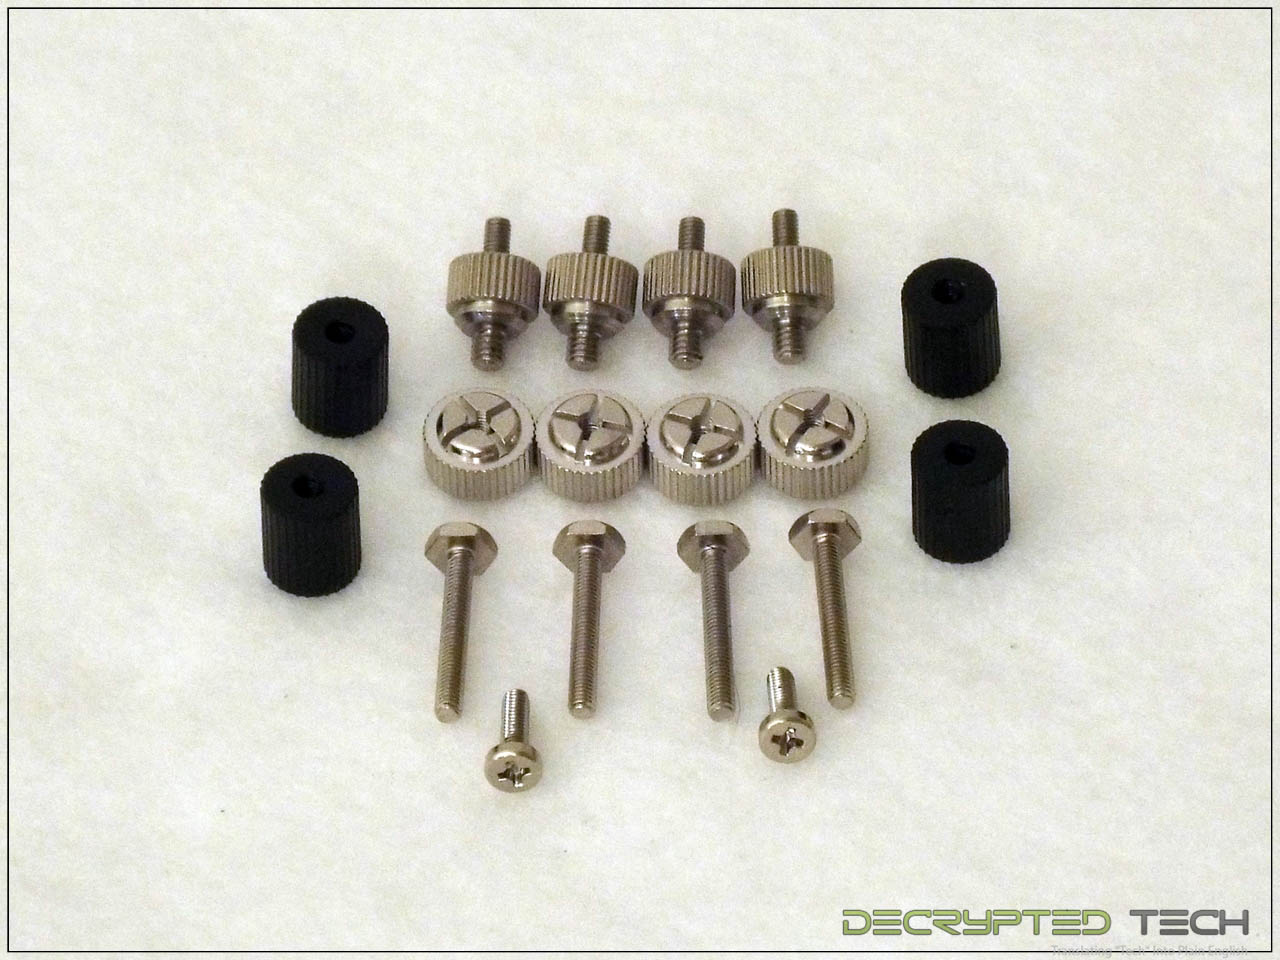
Next up is the smaller hardware needed for the mounting process.
Since the Pallas has no mounting holes for the fan, it comes equipped with thin wire fan mounting clips, also fairly standard in this type of cooler.
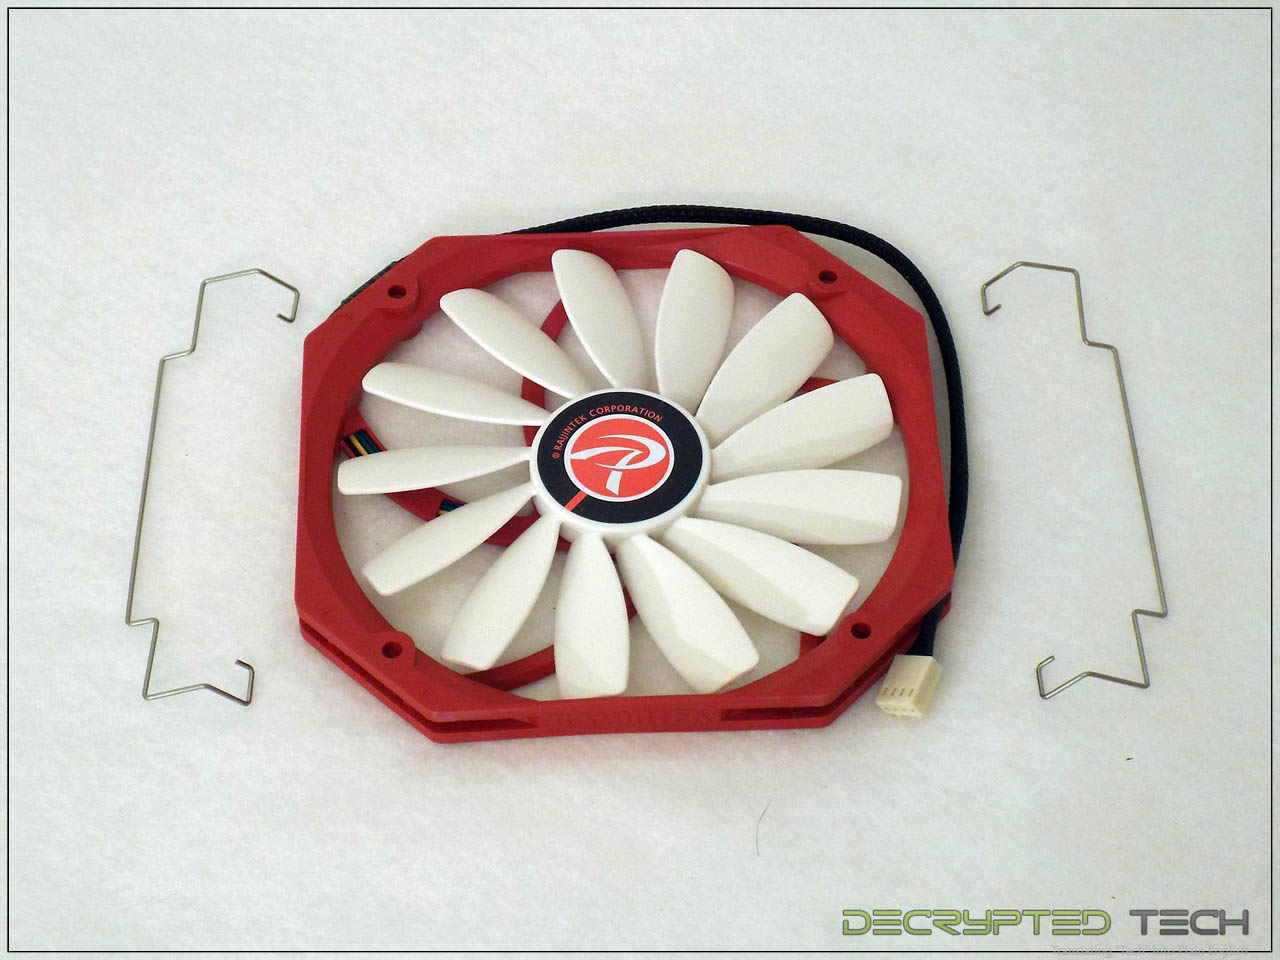
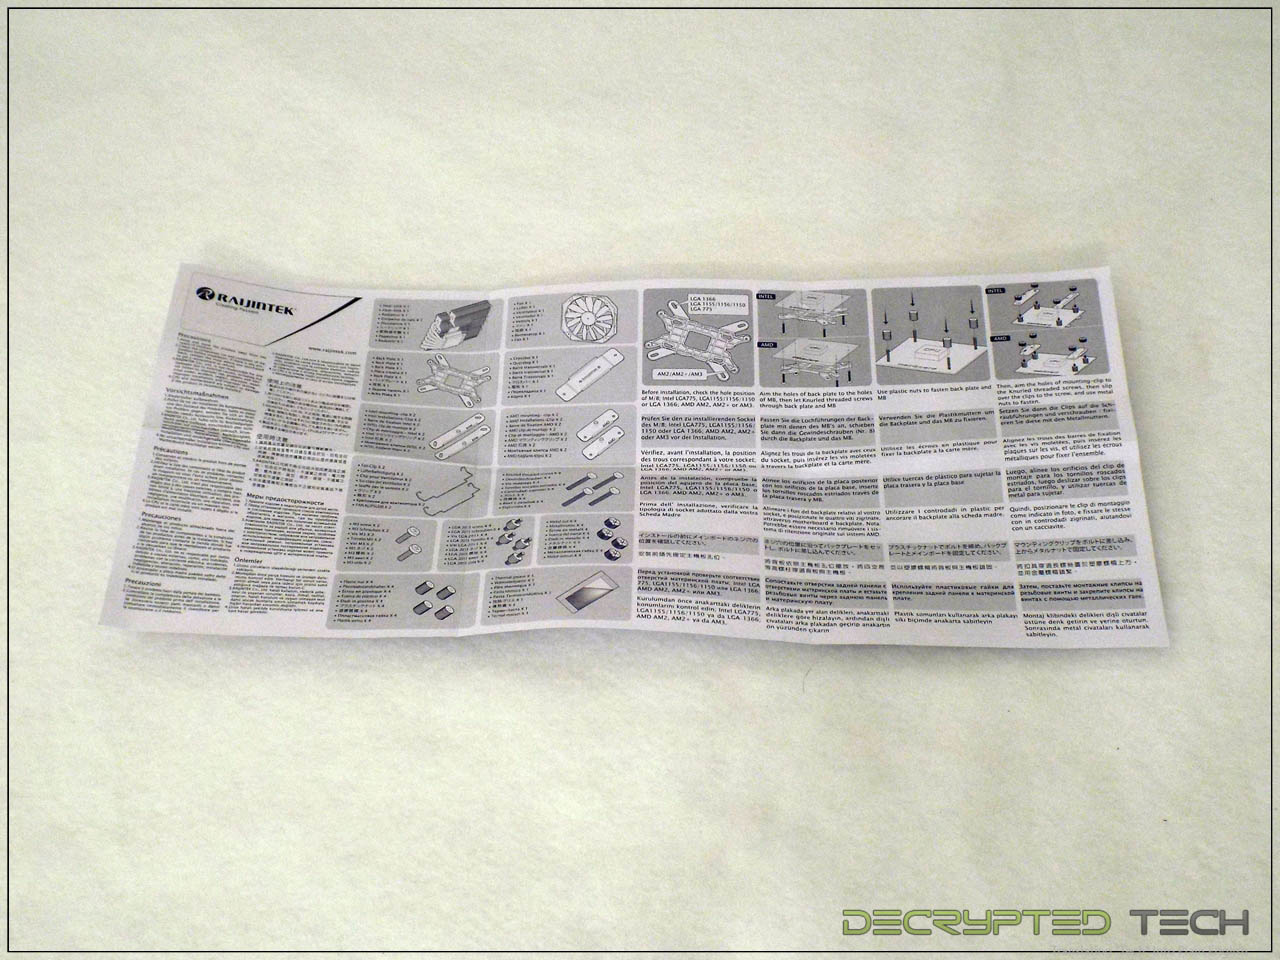
The instructions for the Pallas, while still contained on a single folded sheet in tiny print, are actually better than most. The English translation is well done and the illustrations are clear.
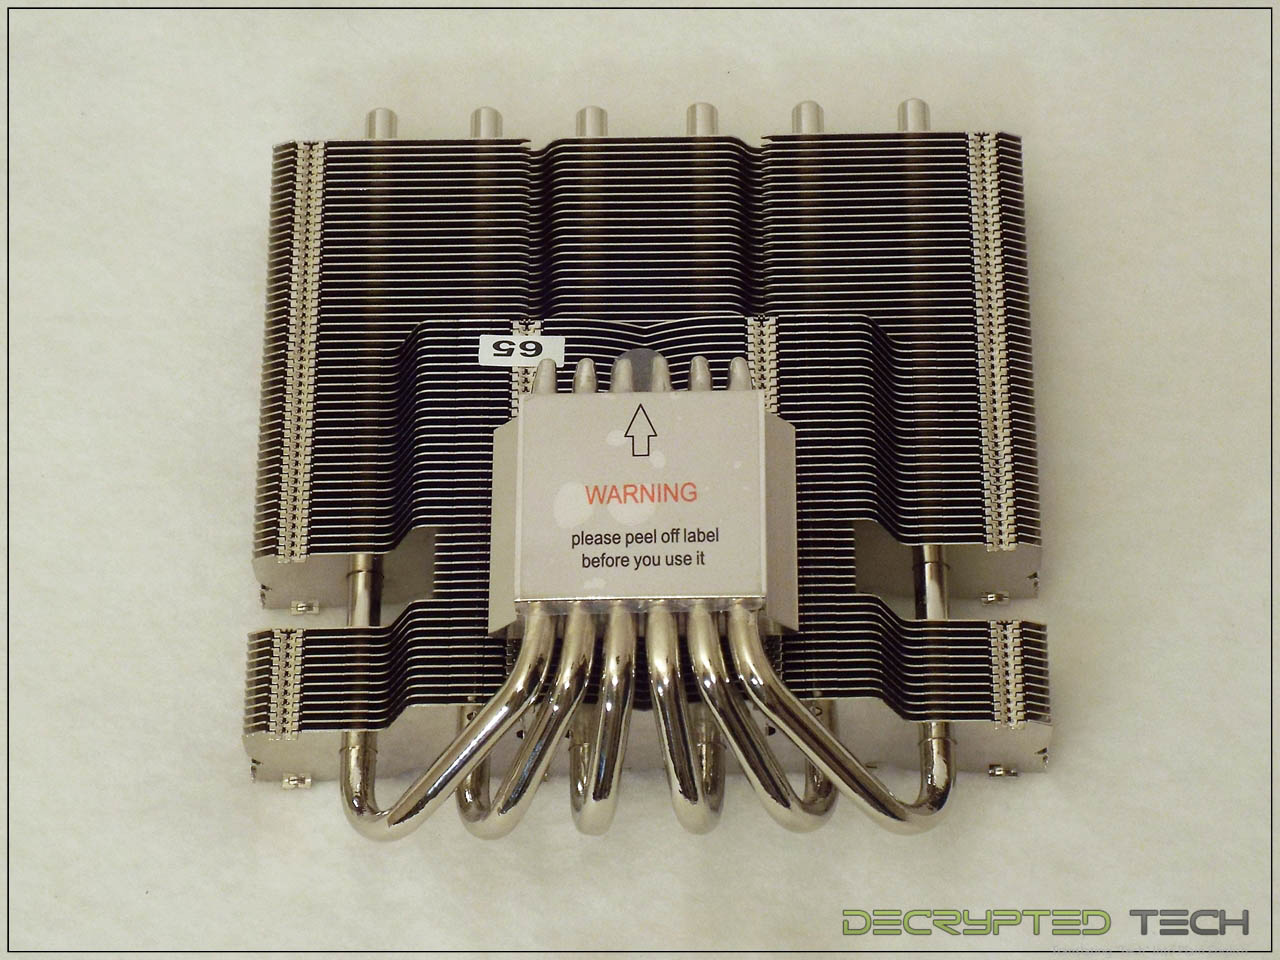
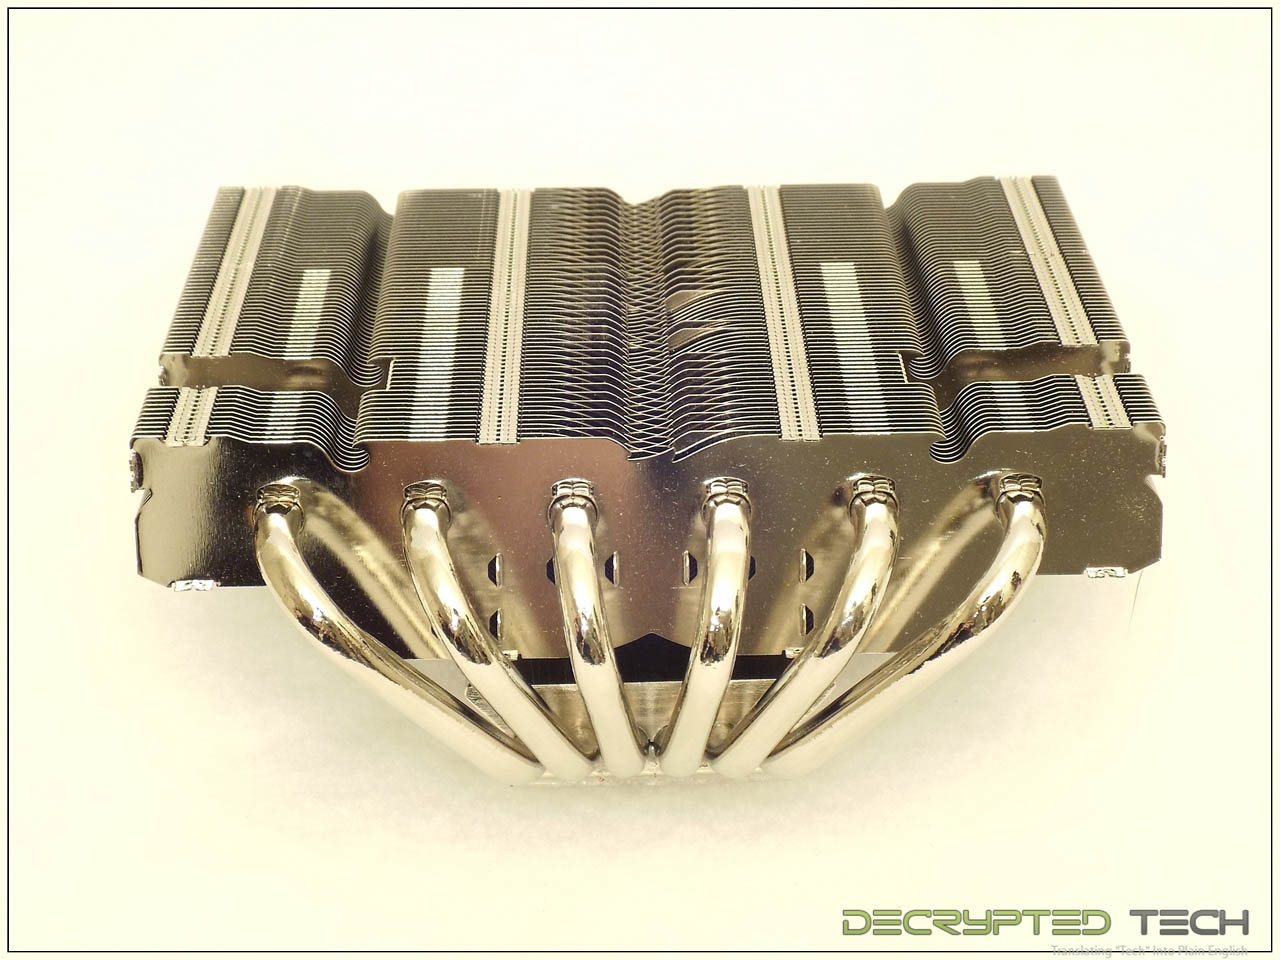
In our first look at the cooler itself we can see the entire assembly is very shiny, the fins are reasonably thick and perfectly straight, and even the ends of the heat pipes are well rounded and aesthetically pleasing. Nothing throws off a nice clean-looking cooler for me than the crushed look on many heat pipes. Raijintek hasn’t even opted for a cover here, those are the actual ends of the pipes. Clearly appearance is important. I have to say that I did wonder about the gaps in the fins toward the upper edge of the cooler. Surely it would look better without those.
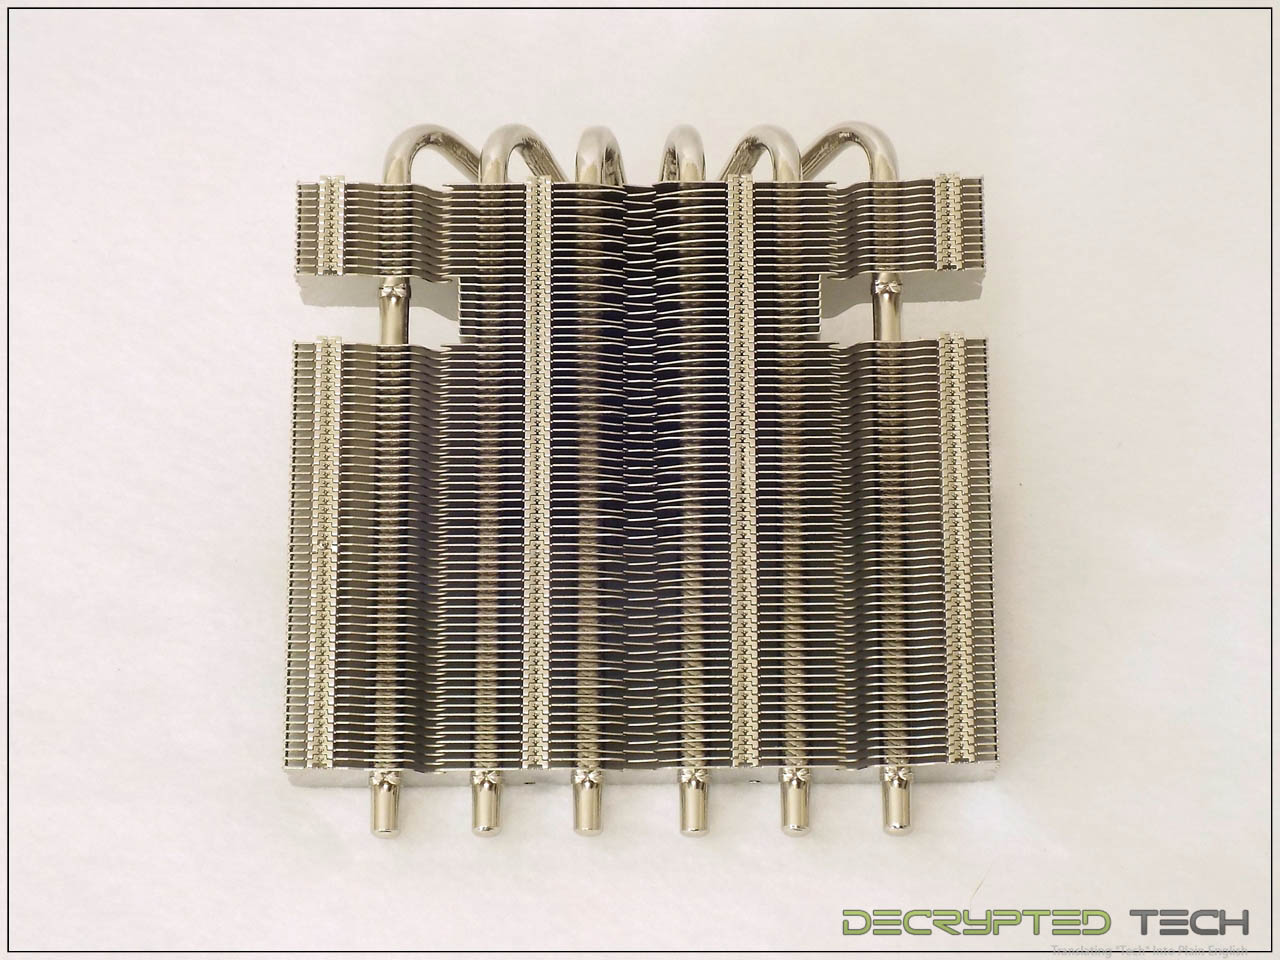
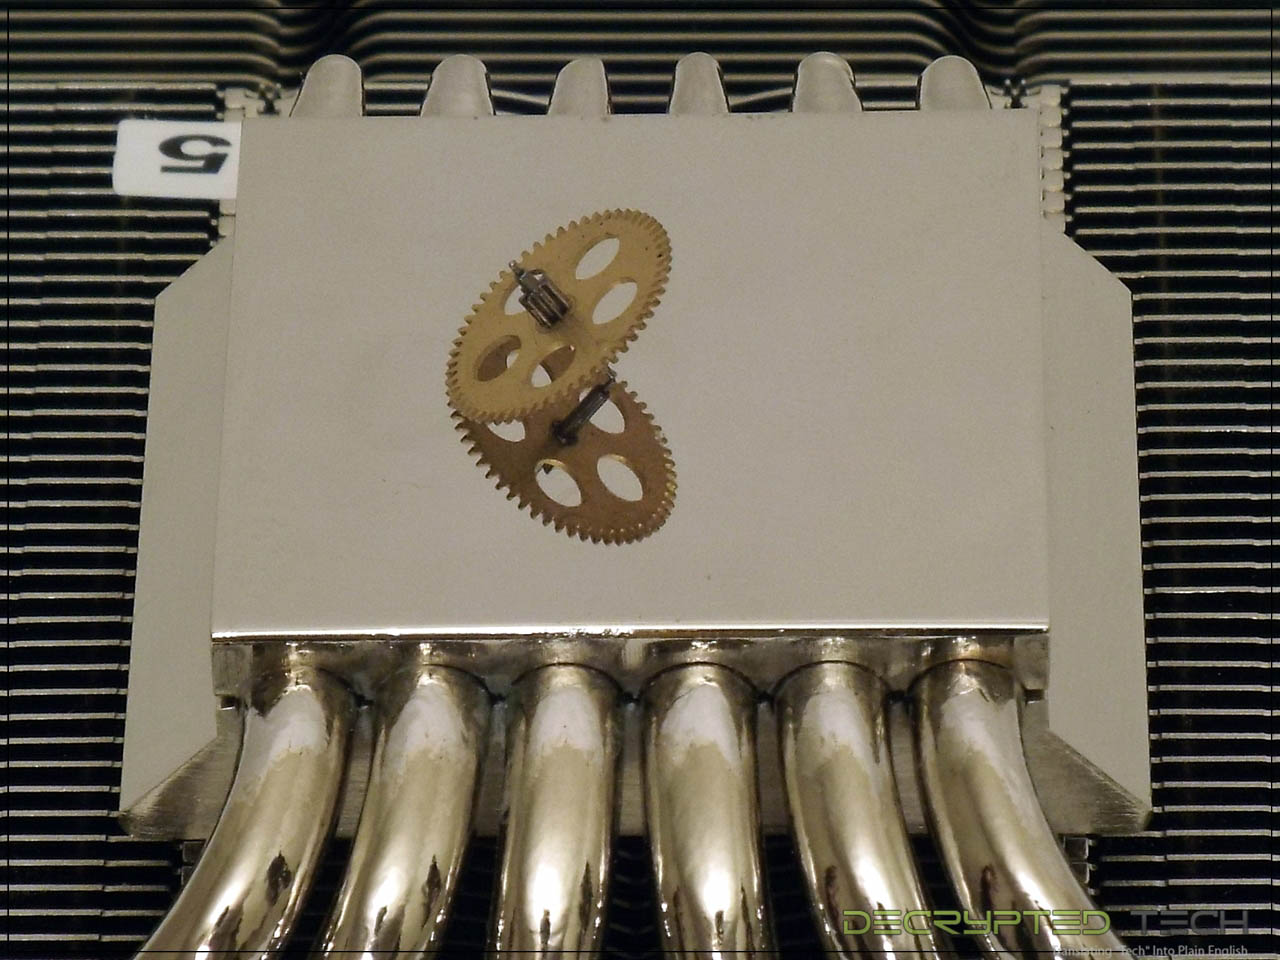
From underneath we see the same evident build quality and the standard protection film for the contact base.
The bend side of the heatpipes shows this shiny appearance even extends here.
After peeling the protection film off of the contact base I was very impressed with the finish here as well. As far as my machinist’s square is concerned it is perfectly flat in all axes also.
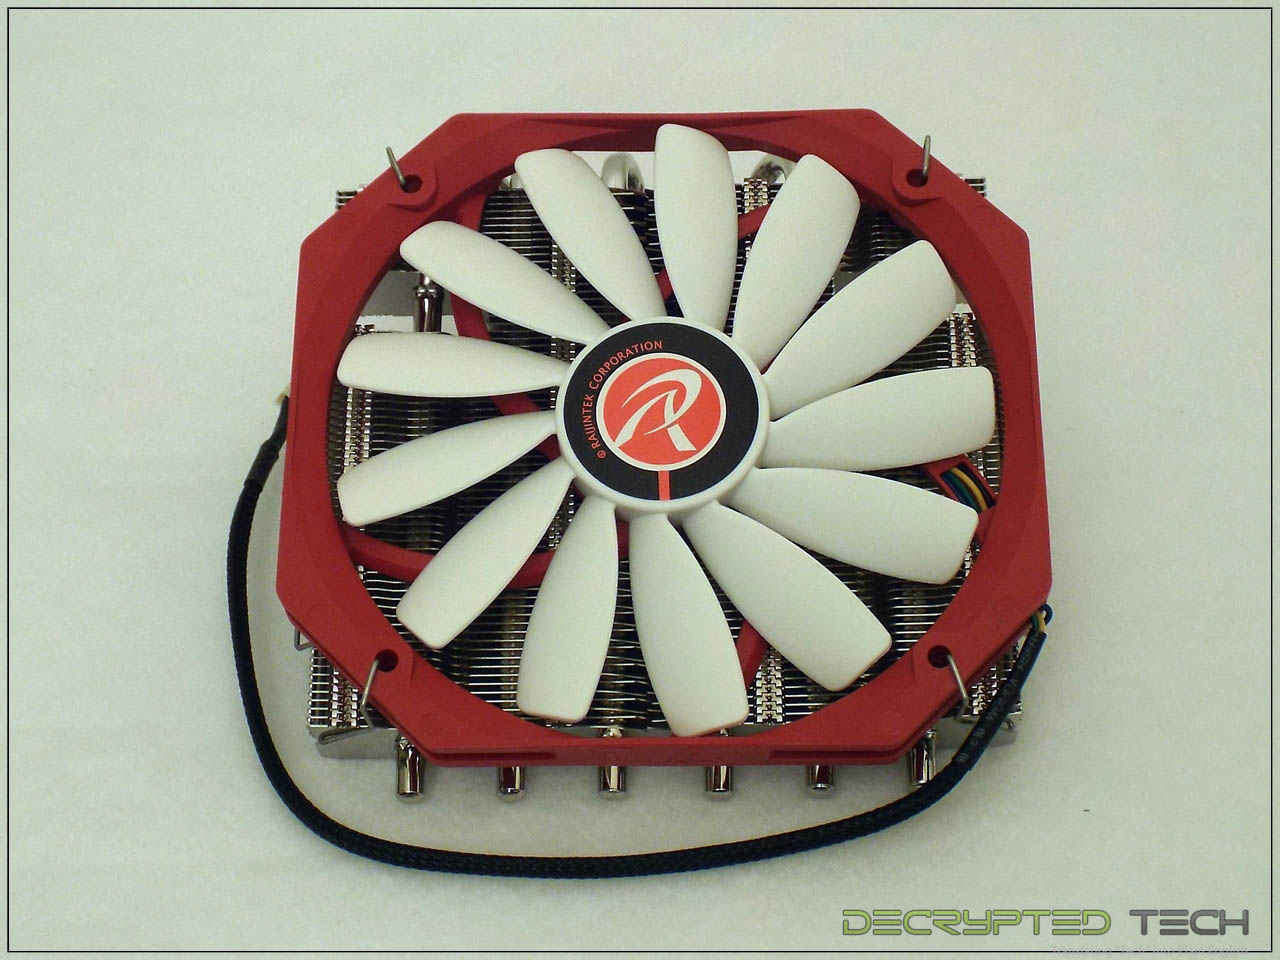
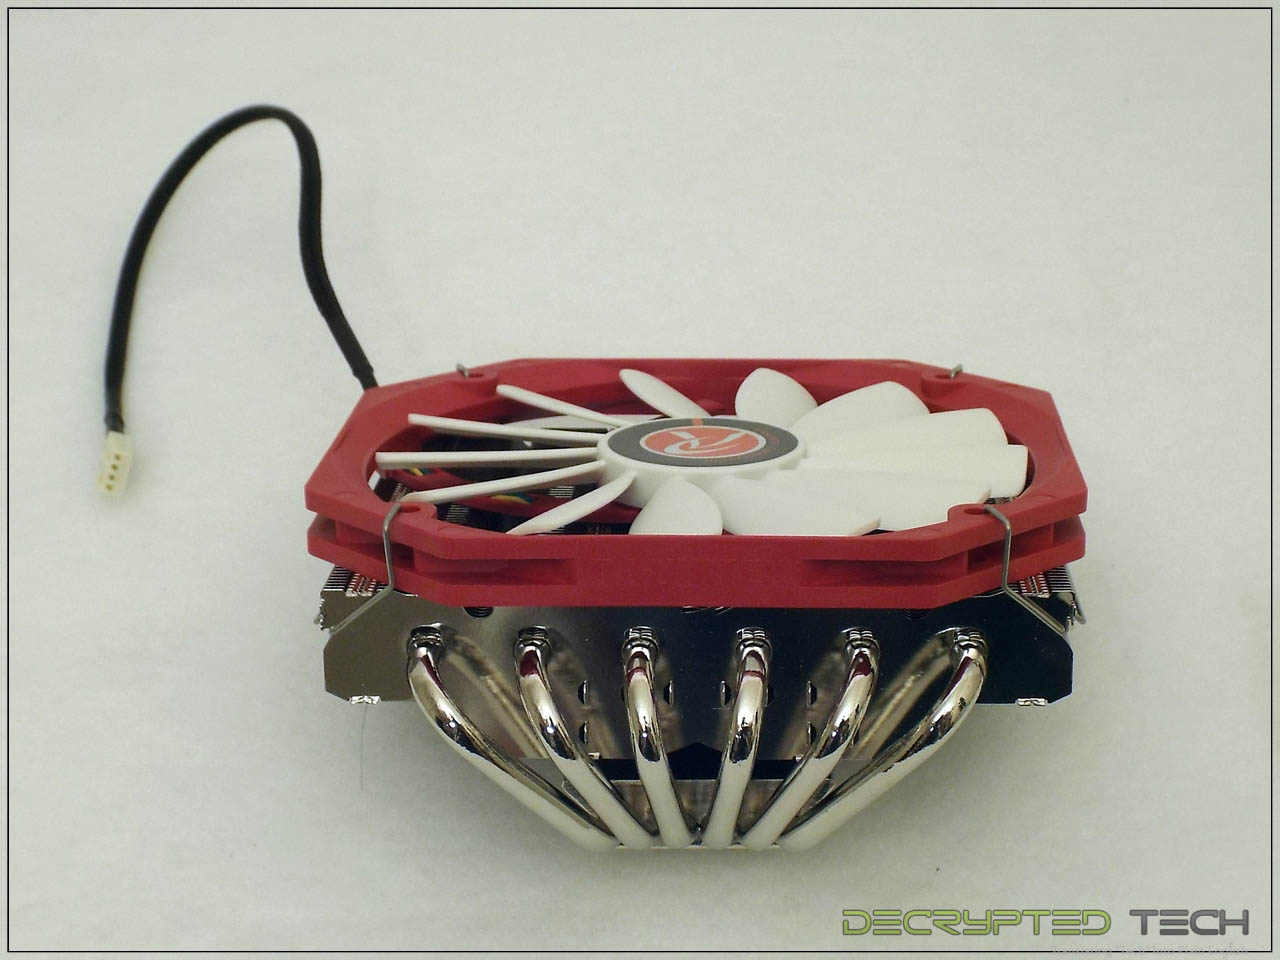
I wanted the chance to mount the fan before the cooler was mounted to the test bed, to see how difficult it was. While the directions are clear, these clips are very tight. I was able to get the fan mounted and unmounted without damage of any kind but I was not looking forward to installing it on the board.
 |
 |

