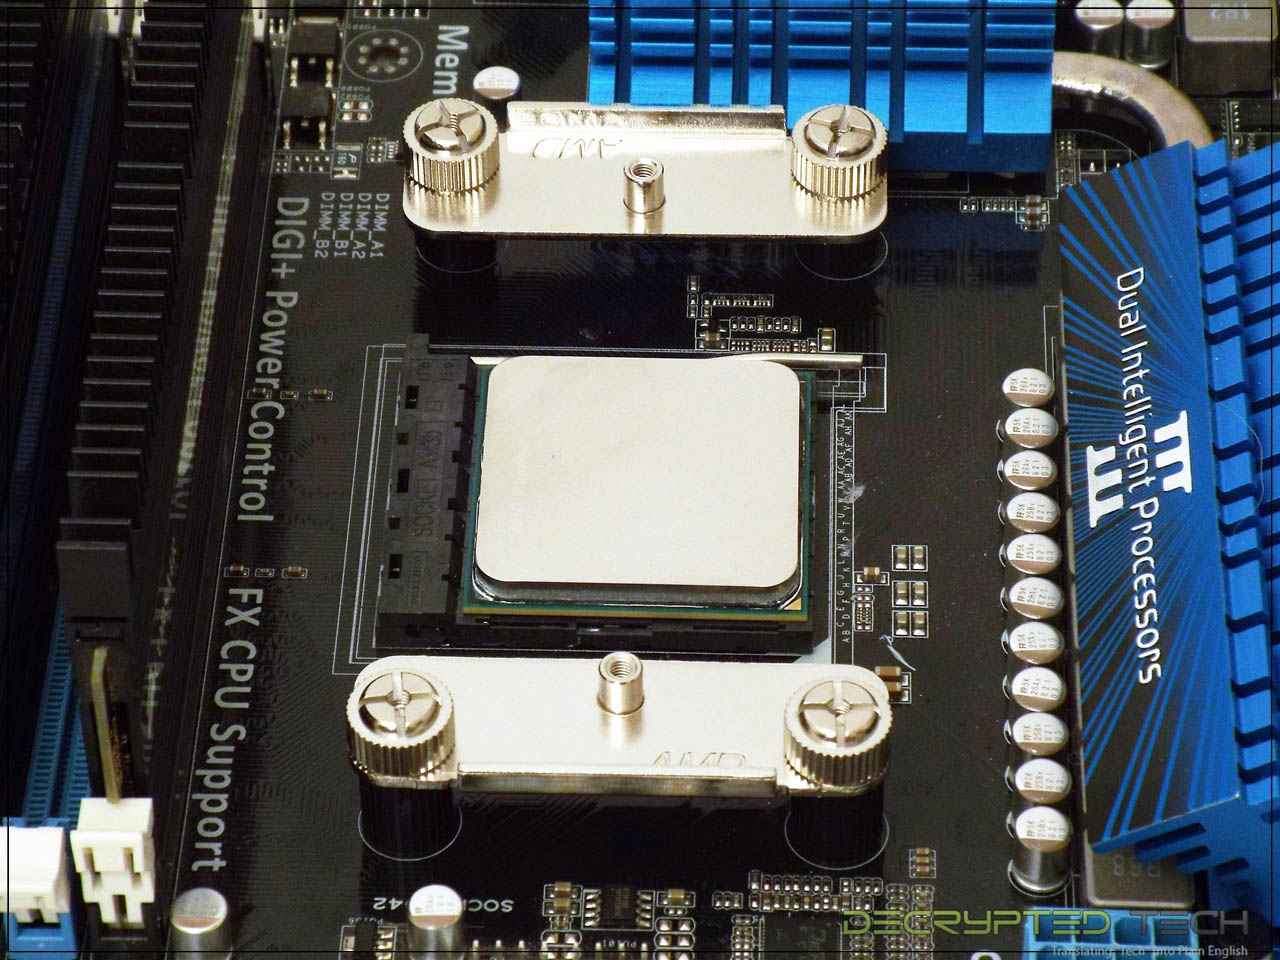
Installation:
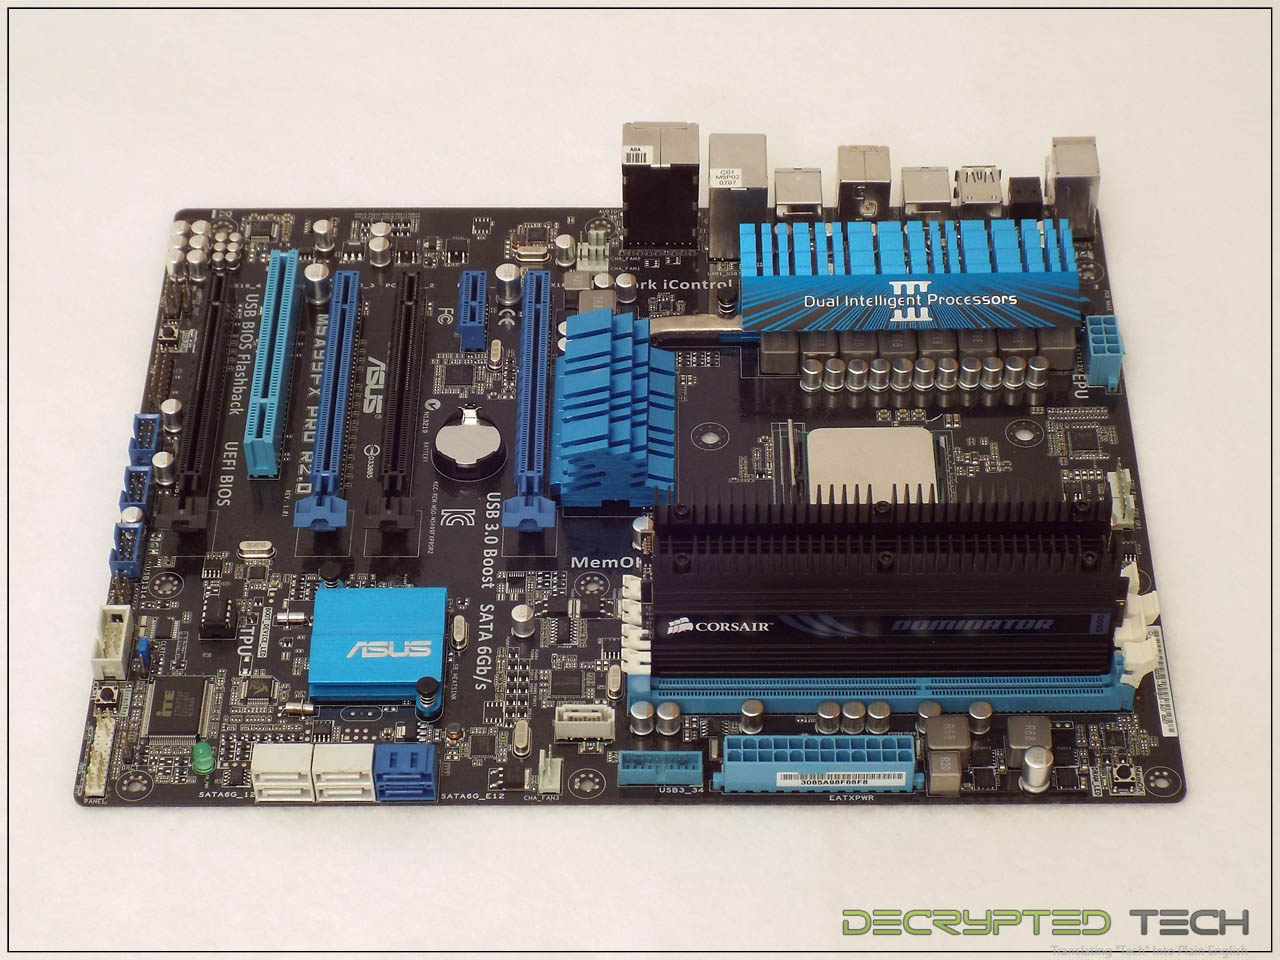
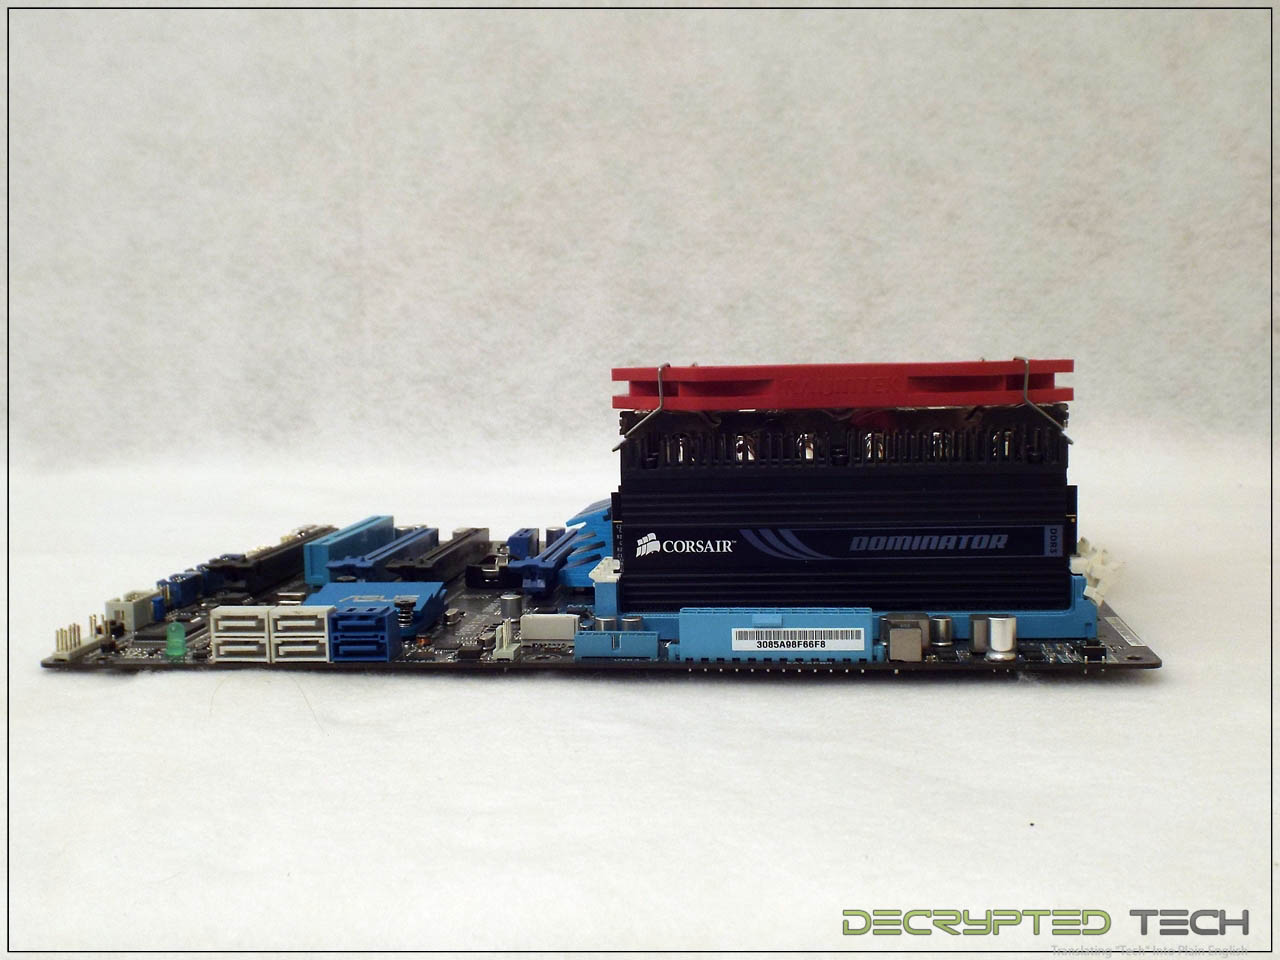
My test system uses the Asus M5A99FX Pro motherboard coupled with a Phenom II 1100T processor and 4GB of Corsair Dominator RAM. The combination of heatsinks on the this board and on the memory serve to test clearance issues on most coolers. If it will fit in this setup, chances are it will fit in yours but as always, your own research is strongly recommended.
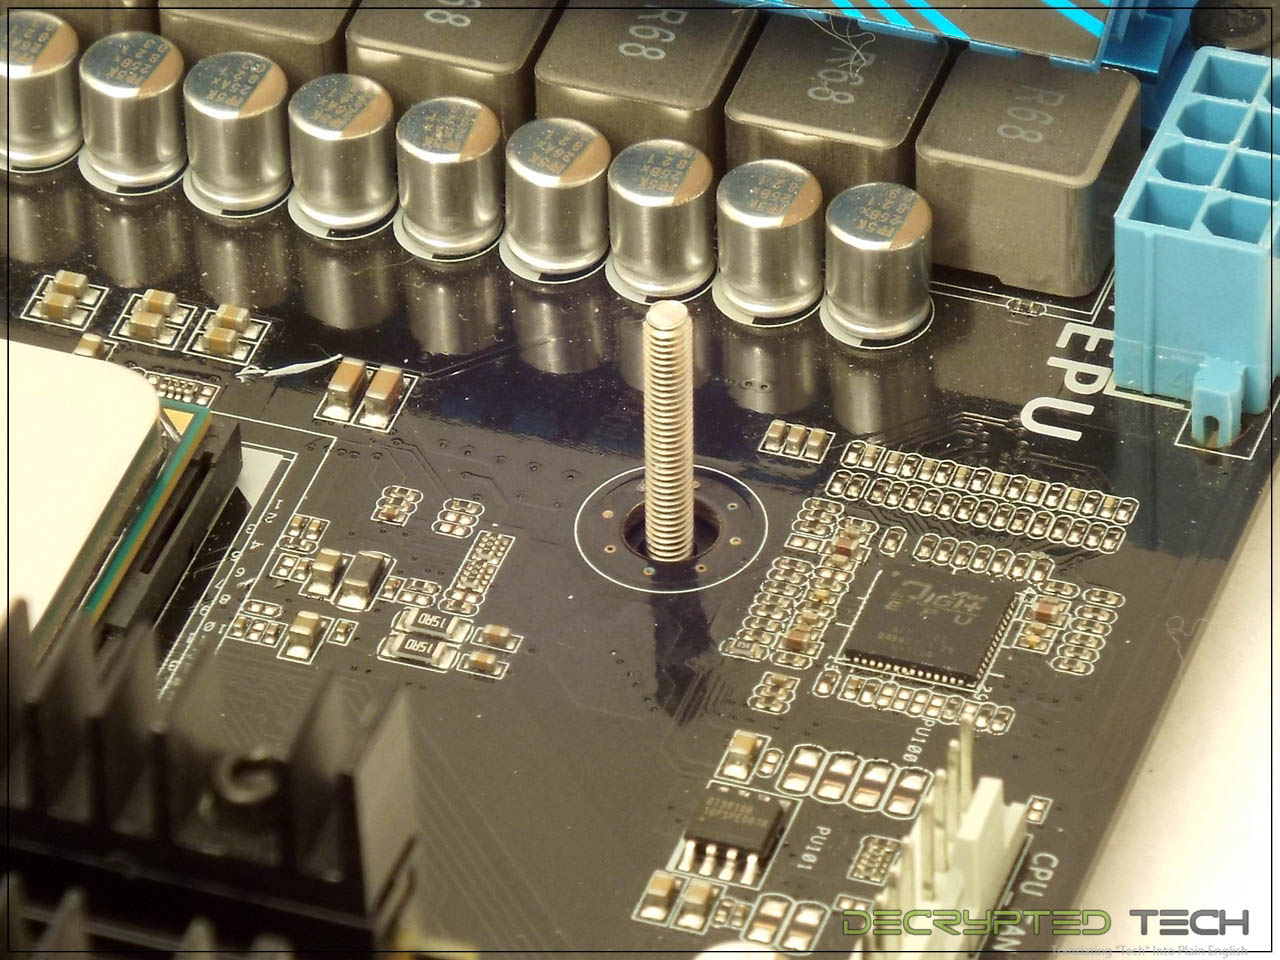
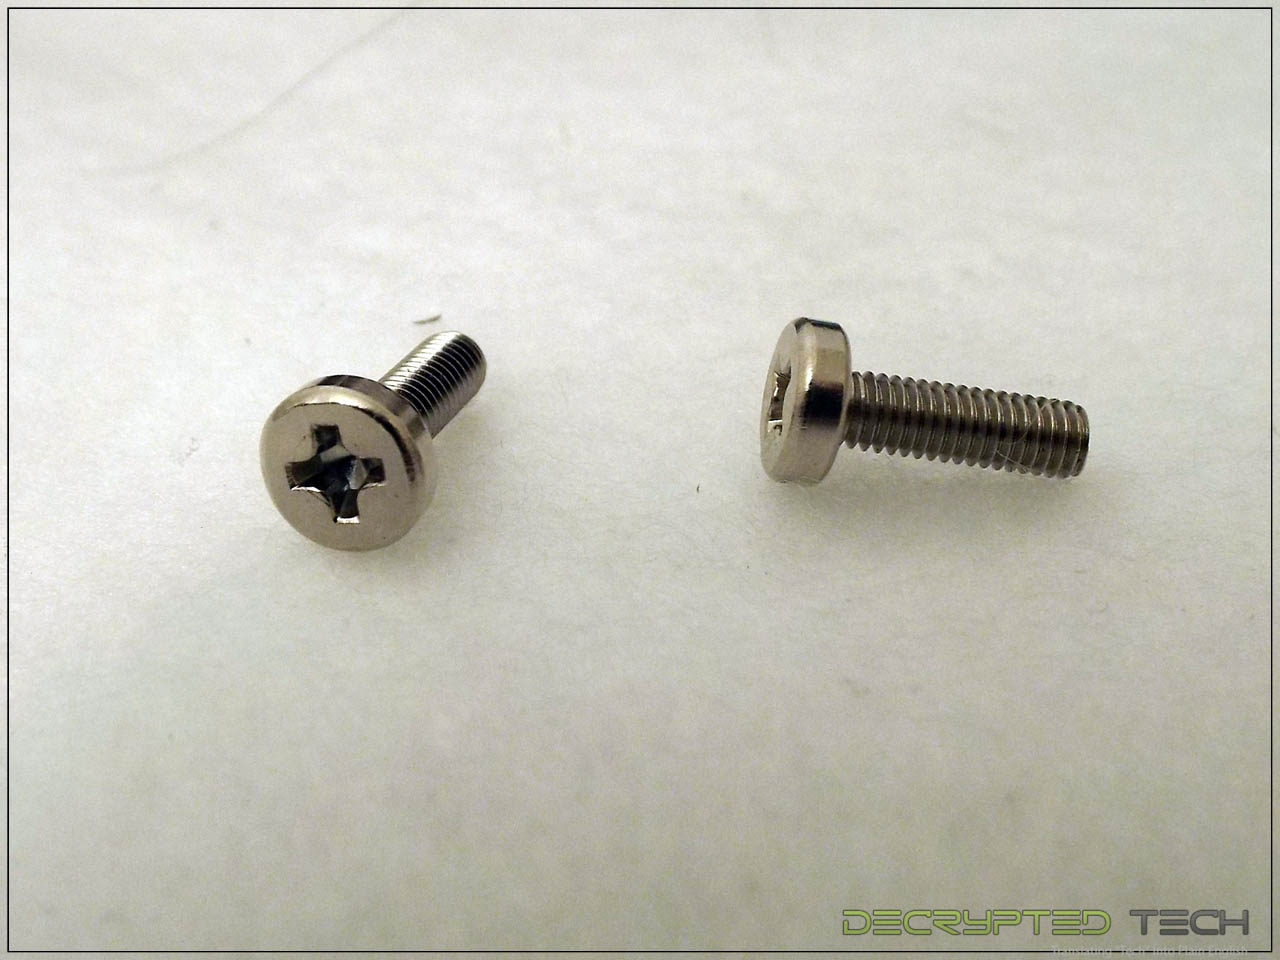
For the AMD setup, the holes in the universal backplate that have flats to hold the mounting screws in place are used. I wish the designers at Raijintek had included some kind of retention clip to hold these screws in place during installation, as we saw in the Gamerstorm Lucifer from Deepcool. It’s a small thing but it certainly lowers the frustration level when you don’t have to hold those screws in place while proceeding with the next step of the install.
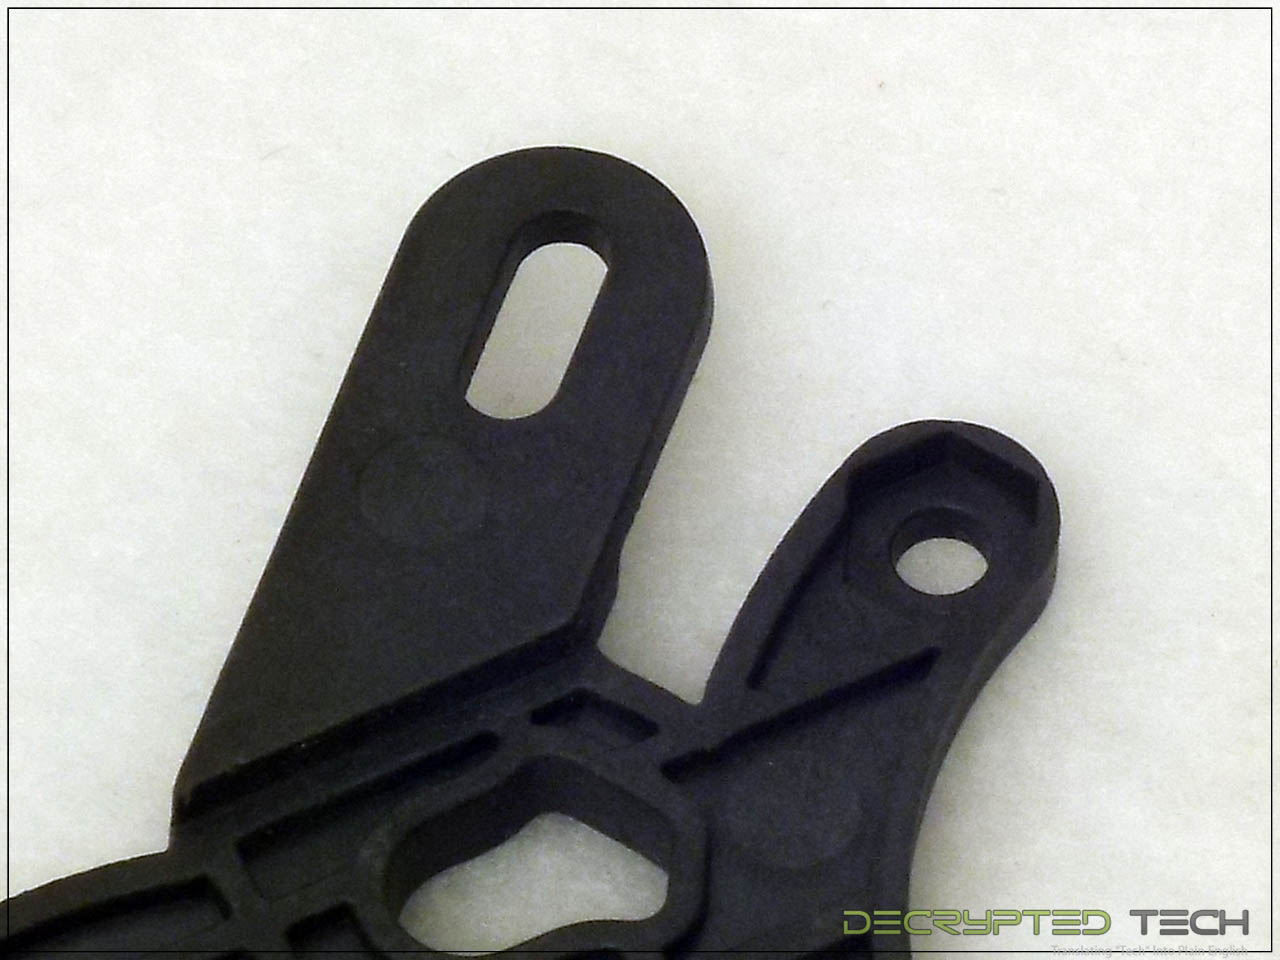
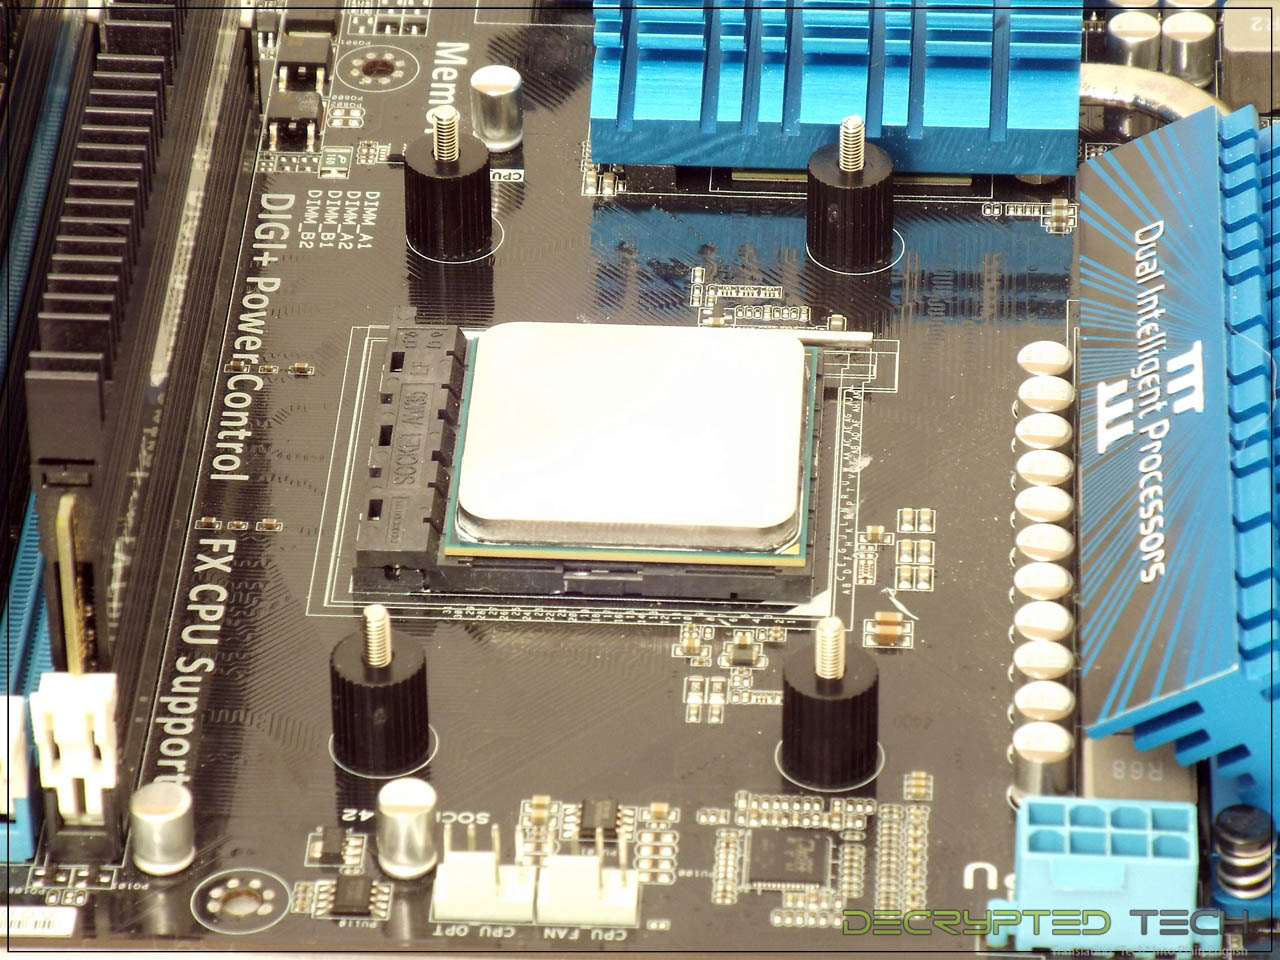
Once the mounting screws are in place the backplate is set behind the motherboard with the screws in the holes for the stock retention plate. Another trend I’ve seen a lot of is the use of undersized screws like these. I am not a fan of this much slop between the mounting screw and the edge of the mounting hole. In a cooler like the Pallas the effect should be negligible but this happens even in coolers weighing in at 1.5kg. Something as simple as adding a small shoulder to the mounting nut to fill that hole would eliminate this problem.
The next step in installing the Pallas is to secure the mounting screws with the included mounting nuts, which also serve the function of spacers, setting the rest of the assembly at the correct height above the CPU socket. The nuts included with the Pallas are plastic, and one of them stripped during installation, though no tools were used. It did remain tight and seemed to cause no negative effects but it should be noted.
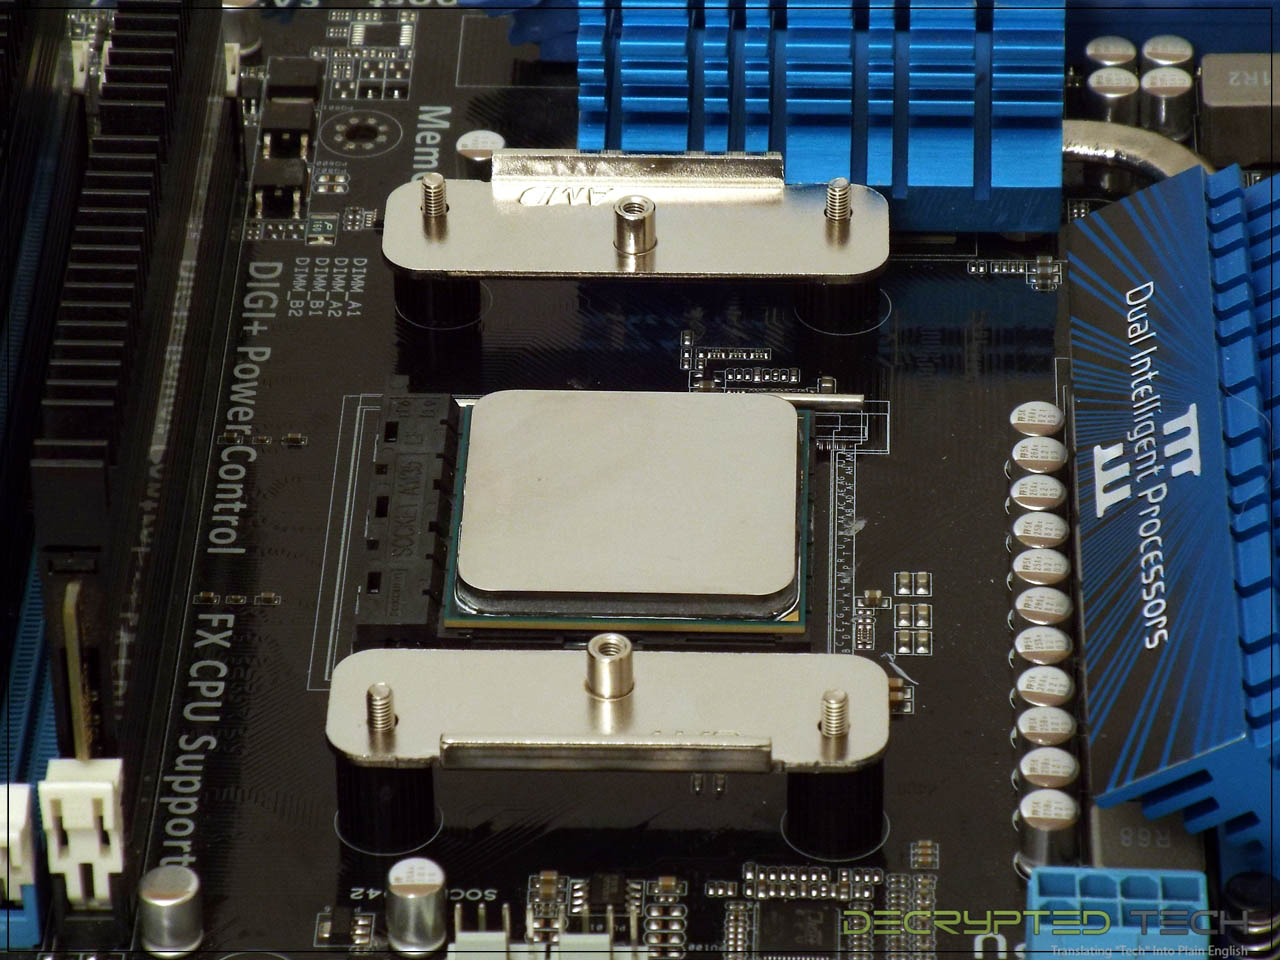
The AMD mounting bars are set in place over these spacer nuts next. I should note that these bars (both the AMD and Intel versions) are very thick metal and very sturdy. Seems an odd contrast to the plastic spacer nuts.
Finishing off the mount preparation are four thumb screws. These also have lines for a screwdriver if extra security is desired, though no mention is made of this in the instructions.
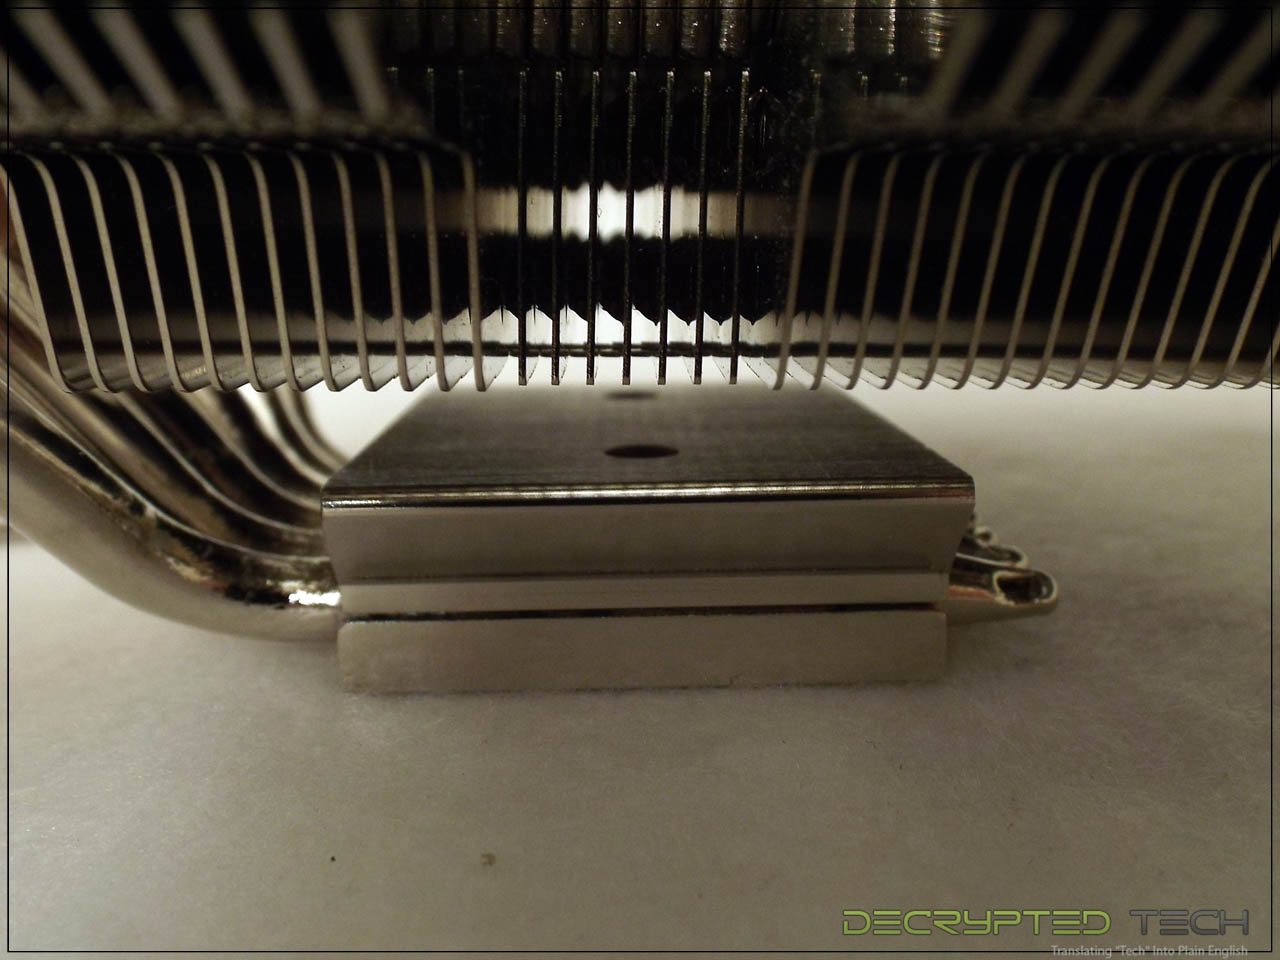
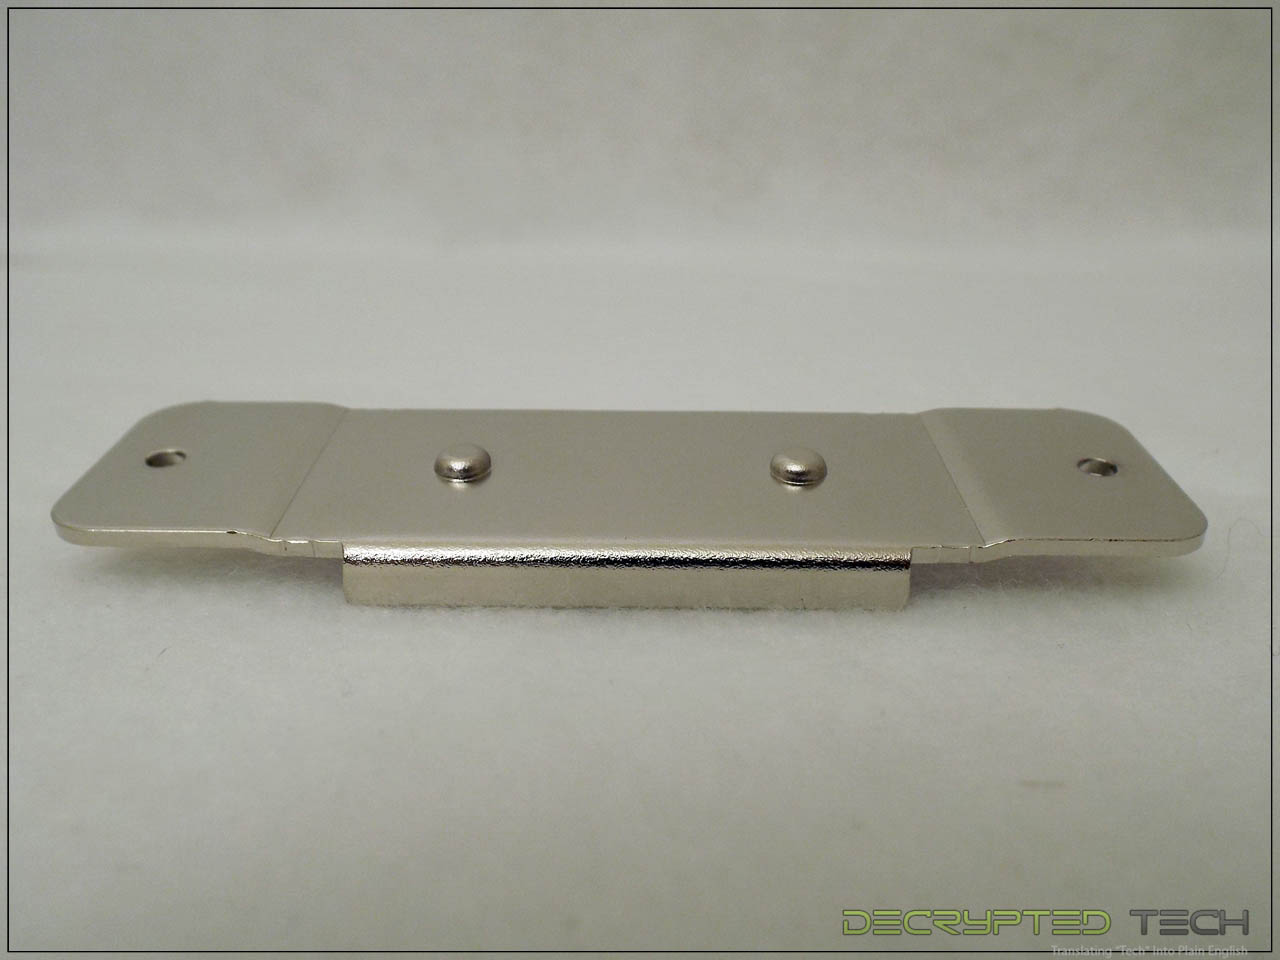
Looking at the top of the base on the cooler itself, we can see an excellent design point that I wish I had seen in other AMD coolers. The top has two small shallow holes in it with rounded bases. The final piece of the installation is another metal bar that goes across this area. That bar is made with two small raised areas that fit into these holes, thus ensuring perfect placement on the cooler every time. Since this part of the install is likely to be done blind due to the placement of the cooler and surrounding obstructions this is an excellent addition.
 |
 |
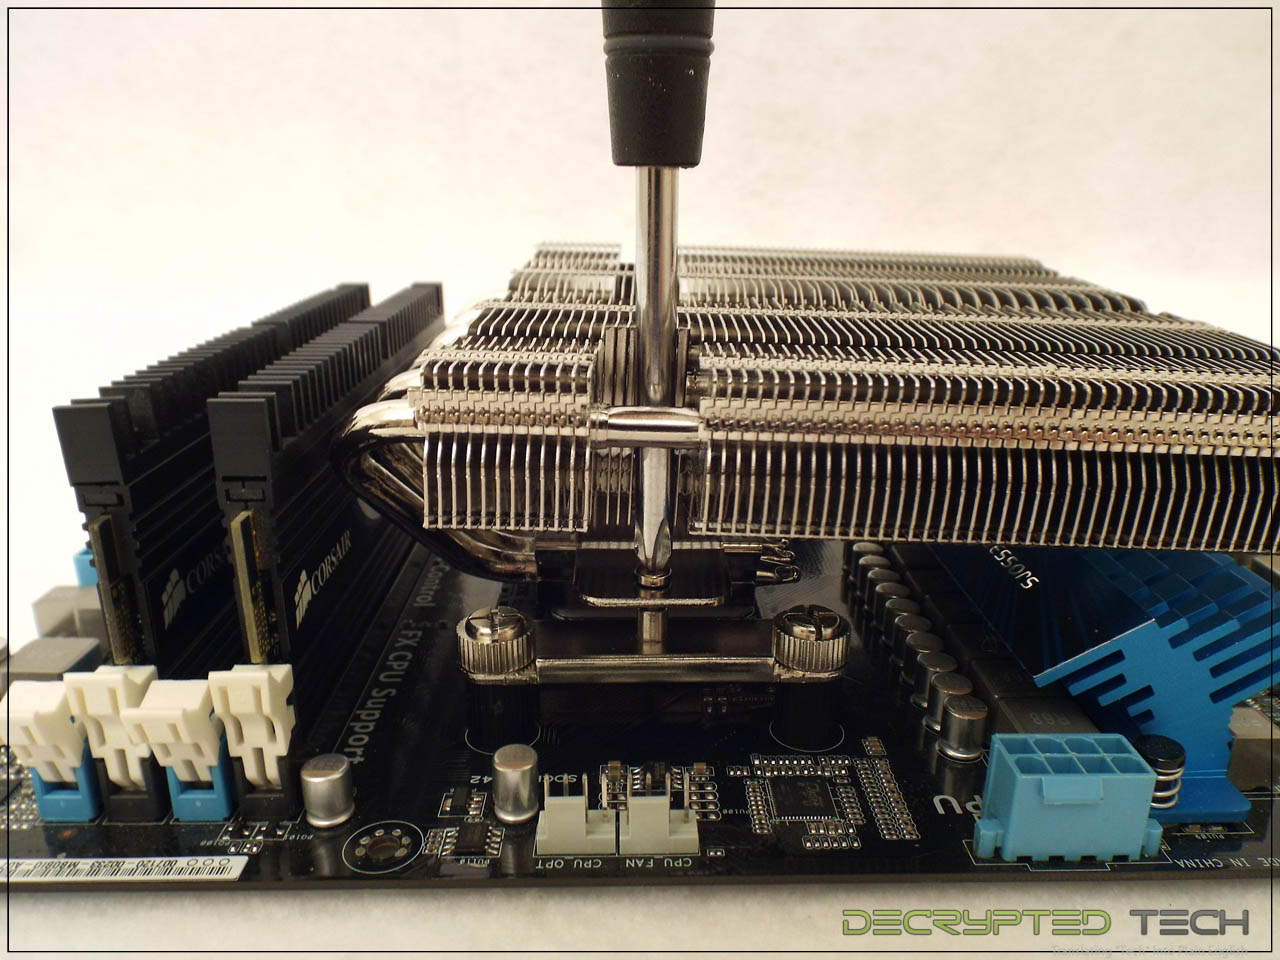
Once the thermal paste of your choice has been applied the cooler/cross bar assembly is set in place, and the holes on either end lined up with the holes in the mounting bars to either side and secured with the included Phillips-head screws.
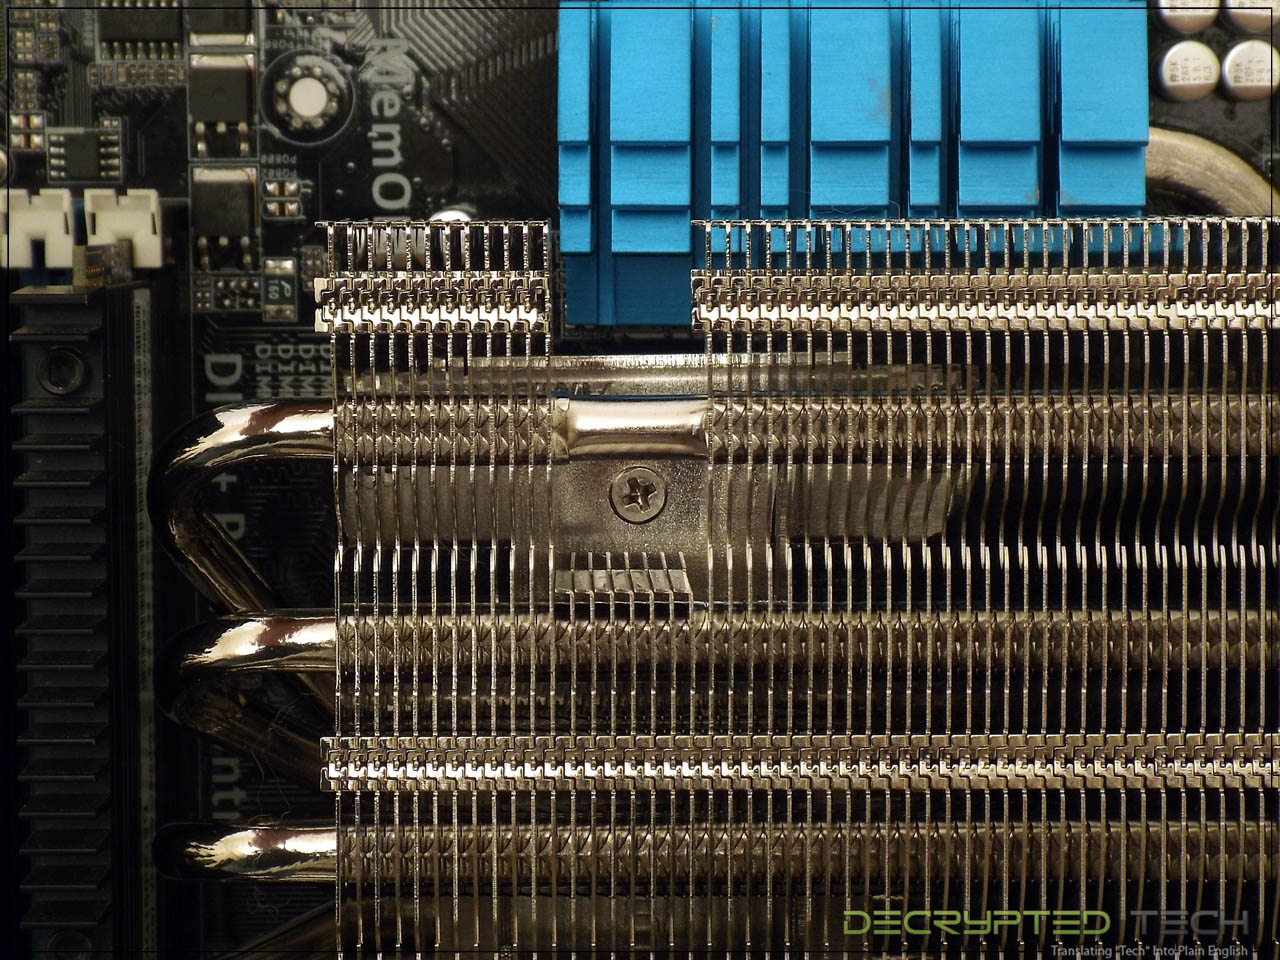
Now we see what those cutouts in the fin area are for. They line up perfectly over the screw area and allow for easy access to the mounting screws. Excellent design.
 |
 |
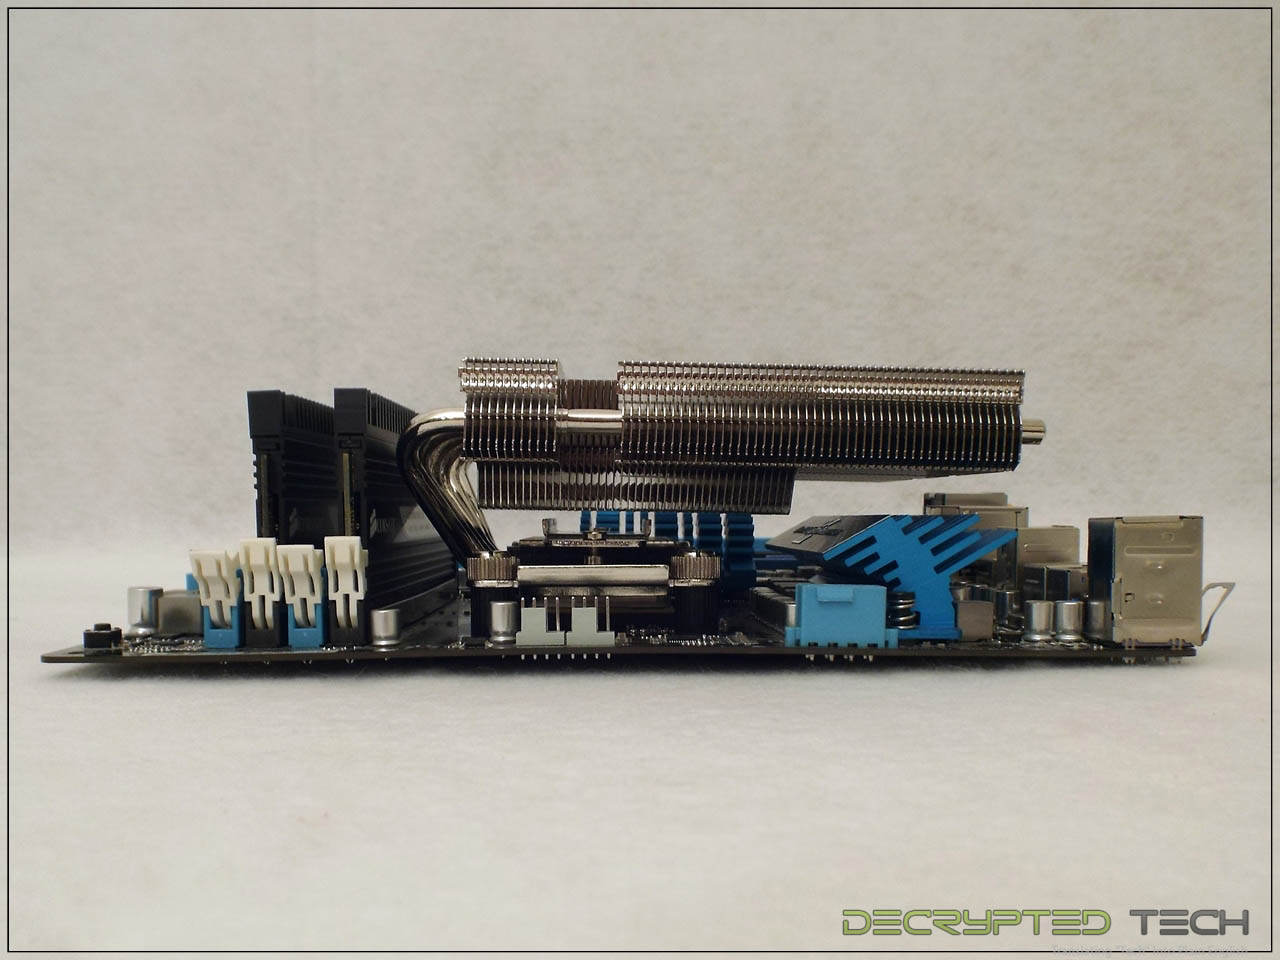
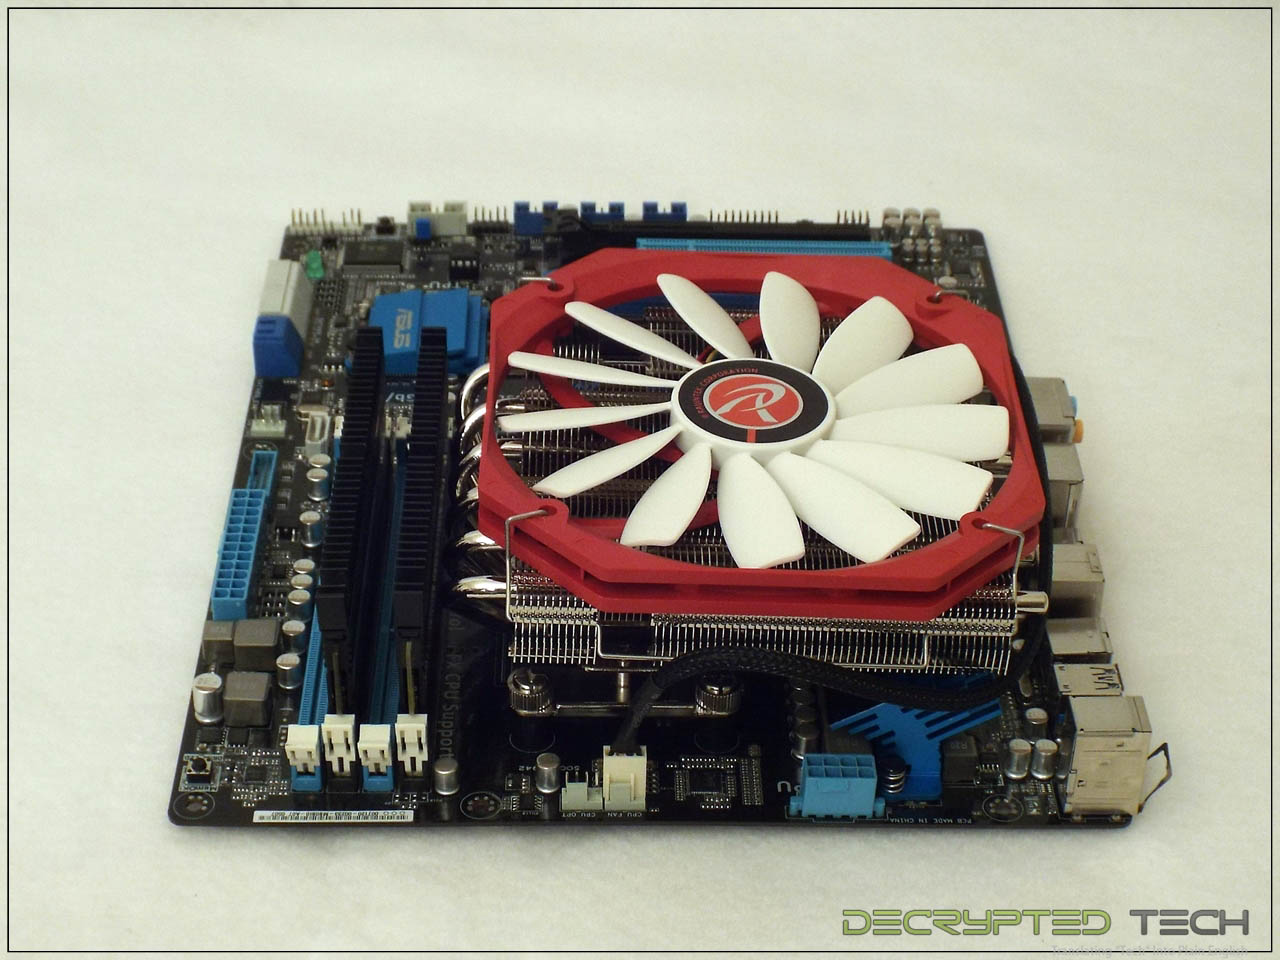
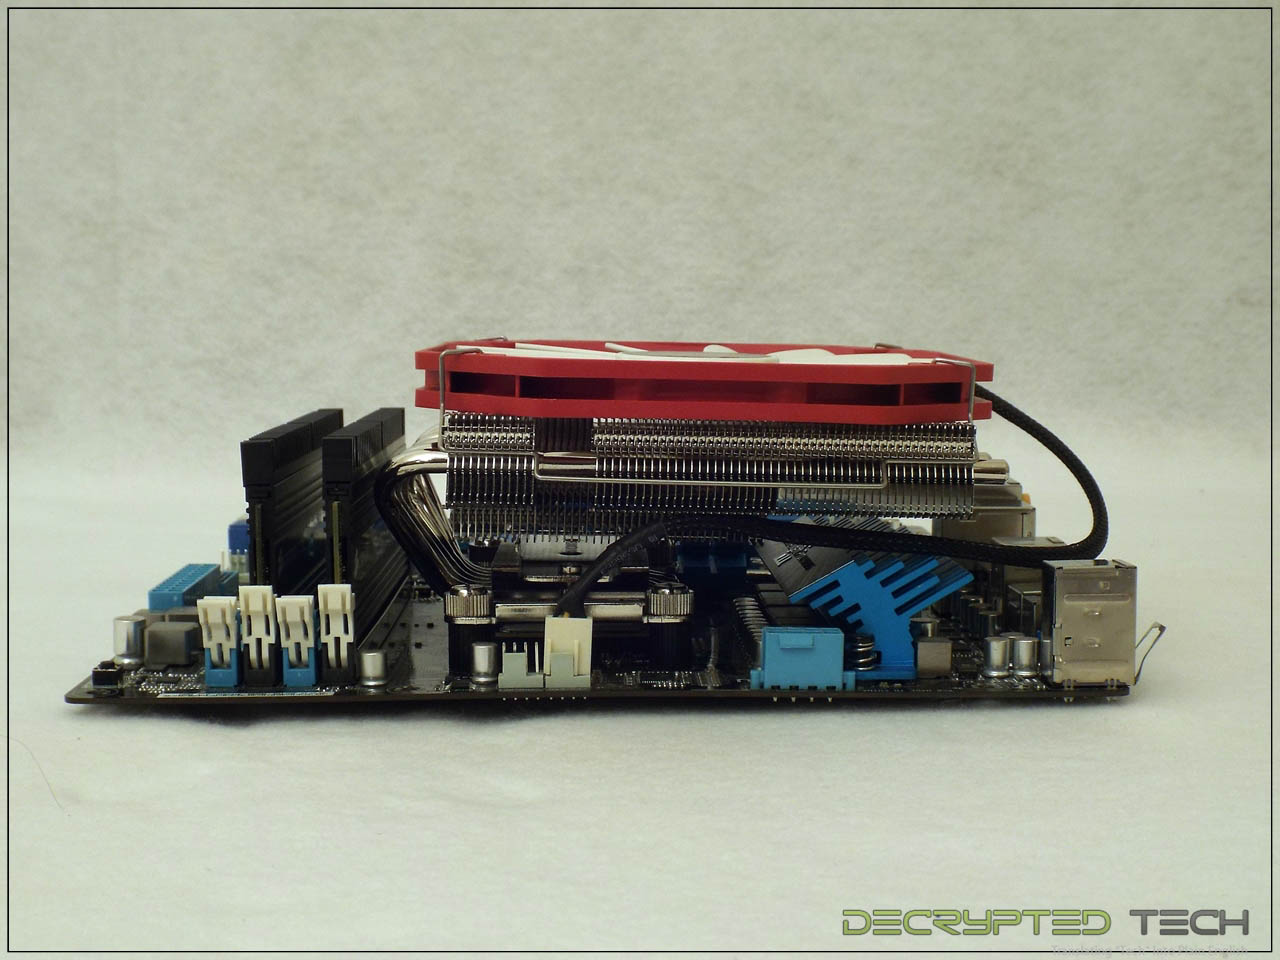
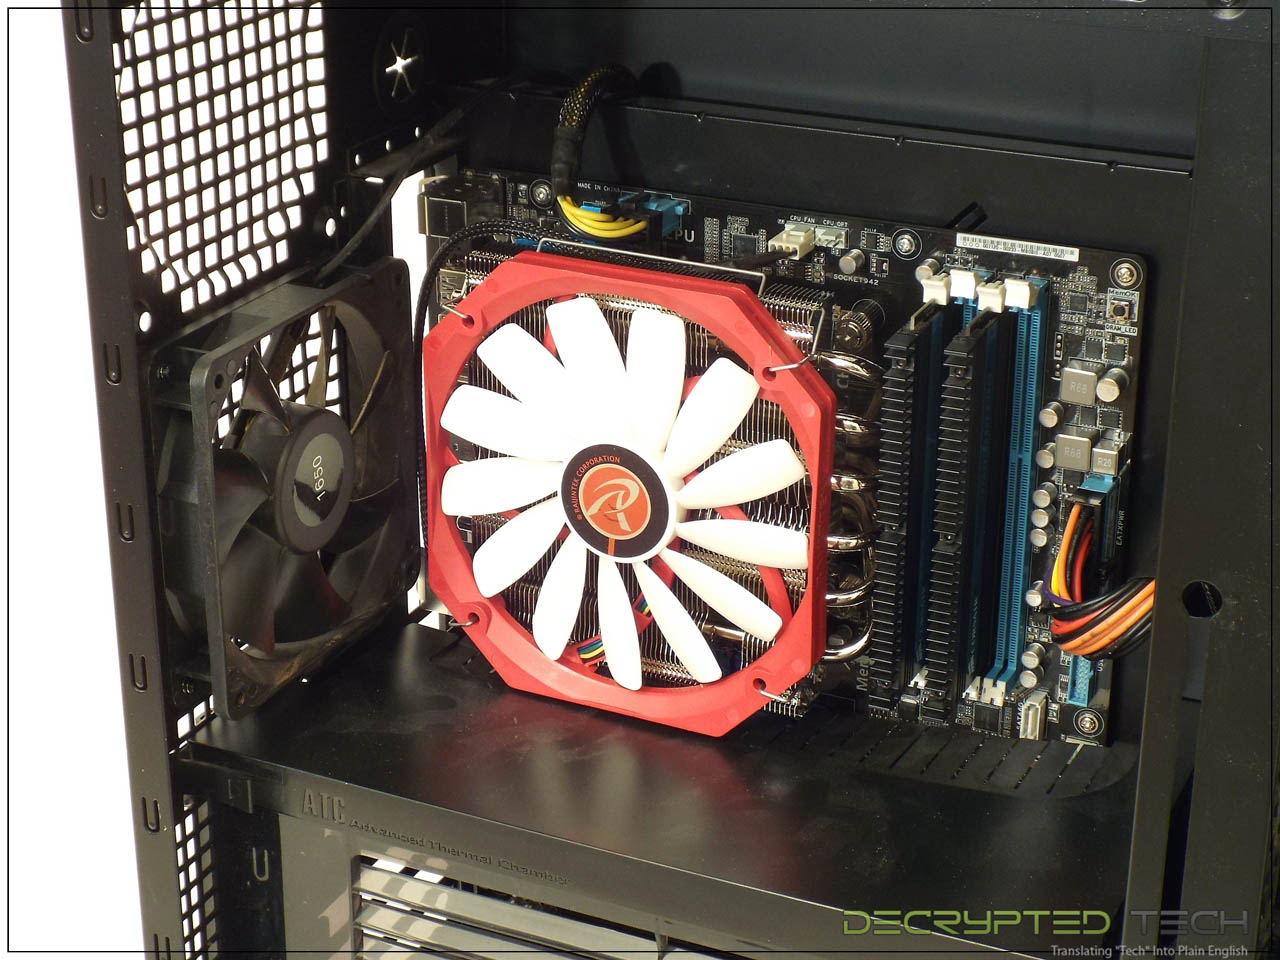
The Pallas cooler fully mounted. With the low clearance of the cooler there was only one option on orientation due to the memory. Even without the heatsinks on this tall RAM it would have been impossible to mount it any other way. As it stands though clearance is fine, even leaving enough space below the cooler for the VRM heatsink to benefit from the air flow provided.
Installing the fan with the cooler in place was more harrowing than standalone installation due to the force required to get the final fan clip in place, but it took less than a minute and the fan is definitely secure.
 |
 |
 |
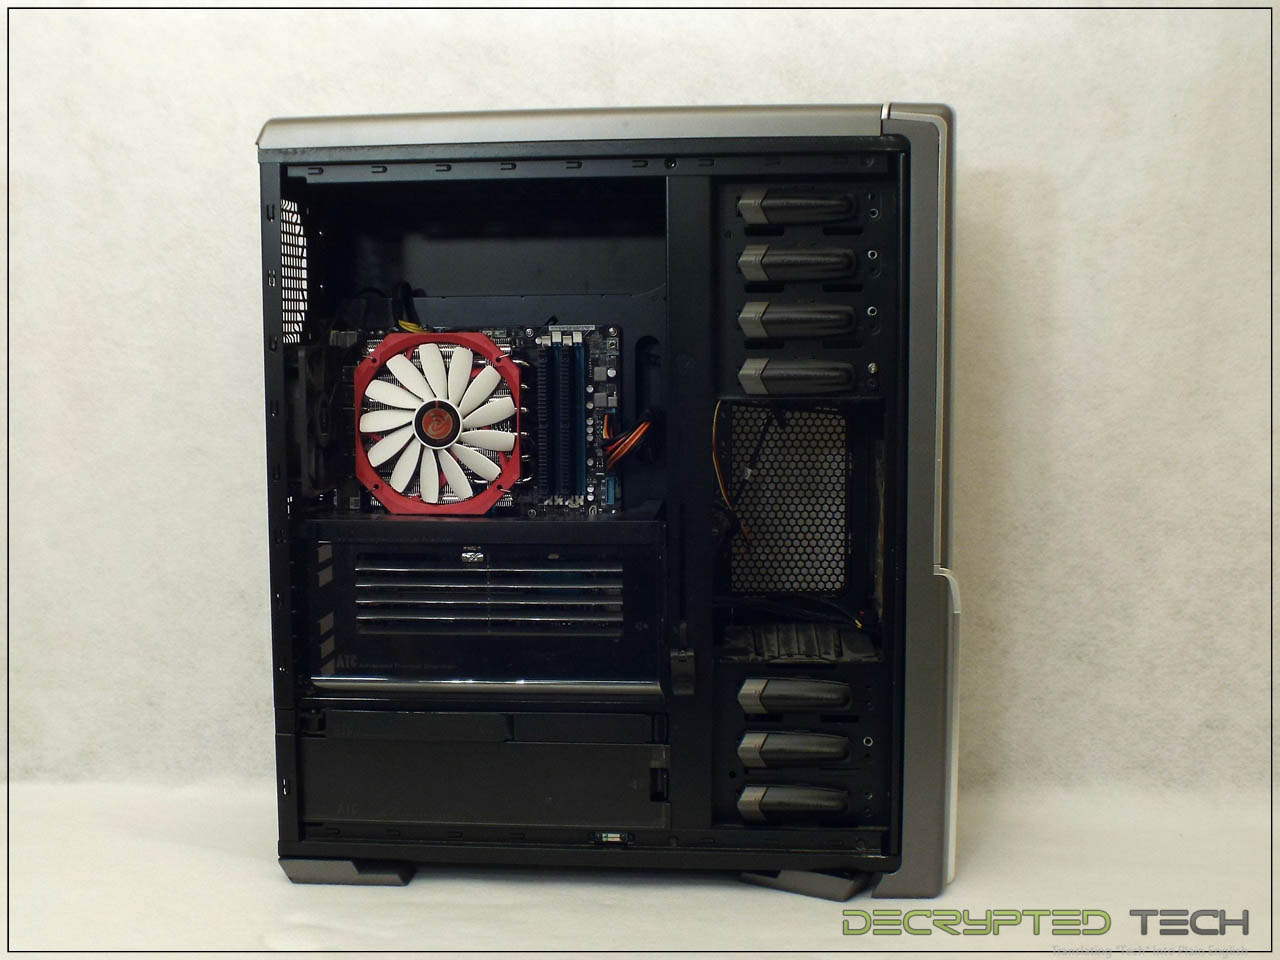
As mentioned, the Pallas is primarily designed for smaller chassis so it looks a little lost inside the cavernous test bed of the Thermaltake Spedo Advance full tower case, but it also has a clean look that I like and should have no problem with air flow for our testing.
 |
 |

