 |
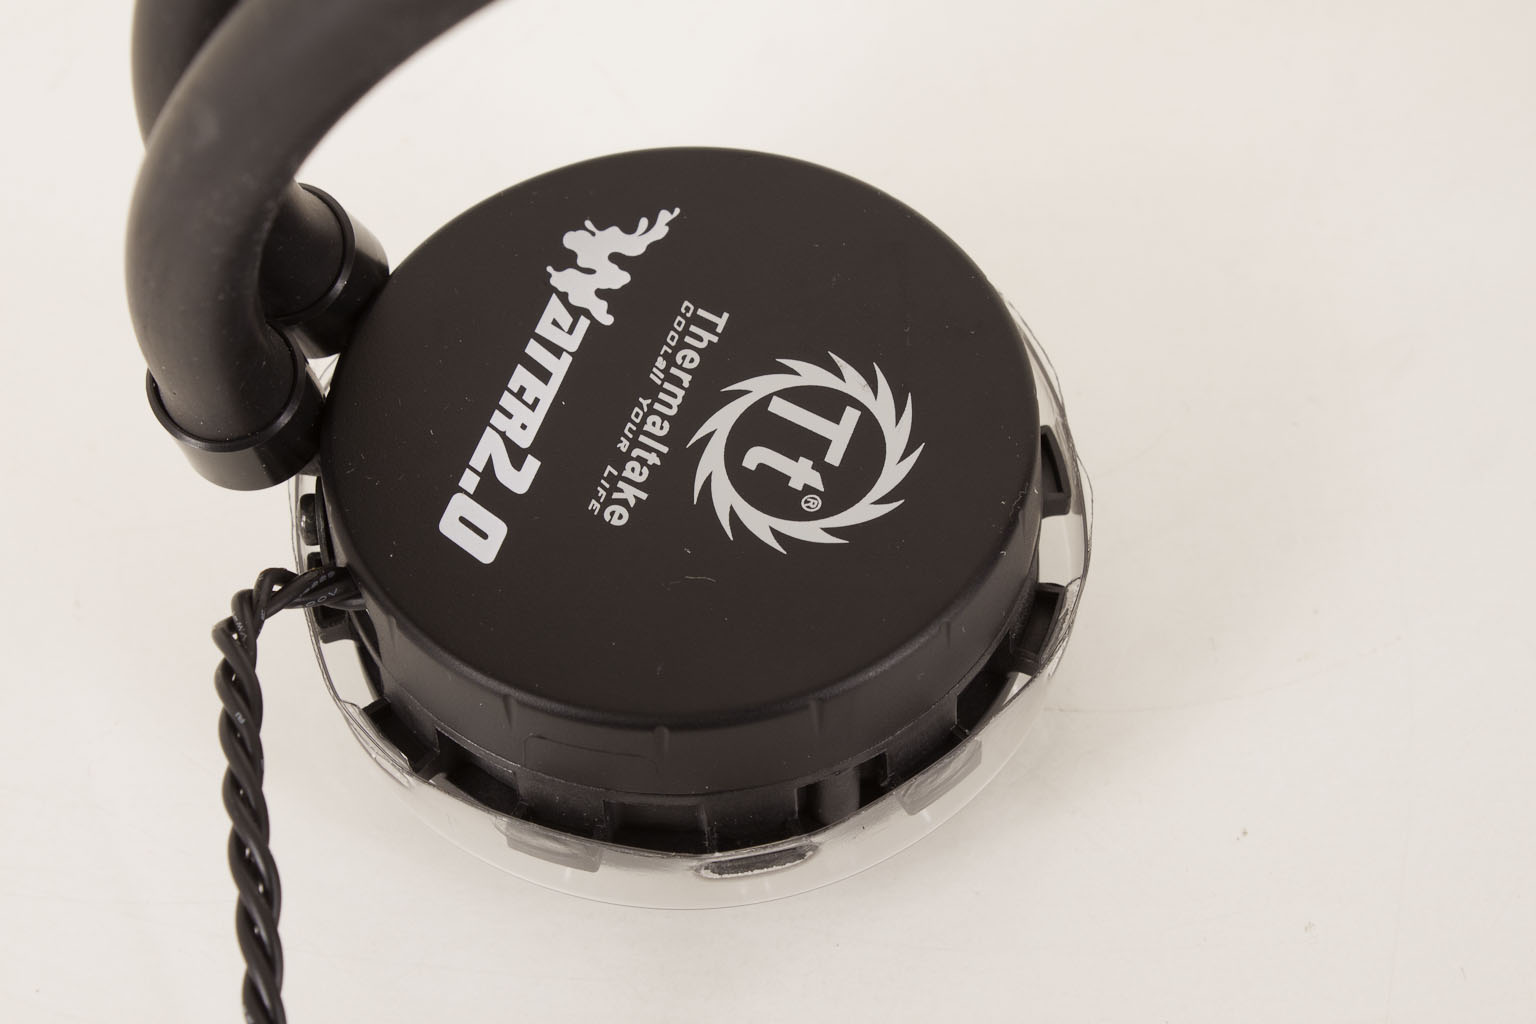
Water cooling for high-performance cooling has been around for a very long time. It started (as many things do) with super computers and the need to maintain a specific temperature envelope. From there advanced cooling broke into the consumer market (over the course of a few years), in the form of heatsinks with larger fans and even TEC (Thermoelectric coolers) cooling. However, for the most part water was still avoided due to the potential for leakage and damage to components. However all of that changed very quickly once the 1GHz barrier was broken. Companies seemed to come out of the woodwork with pieces and parts for water cooling. Radiators, water blocks, tubing fans, pumps, you name it you could but it. Now that we are well into the 3-4GHz range for stock CPUs the water cooling industry is very strong with components in multiple places in the market. The concept of the self-contained cooling system has also caught on with products produced by multiple companies. Today we will be taking a look at one from Thermaltake called the Water 2.0 Performer. This $63 cooling system is supposed to be able to keep things cool for both AMD and Intel CPUs including the LGA 2011 Core i7. Let’s see how it does.
Page 4 of 6
Installation -
Getting the Water 2.0 Performer setup was a snap. Really there was nothing to it… well as long as your case has room for it. We found more than one instance where the Water 2.0 would not fit in the back fan area due to the how much room was left in the top of the case (including a couple of Thermaltake cases).
The first thing you want to do is prep the mounting brackets that you need to use for your socket type. For our testing this was the LGA 2011 mounting kit. You can check out our video below to see how to prep the head for the Water 2.0 kits.
One you have this setup your next step is to mount the front fan on the radiator. You will mount the back fan when you place the radiator unit into your case. Just place the rear fan on the 180mm fan grill and thread the screws through the fan and into their spots on the radiator from there simply plug the fans and pump into power and you are almost done. The last thing you will want to do is go into your BIOS and make sure that you turn off any fan controls for the power to the pump. You simply do not want the pump running at a reduced power level as it will hinder cooling.
When this is done you are all set.


