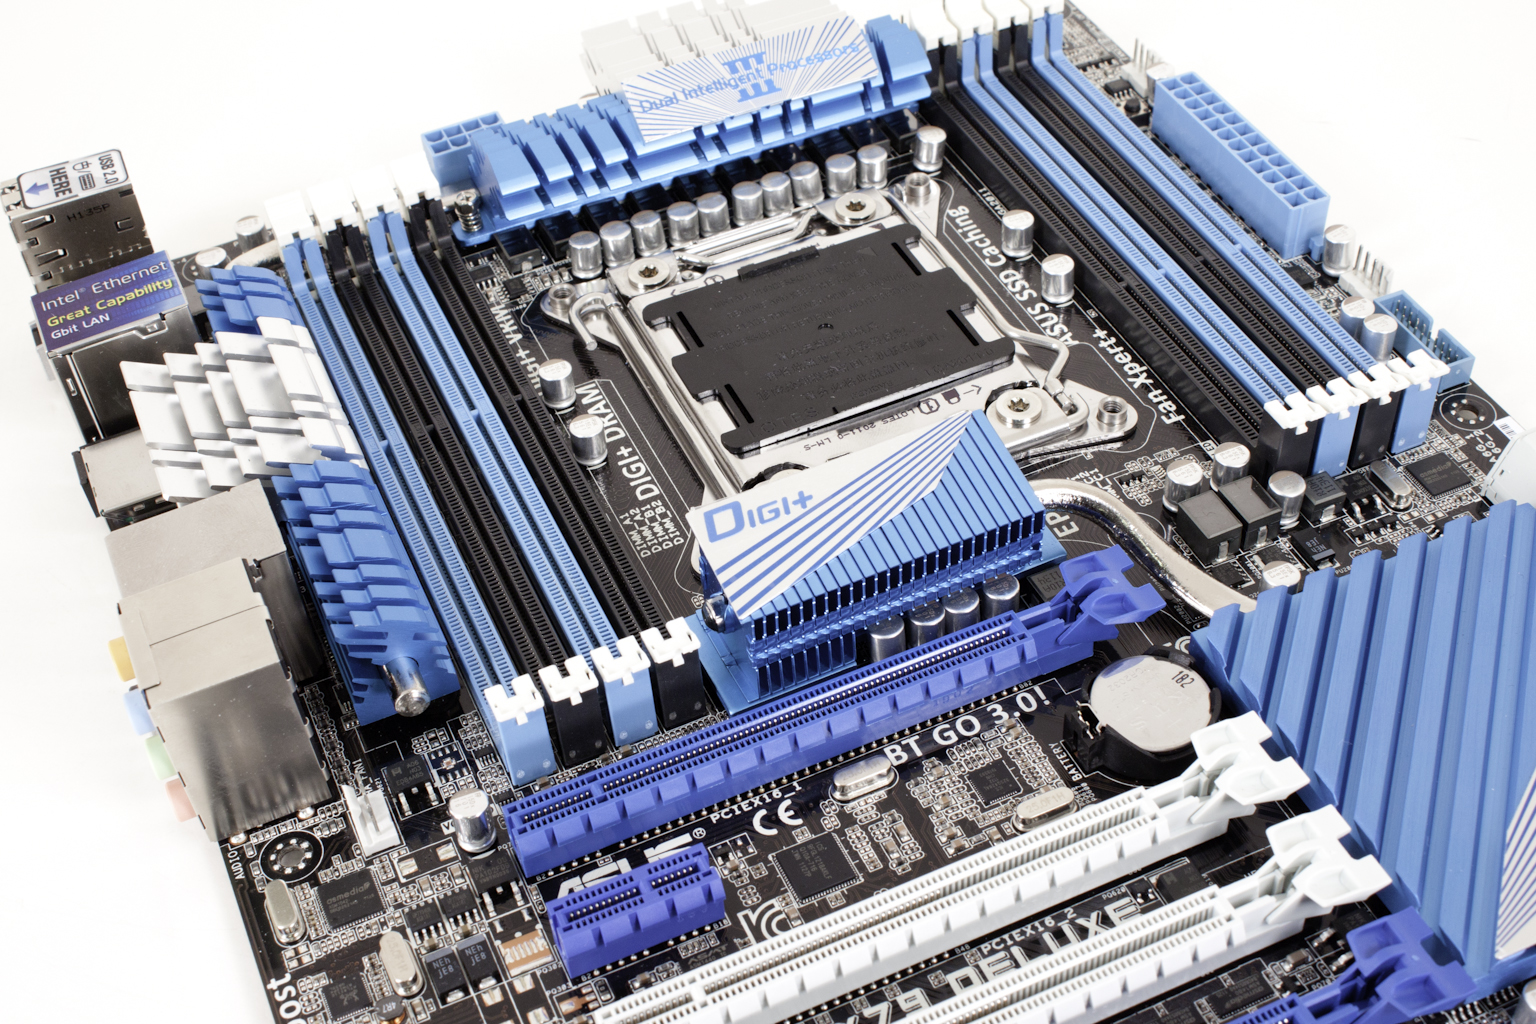
BIOS -
BIOS is an acronym that stands for Basic Input/Output System. It is meant to control your product at a very low level. As of right now there are three regularly used BIOS formats (there are actually more than that but there are three common ones). These are the AMI (American Megatrends Incorporated), Award, and Phoenix. The BIOS on the Asus P9X79 Deluxe is a UEFI (Universal Extensible Firmware Interface) this is actually going to replace the term BIOS in some respects. The UEFI will still handle basic I/O for the board firmware, but now it will handle this through a new UI that gives manufacturers greater flexibility in coding that front end. There are some drawbacks though. The UI and interface code has to fit into a very small memory footprint in order to operate properly and to prevent lag when executing commands. Asus has done a good job at getting this balance between performance, looks and usability working.
Overclocking -
One of the nice things with the Sandy Bridge E CPUs is the return of BCLK overclocking. We have been able to push the BLCK up to 125MHz many occasions, but oddly enough find that lower BCLK OCs cause instability. This is most likely due to ratio between the BCLK and the power gates in the CPU. No matter the reason it is nice to see this type of overclocking return. On the Asus P9X79 with our new MAINGEAR Epic 180 keeping things cool we were able to push our Core i7 3960 up to 4.7GHz with the BLCK left at 100MHz. This is actually the best clock that we have gotten out of this CPU by over 200MHz. With the other boards we have in the Lab our max has been around 4.5 even without pushing the BCLK up to 125MHz. We tried to reach 4.8GHz, but there was something that prevented us from getting there stable. We could get to the desktop, but opening any application would cause an immediate blue screen. We will have to tinker with this board and see if we can push past this in the near future. Still 4.7GHz is not all that bad.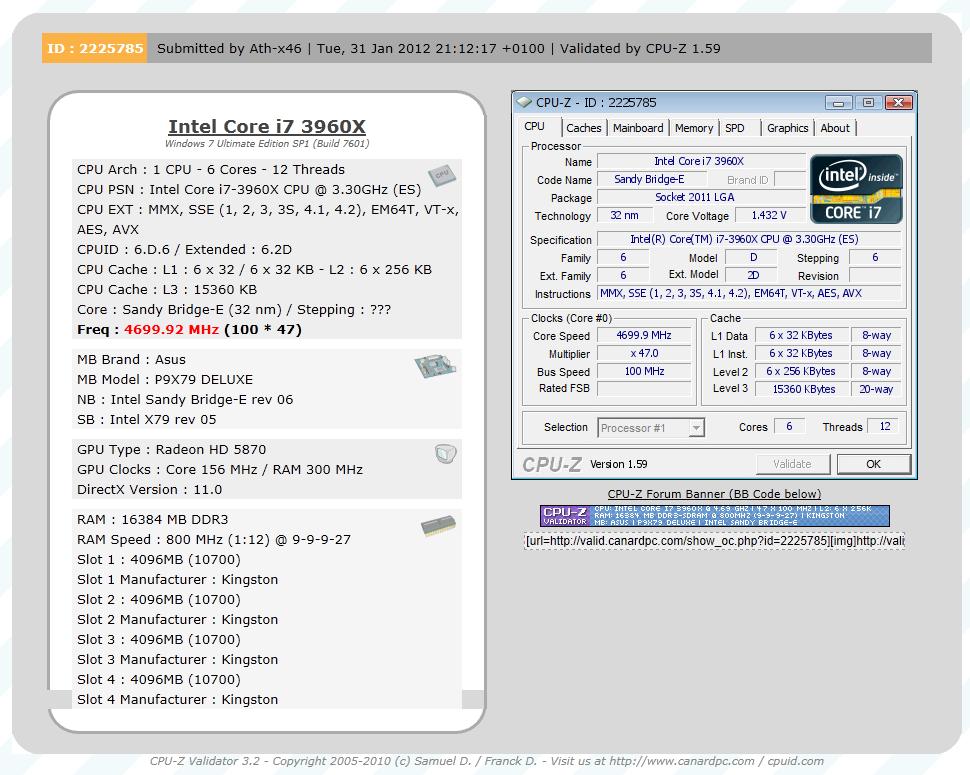
Of course overclocking is a picky subject. I can buy to identical CPUs from the store and they will not always perform the same way under stress. This is the same with motherboards, RAM and GPUs. So again it is important to keep in mind that our results represent a specific hardware configuration. Yours may be similar but will rarely be identical.
Overclocking Tools -
Asus’ overclocking tool is actually called TurboV EVO, but is part of their suite of Tools called AISuite II. This group of tools has more than just a Windows based overclocking utility. We will cover the overclocking related tools here and then talk more about the other tools in the next section. To kick things off we have said it before and we will say it again; not since abit released their first Windows based OC utility has there been set of tools that we like the look of better. TurboV EVO is just plain clean. Asus did not go for a ton of flash for this utility. The controls are easy to navigate and also easy on the eyes. 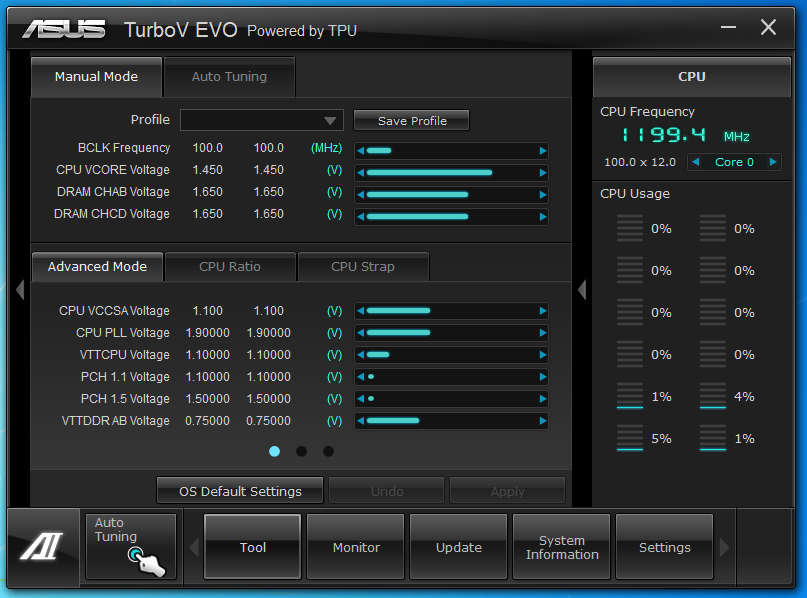
The layout almost looks like they borrowed it from some of the more popular animation and video editing programs on the market. The day grey background contrasts nicely with the blue green indicators.
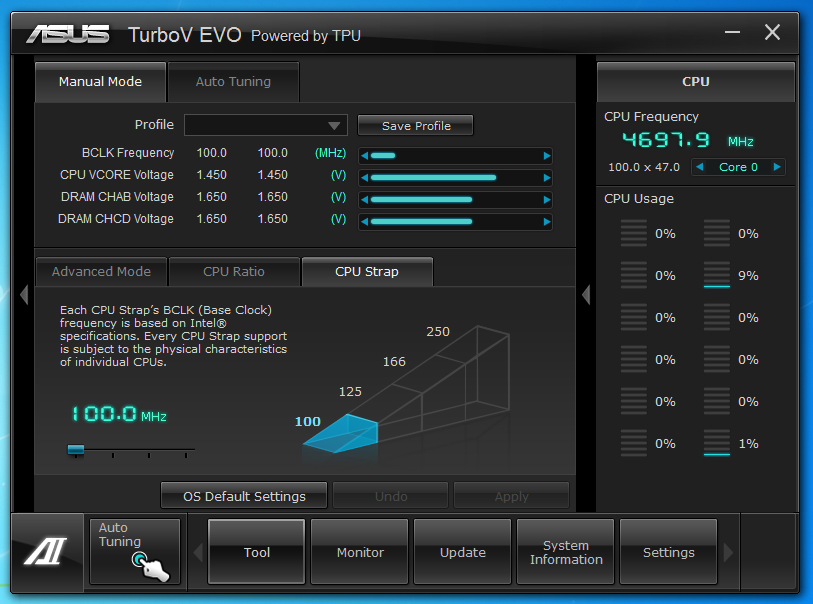 Asus offers almost every setting you could want… except the ability to change the memory multiplier. This is one item that has been lacking for a while. However, we have found that in order to change this one setting you would have to reboot before it applied which made its inclusion unnecessary. Personally I would still like it available, but I can see Asus’ point. A new item that comes with the X79 and Sandy Bridge E is the ability to manually change the mounting or boot strap of the CPU BLCK. This is a handy little feature that can help you get a higher CPU and Memory overclock. The performance difference between the default and the higher straps is non-existent when tested at the same frequencies, but testing has shown that even bumping this up to 1.25 (125MHz) can help you get just a little more out of your CPU and memory.
 |
 |
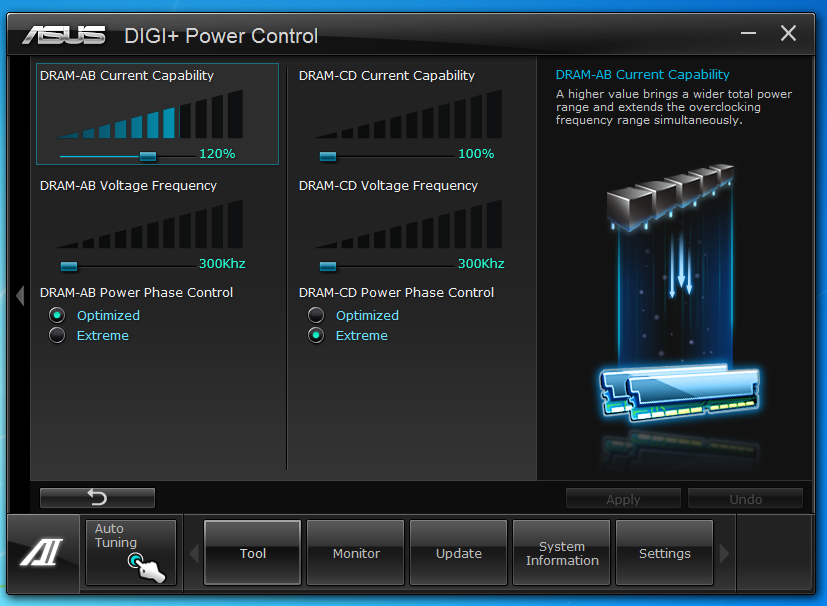 |
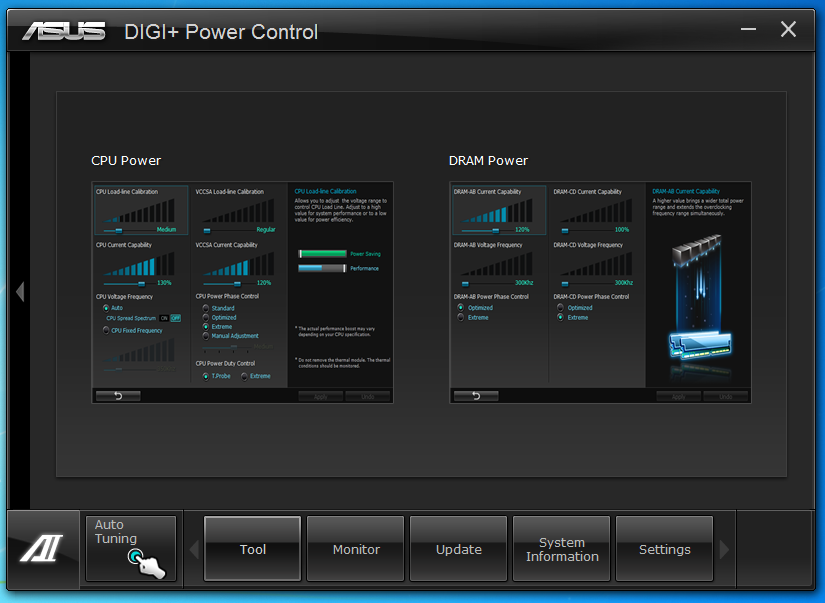
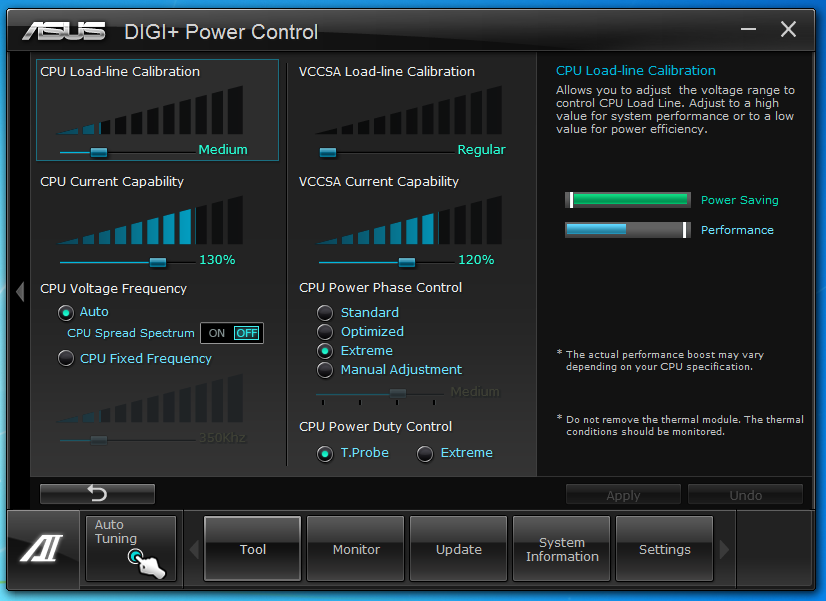
Our next OC tool comes in the form of Asus’ Digi+ VRM. Here you have two options; CPU and DRAM. Each one will have adjustments that will increase the stability and/or performance of these two components. By splitting these two options out you can concentrate on them a little more and tweak for specific items. The adjustments you see in the pictures here are what we had setup for our 4.7GHz stable OC and are the same for the 4.8GHz attempts.
 |
 |
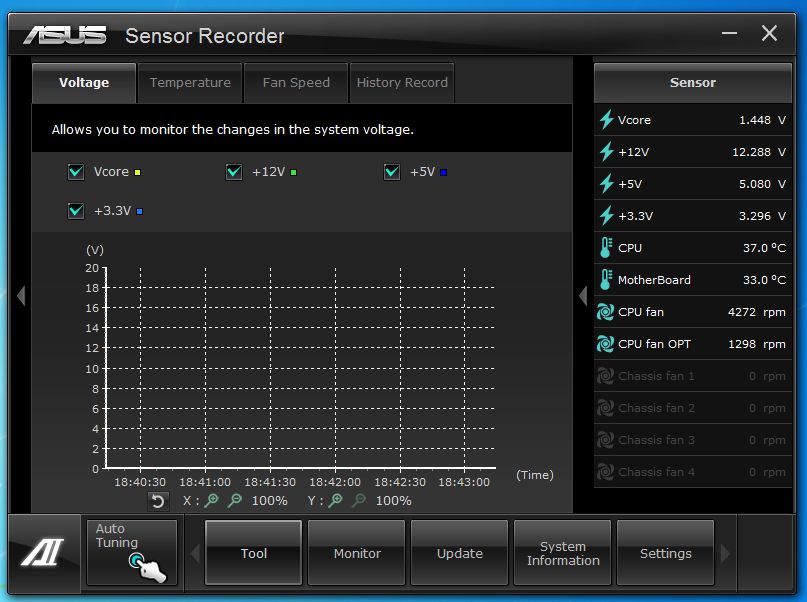 |
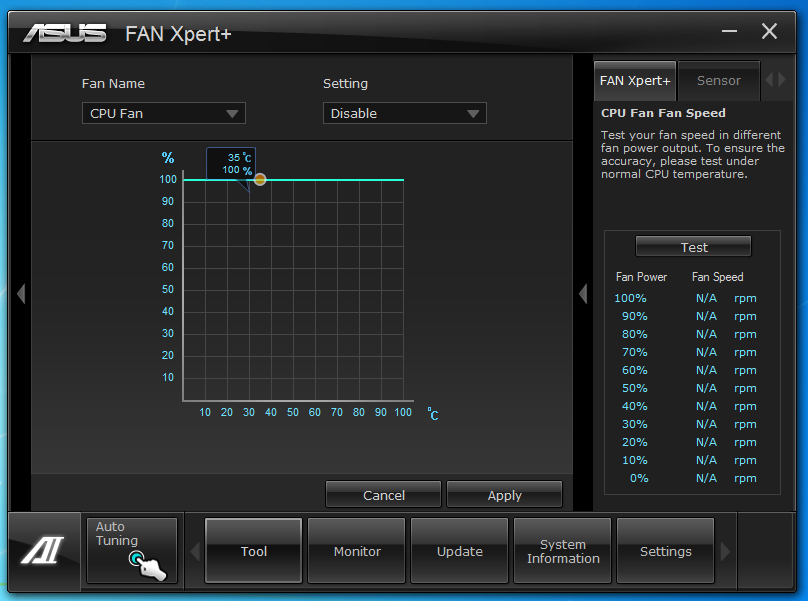
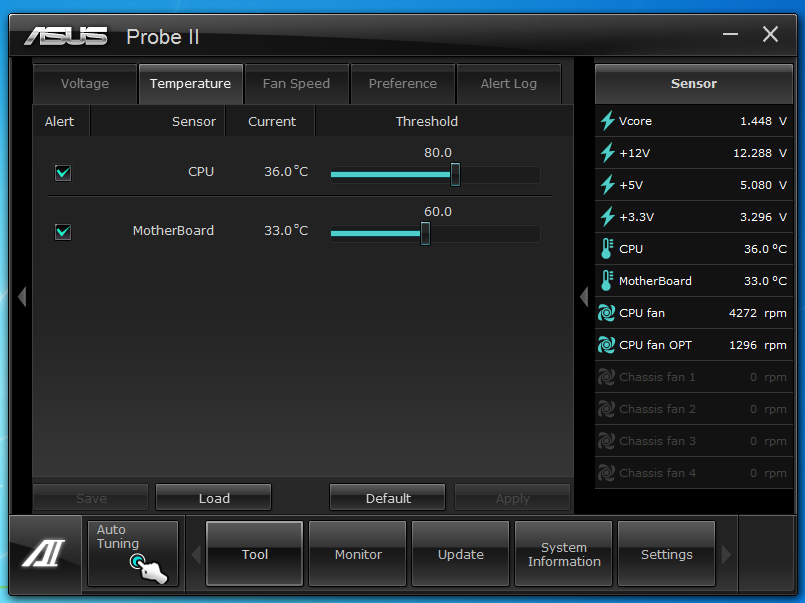
The last three items of interest to the serious overclocker is the Fan Xpert, Probe II and the Sensor Recorder. These three items are more about tracking changes and making sure the system is stable, but are very handy to have running when you start to push your CPU and other hardware.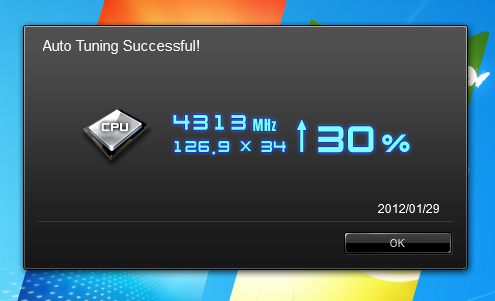
One last item we want to talk about is the Auto Tuning feature of Asus’s AI SuiteII. We have played around with this and found that while it can give you a nice boost to your CPU speed it is also not going to change VIDs on the CPU or drop more voltage into your VCCSA or VCCIO. Because of this it is often limited by the maximum speed of the memory that you are using in your system. In our case we have Kingston HyperX memory with an XMP Profile for 1600MHz. as such the auto tuner will not push our CPU to a speed that would exceed that memory speed. We ended up with a 4.3GHz OC using the Extreme setting. This is not too terribly bad considering that our Max clock was 4.7GHz.

