Configuration -
The WAP720/730s can be configured independently or as a group when they are connected in an Ensemble. Both look very similar so the screen shots we will include here are representative of what you will see once a group is set up.
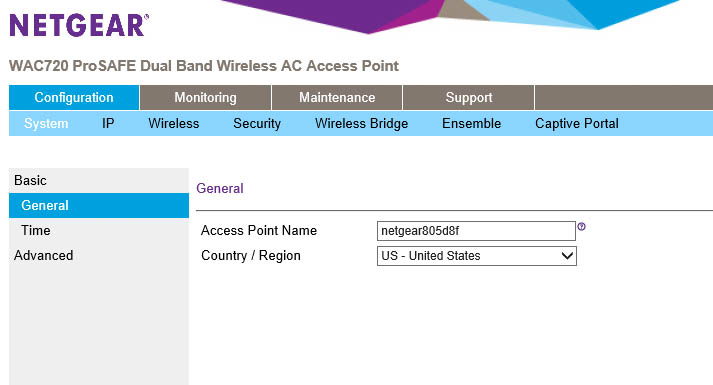
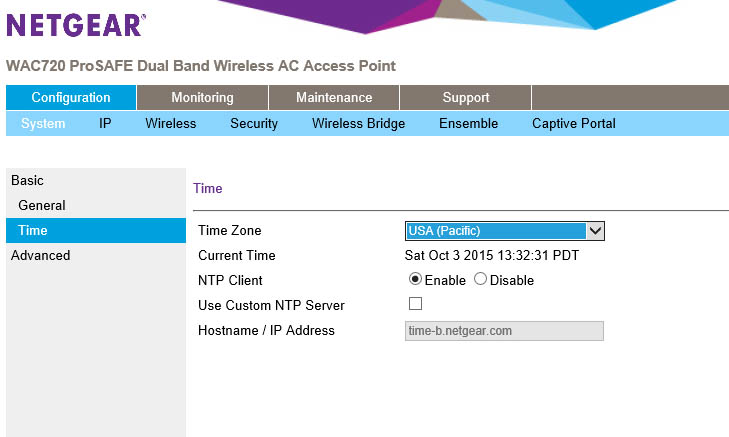
The System area lets you configure things such as the name, time and also a few advanced elements to the AP.
 |
 |
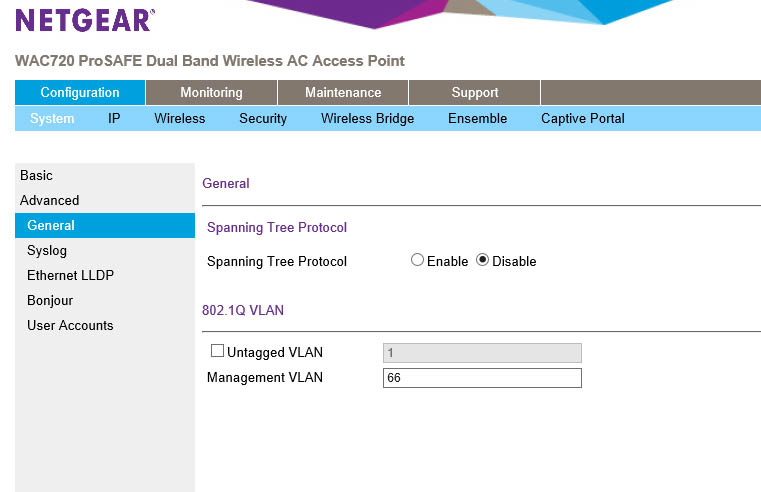 |
Under advanced you can enable STP (spanning tree protocol) as well as identify the management Vlan that the actual AP will run on. The option for a single “untagged” Vlan is there so that you can push a native Vlan on a trunk in certain environments. For us we did not need to use this as all of our test Vlans were tagged at the access switch ports.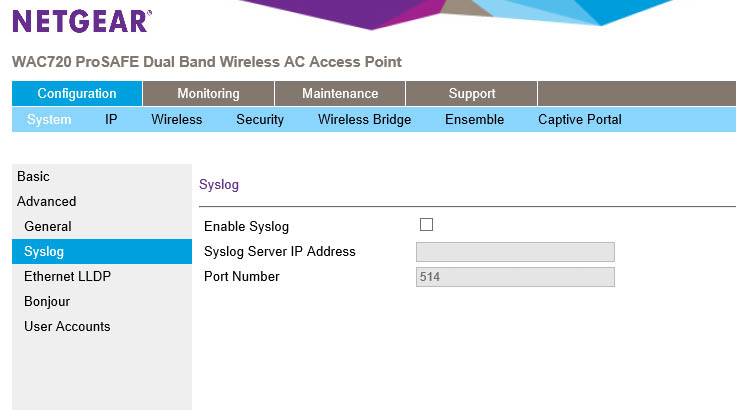
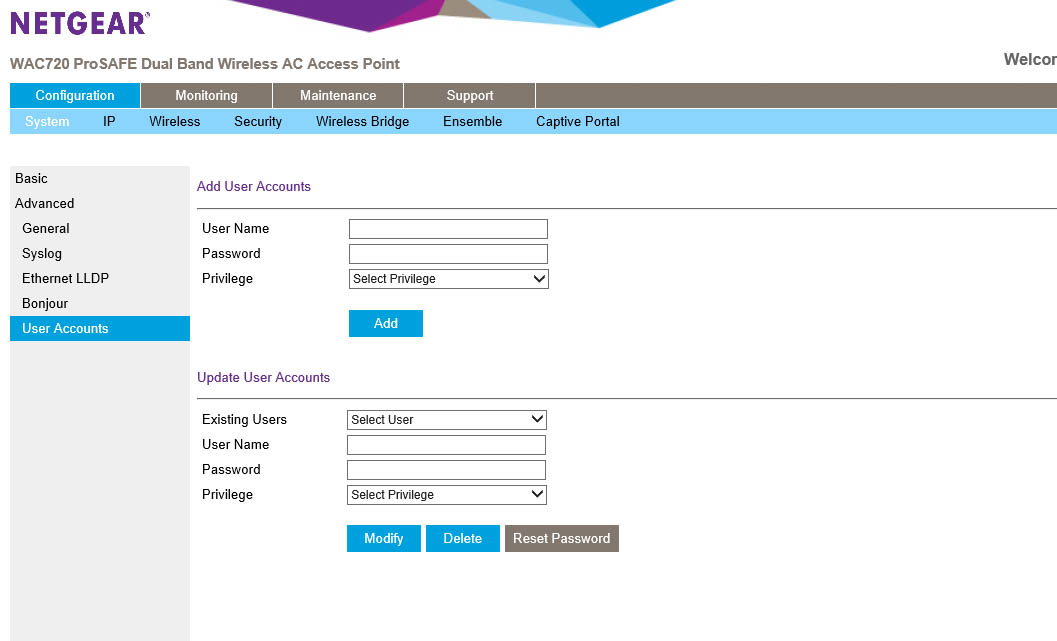
You can also ship logs to a syslog server, setup up LLDP (link Layer Discovery Protocol), configure Bonjour and setup local users for the AP.
 |
 |
 |
The IP configuration tab is pretty much what you would expect.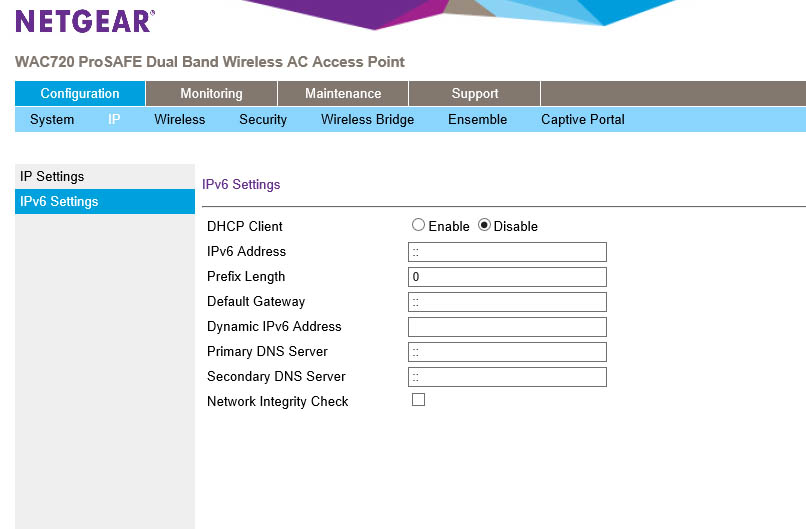
The Wireless tab has a lot more to configure although for most companies you are going to leave a lot of this at default. Notable exceptions would be the Wireless Mode. We highly recommend using 11ng for 2.4GHz and 11na-ac for 5GHz. Allowing a or b modes into your network can create slowdowns if someone actually connects to an AP using that mode.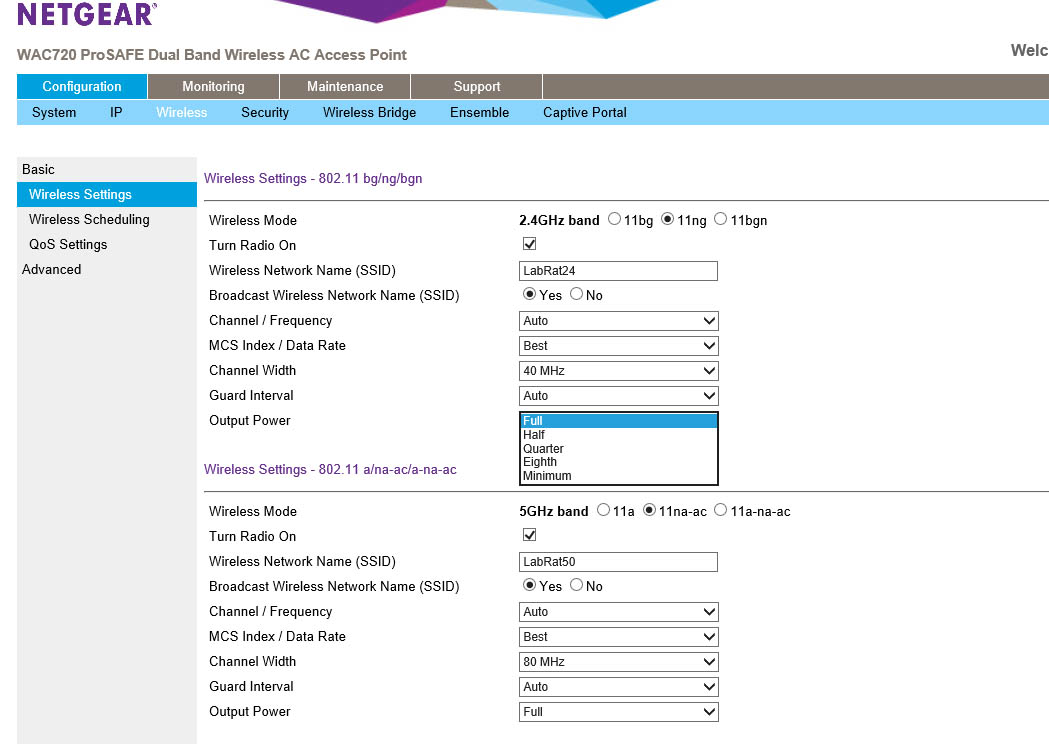
You can also configure the broadcast power. This is handy if you have a smaller area to push the signal out to or you know that APs are going to be close to each other.
 |
 |
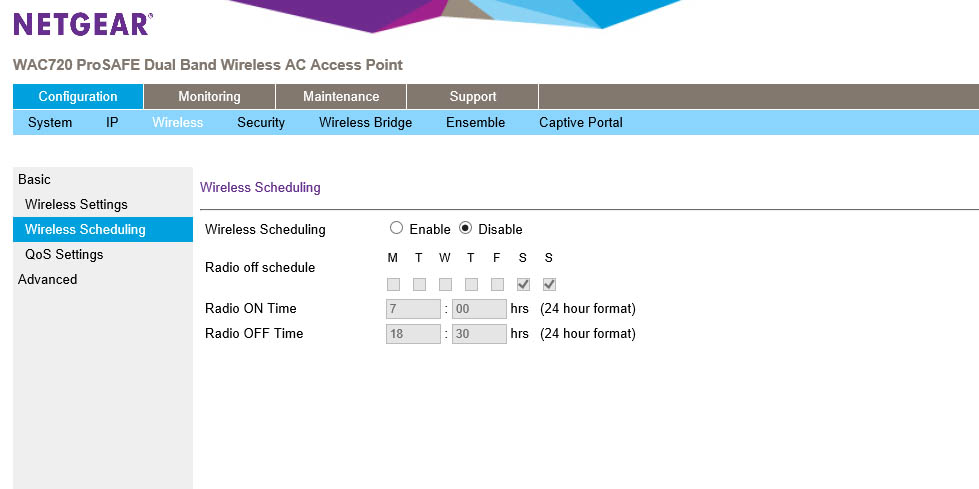
Scheduling and QoS are pretty easy to understand.
Under Advance you get, as you guessed, more advanced options. Here you change the antenna type as well as enable Frame Burst and limit broadcast and multicast traffic pushing through the AP. This can be very helpful if you have a flat network where a broadcast storm could bring down your whole organization. The limits that you can set for multicast traffic run from auto to 54Mbps. Your default number of clients that can connect to a WAP720 is 200, but we would also recommend you drop that down to 50-100.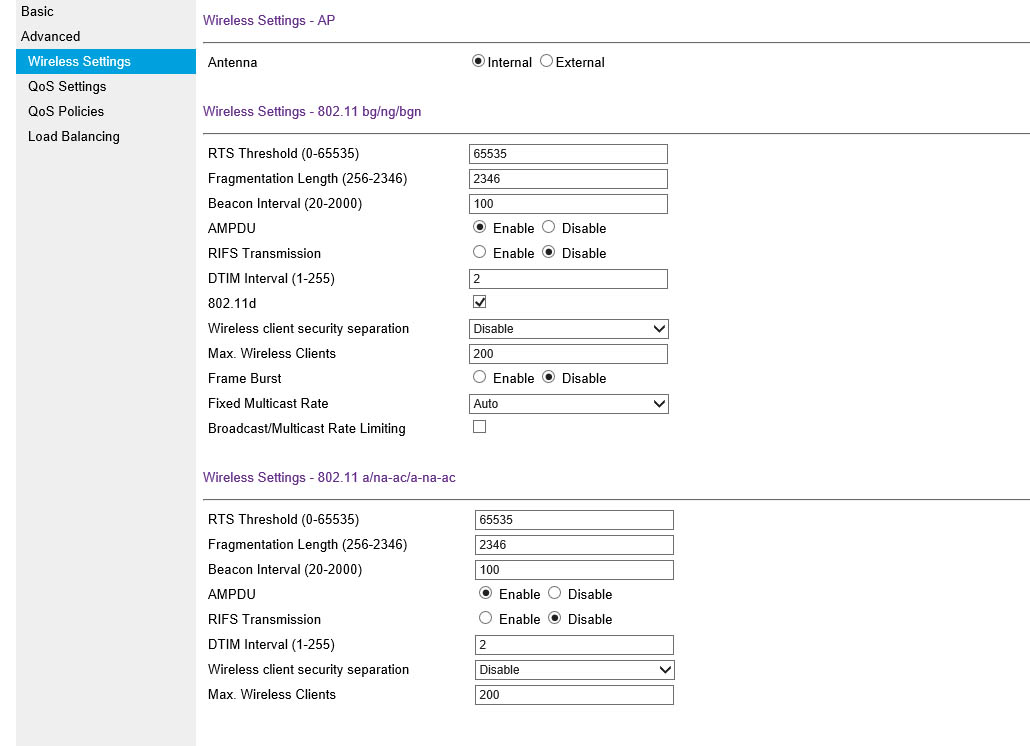
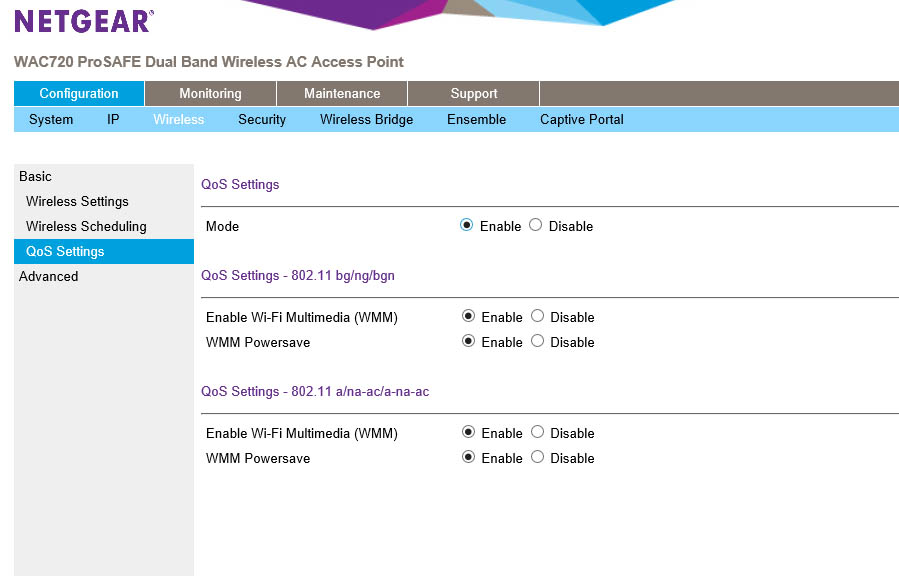
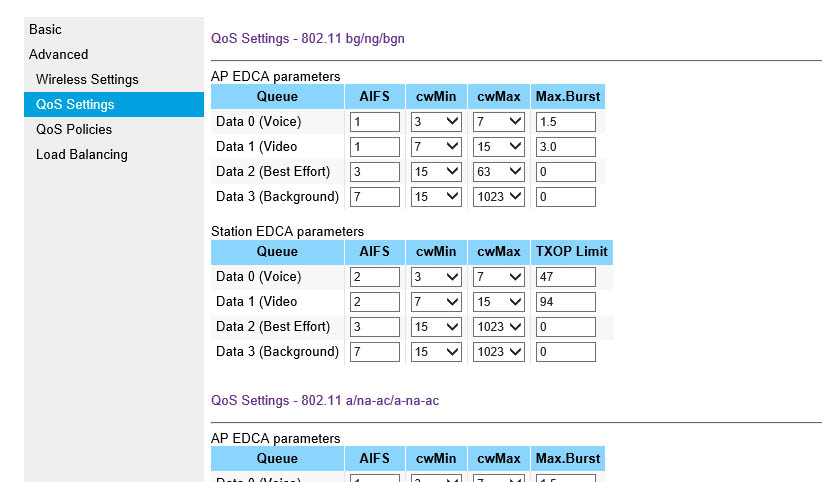
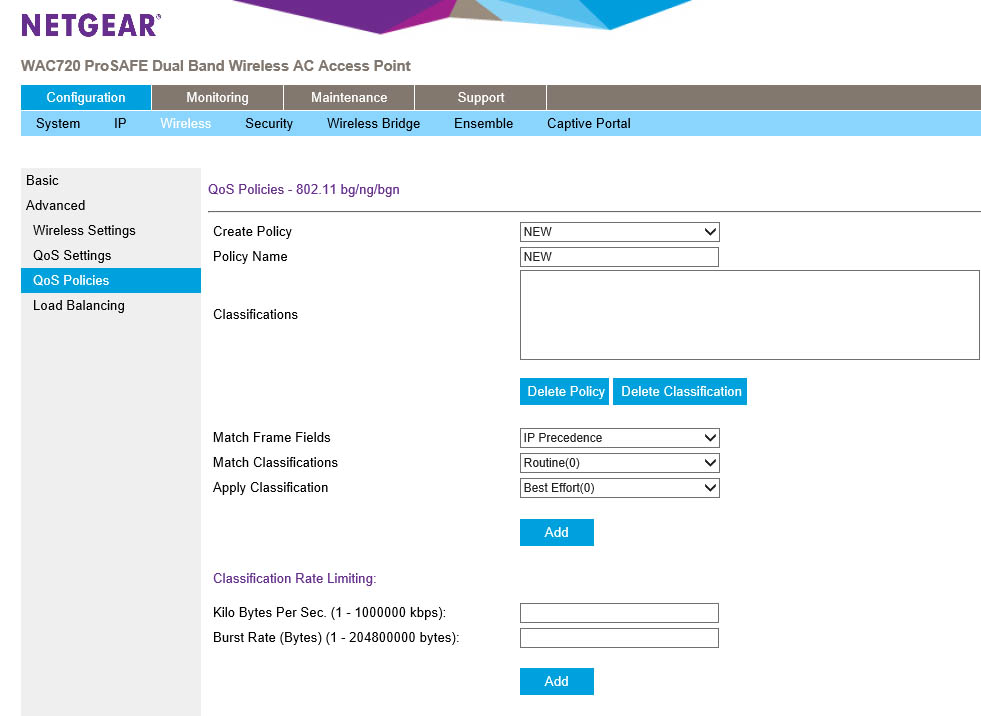
The QoS settings are fairly straight forward and should be left as is unless you have specific needs for a particular band. You can also build your own policy using a combination of the reference settings and your own information. These are applied to the individual SSIDs to make sure each one uses the bandwidth you want them to.
 |
 |
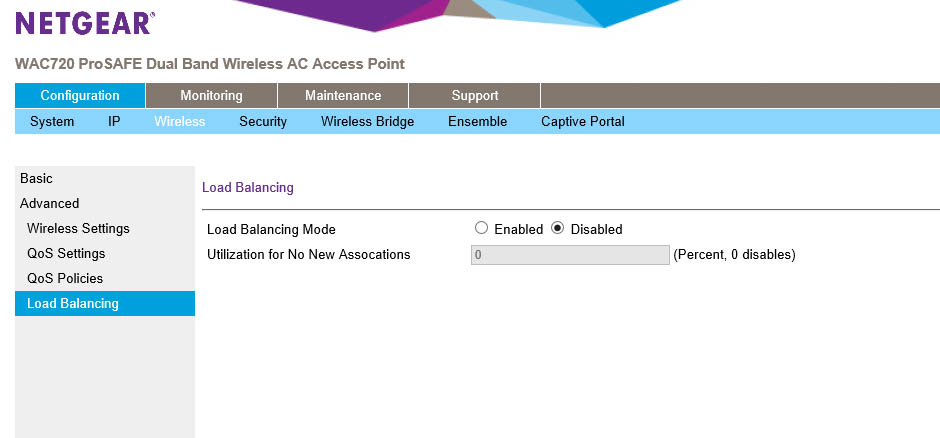 |
Last up is the load balancing page. This page only applies if you have more than one AP in an ensemble group. Here you can set up a limit of the number of associations for an AP. This is based on a percentage of the max connections you set earlier. If you have max connections set to 100 and you want to start shipping people before you hit that you could set this to 80% and it would force the users to connect to another AP after 80 associations.
Under the Security Tab you have quite a few options. The profiles page shows you the number of available profiles for the AP or group. You can set up seven per radio. These can (and should) run on their own independent Vlans for best separation.
 |
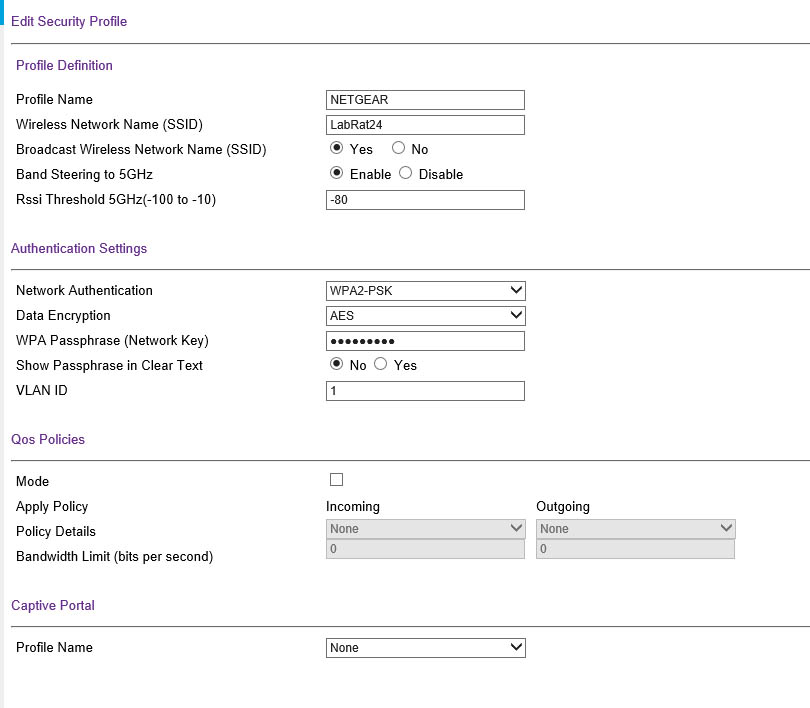 |
Digging down into the individual SSID you can see some options that relate directly to them. This is the SSID name, if you want to broadcast the name or not and also if you want to push people to the 5GHz band. Here you have to set the RSSI (Received Signal Strength Indication) threshold you want this push to happen at. If the user is above a certain power level, then it is safe to push them to 5GHz on the SSID. The default is -70 which is fairly low in terms of signal strength meaning that you can have a relatively weak signal coming from a client and still push them to 5GHz. On this page you can set up the authentication method as well as the Vlan used and any QoS policies you want to implement. The Captive Portal option is if you want to set up an acceptance page or other page that requires someone to click to get out to the internet or on the network.
 |
 |
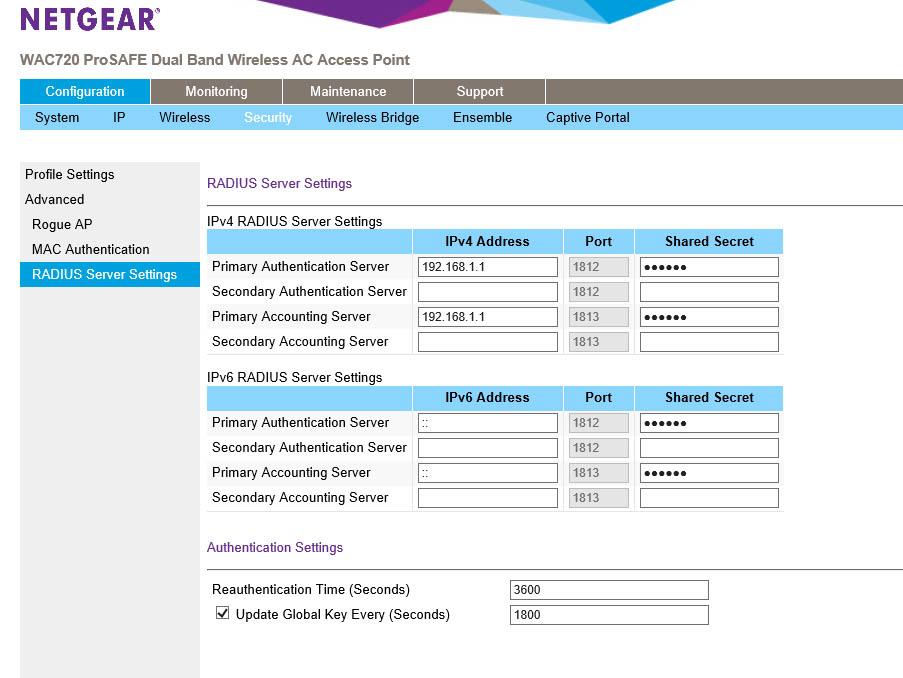 |
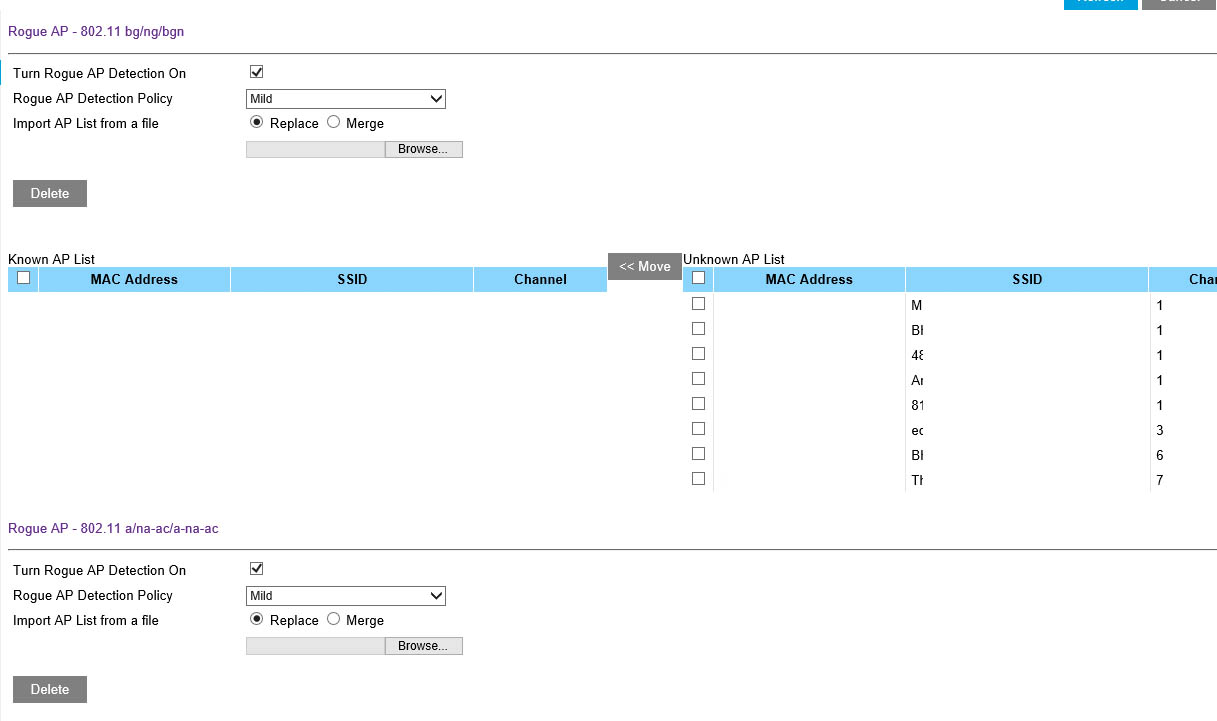
Moving into the advanced settings for the individual SSIDs you can also enable rouge AP detection on each SSID. This covers both frequencies even if the SSID you are working on is only 2.4GHz. MAC and RADIUS authentication for each individual SSID is also set up here. 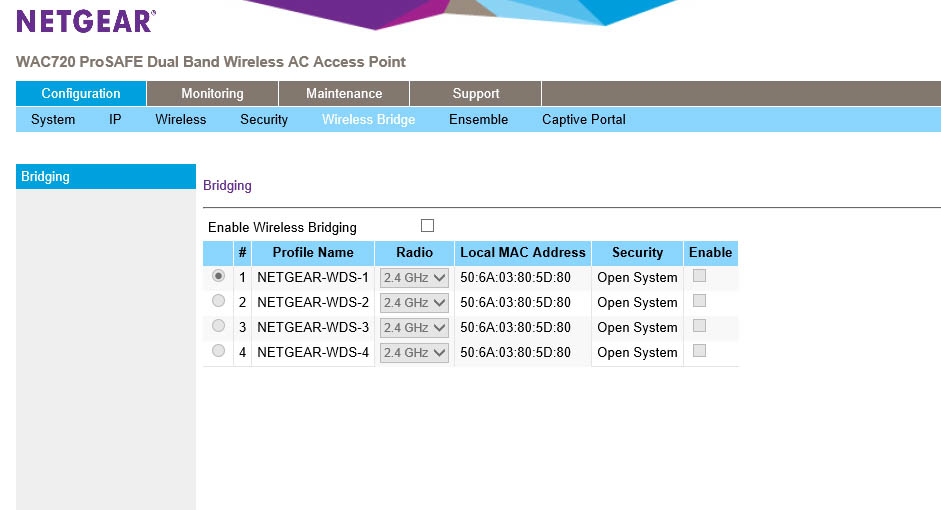 The Wireless Bridge tab is easy to figure out and allows you to setup WDS (Wireless Distribution System) with up to four other APs.
