Ensemble -
Here we have a feature that we have not seen on other WAPs just yet, NETGEAR’s Ensemble. As we mentioned earlier this feature allows you to connect up to 10 WAPs into a single group and control them from a single pane. It is pretty simple to set up and get operational. You just need to enable Ensemble mode on the APs you want in the group and then establish a priority for them. This is all done from the first screen where you add in the AP name and the Ensemble group name.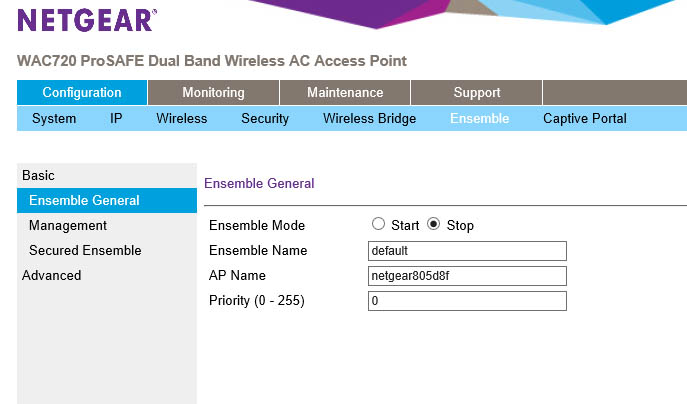
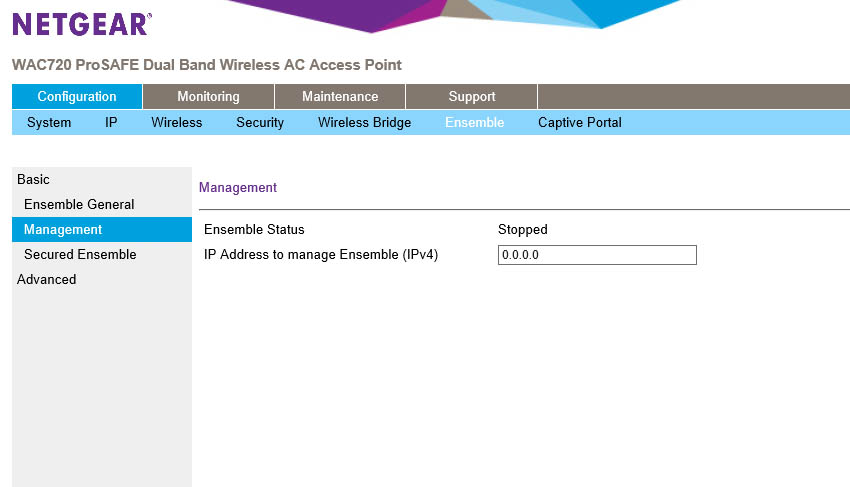
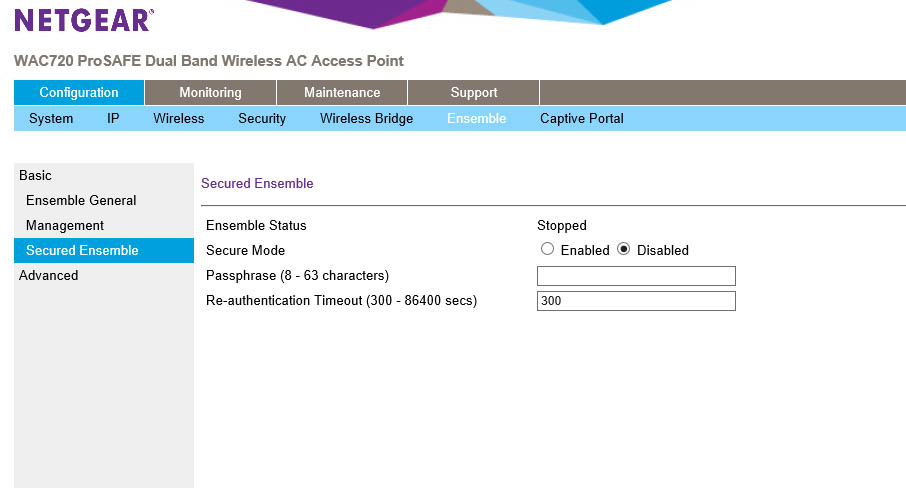
When you first set up the Ensemble group you do need to do a little more though. After turning on the service and then coming up with a clever name you need to establish an IP in the same subnet that you want to use to manage the group. You can also setup up a password so that all of the APs can identify themselves and to make the group more secure. We highly recommend doing this when you first setup the group.
 |
 |
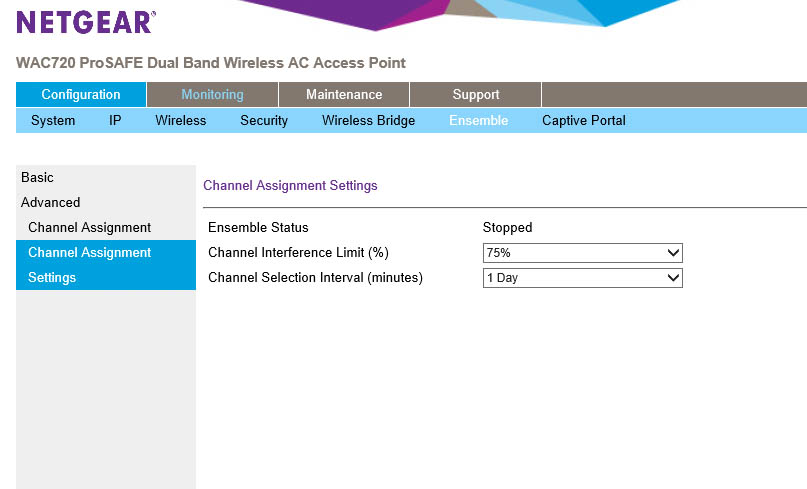
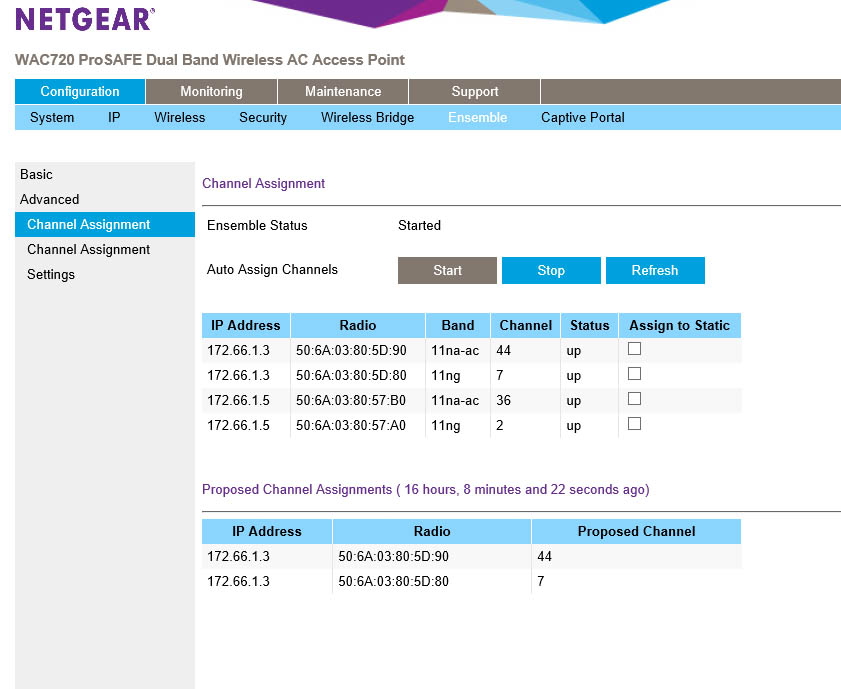
Under the advanced tab are some of the settings that you usually only get with a wireless controller. Here you can setup a channel plan and how to apply it. You can set the channels to be automatically assigned or statically. The trigger that changes the channel is through interference detection on the AP. When it hits a threshold it switches to another channel in the range so that there is no overlap that would affect the network.
 |
 |
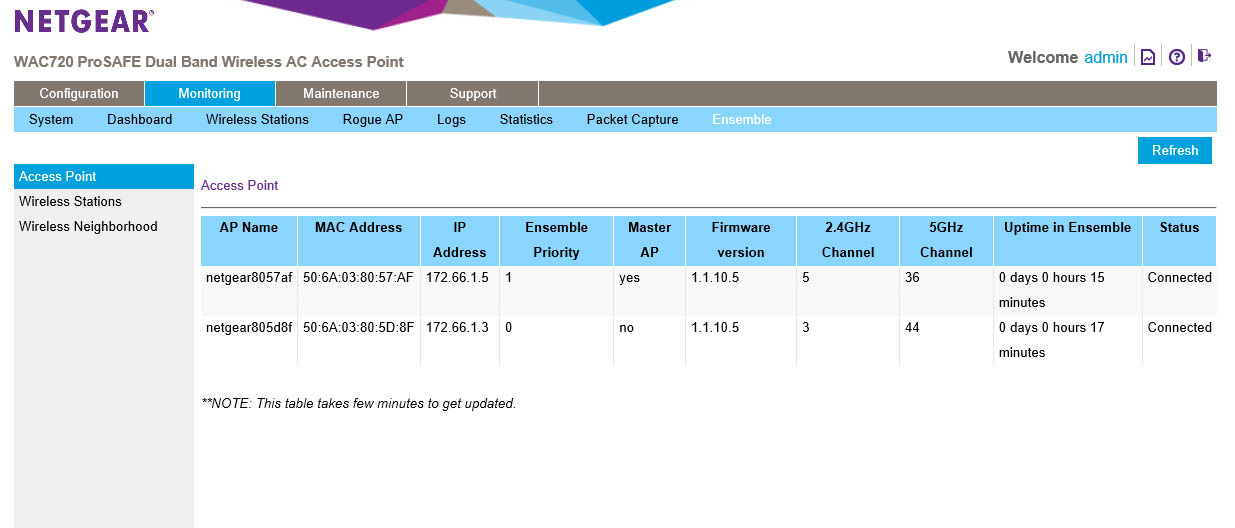
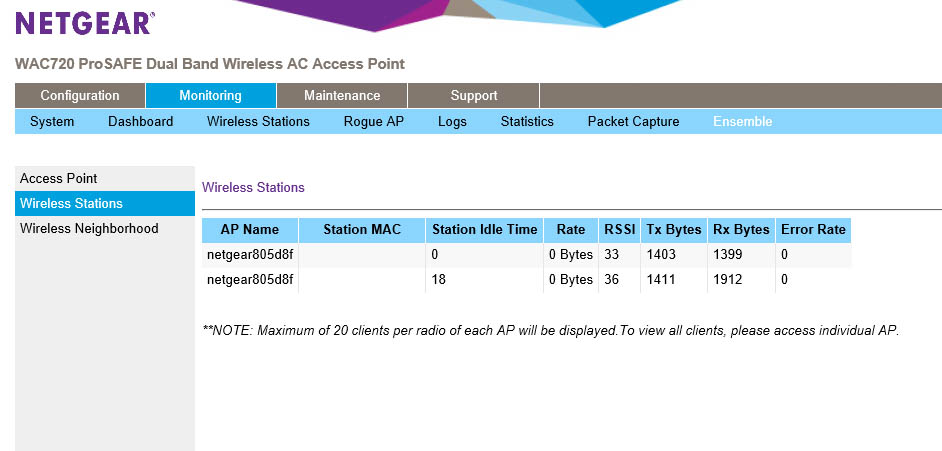
Now once Ensemble is turned on you get some new information available to you on the dashboard. Some of the data is pretty cool and is very helpful in maintaining your wireless network.
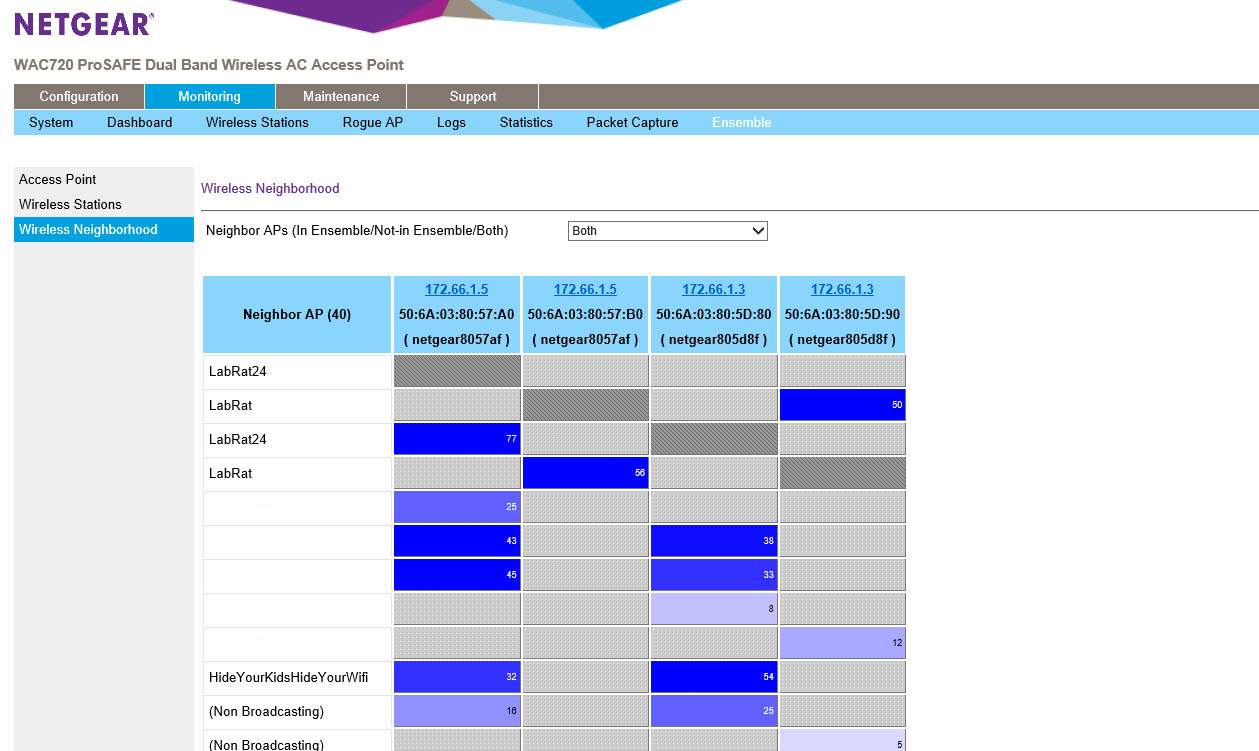
You can see the APs in the group, the SSIDs and who is associated with them as well as any nearby wireless stations broadcasting. On the screen that shows your wireless neighbors it also shows the channels they are pushing their signal out on and which AP (and frequency) they are impacting the most. The numbers listed are the RSSI for each broadcast.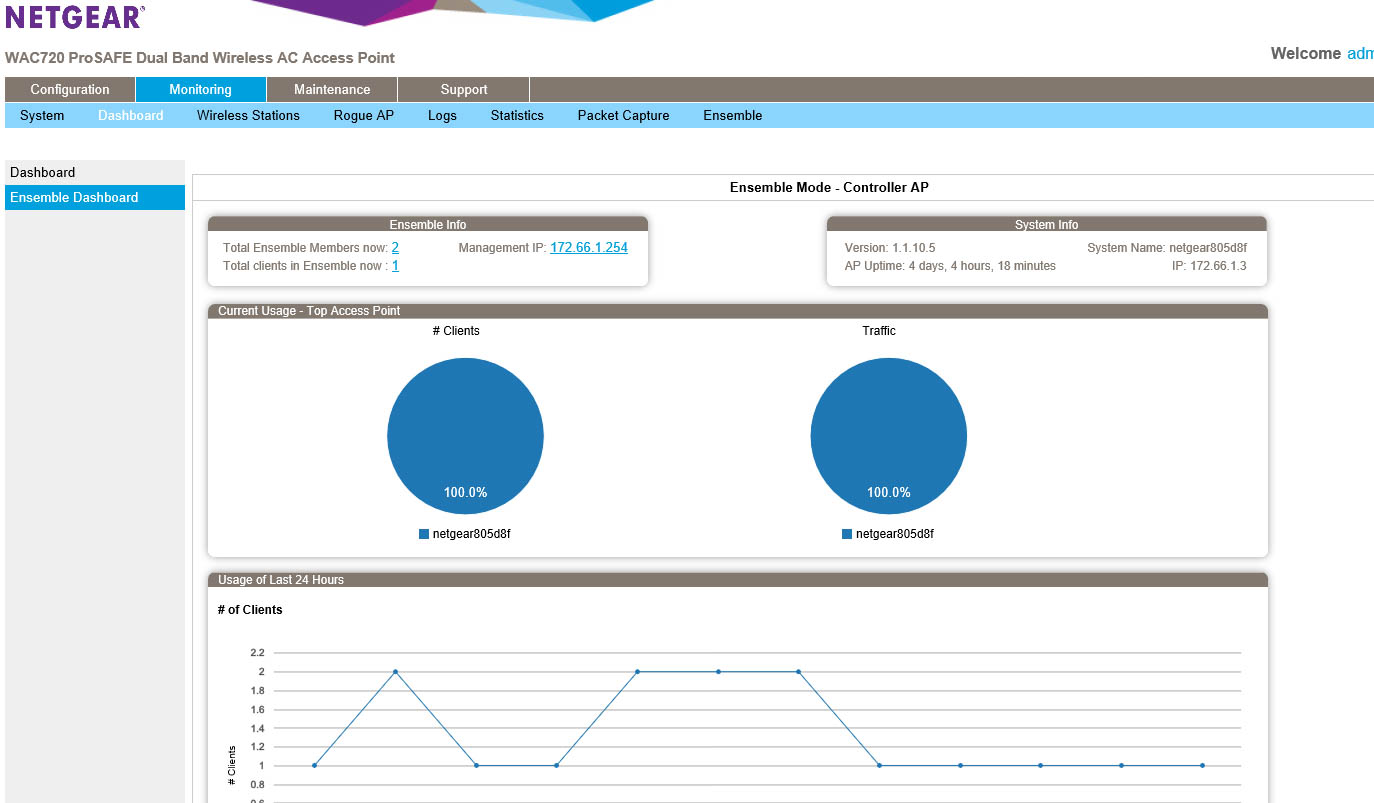
 |
 |
 |
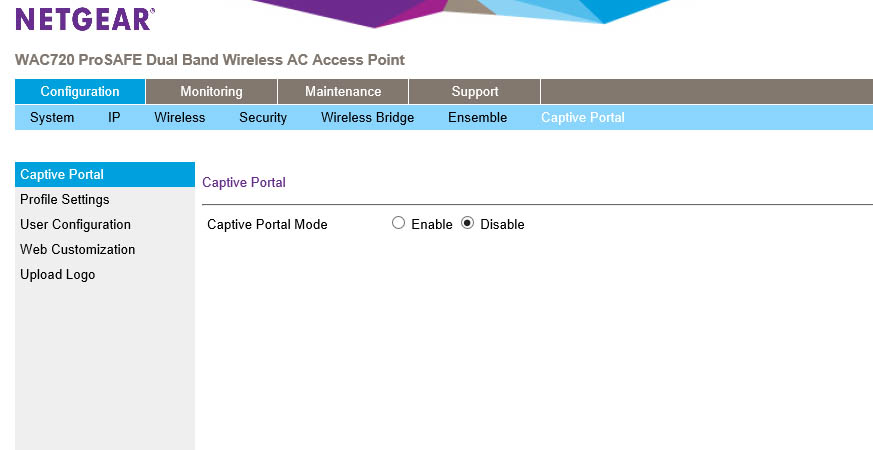
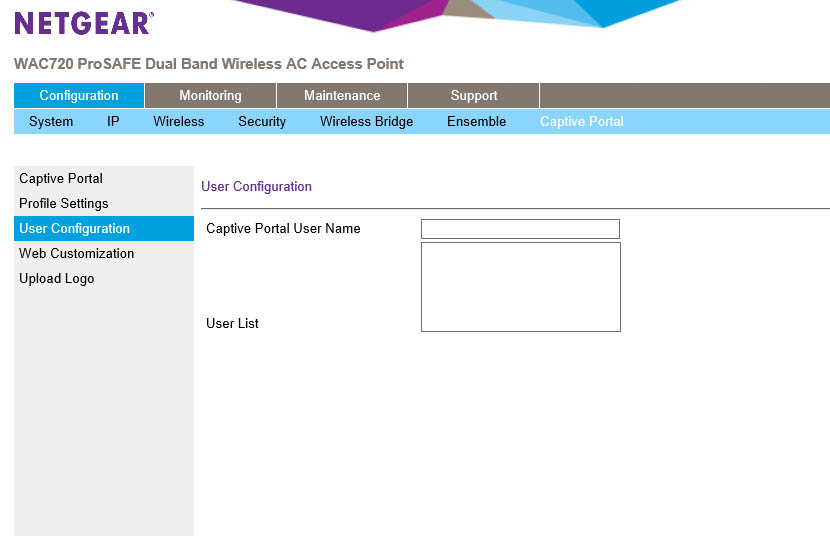
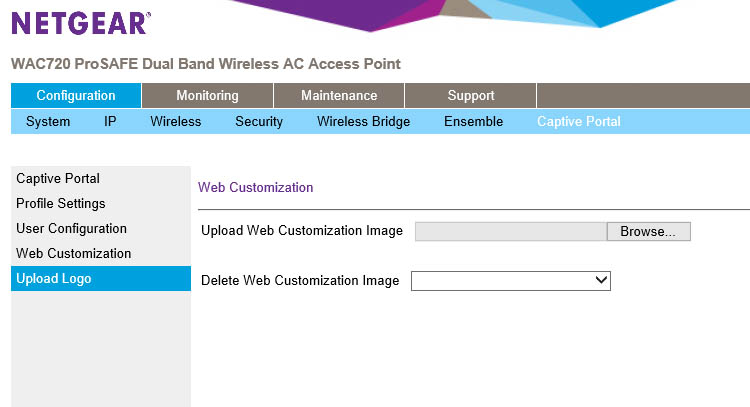
The last item on our list is the Captive Portal. This is the same item that you see when you use most hotel or public wireless systems. It is a web page that is designed to show terms and conditions of use, but also to show your users what you might be doing to their traffic. If you use any sort of packet inspection, IDS, IPS etc. then you should be listing that here and requiring that the use acknowledges it before allowing them access.
 |
 |
 |
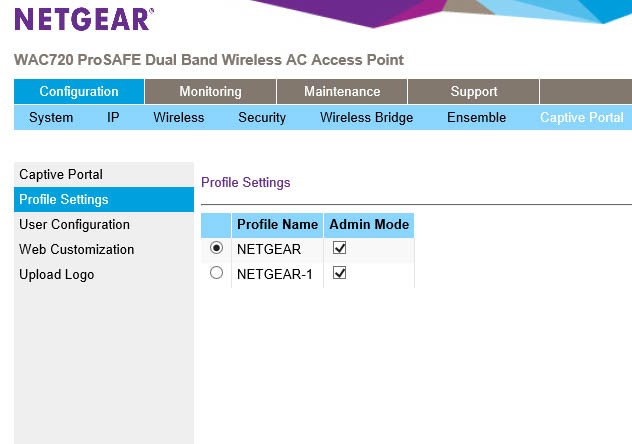
You can apply a captive portal to different wireless profiles (after you configure them) when they are in admin mode the portal is should be shown. When you select a profile you can the edit the settings including redirecting a user to a certain page after login. You can also choose a few authentication methods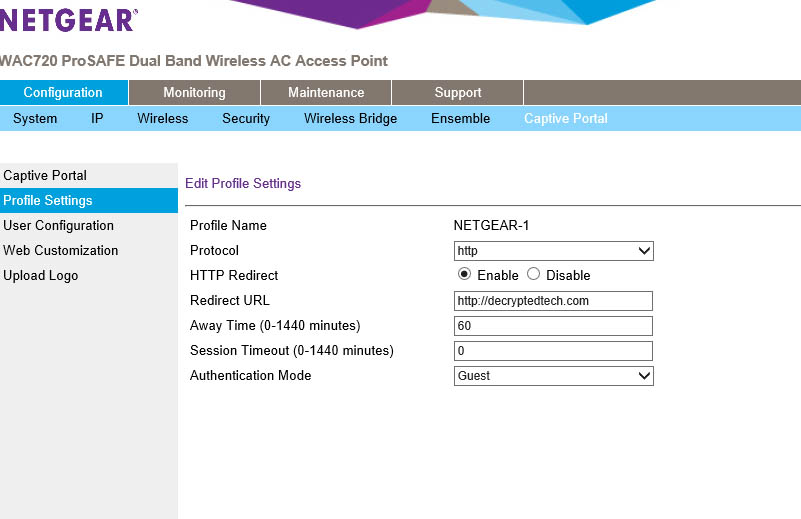
The rest of the screens are designed to allow you to create your own captive portal and add users to the local database for the system to use for authentication.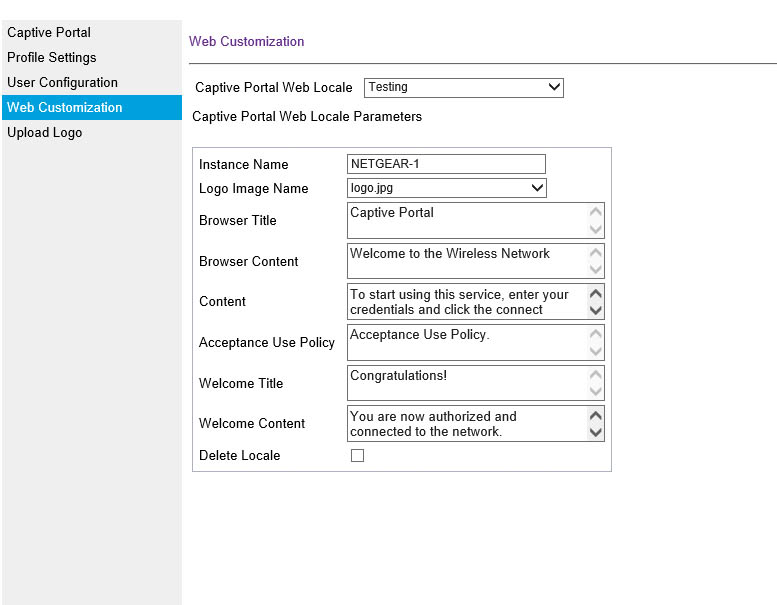 Unfortunately we were not able to get the captive portal function before the deadline on this review, but we are actively working with NETGEAR to identify the issue and resolve it.
There are only two more tabs left to cover and one of maintenance and support.
On the maintenance page the only thing of note is the ensemble upgrade. This handy little feature allows you to push out code updates to all APs in an ensemble group meaning you do not have to update WAPs one at a time.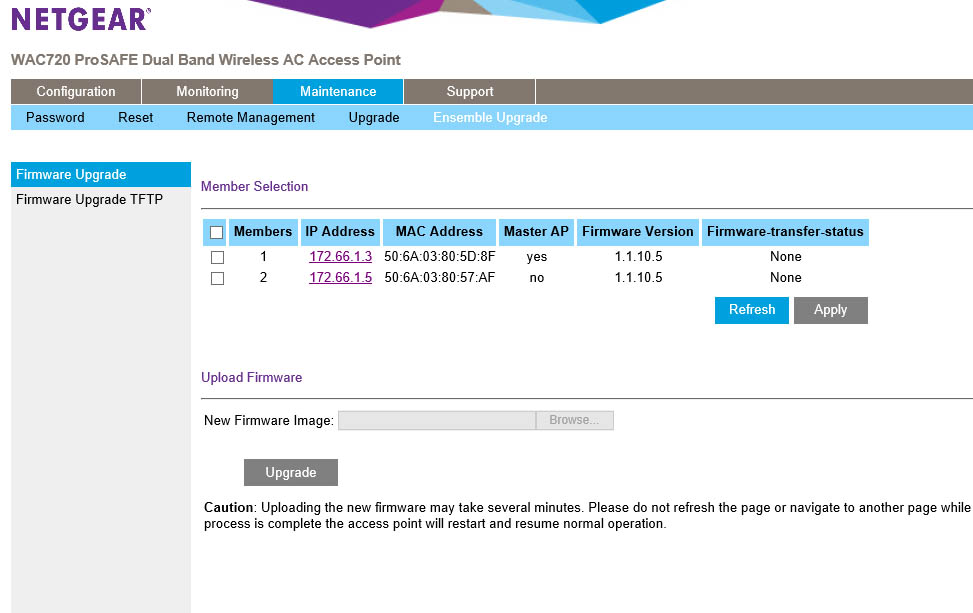
All in all, the NETGEAR WAP720/730 looks to have a number of features that should appeal to a lot of small businesses. Now let’s see just how well they performed.

