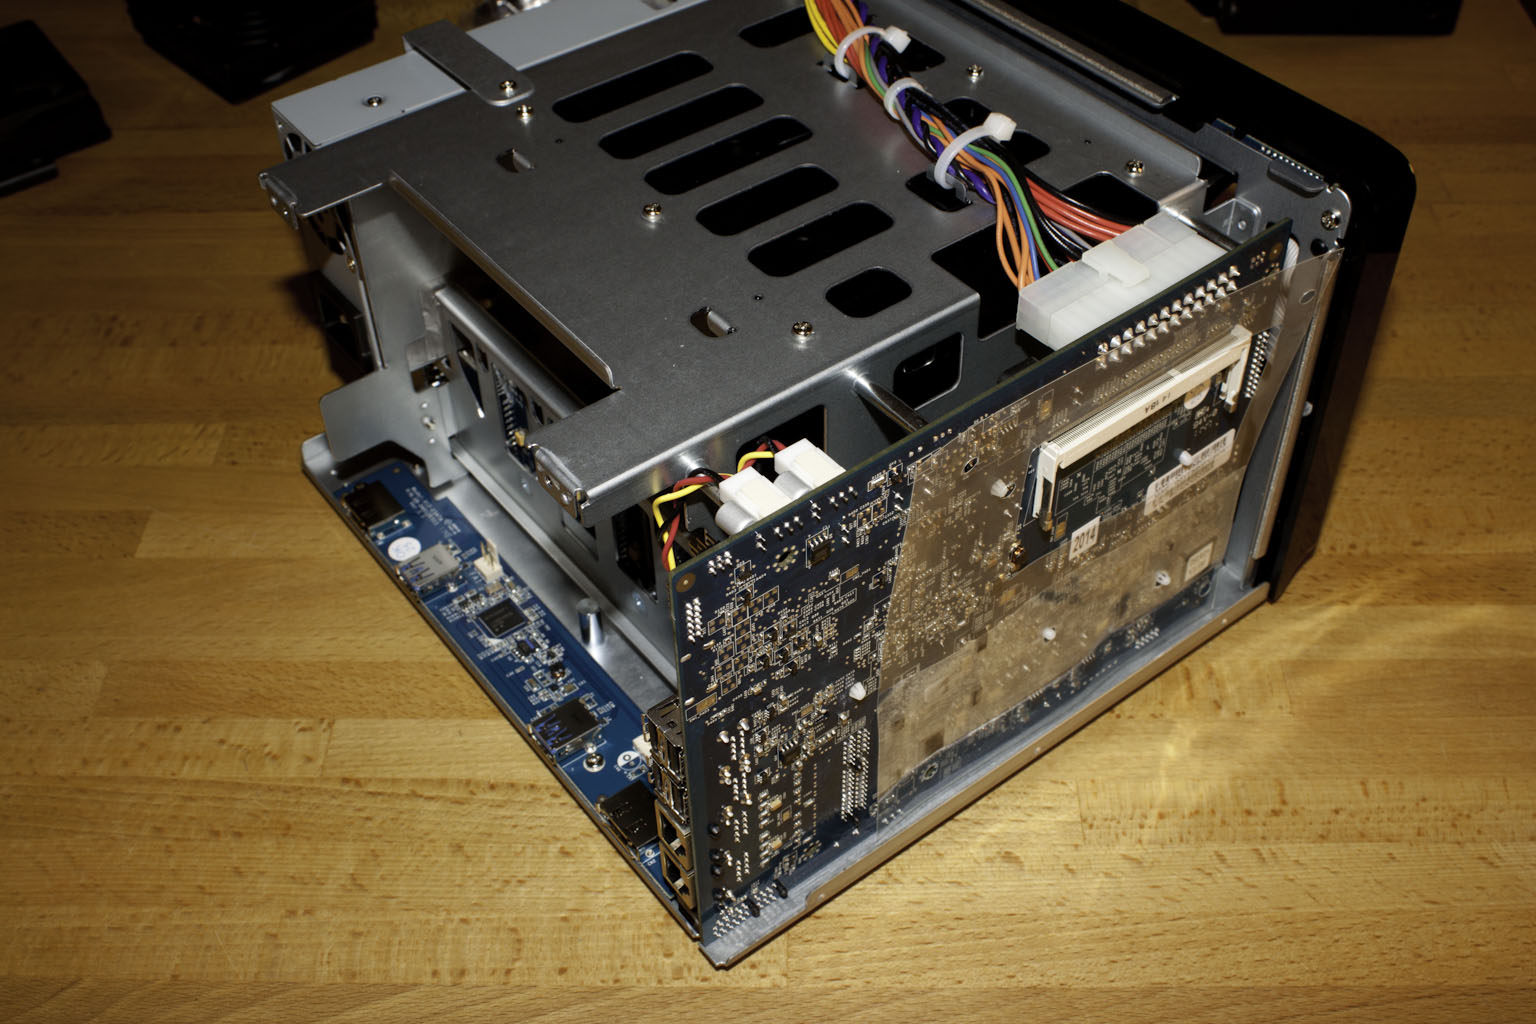
 As the push for cloud based storage and services becomes greater we have been taking a look at the value of these from not only a monetary view, but also from a privacy and security view. To this end we have been tinkering around with a few Network Attached Storage Devices (NAS). One of our first is the Synology DiskStation DS1512+. We have already
 Control Panel -
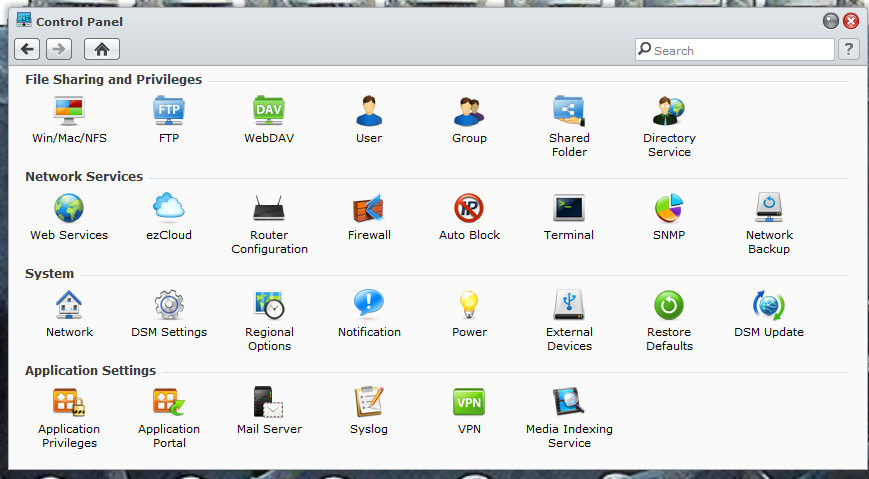
In this window we find all of the tools and utilities that make the DS1512+ so flexible. Synology has broken the control panel down into chunks (it looks a lot like OSX to be honest) to make it easier to navigate around.
File System and Users -
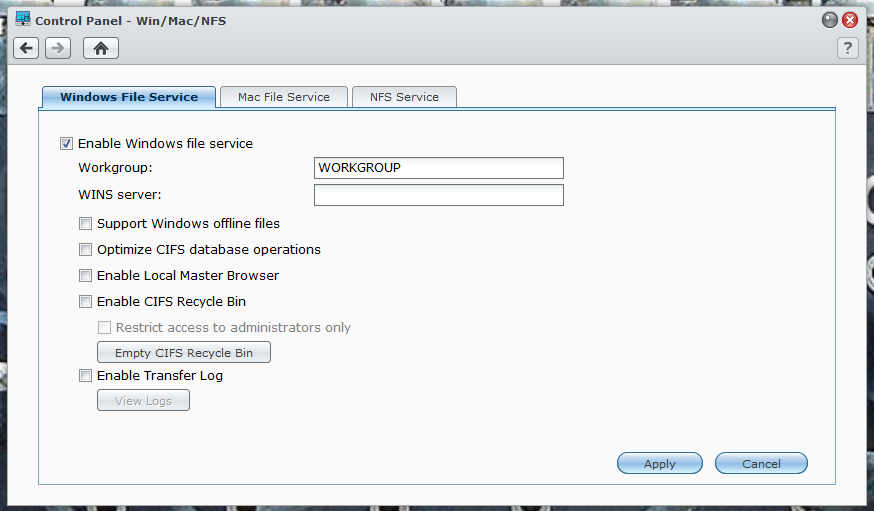
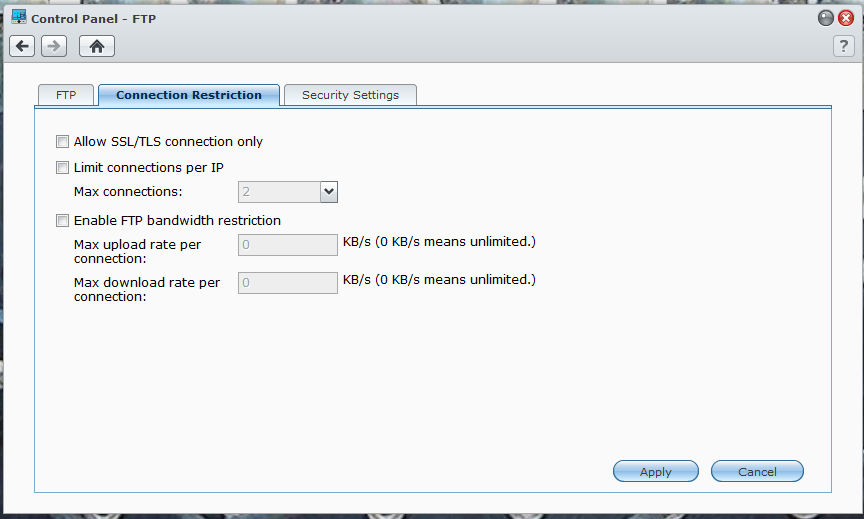
At the top of the window are the file sharing and privileges options. Here you can setup Windows, OSX, NFS, FTP, WebDAV shares and permissions. The FTP options are very nice as they allow you to force connections to use SSL/TLS for security.
 |
 |
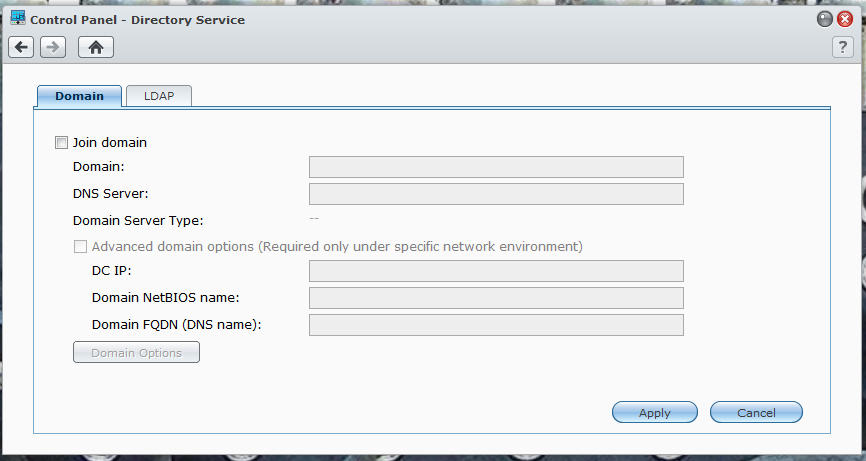 |
The user and groups options are self-explanatory so we will not get into them here; we have also already covered the options you have in the shared folder option. For Directory Service here are your options to connect to a Windows domain through active directory or the Lightweight directory access protocol.
Network Options -
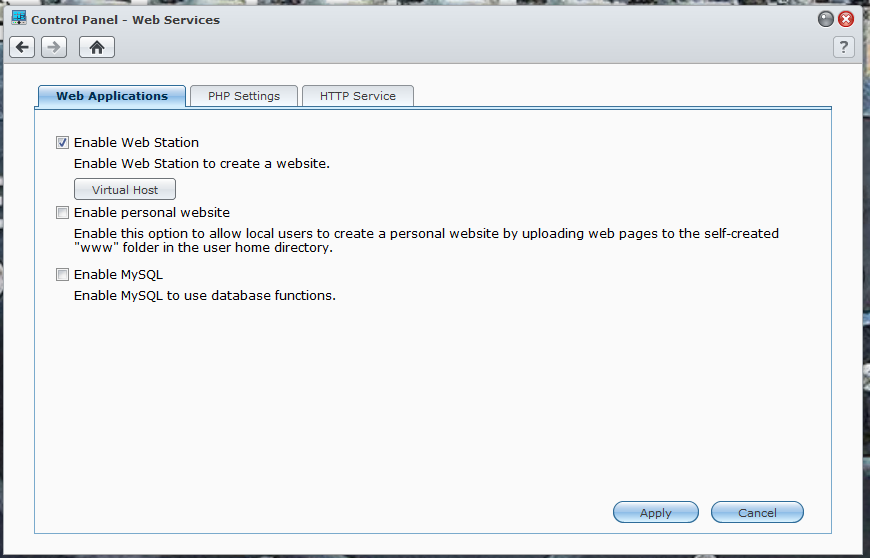
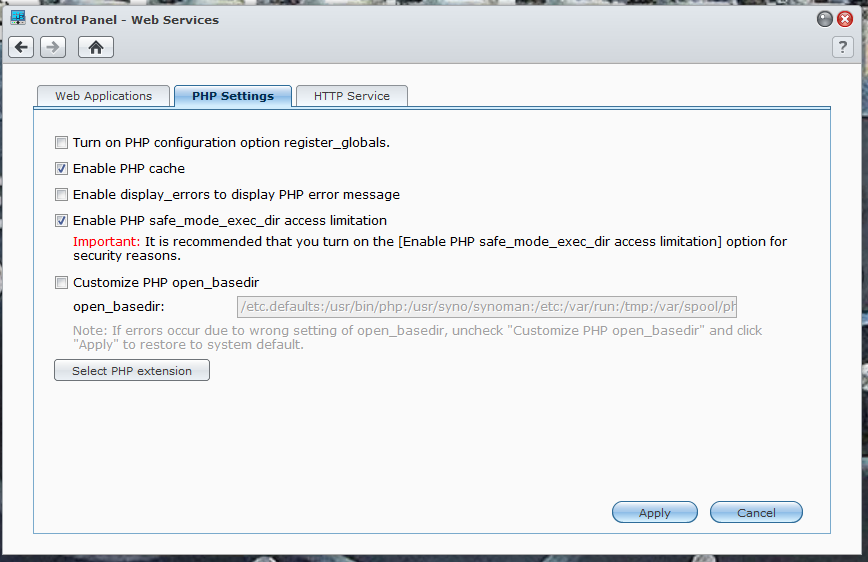
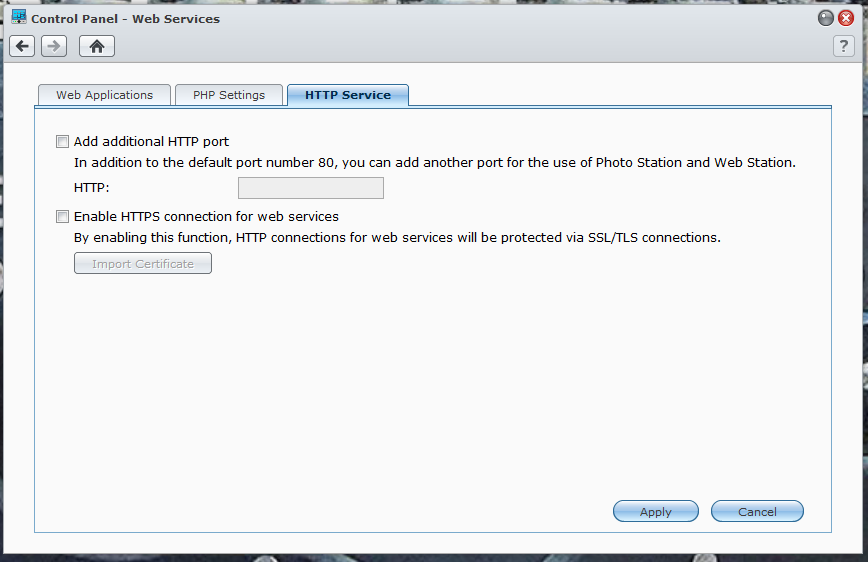
Moving down from there you have even more options, but these are for the network services. You can setup web services (yes it will become its own webserver). Here again you have some decent security options and can setup solid PHP security to protect your files and the DiskStation.
 |
 |
 |
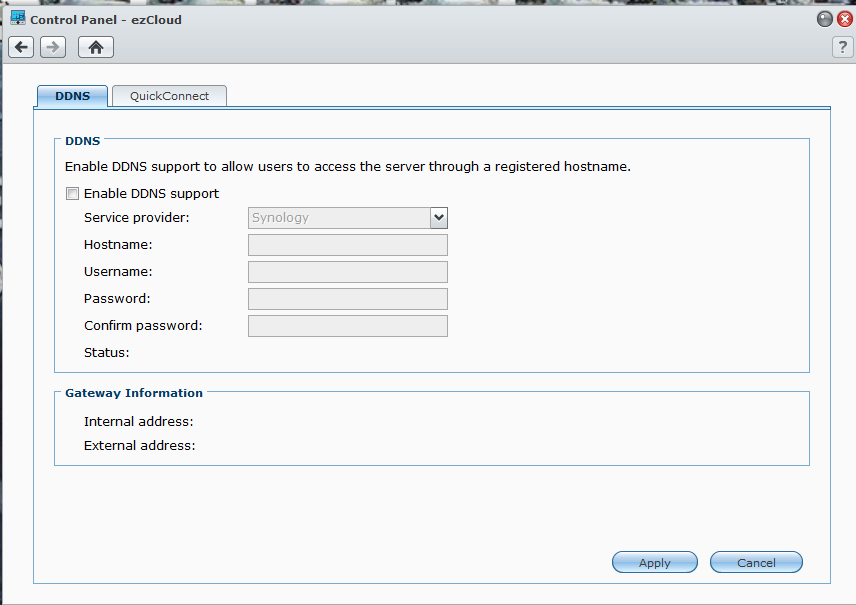
The ezCloud option lets you publish certain services to Synology’s ezCloud service for quick access via the internet. As part of the setup you can also register a dynamic DNS domain name with Synology to make connecting back to your DiskStation that much easier. The DSM software also has a quick connect feature that allows you to easily setup paths to your data without the need to tinker in your router. Synology does recommend that you setup port forwarding for best performance, but you do not have to with this service. Now, this means that your DiskStation can become your own personal cloud for file access and more.
 |
 |
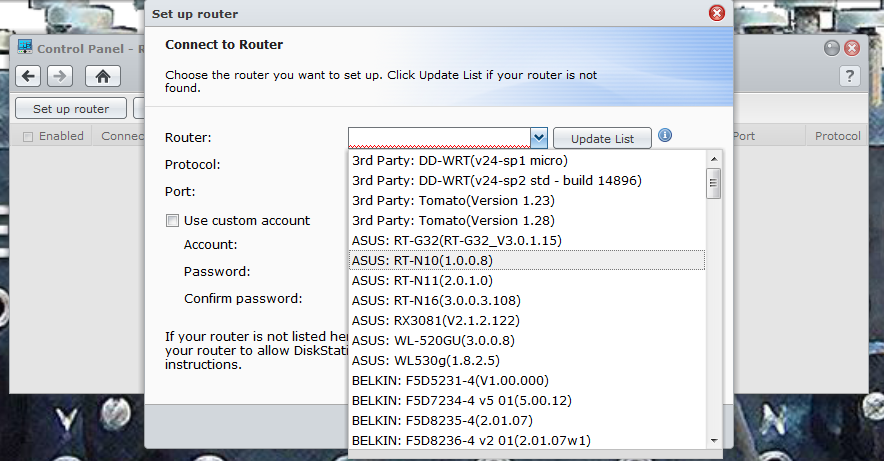
The router option allows you to control access to your DiskStation without needing to connect directly. Your particular router must be on the list to make the connection and to control the device. Our router was not listed as the list currently only includes residential products.
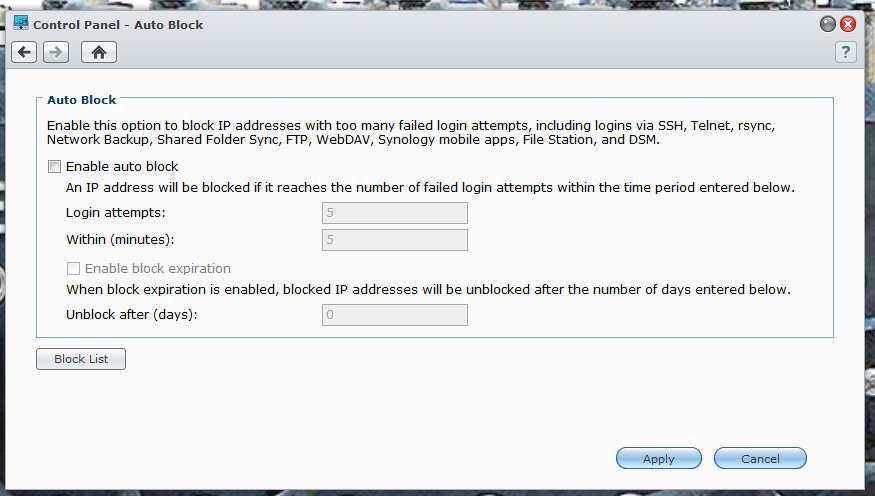
The firewall option gives you extra security for your DiskStation. For example you could create a rule blocking a subset of IP addresses inside your network or a single host. You can also block access to certain ports all in the name of making things more secure for your data. For the really paranoid (or for anyone using the cloud features) you have an auto ban feature that will automatically ban access to the DiskStation by IP after too many failed login attempts.
The next two options are for more advanced users and allow you direct terminal access to the DS1512+ via Telnet or SSH as well as setting up SNMP (Simple Network Management Protocol).
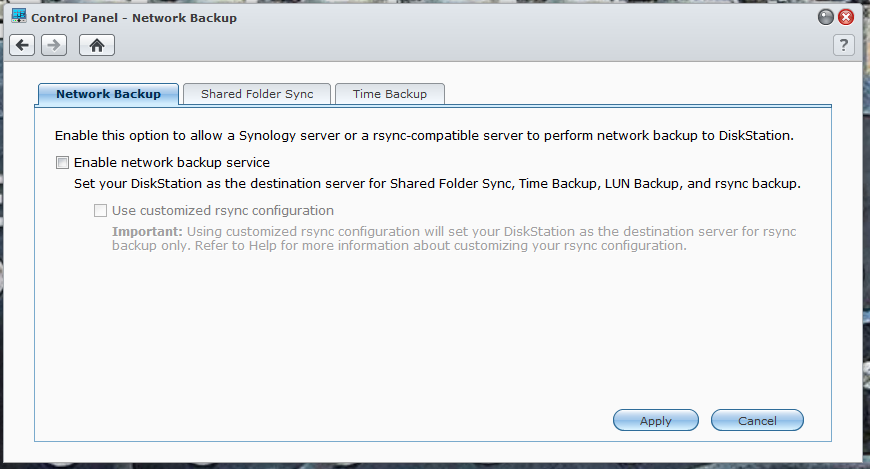
The last item under networking is the backup system. Here you can enable your Synology DiskStation to be the target for backing up other DiskStations or any other rsync-compatible server. With the time backup package you can perform timed “snapshots” of your data so you can go back to various points in time to see different version of a file. If you are worried more about the data on your desktop/laptop do not worry there is an app for that too. Synology has their free Data Replicator 3 software that allows you to setup a very granular backup plan for those too. For Macs you will be happy to know that your DiskStation has native support for Time Machine. You can turn this on when you enable the Mac File Service.
System -
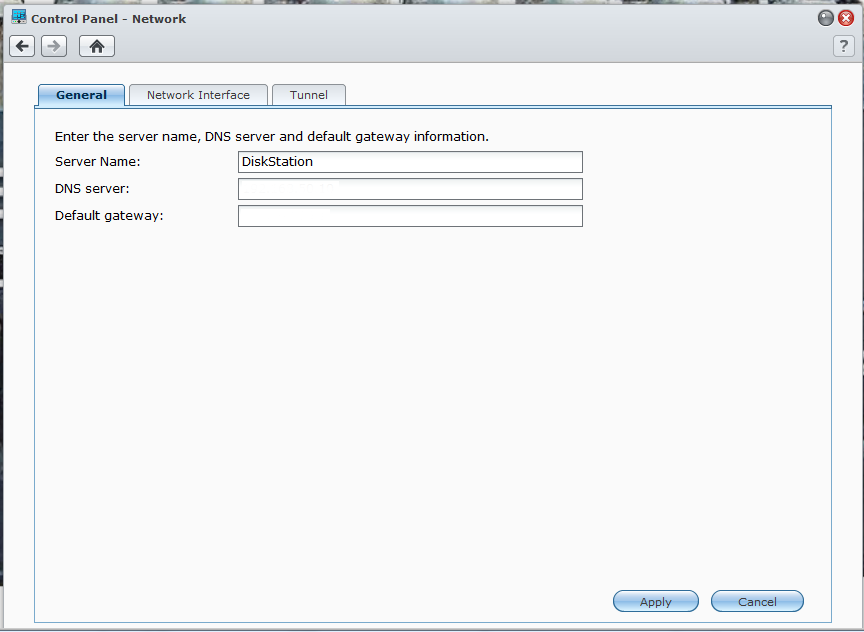
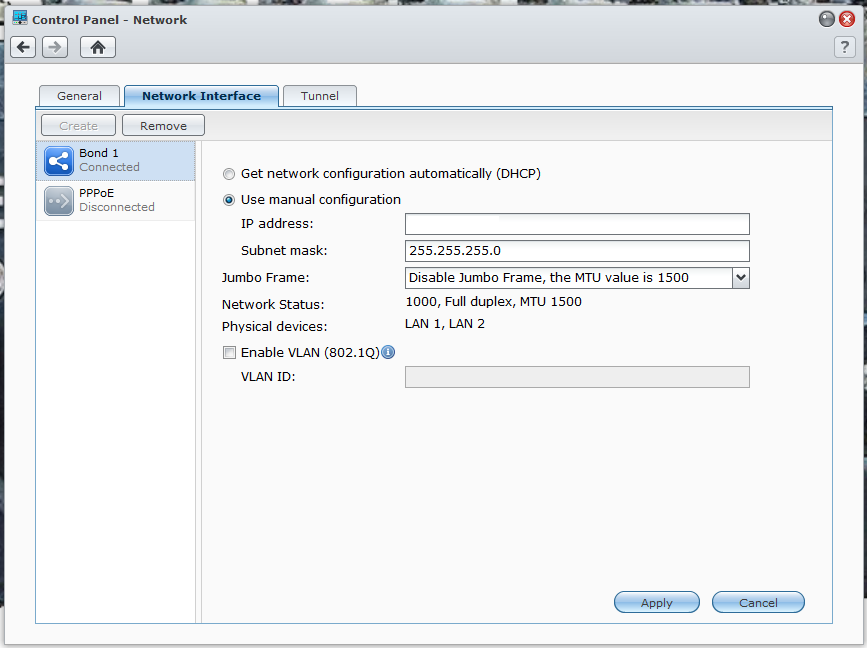
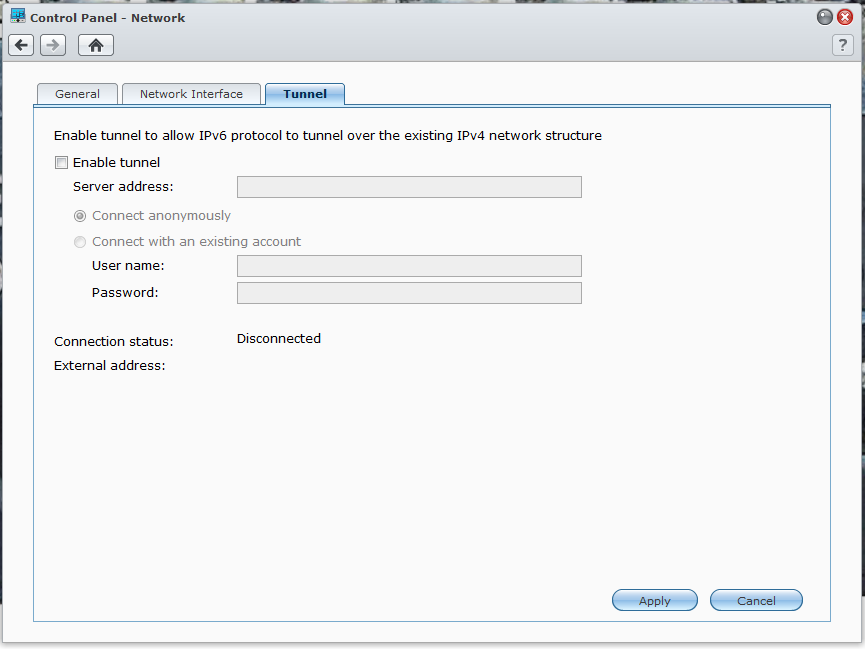
The system options are just that. From left to right you have your entire network configuration including basic IP settings, teaming (including 802.11ad) and even an option to allow for IPV6 tunneling.
 |
 |
 |
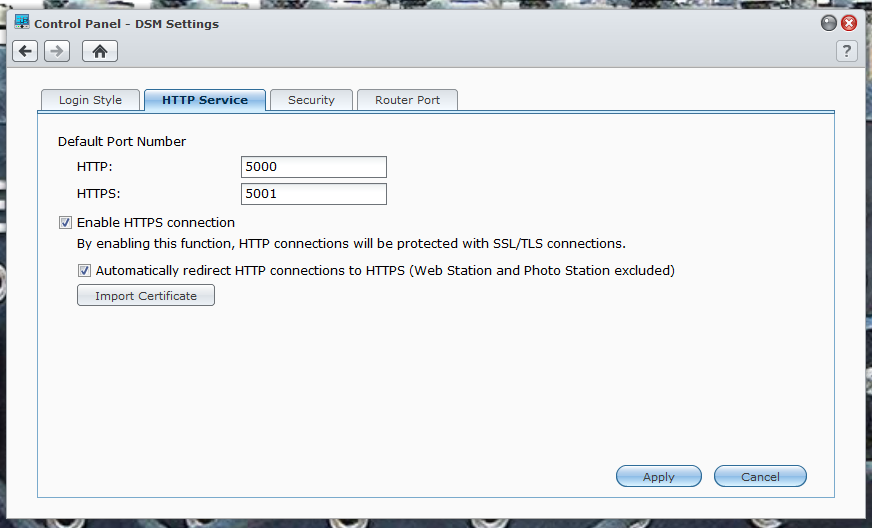
Next up is the base settings for the DSM software including the style of the login screen, HTTP and HTTPS connection settings, the inactivity timeout and the port that you will use to access shared files through your router.
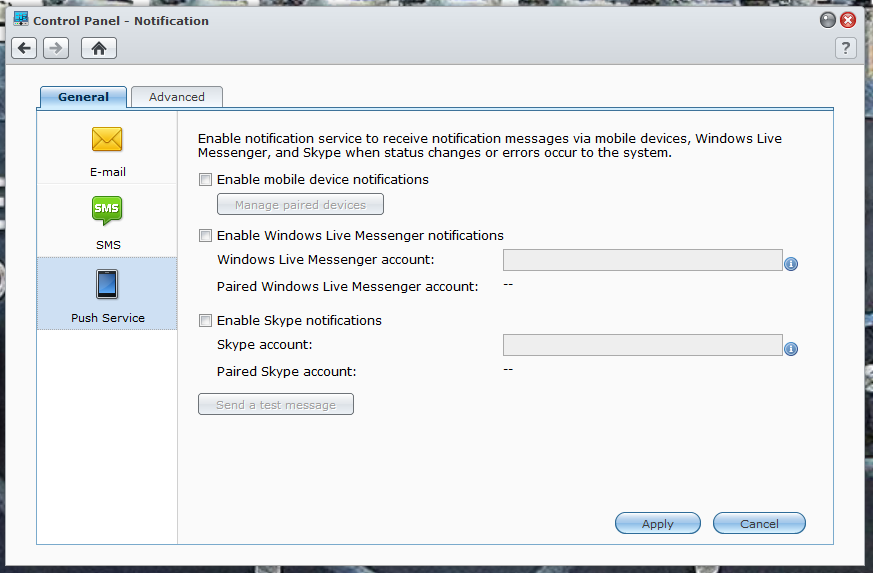
Regional settings and notification are again easy to understand, we will add that Synology allows you to setup email, SMS, and direct push notifications which is a very nice touch.
You can pretty much guess what is in power settings, you can control wake on LAN, HDD hibernation what to do after a power failure and even set times for the DS1512+ to power on and off.
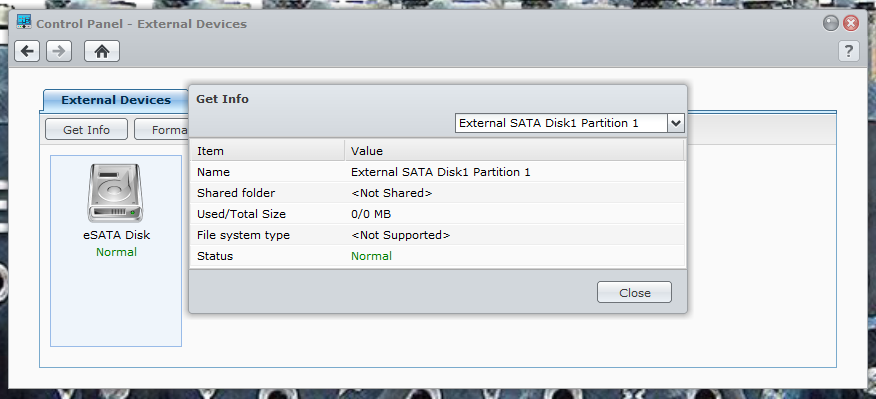
External Devices is just that, it will show you any external devices that are plugged into your DiskStation. I our case we plugged in a Seagate Black Armor eSATA disk to see how it would work. We had no issues with this or any other external drive we plugged in including a USB 3.0 HDD dock From Termaltake.
Restore Defaults and DSM update also do not need explanation.

