Application Settings -
Synology hasa worked very hard to make sure that their products are not stuck in a rut. There is nothing exciting about storage to most people. However, if you make the device capable of working with multiple systems and give it the ability to add additional functionality then it becomes much more interesting to anyone looking at it.
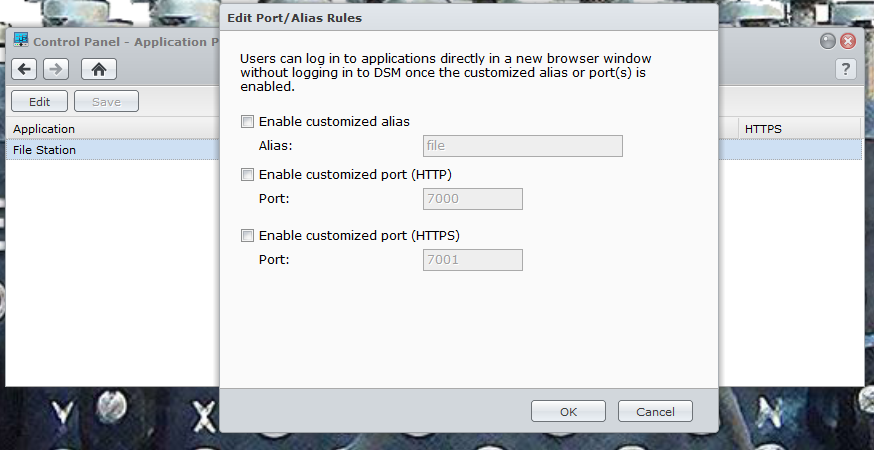
To make sure things are still secure you can setup different access for different people, if you do not want a user to have access to a certain application you can deny that right from the DSM. This includes both local and Windows Users and groups.The Application portal shows you the currently installed applications that are accessible to users directly (they do not have to log into the DiskStation Manager to get to it) the default is File Station, but you can add others. To get this working you will need to setup an alias and a port (either HTTP or HTTPS).
 |
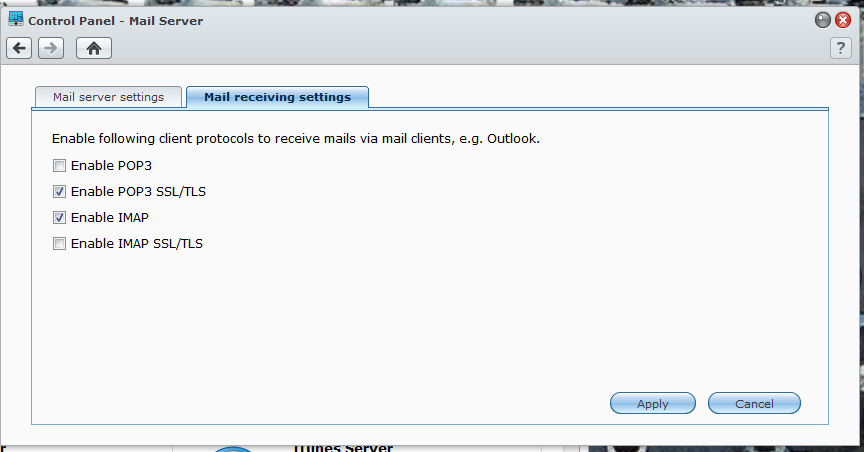 |
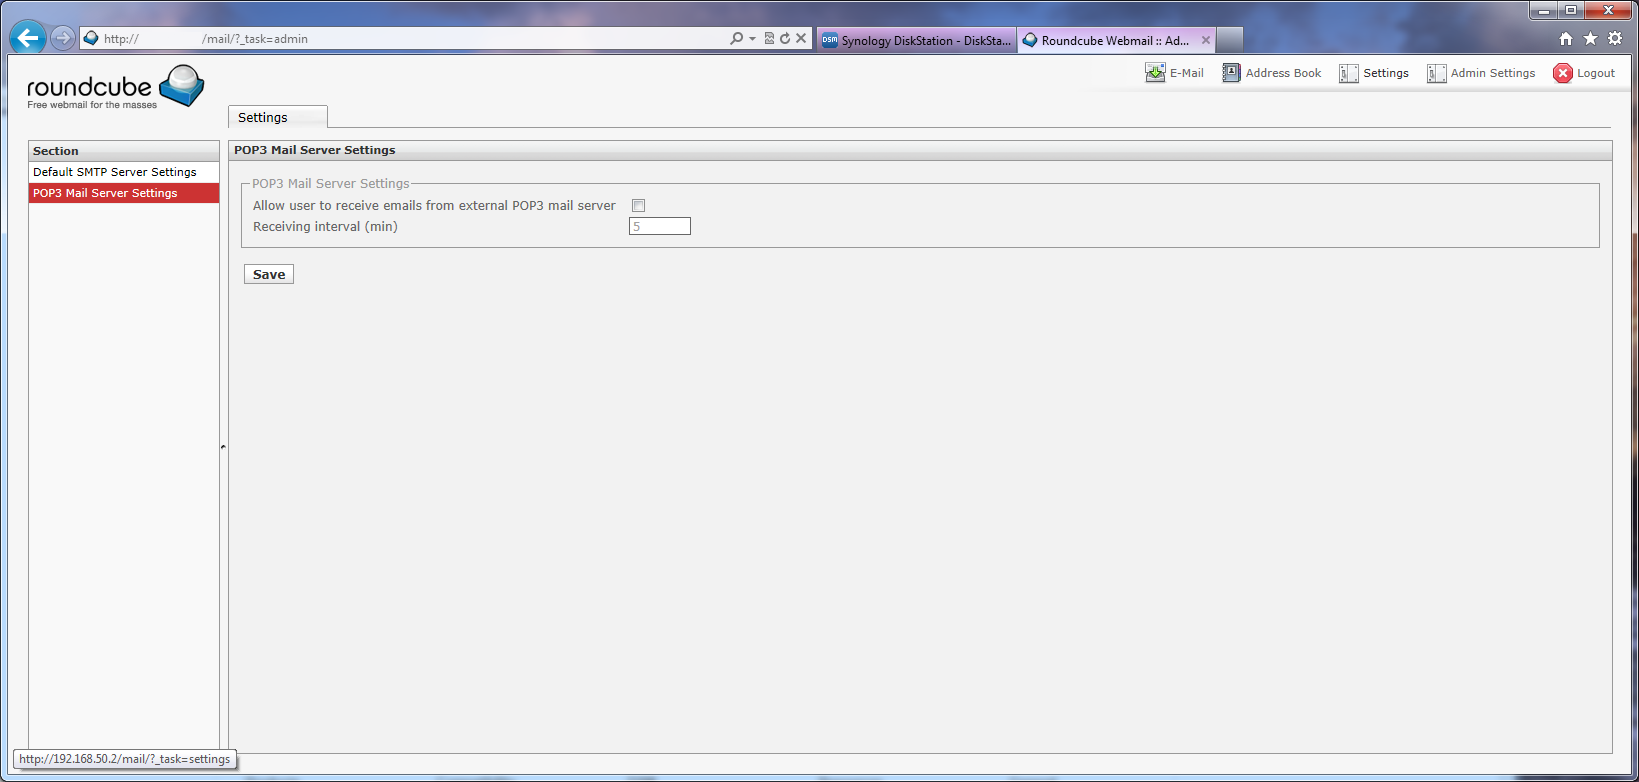
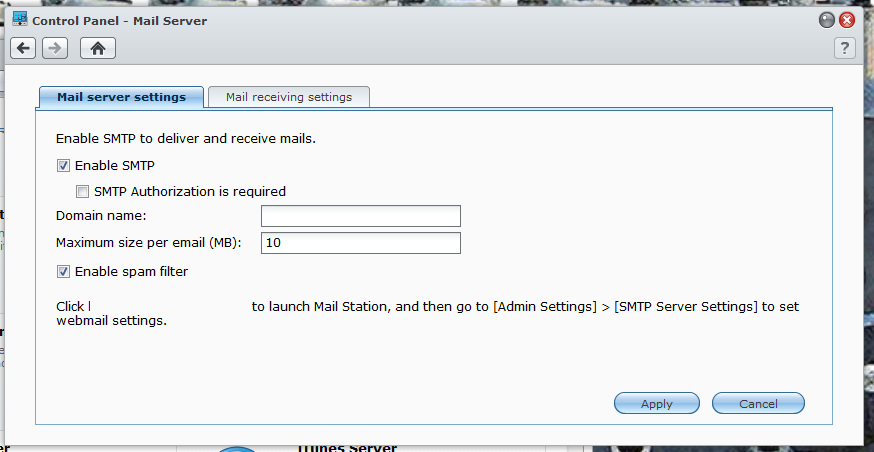
There is a mail station that is available for Synology owners. You can setup your DS1512+ as your own mail server. You will have to install a small package to do this, but once you do you can send and receive email through your DiskStation. If you are worried about running your own mail server you can keep your Gmail account and simply have the DiskStation pull those emails down for you and keep them on your own server, then you can send email through the DiskStation to make sure that you keep the majority of your data (you will still have to keep your Gmail account clean though).
The Mail Station app uses the roundcube webmail service you also get spam protection built into the service which will help to keep some of the malware threats away.
Syslog is what it says, but you will need a syslog server to send these logs to. Luckily there is a package for that in the package center which we will talk about in just a minute.
The VPN option allows you to create a VPN tunnel between the DS1512+ and another site. This is great for offsite backups to another server. You can have a secure tunnel over the internet while your data is transmitted.
 |
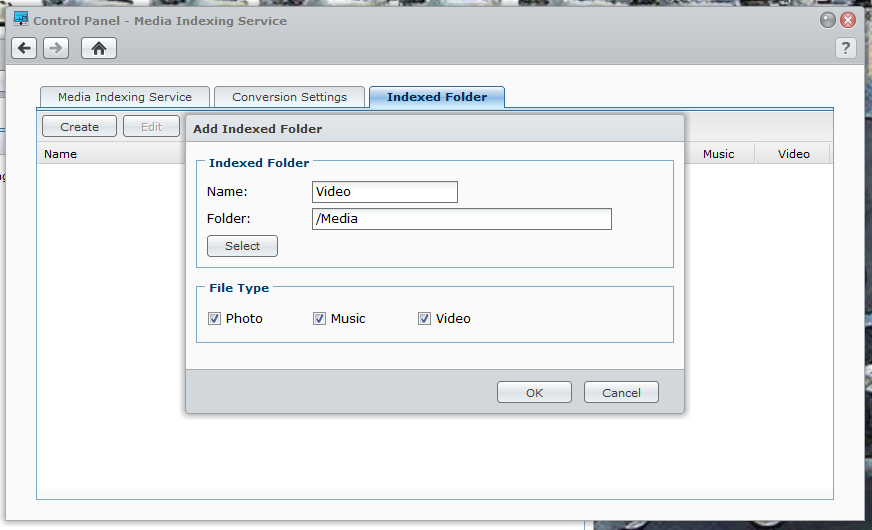 |
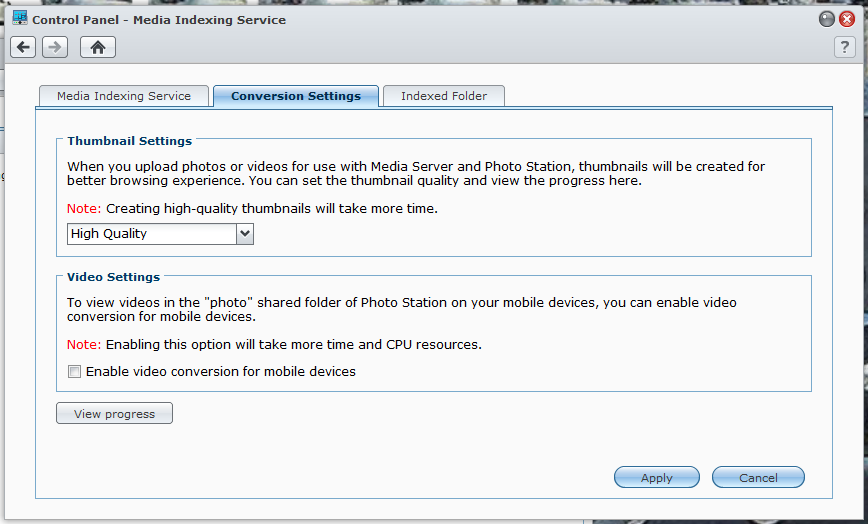
Media Indexing is, again, self-explanatory, but in this case there are some options that you would not normally find under Media Indexing. One of these is the conversion settings. You can set the quality of the thumbnails for pictures and also enable videos to show up in the photo Station when using a mobile device. You can also create indexed folders straight from this menu and list them under a different name for the Photo Station.
Package Center –
One of the advantages of the Synology System is that they have quite a few default packages available for you to install to your DiskStation. In addition to ones written and offered by Synology there is a pretty good third party eco system that you can extend the functionality of your DiskStation even farther including having your own CRM (Customer Relations Manager) software and even a WordPress Blog. Each of the applications keeps a log so you can see if there are any issue with them and quickly resolve them if there are, or forward the information to Synology Tech Support to address any issues that are too complex.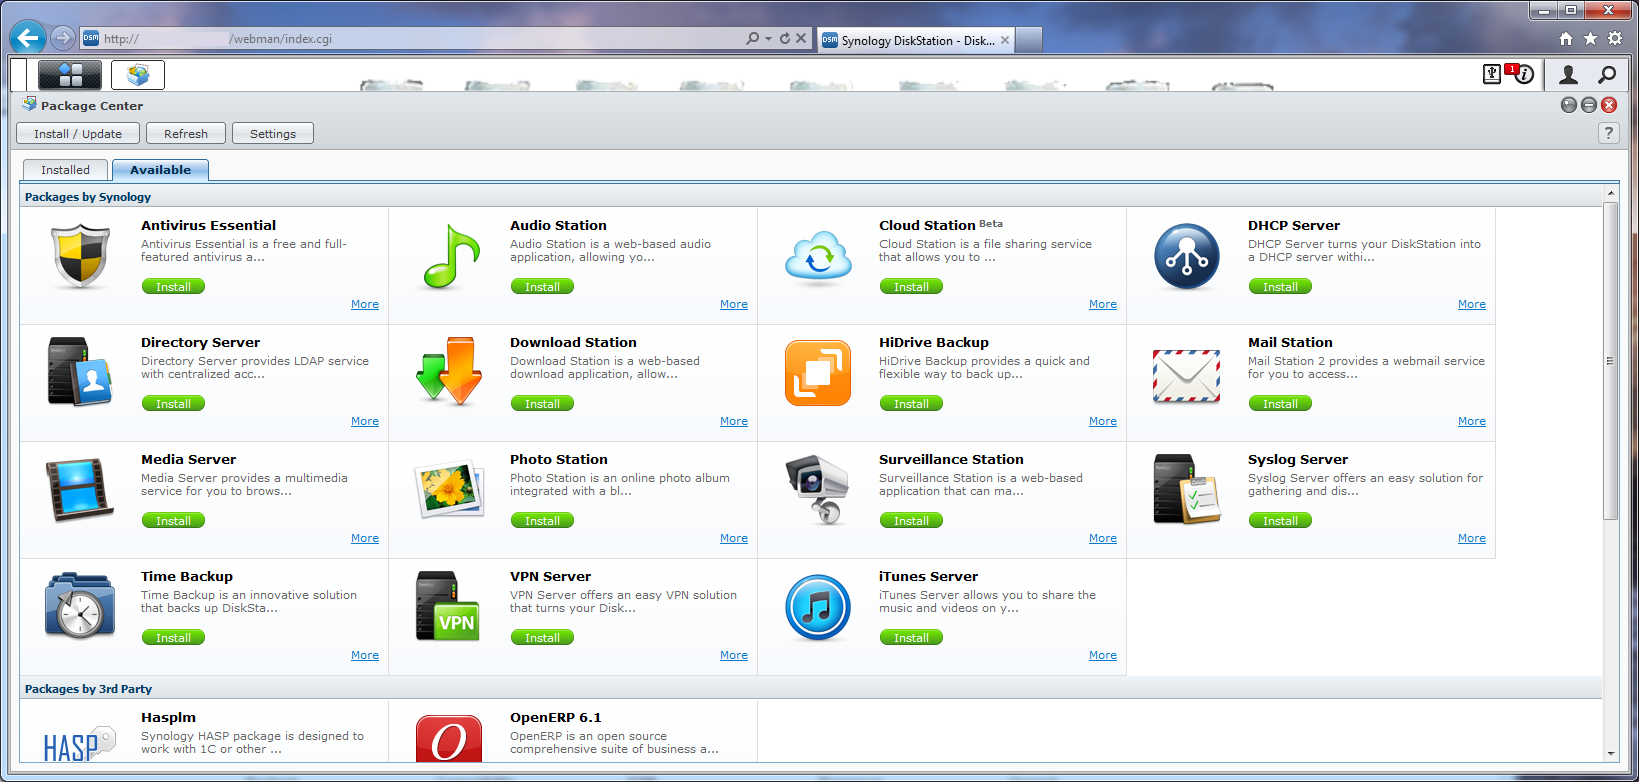
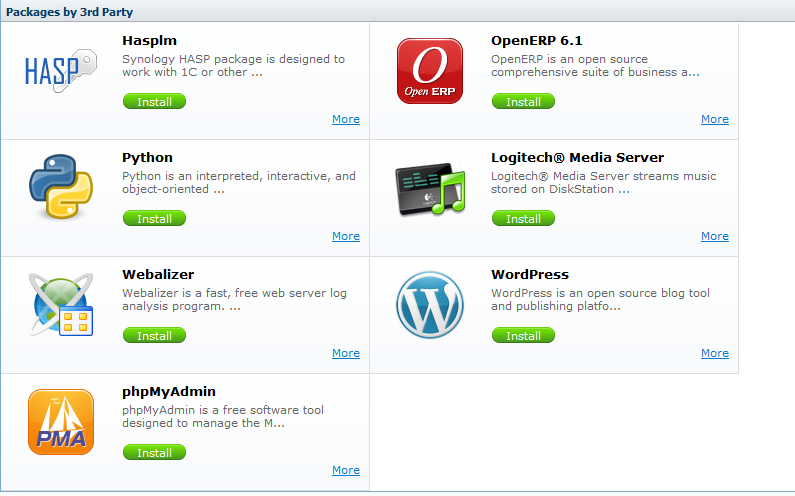
For our testing we had the Antivirus Essential, Photo Station, Media Server, Time Backup and The Cloud Station Installed.
A few other nice features -
Although we have covered almost everything there are still a couple of features that are left. One of these is the EZ-Internet Wizard. Again Synology is working to encompass consumers that are new to NAS products and ones that have been doing this for a while. The EZ-Internet Wizard allows you to quickly setup access ot your DiskStation from the internet so you can take advantage of the private cloud features that are available. The steps are simple and as we had everything already setup for this we did not run the wizard again.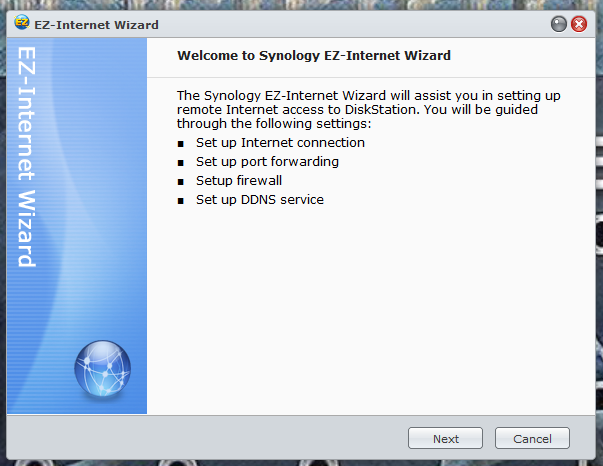
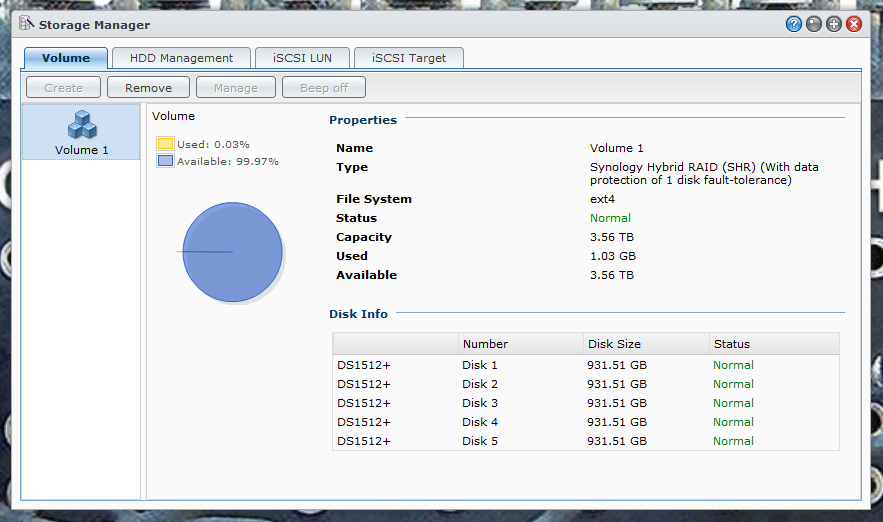
The Storage Manager is the root of the show. Without this piece of the puzzle there would be no need for anything else. Here you can create and build volumes to share as well as check on the status of your disk drives. When we received our DS1512+ it arrived with 5 1TB Seagate drives for use in testing, as you can see in the HDD Management Window all are running as they should, with one drive running a little hotter than the rest. 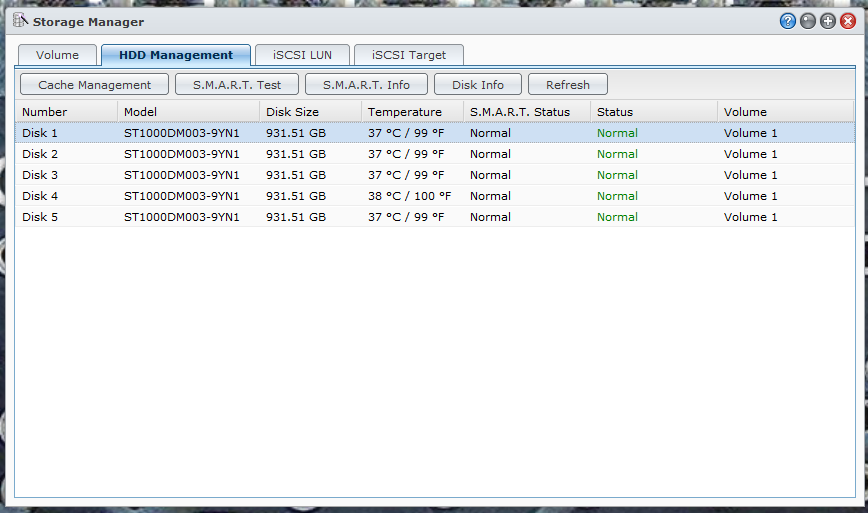
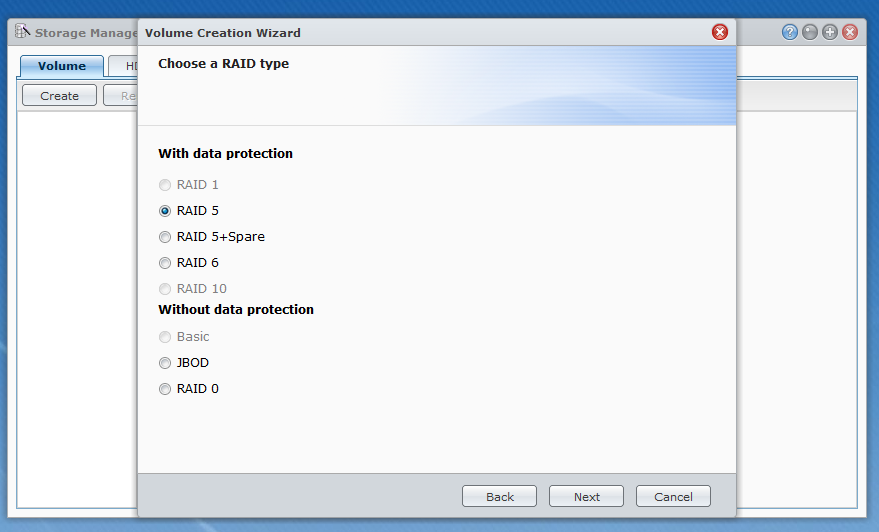
The default volume structure is Synology’s SHR (Synology Hybrid RAID) with a single drive for fault tolerance. You can change this easily and have options for RIAD 1, 0, 5, 10 as well as drive spanning and JBOD (Just a Bunch of Drives) The SHR can also be configured to use two drives for fault tolerance if you are concerned about data redundancy.
 |
 |
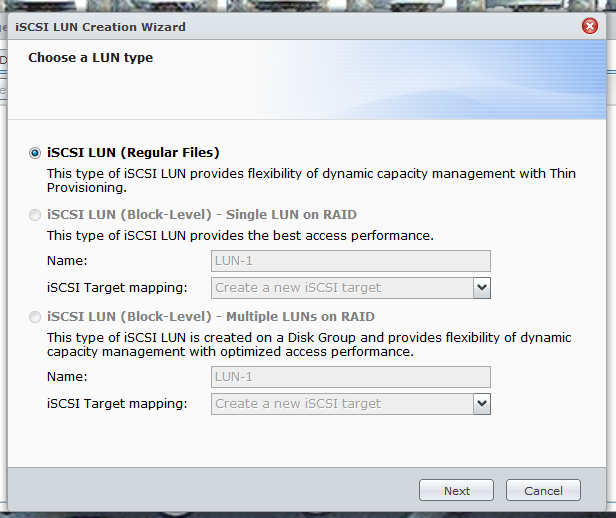
For those that are looking to get into virtualization you have full iSCSI support on the DS1512+ as well as (as we have already mentioned) NFS support. This will allow you multiple options for connecting your DS1512+ to your virtualization environment.
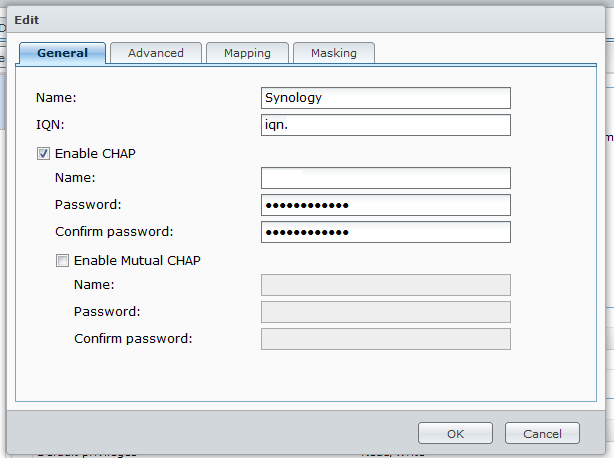
For iSCSI connections you have some additional options for security and data integrity after you make your LUN (logical Unit Number). You can change the name of the target, the IQN (although we do not recommend that) and enable authentication through CHAP or Mutual CHAP. In CHAP (Challenge-Handshake Authentication Protocol) the connecting device authenticates with the target; in Mutual CHAP both authenticate each other, this is the most secure form of connection, but can also be a huge pain to manage.
For added data security you can also enable the header and data digest CRC Checksums which will give you more assurance that your data is not being spoofed, but can also slowdown your system.
Mapping and masking are simple; mapping maps the iSCSI target to an existing LUN or LUNs and Masking is the base permission level assigned to the target.

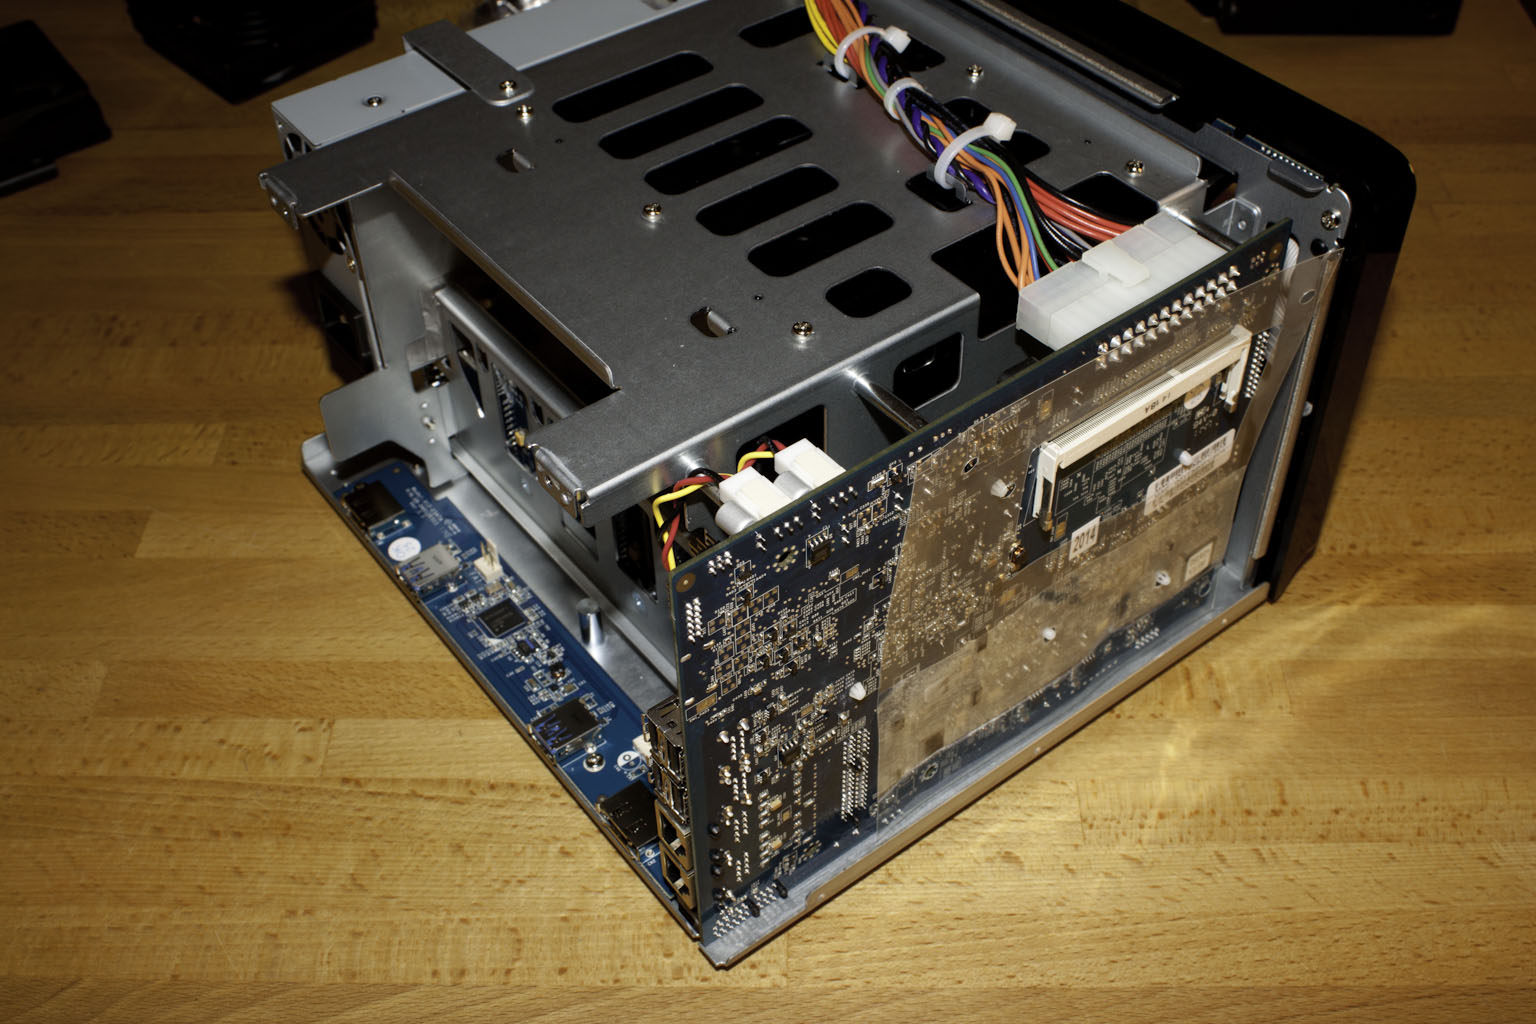 As the push for cloud based storage and services becomes greater we have been taking a look at the value of these from not only a monetary view, but also from a privacy and security view. To this end we have been tinkering around with a few Network Attached Storage Devices (NAS). One of our first is the Synology DiskStation DS1512+. We have already

