The Box and Goodies -
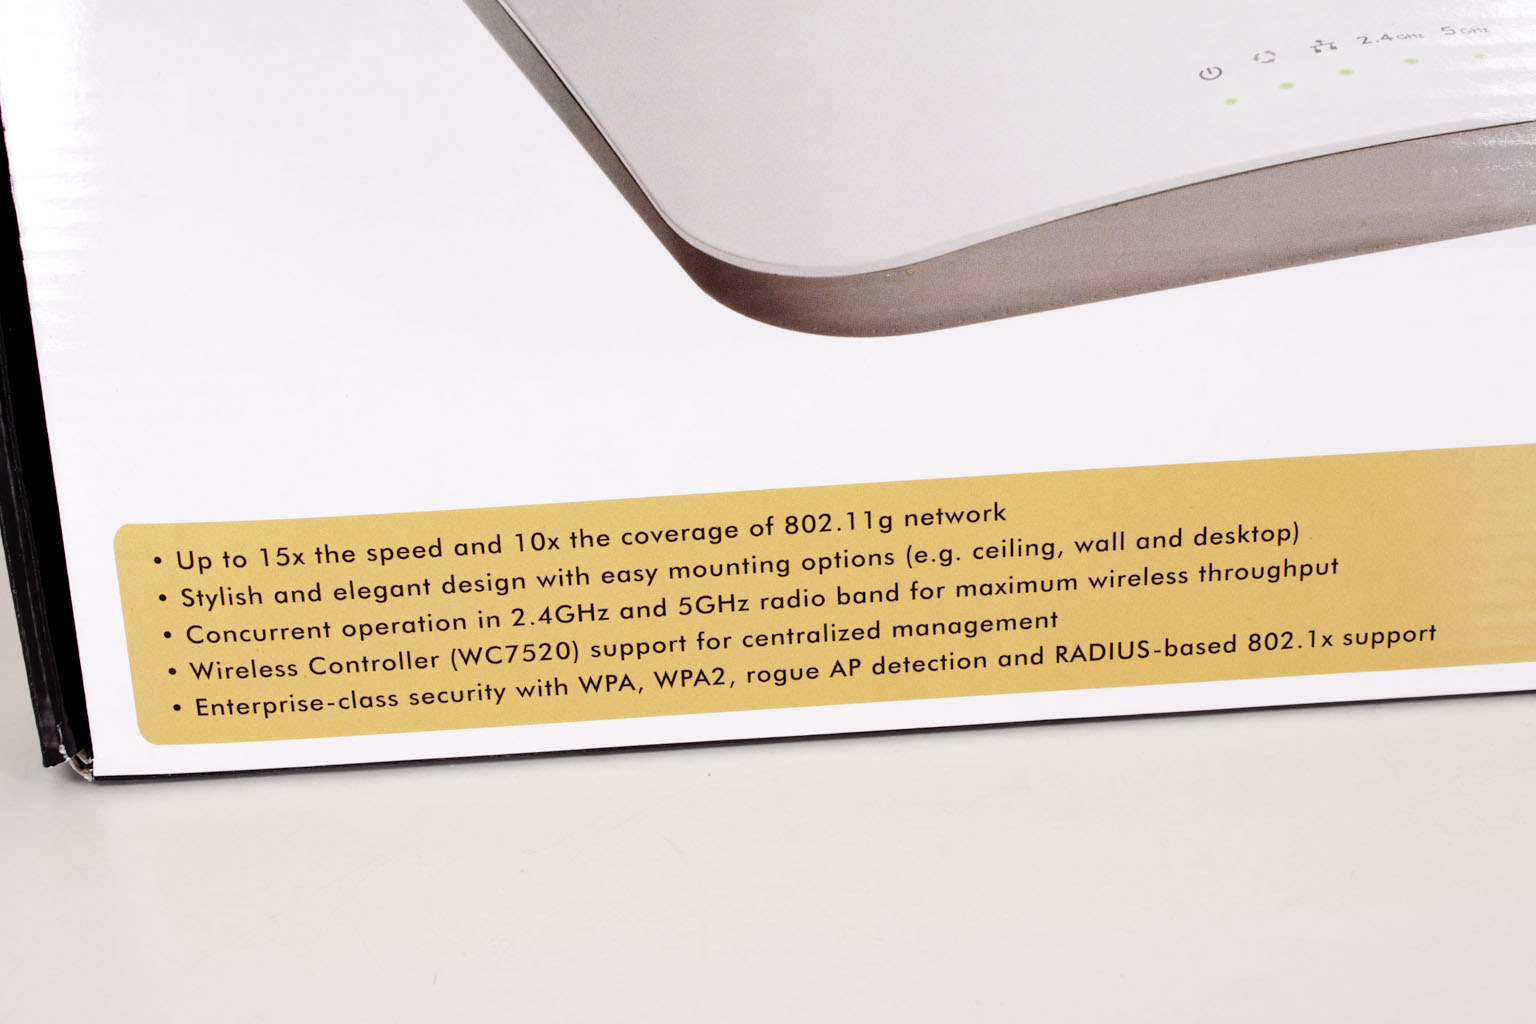
The box that the WNDAP360 comes in is pretty plain. You get a large image of the actual access point on the front along with a few notes about the features inside. The most noteworthy items are fact that it is dual band (2.4GHz and 5GHz) and can run both of these frequencies concurrently. For the enterprise minded buyer the WNDAP360 can also be used with a centralize wireless controller (a WC7520) is fully 802.3af (Power Over Ethernet) compliant and can work with RADIUS (Remote Authentication Dial In User Service) and many other features to keep your traffic secure (which we will talk about later). 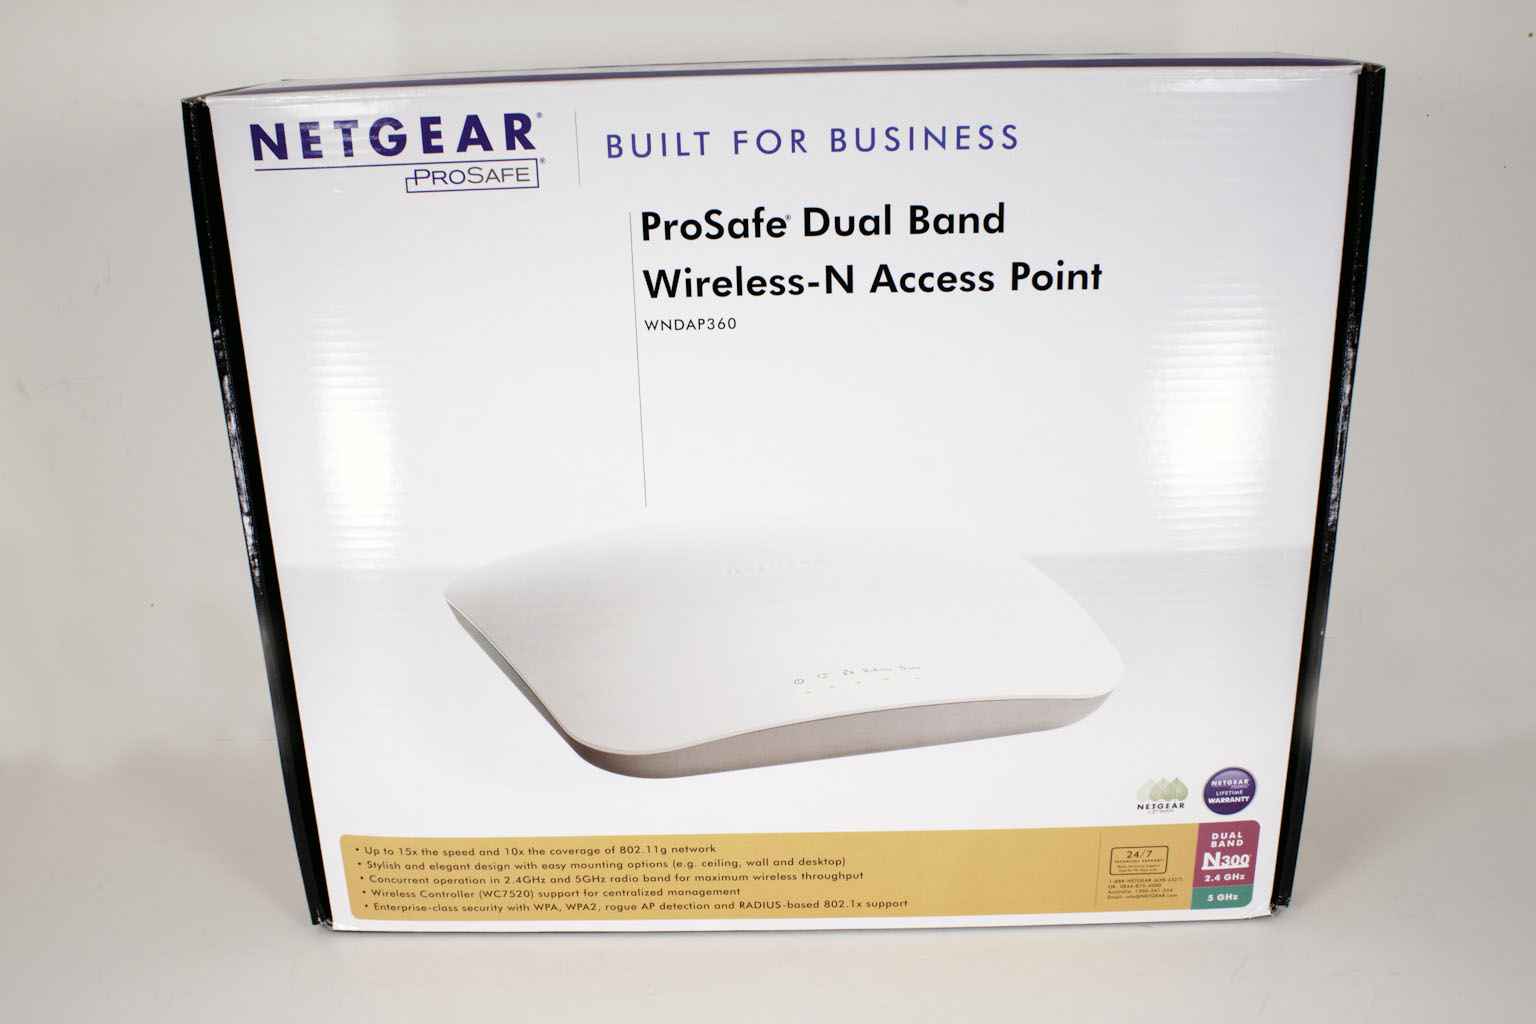
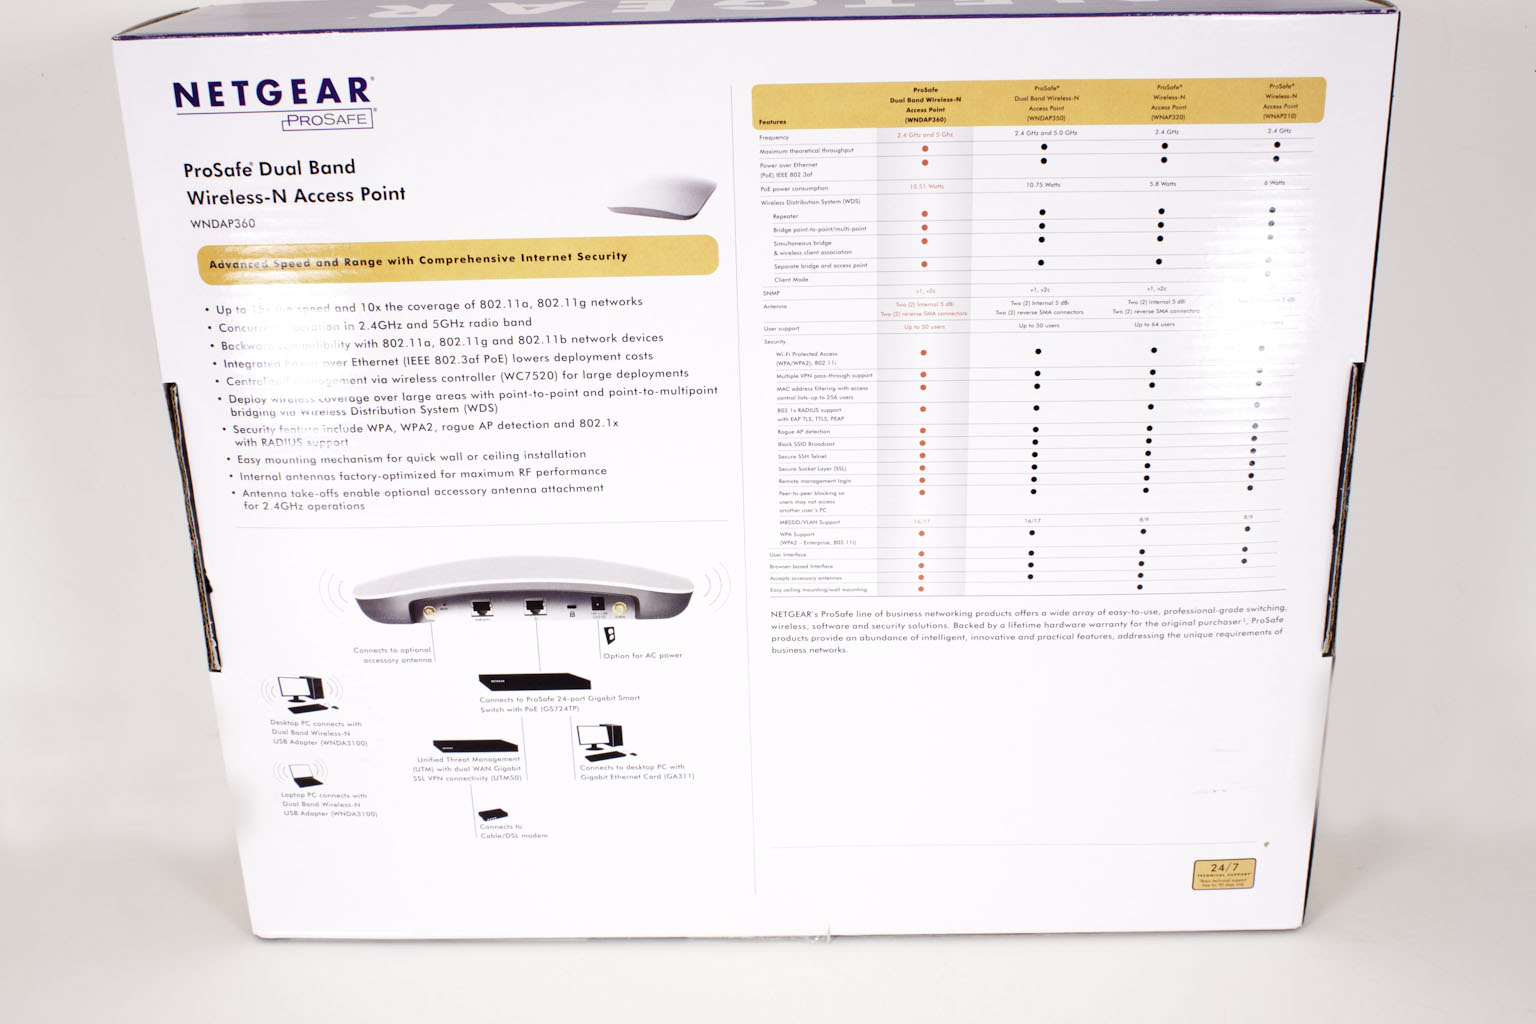
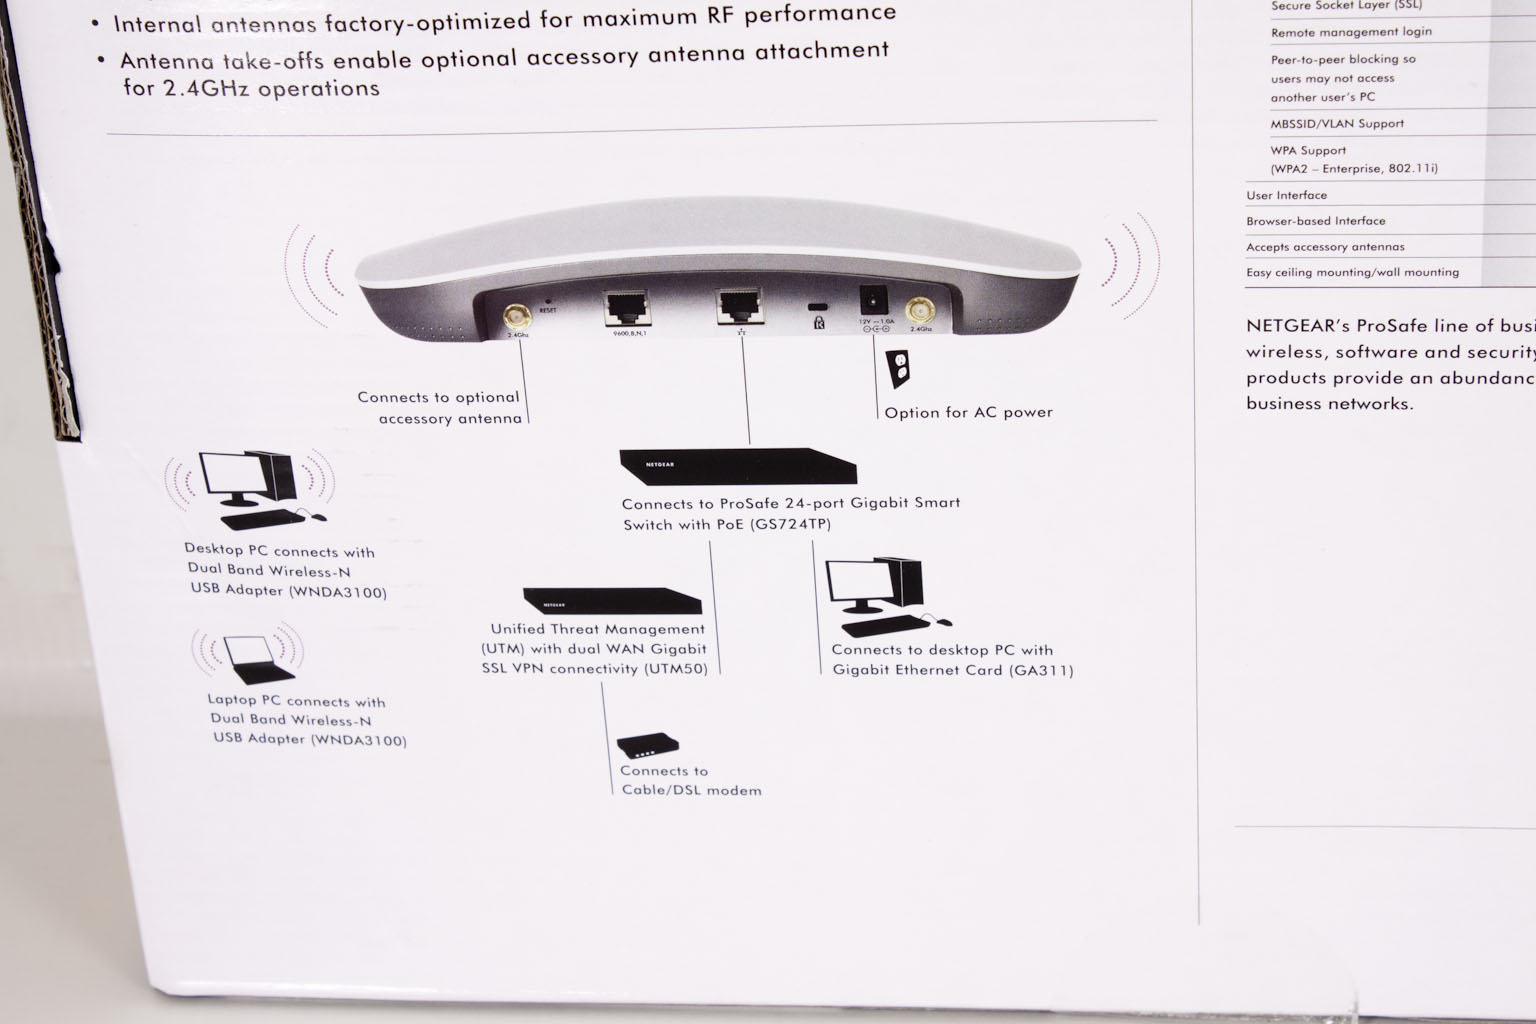
The back of the box gives you a feature comparison between the WNDAP360 and other access points from NETGEAR. There is also a handy little diagram showing you how this fits into your network just in case you need something like that.
 |
 |
 |
After you are finished with the box and have opened it up you will find the WNDAP360 nestled inside. This is a big access point. The WNDA360 measures 10.0 x 10.0 x 2.16 inches; like we said it is a big AP. Along the side of the AP in the box you will find the power chord (if you do not have PoE), a network cable and mounting hardware (you can mount this on the ceiling or wall). Under the WNDAP360 are the manuals and the driver/setup DVD. Although there is not much in the box, it is pretty much all you need to get going.
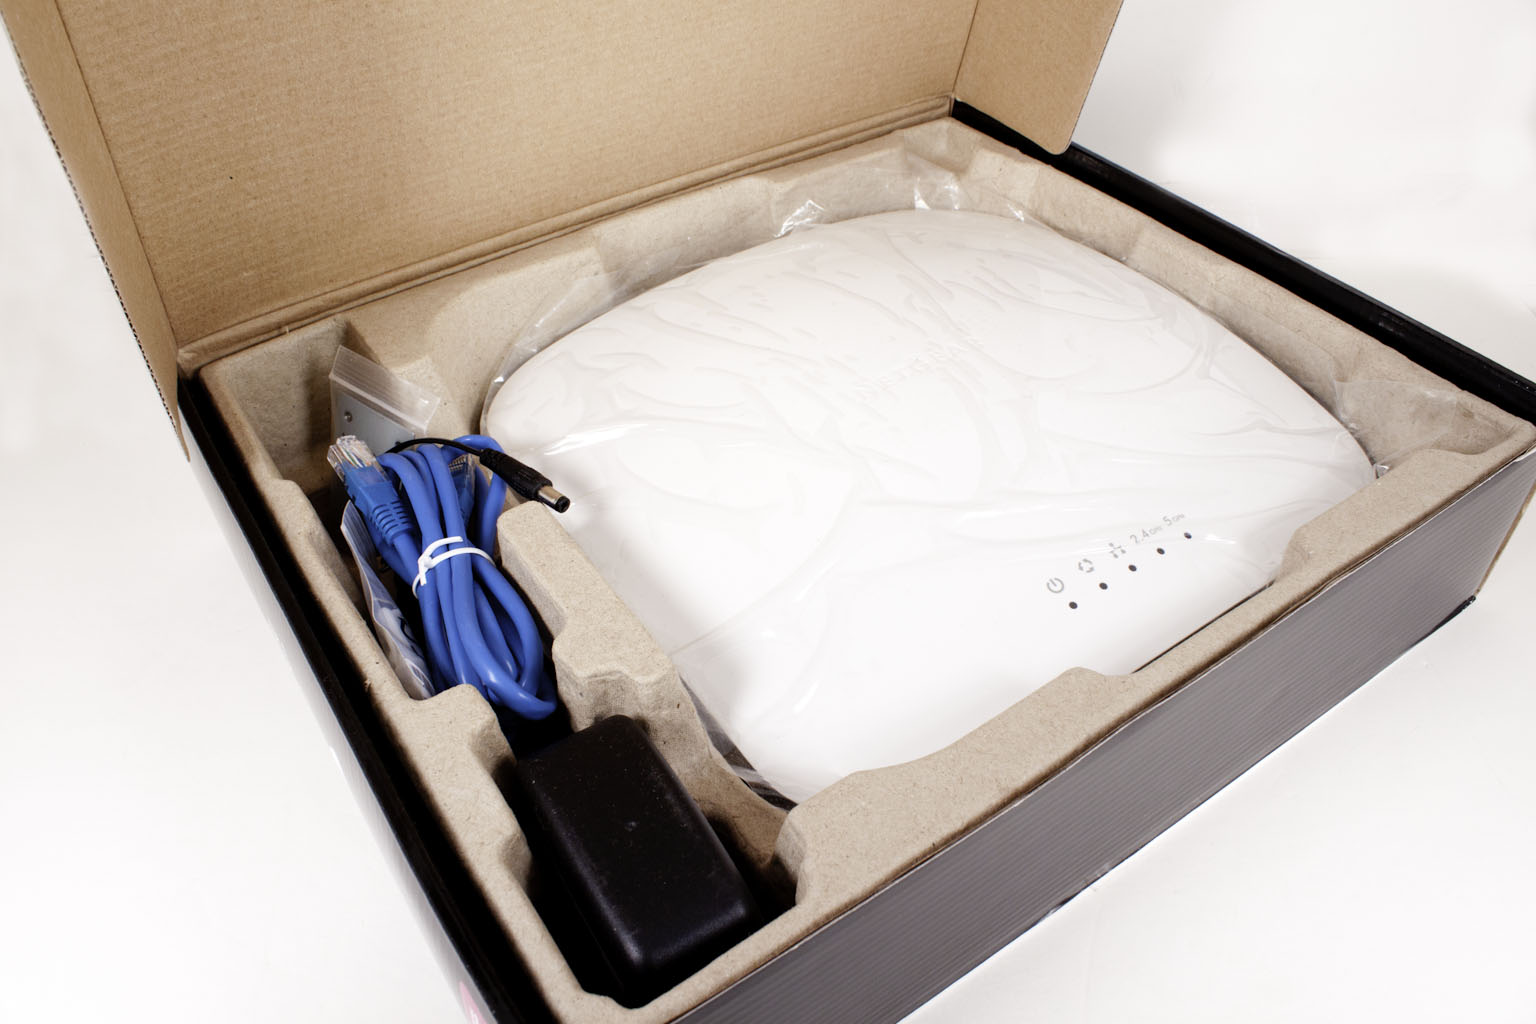 |
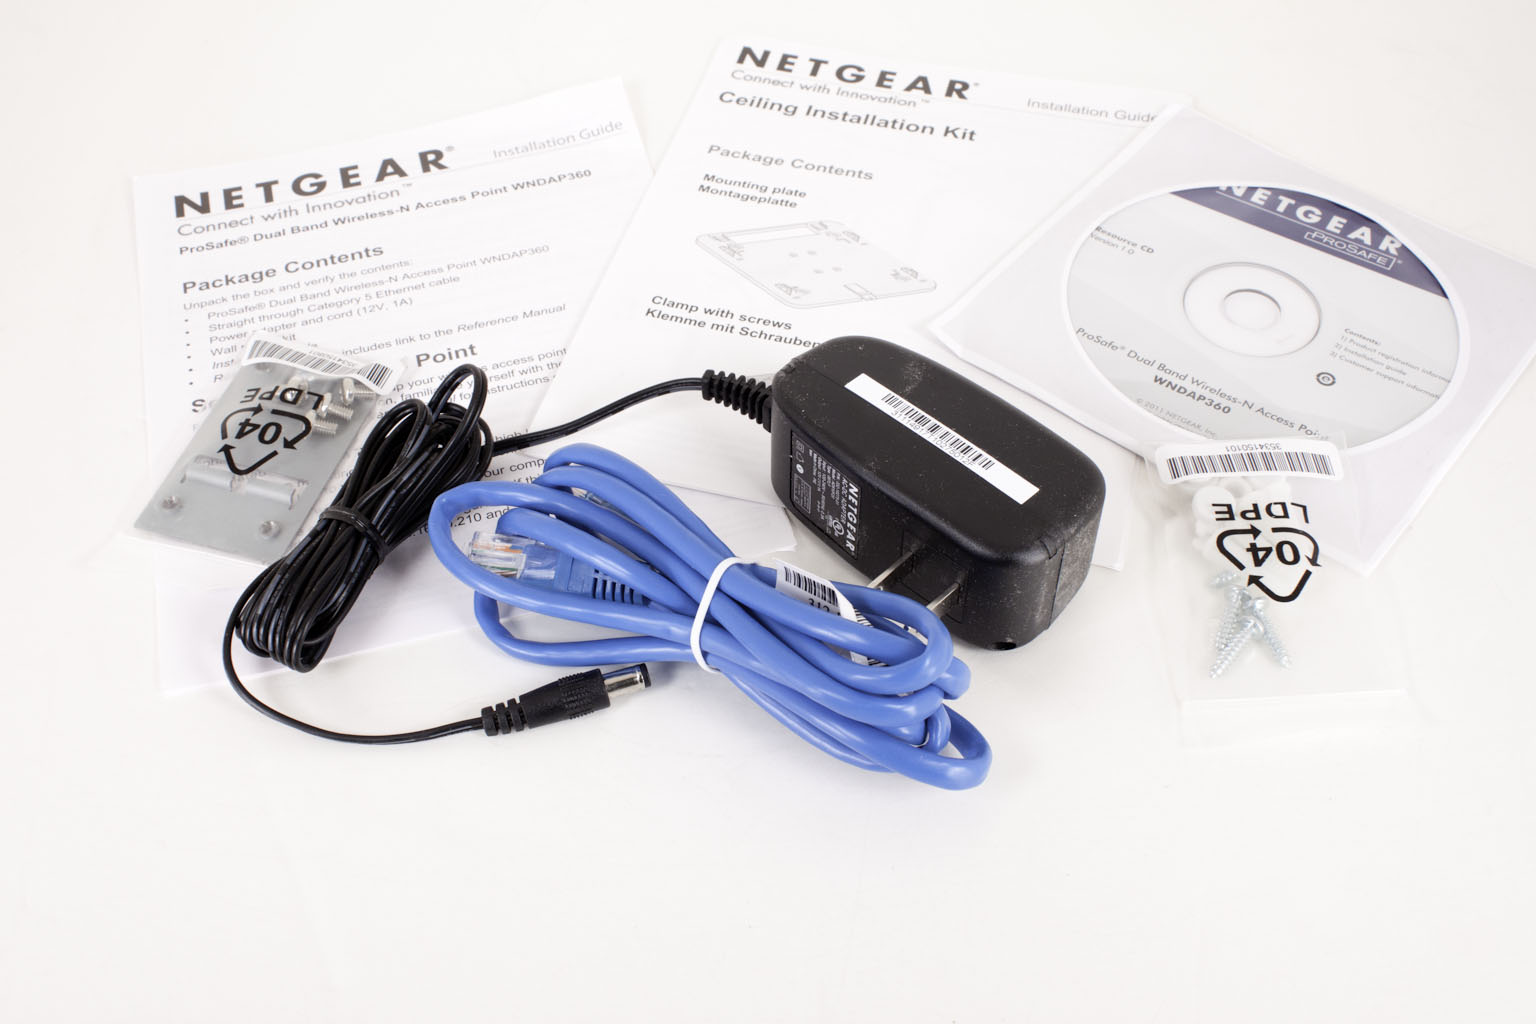 |
The WNDAP360 -
As we told you before the WNDAP360 is a big device. It measures a little over 10-inches on each side. The outer casing is white and has a curved plastic top. It almost looks like a small pillow. In the center the NETGEAR name is embossed. You can also easily tell the front from the back as there is a series of five LEDs at the front of the WNDAP360. These are for power, activity, LAN and one for each WLAN frequency. Other than that, there is nothing on the top of the device.
 |
 |
The bottom of the device has a nice mounting bracket covering the important parts when you first flip it over. This bracket appears to be very secure and is meant to allow you to mount the WNDAP360 on the ceiling or wall. Looking at the back we find a few expected items and also one unexpected item. In addition to the normal external antenna ports, the 1Gbe LAN port and power connector there is also an RJ-45 serial port. This means that even if you cannot get to the WNDAP360 over the LAN or WLAN you can still access and program this through the use of a CLI (Command Line Interpreter). We have mentioned before that NETGEAR appears to be taking some queues from Cisco and items like this on their AP is certainly a step in that direction. For those of you that do not want to use the internal antenna NETGEAR has two external antenna ports, but these are for the 2.4GHz radio only.
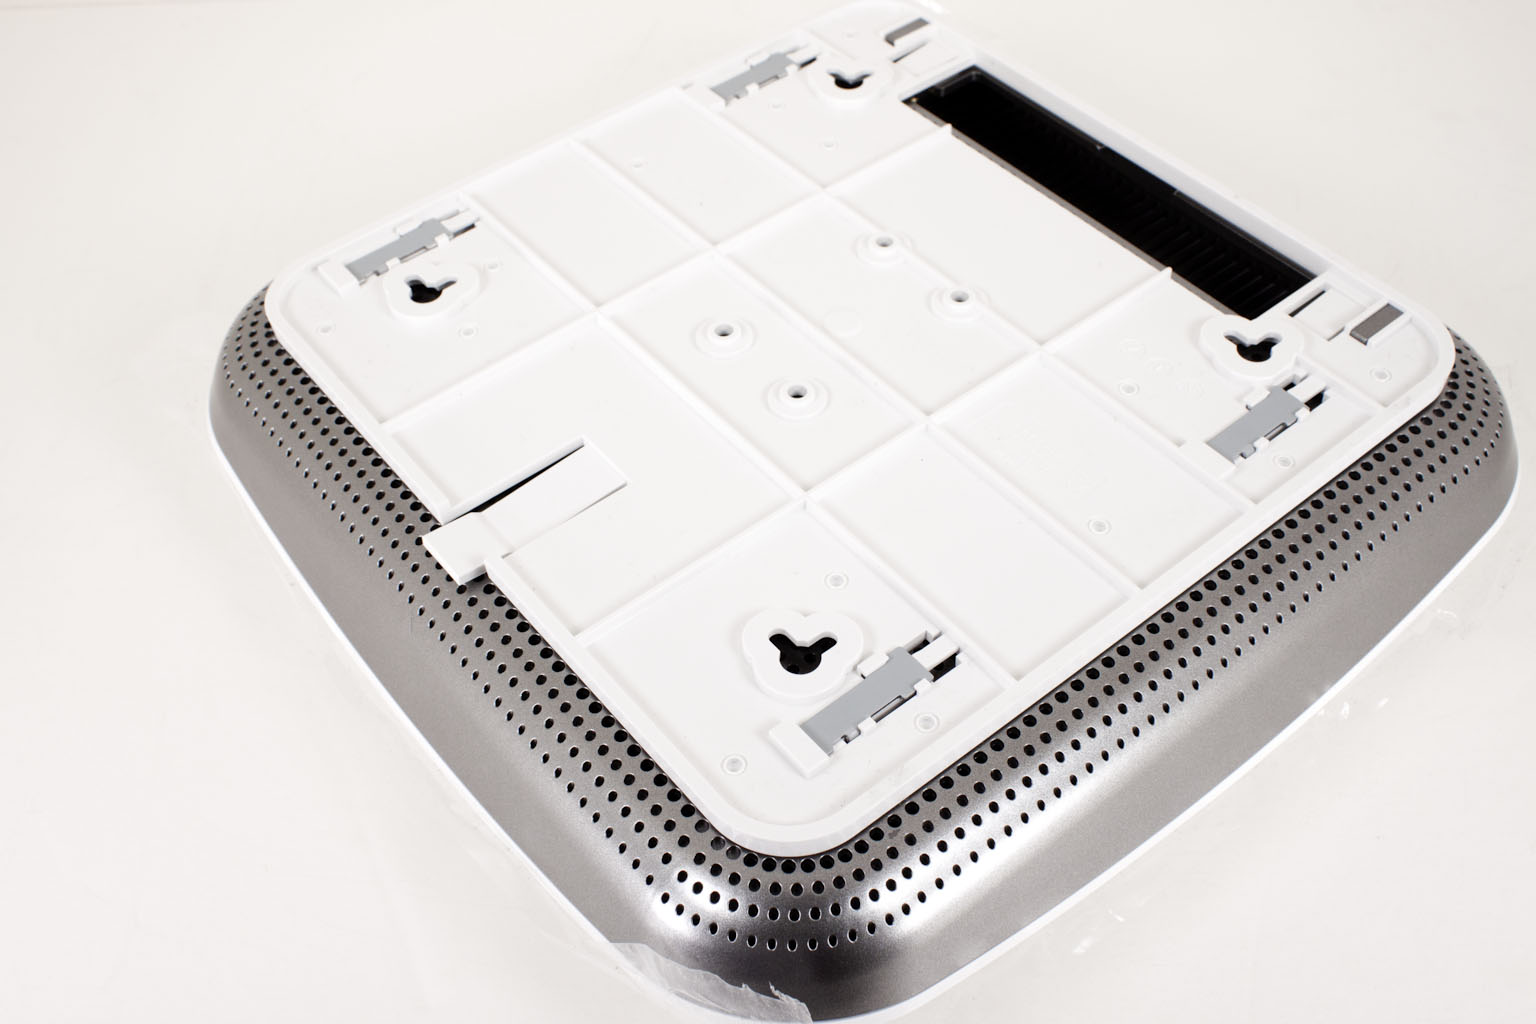 |
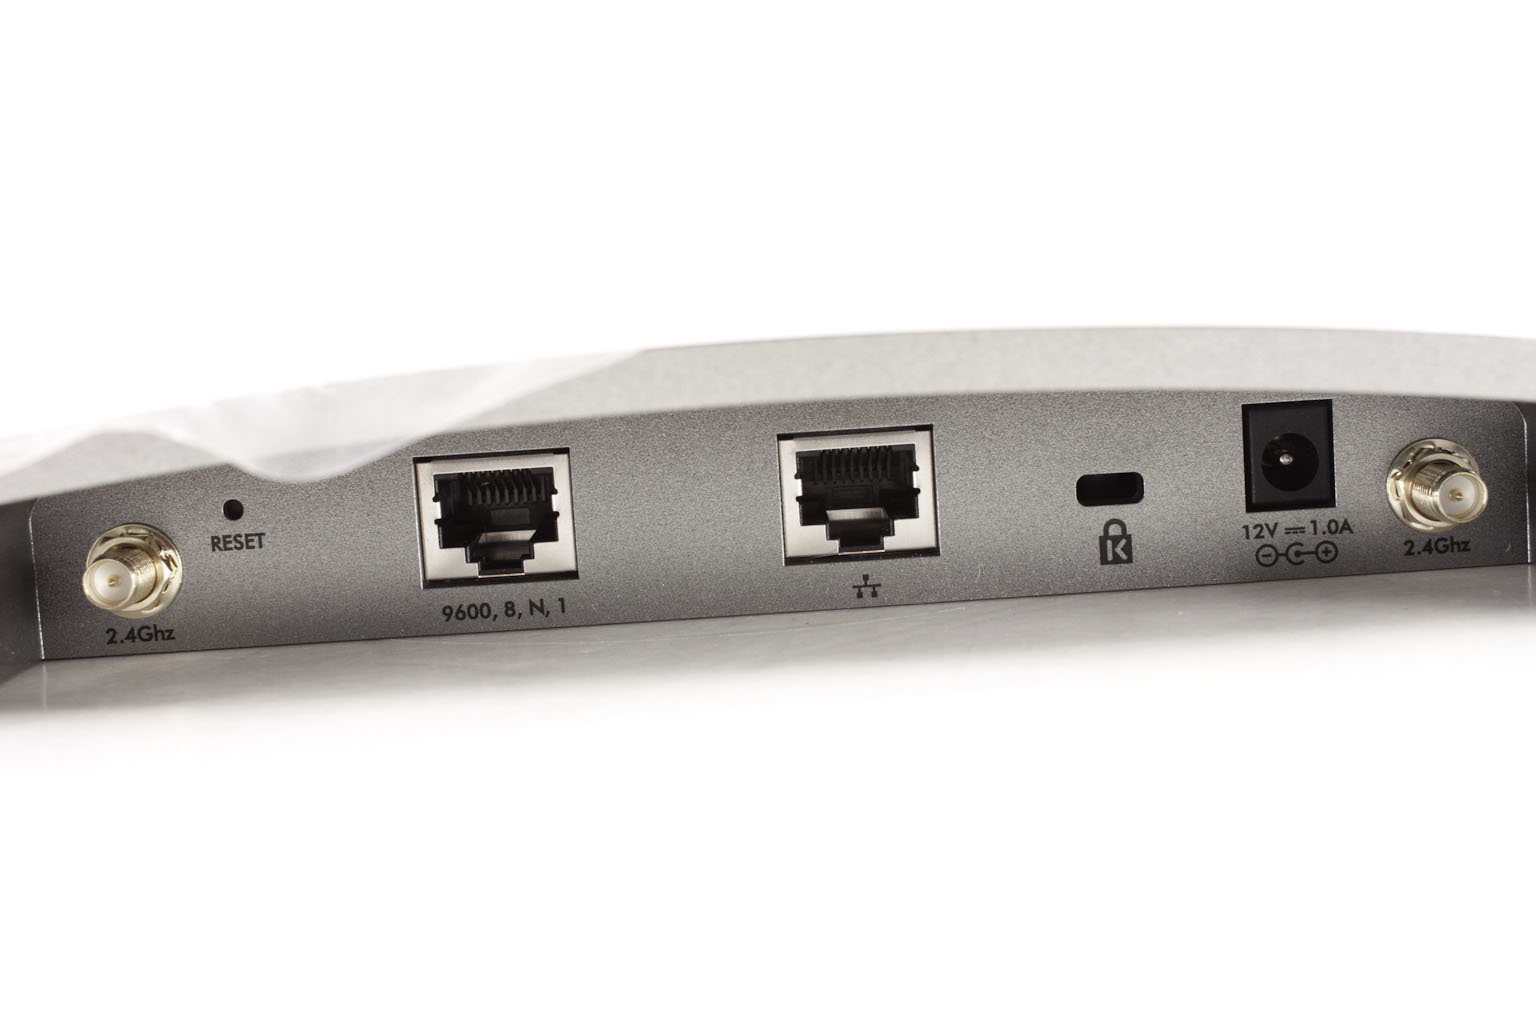 |
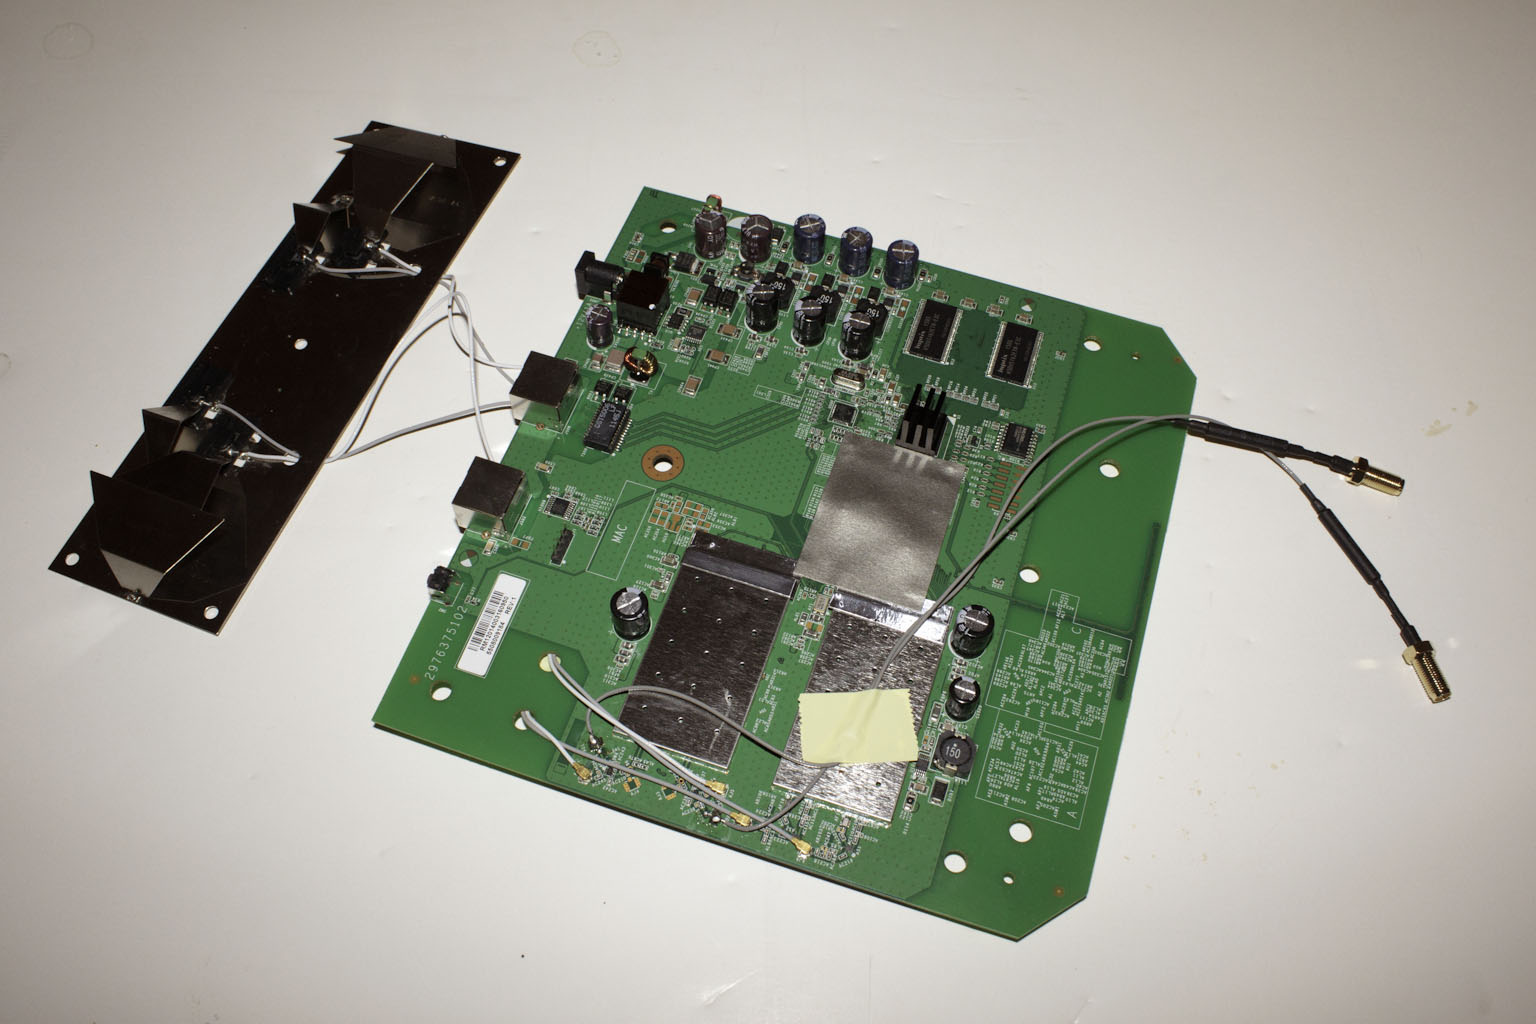
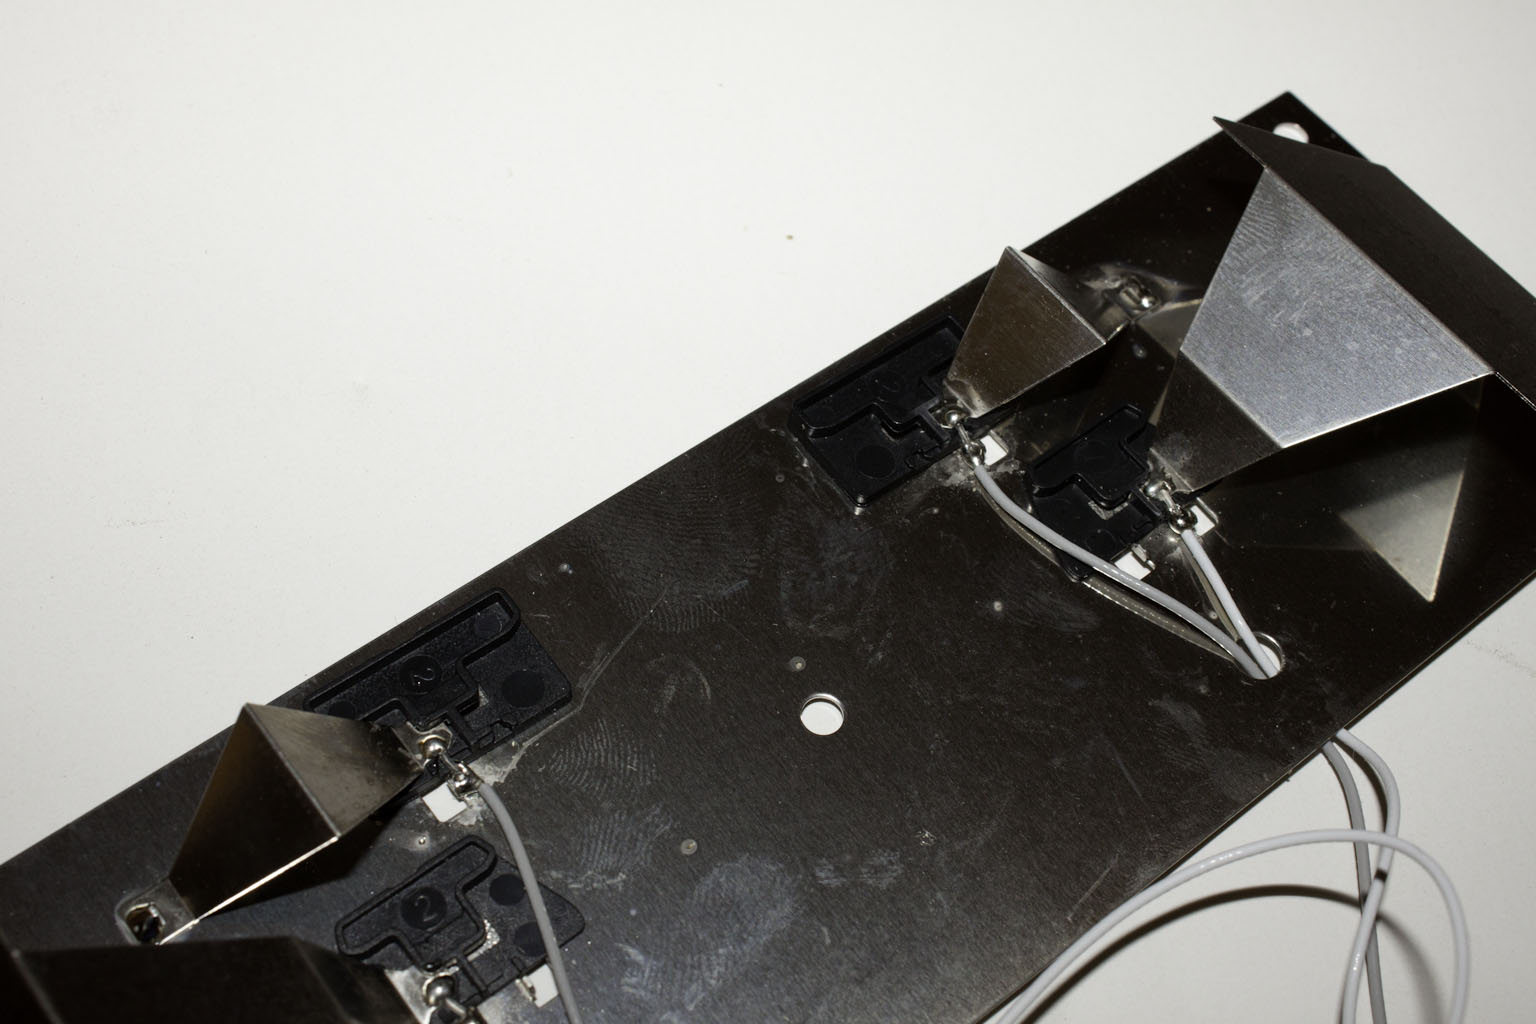
Under the hood we find a couple of surprises. The first is the separation of the internal antenna. We have seen more than one wireless access point that simply runs the antenna cables around the edge. Here we see them attached to a piece of shielding that helps to reduce electromagnetic noise as well as acting like an antenna with the angled pieces of metal. The end points are also in insulating mount points to provide even more segregation for the two radios (2.4GHz and 5GHz). The one thing we are a little disappointed on is that there are only two MIMO (Multiple Input Multiple Output) antennas per raidio. This means that you are already limiting the upper end of your bandwidth potential which will also reduce your average transfer speed. Remember the more antennas you have per radio the more spatial streams you can run concurrently. Spatial streams are important as they represent the number of data streams you are running to your access point. Of course, we do have to chime in with the fact that a large number of wireless devices in laptops, tablets, PCs etc also only use two MIMO antennas, so while we would like to see NETGEAR use three (or more) they are still in line with what is common practice in the market.
 |
 |
 |
 |
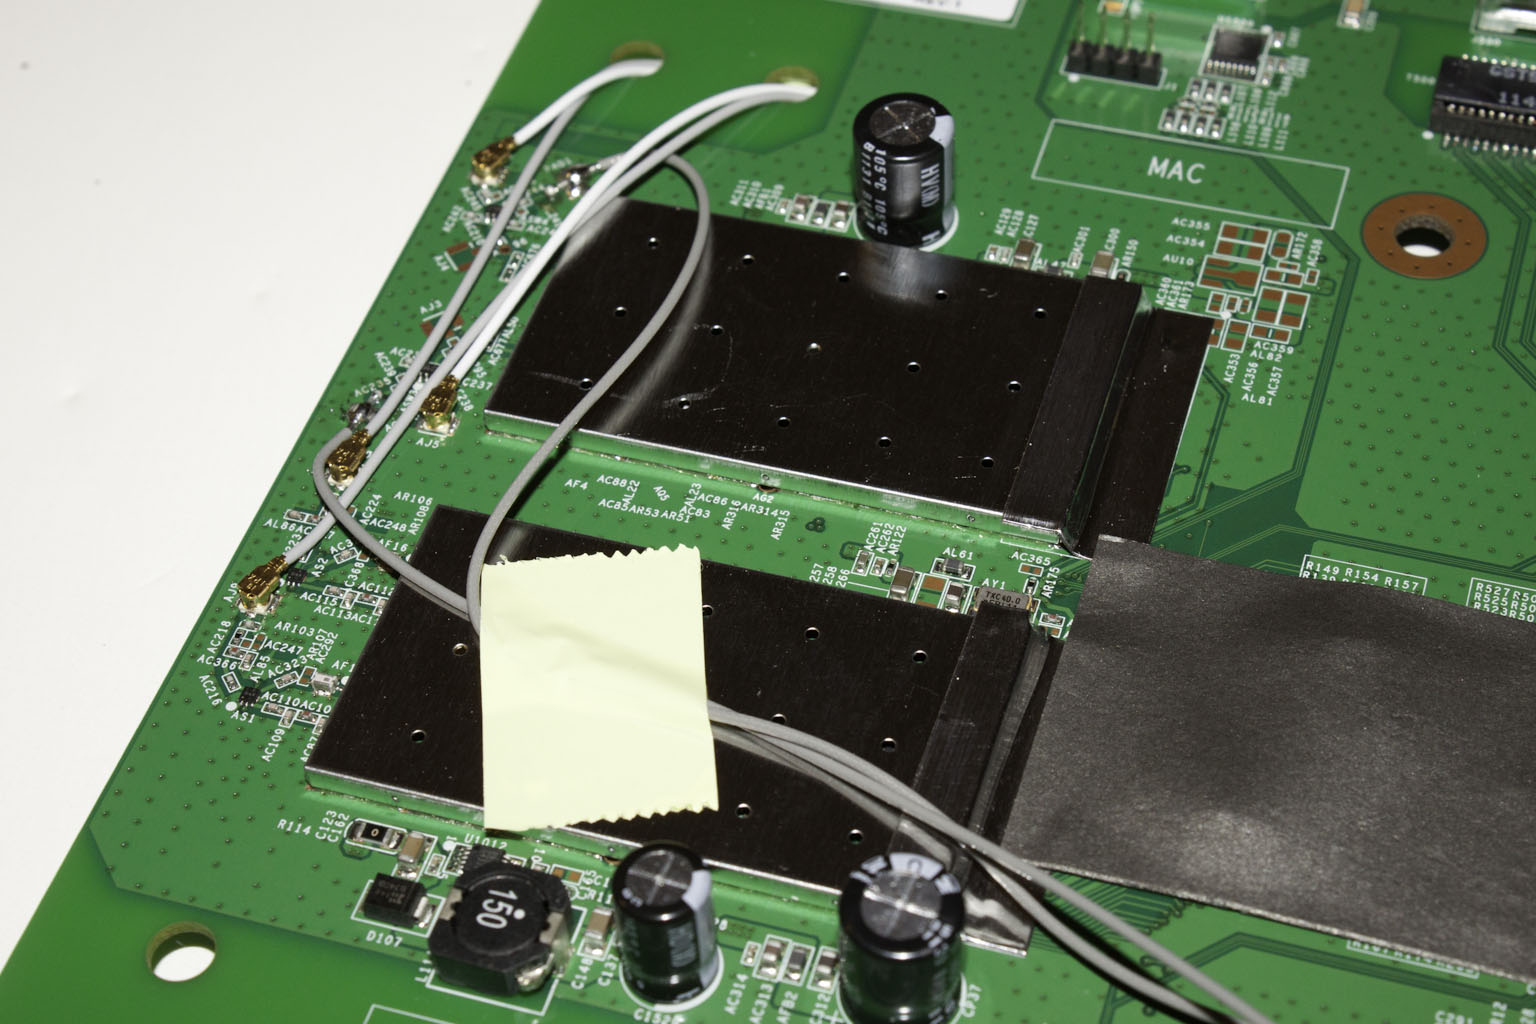 |
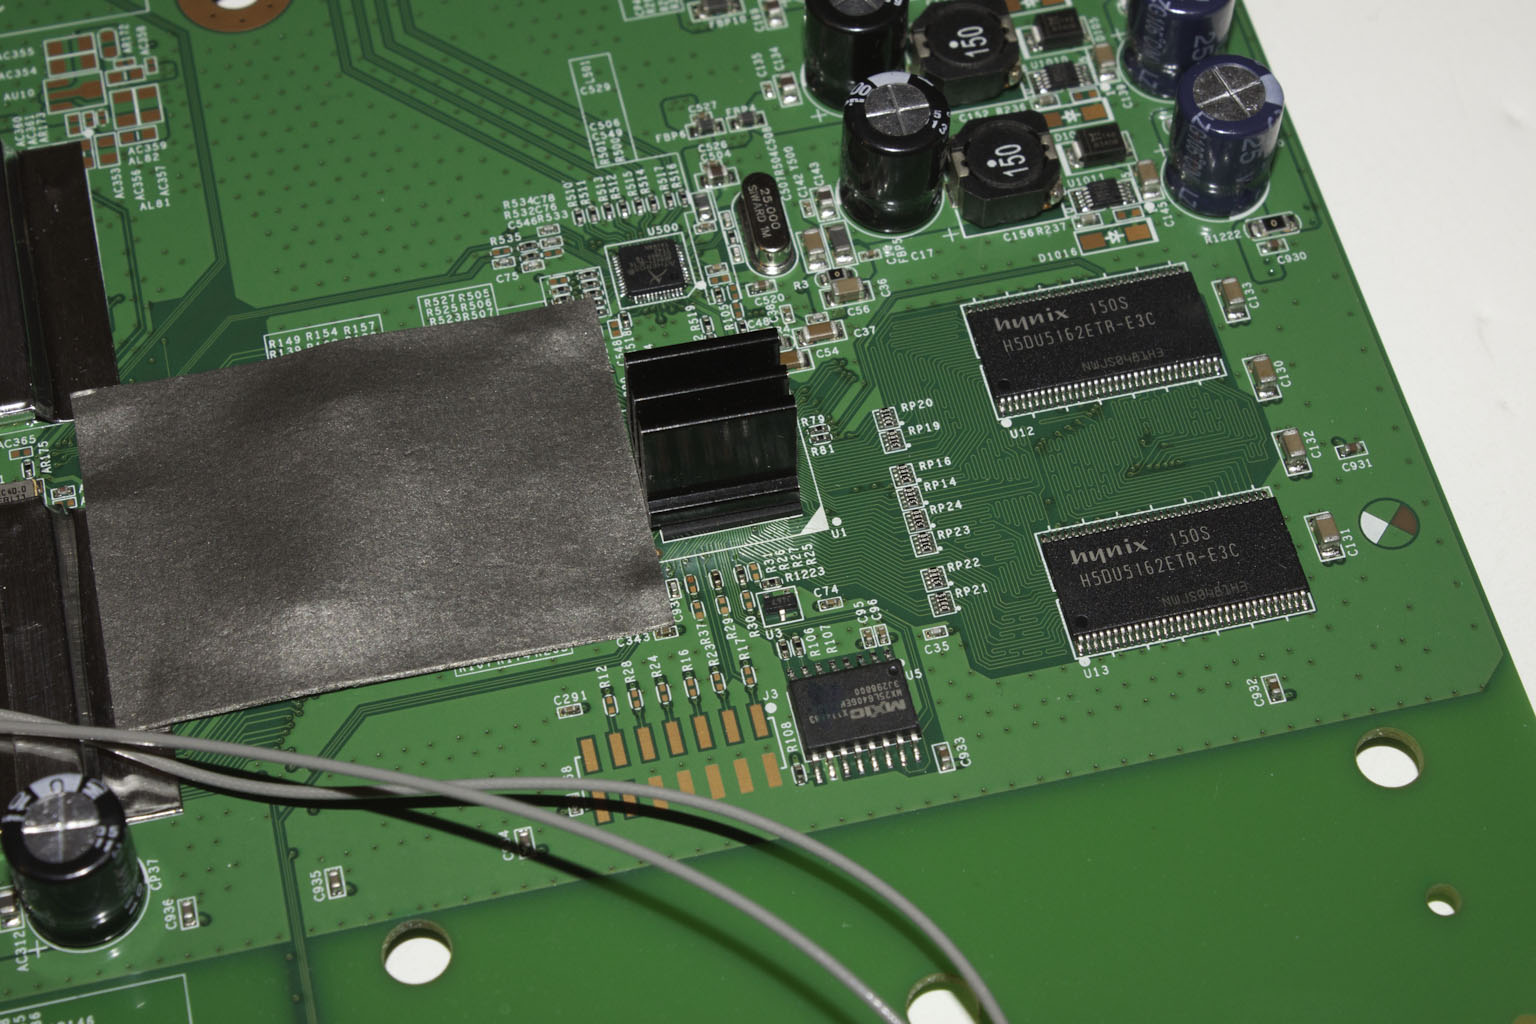
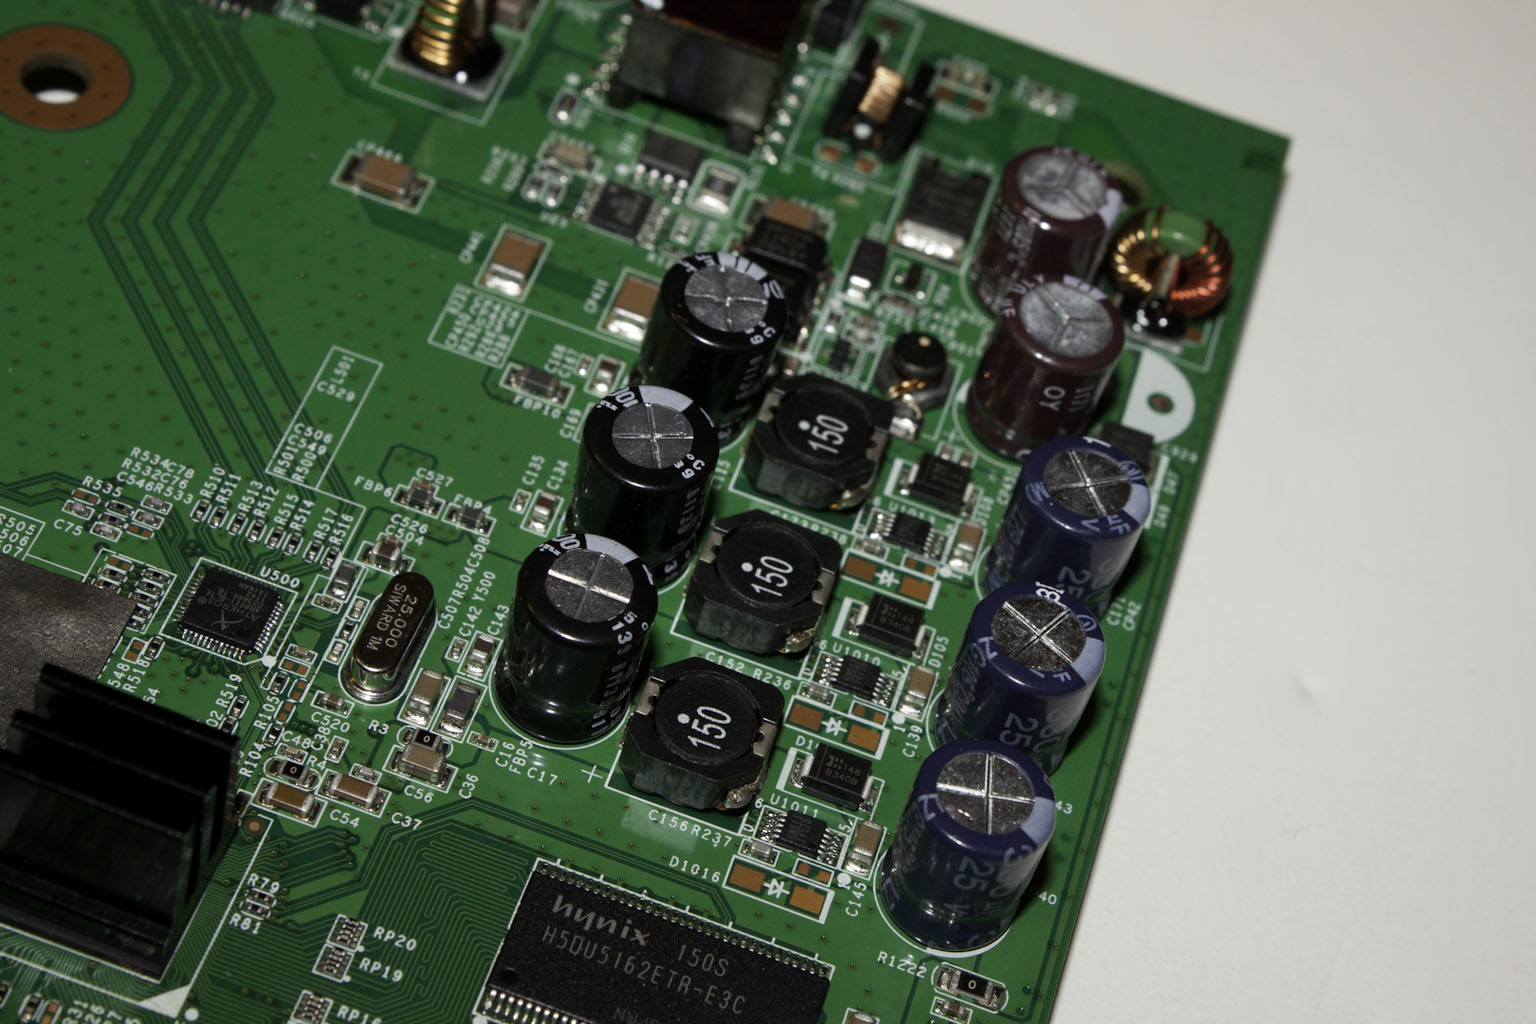
To help buffer your traffic there are two 512MB Hynix SDRAM chips on the board. These could change between different revisions, but you should have at least 1GB of onboard memory to help keep traffic flowing. The radios themselves are under two EMI shields which as mounted to the PCB (if they were not we would have removed them). In all this looks like a fairly solid build. The specifications from NETGEAR would seem to back that up as well. The WNDAP360 has features such as;
Wi-Fi Protected Access (WPA, WPA2)
Wired Equivalent Privacy (WEP) 64-bit, 128-bit, and 152-bit encryption
IEEE802.1x RADIUS authentication with EAP TLS, TTLS, PEAP
Wireless access control to identify authorized wireless network devices
MAC address authentication
VPN pass-through support
Secure SSH Telnet
Security Socket Layer (SSL) remote management login
Wireless Distribution System (WDS) Bridge mode:
Point-to-point wireless WDS mode
Bridge mode: Point-to-multipoint wireless WDS mode
Repeater mode
Adjustable Transmit Power Control (TPC) from 100 mW down to 0 mW
Like we said, pretty impressive so far.
The Setup -
To setup the WNDAP360 you might need to make a few adjustments to your network. As the WNDAP360 comes with its IP (Internet Protocol Address) hard coded to 192.168.0.100 you may need to set up a system to match that IP range (192.168.0.x with a subnet mask of 255.255.255.0). Fortunately the quick start guide will get you through all of this if you need to do it. As we setup out testing network on an independent line for segregated traffic we were able to use any IP scheme that we needed.
 |
 |
 |
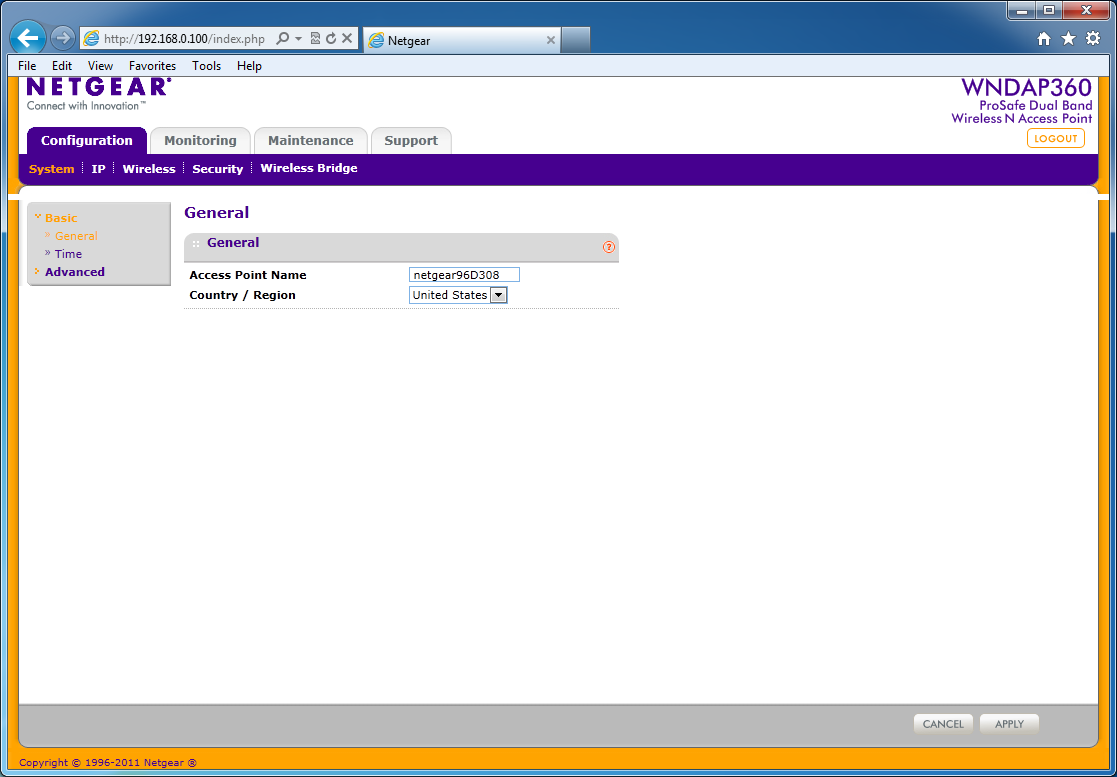
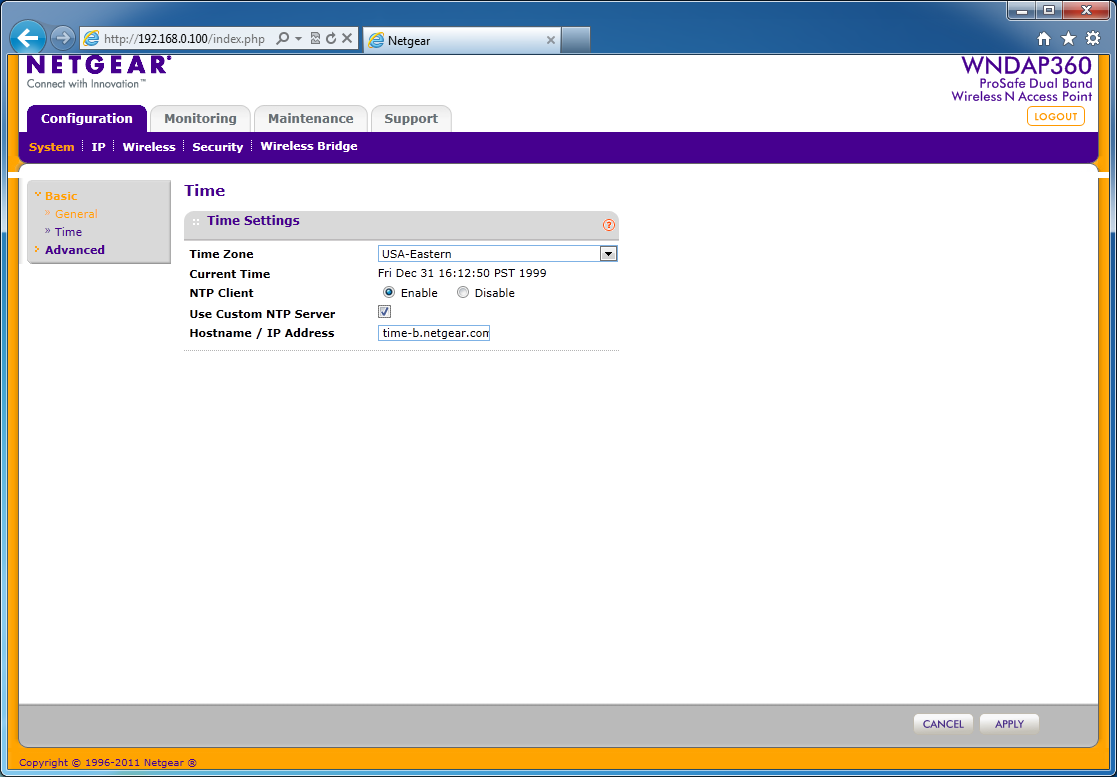
Once you are on the same network (or if you already were) all you need to do is open your favorite browser and type in http://192.168.0.100. This will get you to the login page and start you on the road to getting everything configured for your new access point. When you first login you will be on the System Tab/Basic page under the general heading. Here you can set the region you are in as well as set up the name of the access point. From there you are going to want to make sure you setup the time on the access point. We recommend using a time server to keep accurate time on the WNDAP360. This will help to prevent any sync errors due to time discrepancies.
 |
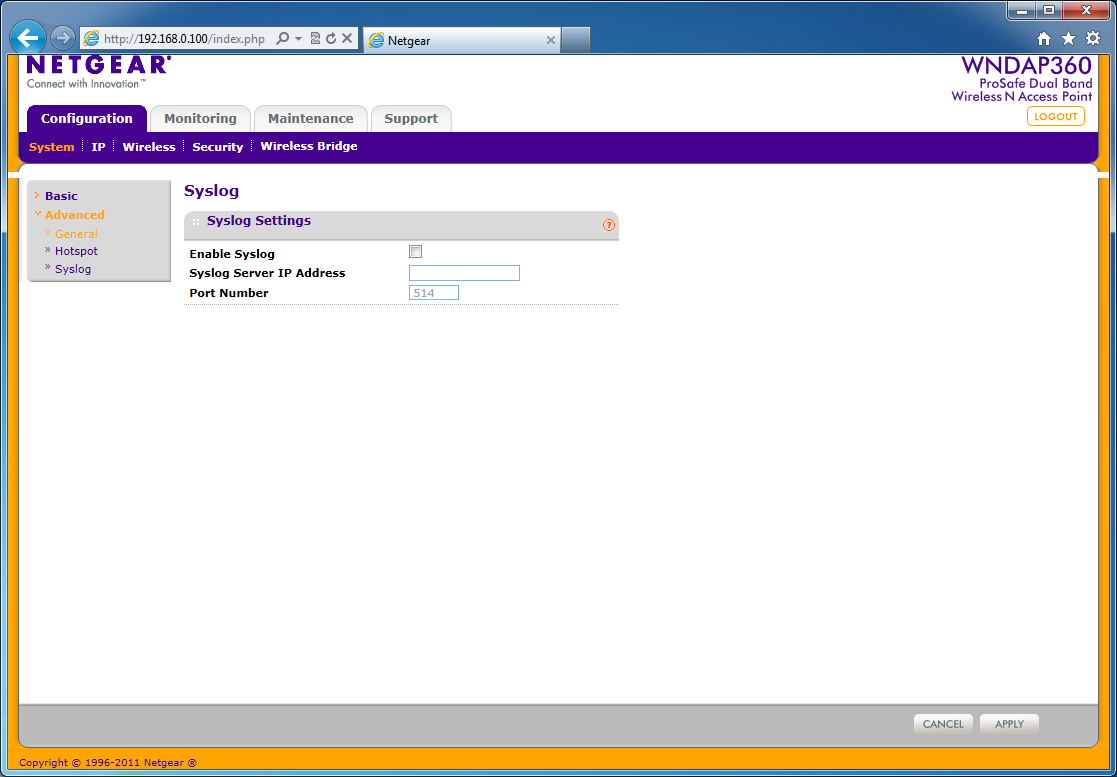 |
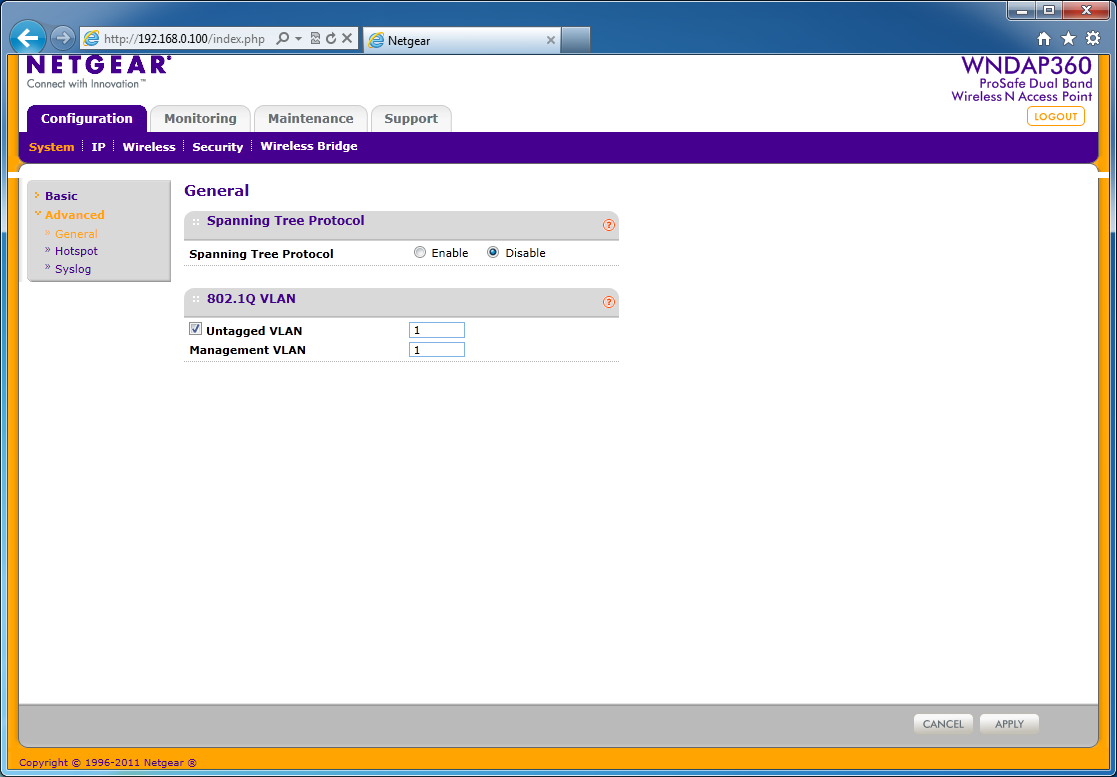
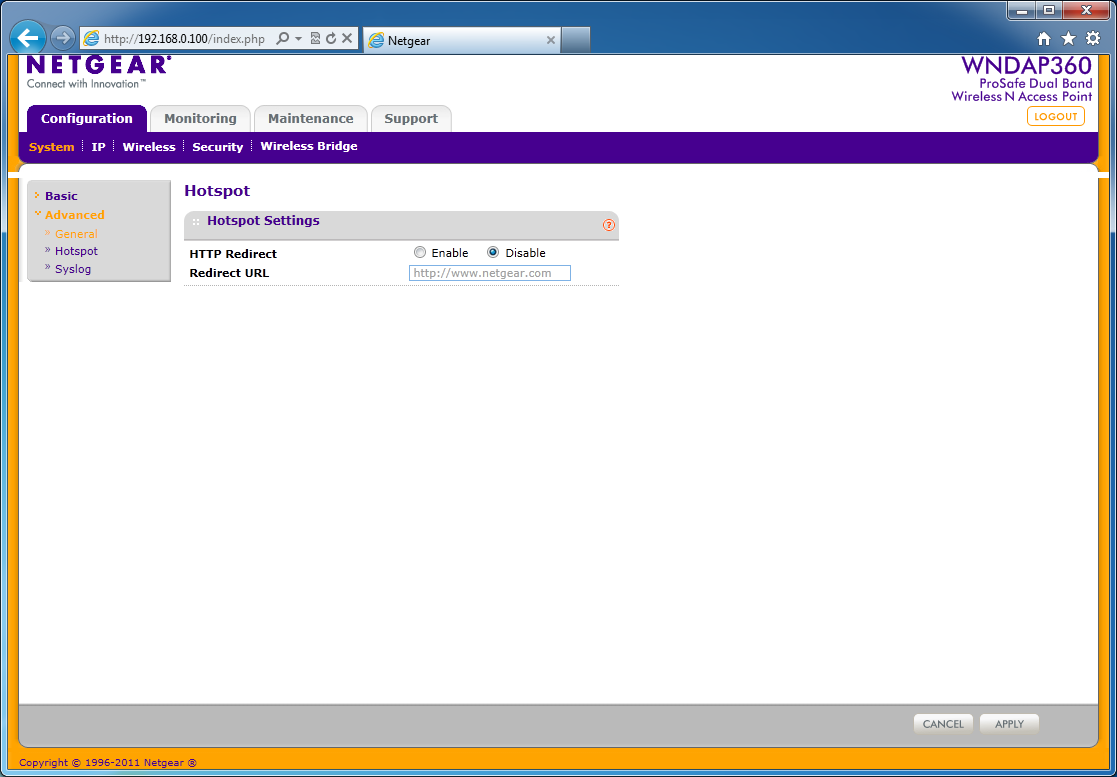
After you setup these items there are some advanced settings that you might want to configure depending on your particular network. As this is a business product we are going to setup a few of these and test the access point as if it were being used as a guest network. Here your options are to setup the WNDAP360 to use the spanning tree protocol. This protocol allows the devices on your network to quickly adjust for changes in topology. The 802.1Q VLAN settings are also very often used with wireless networks (if they are being setup for guest traffic). Using a VLAN (or virtual LAN) will allow you to segregate this traffic even if you are using the same switches (your switches and router must support VLANs to use this). Under this same tab you can also setup a hotspot acknowledgment page as well as a syslog server.
After setting these items up (or not) then you will want to move on to the IP page followed by the wireless and security tabs. We will cover these under the WebUI below as they do have quite a few options for you to configure.
The WebUI -
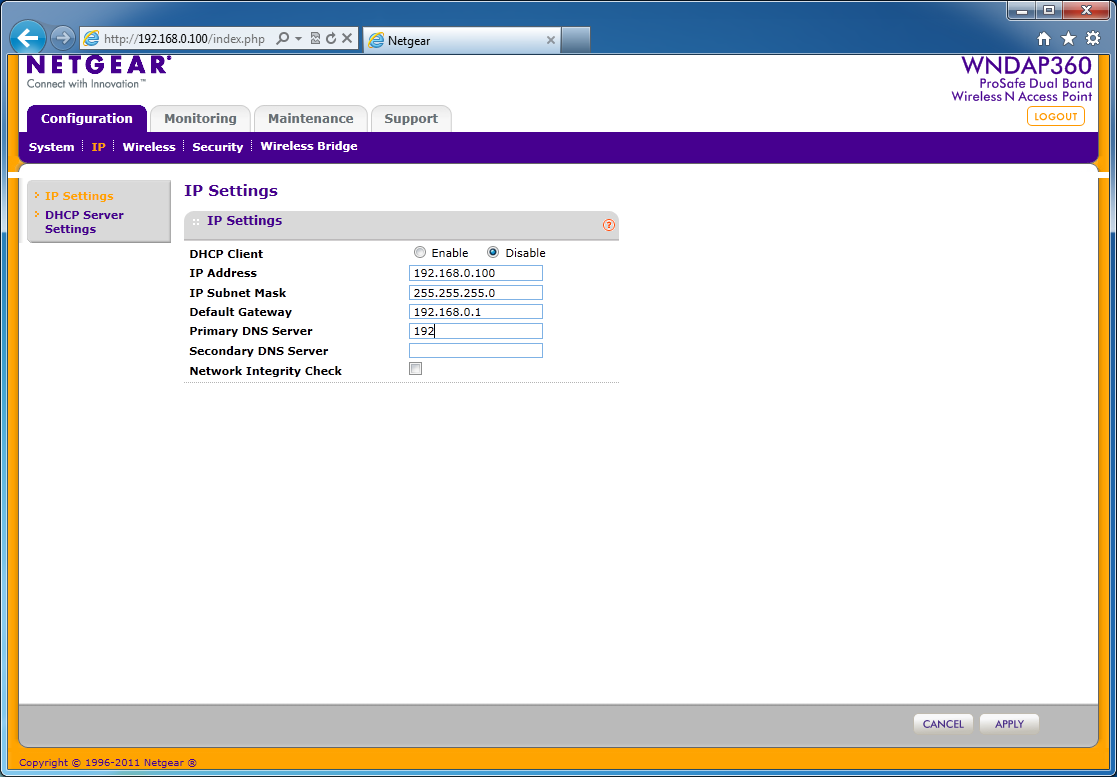
As we mentioned above in the Setup section the WNDAP360 has a very complete webUI for you to use in configuring this device (if you are using a wireless controller you would do the configuration there). As we have already covered the General tab we will kick things off with the IP tab and move forward from there.
 |
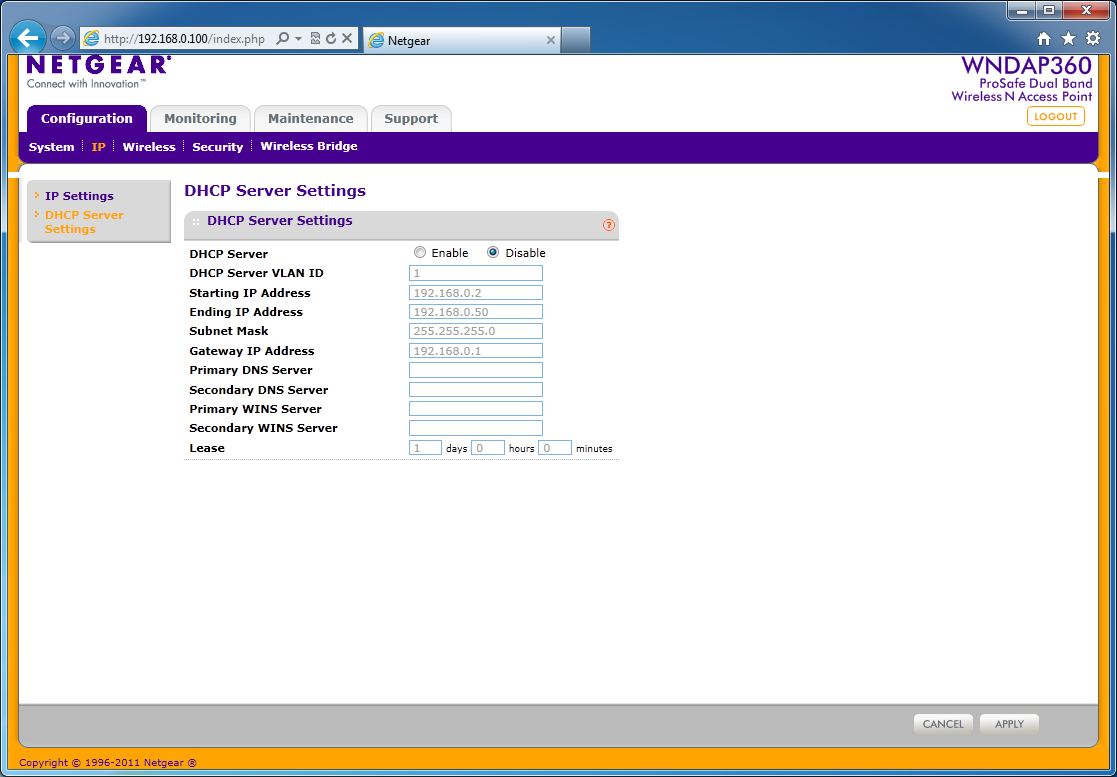 |
As you might expect on the IP configuration page you can set the IP address of the device including subnet mask, gateway, and DNS servers. You can also setup a DHCP server to address clients connecting to the access point (this is great if you are using this for a guest network or you do not already have a DHCP server in your existing network (most businesses will have this though).
 |
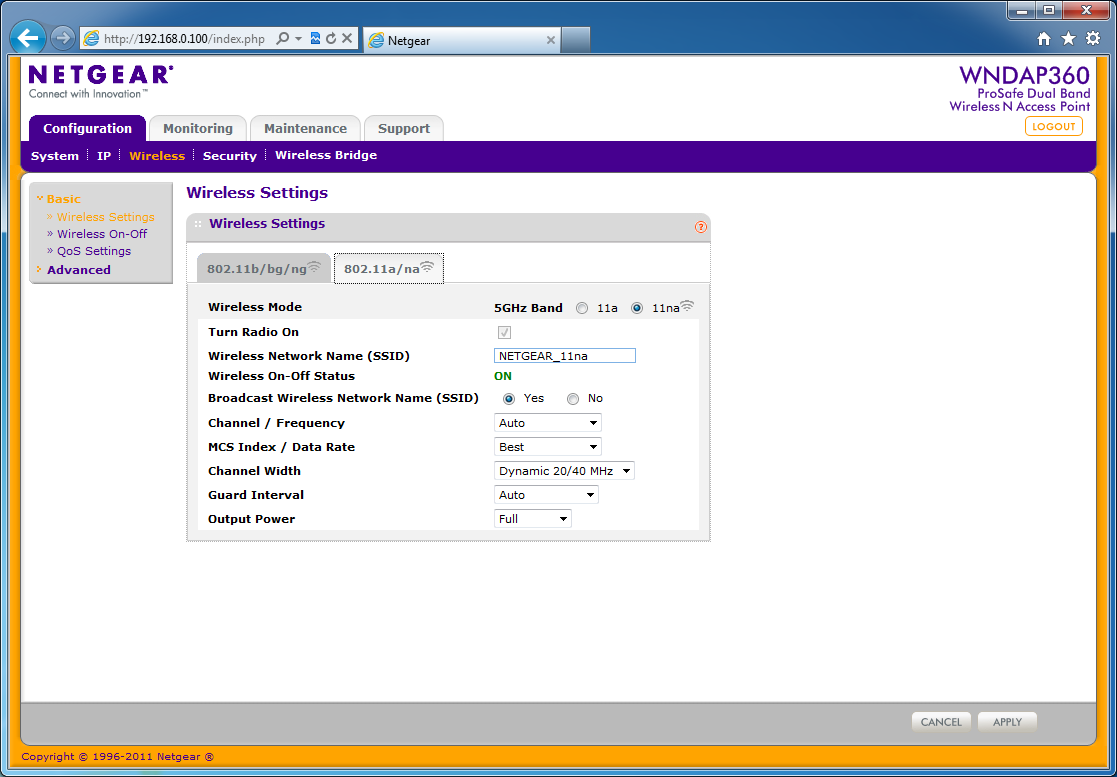 |
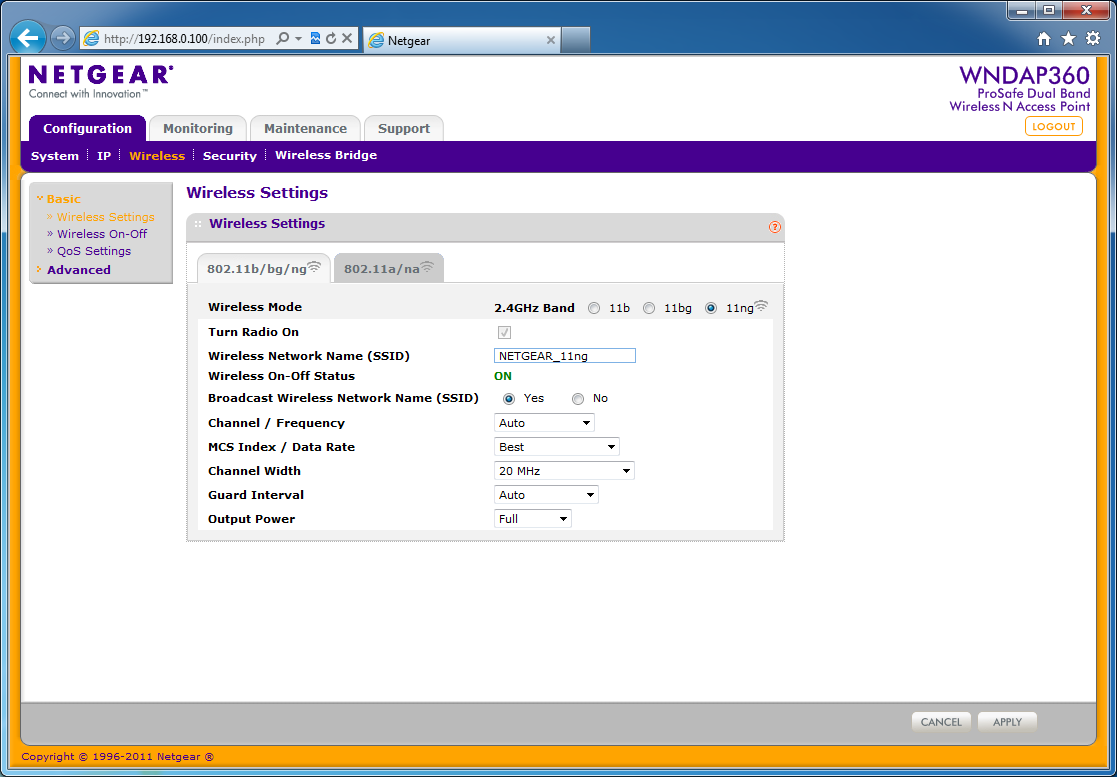
After the IP configuration we can move on to the Wireless setup. You have options for both the 2.4 GHz band and the 5 GHz band. With the 2.4 GHz band you can configure the WNDAP360 to operate with 802.11b b/g and n/g. There is no option for a here although there is on the 5 GHz page. 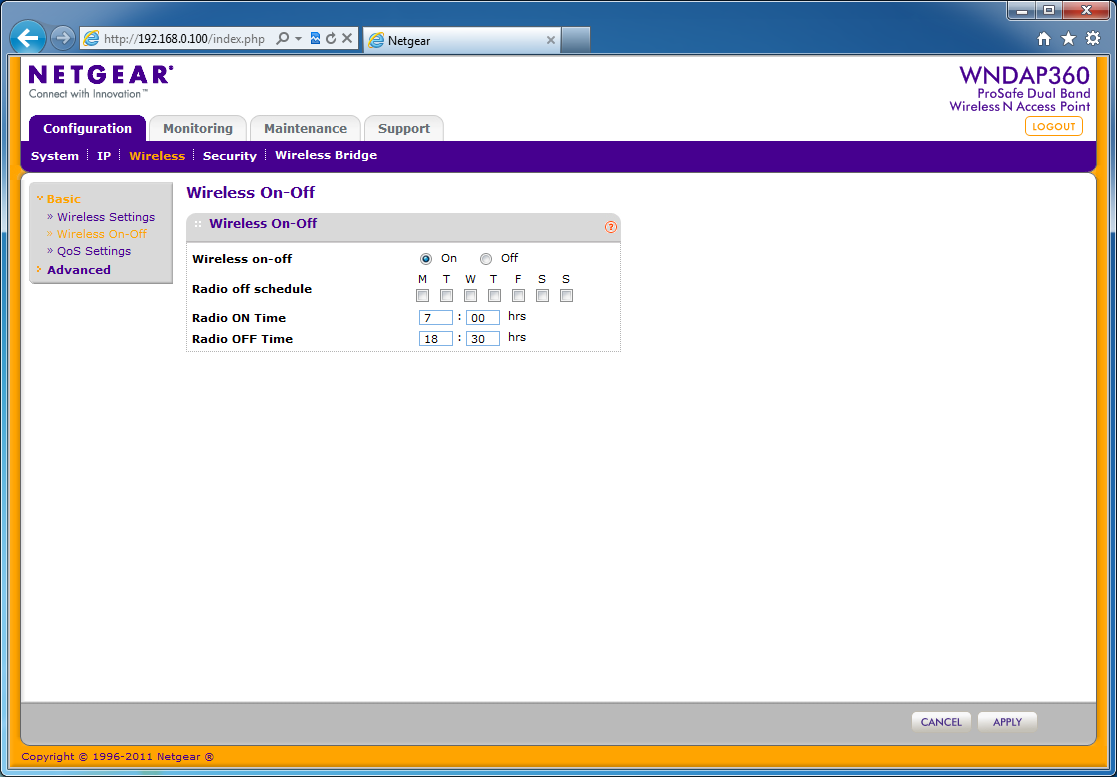
In keeping with its placement in the business market you also have the option to turn the wireless off during certain hours and on certain days (this would also be good for parents trying to keep their kids off the internet all day long). 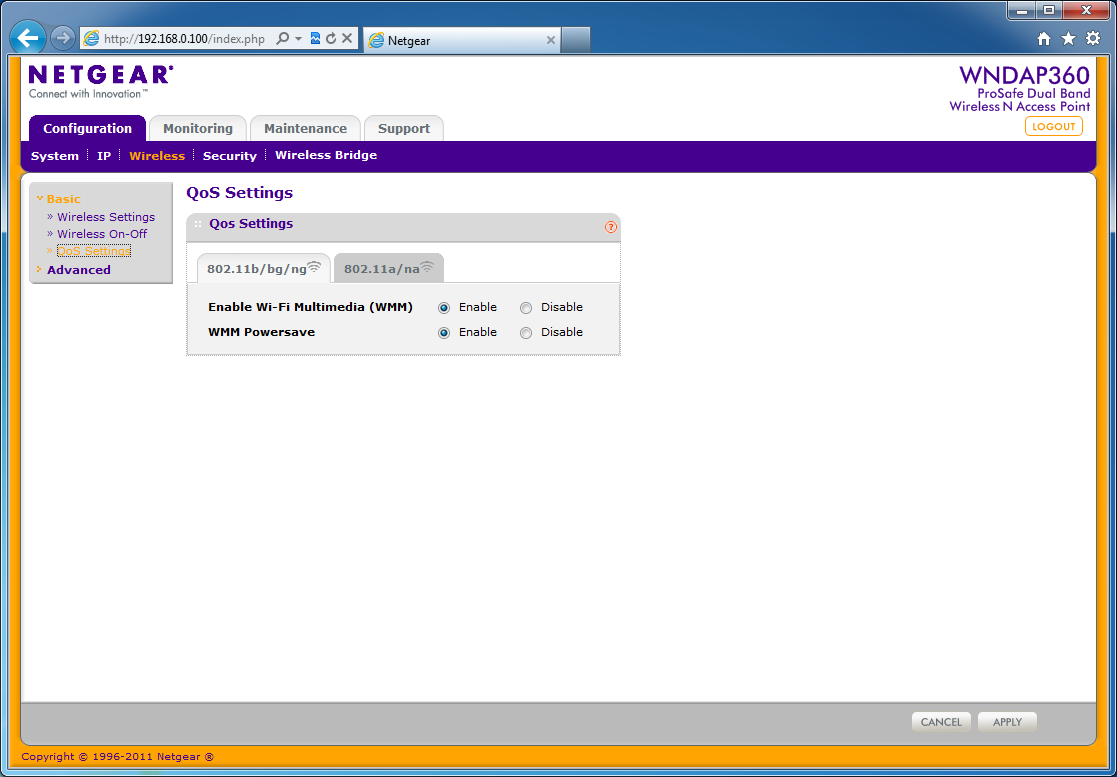
The WNDAP360 also has some basic controls for Quality of Service. You can enable WiFi Multimedia which will allow the WNDAP360 to prioritize multimedia traffic (for all of those YouTube videos). You can also set the system to reduce power when it does not need to handle multimedia traffic. Under the advanced settings you can really get in and adjust the settings; you can also really screw things up so we actually recommend that you leave these settings alone. We will talk about one of these really quickly though. There is an option to isolate wireless clients. This is a great feature to use if you want multiple people using the wireless but you do not want them to be able to see or talk to each other on the network. By isolating them each will have its own independent connection and will not be visible to others connected. This will limit the number of connections per access point, but can still be a big benefit for security.
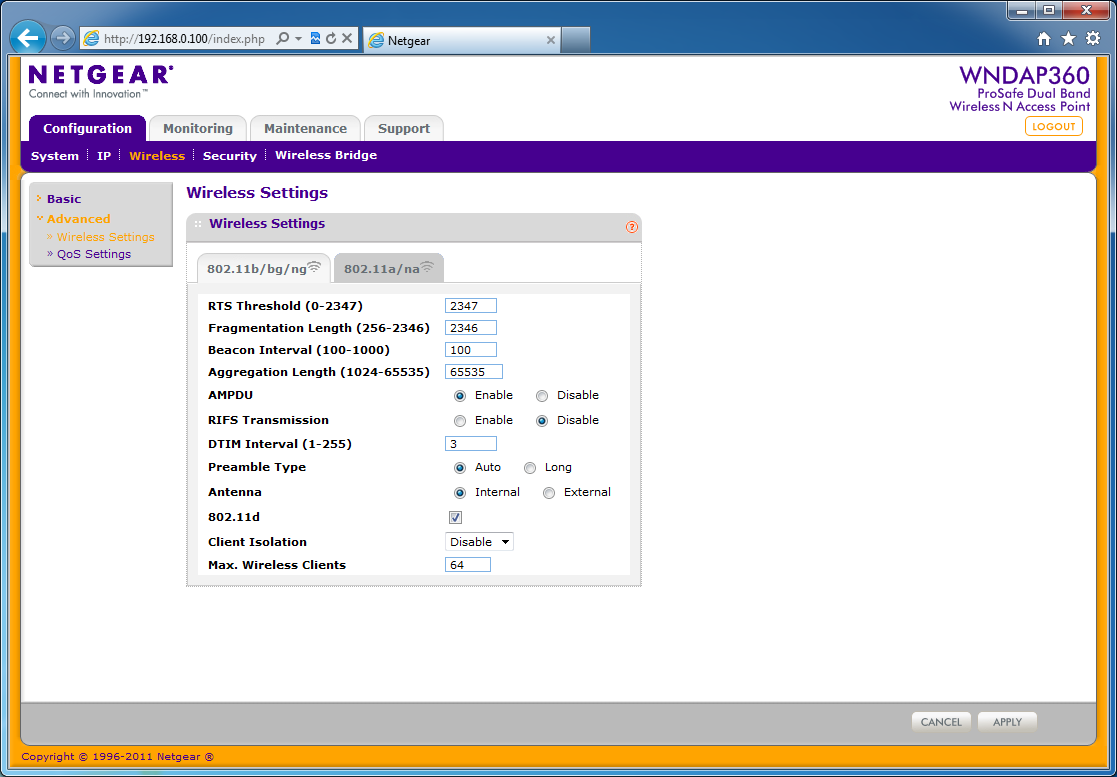 |
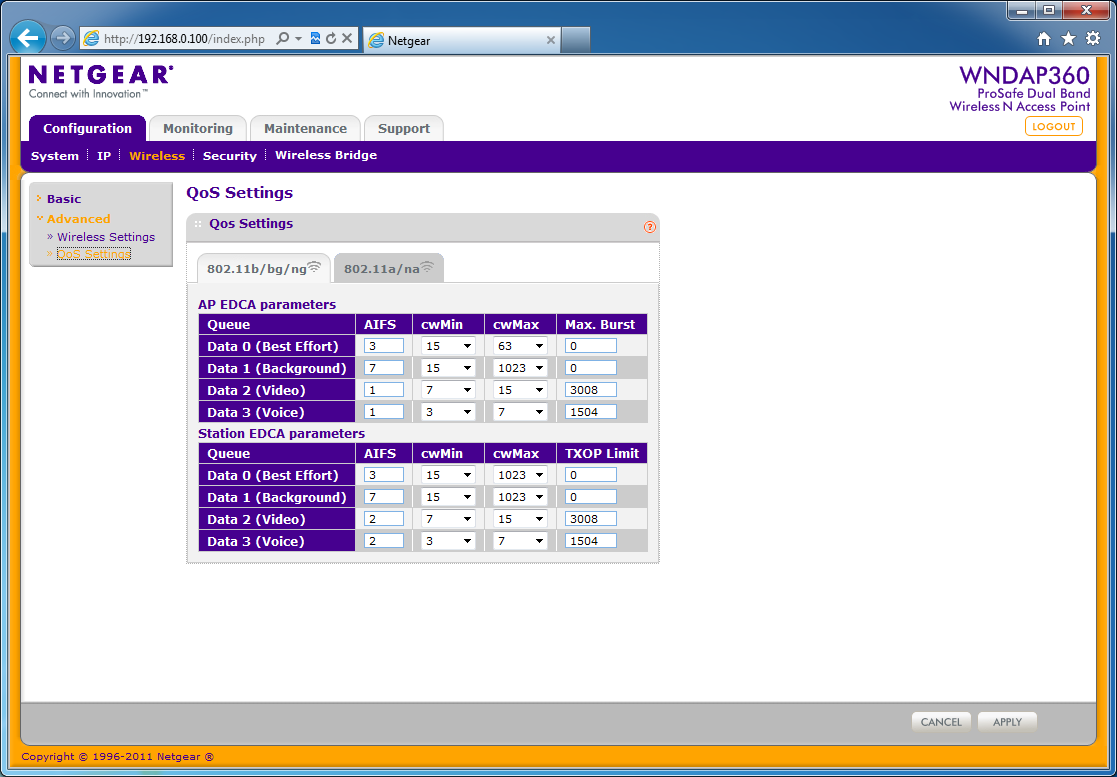 |
The QoS Settings are also another area where most people will not need to tinker. Here you can set up your different queues for servicing different types of traffic. You have options for both radios (2.4 GHz and 5 GHz). 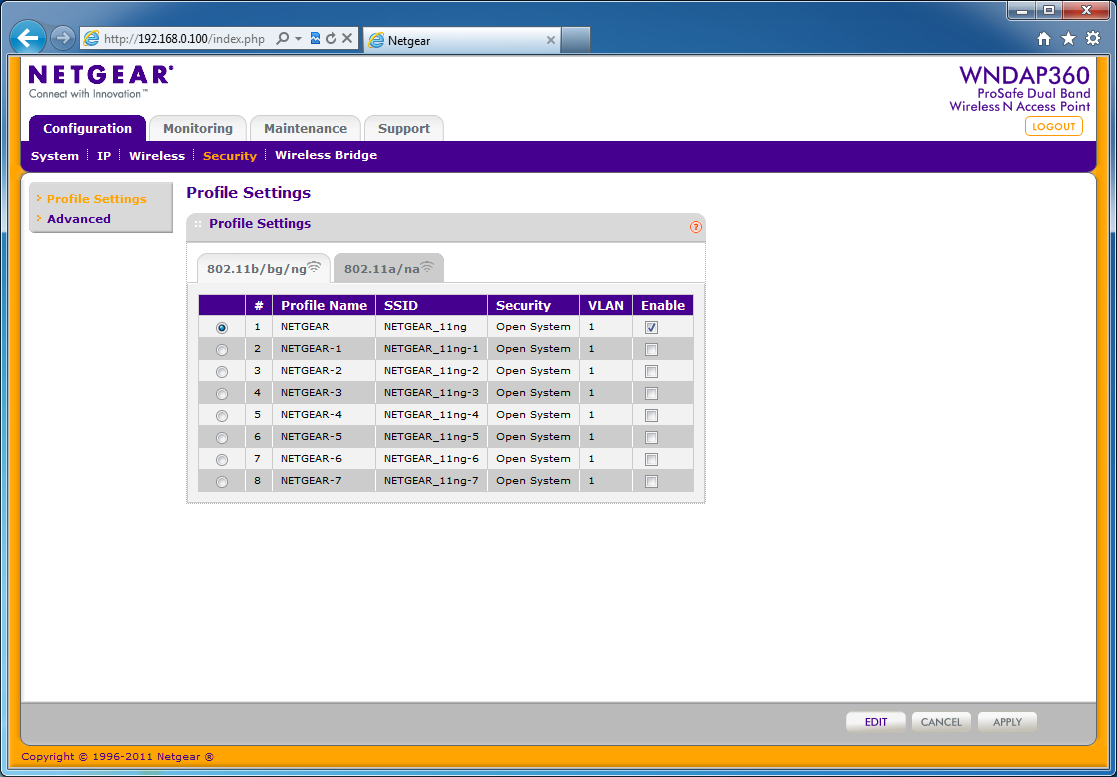
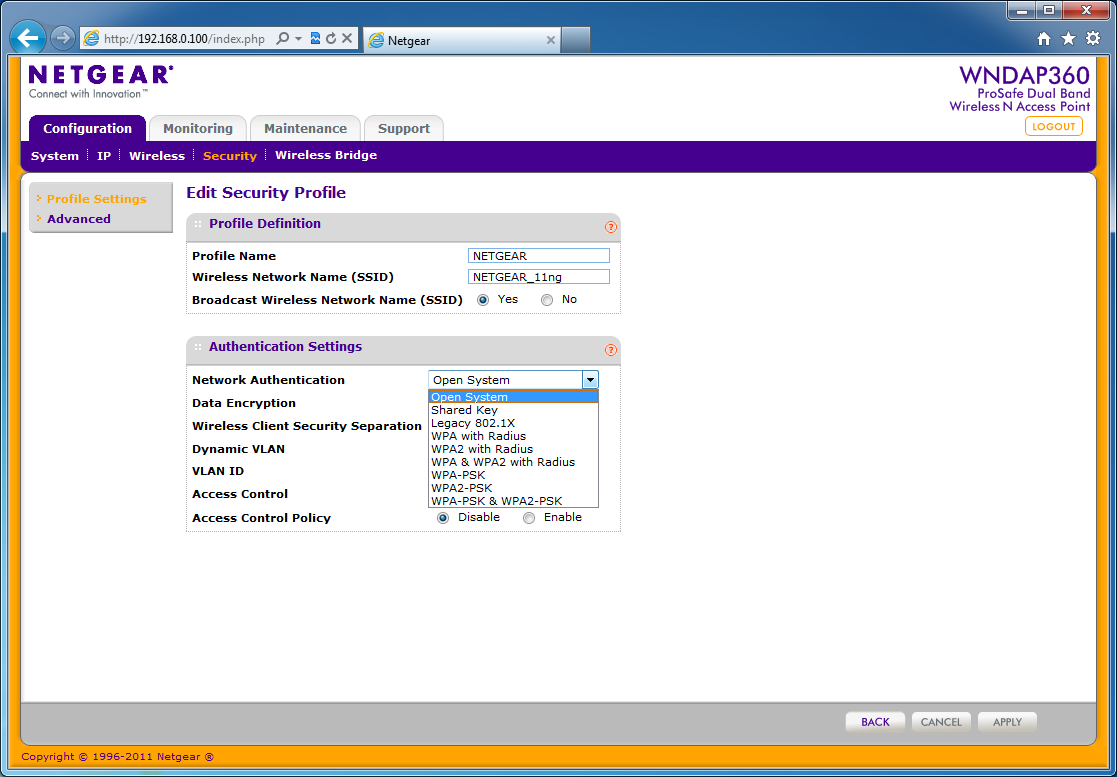
Moving on to the security tab we find a pleasant surprise. There are eight different security profiles you can setup for each of the radios. To change these you only need to select the radio button and then click on the edit button at the bottom of the page. Once that is out of the way you can choose quite a few different network authentication/encryption routines. For most people the best one is going to be WPA2-PSK. This stands for WiFi Protected Access - 2 with a Pre-Shared Key. If you are looking for something a little more secure you can also setup WPA2 with a RADIUS (Remote Authentication Dial-In User Service). RAIDUS allows you to specify a group of users and/or systems that are allowed access to your wireless network. You can setup a good deal of restrictions when using RADIUS including requiring a password and/or machine certificate just to get on the network.
 |
 |
To keep the traffic flowing you can also run each security profile into its own VLAN. This way you can have multiple SSIDs all running on their own internal VLANs to keep everyone separate and happy.
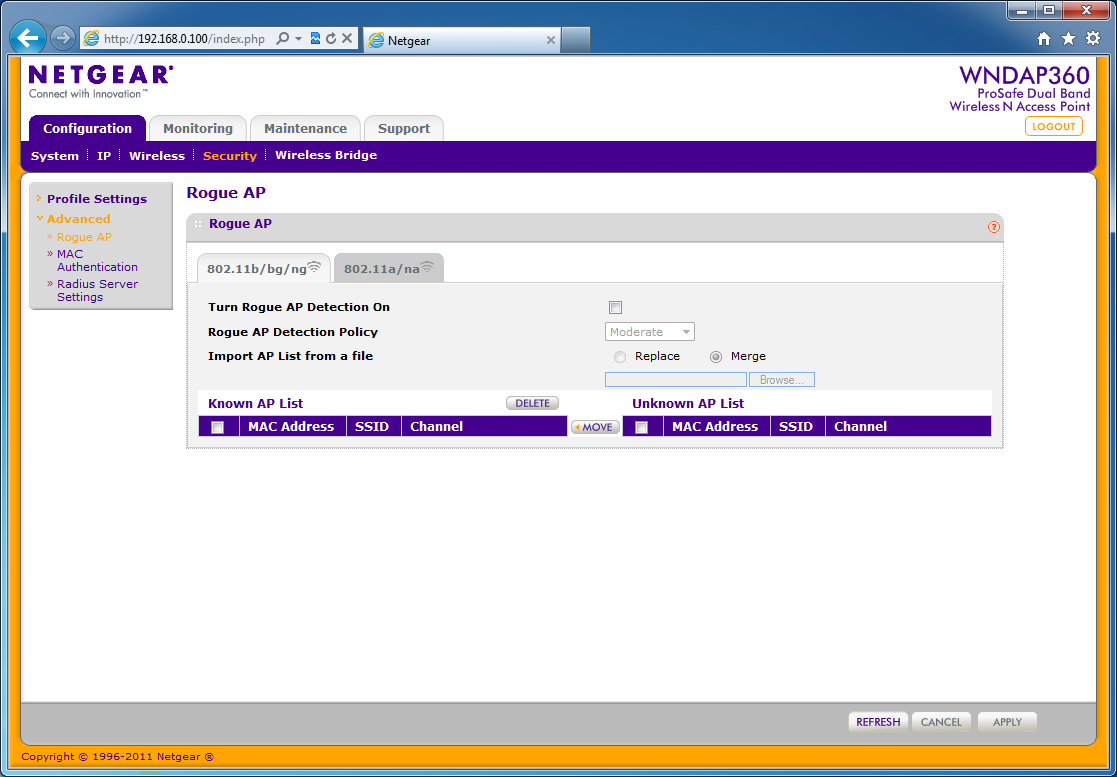
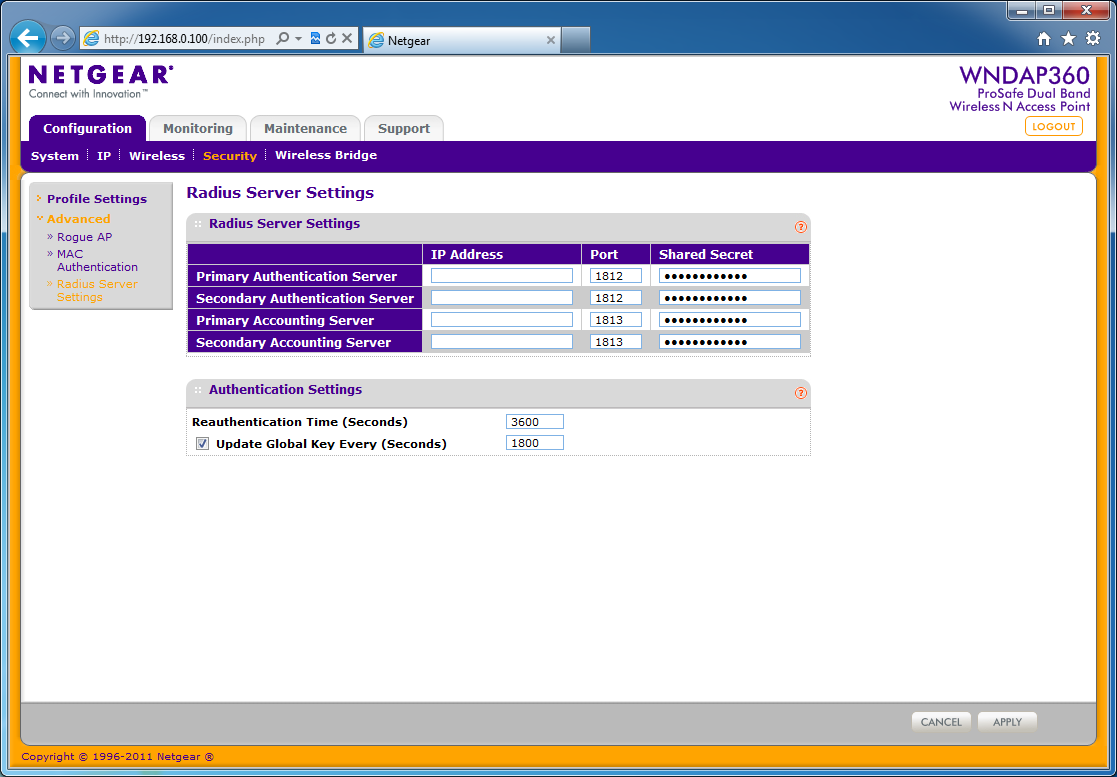
After setting up your security you can also enable a feature that will allow you to block rouge access points. If the WNDAP360 detects one it can notify you so that you can block it from your network. For the truly paranoid you can also setup a listing of allowed MAC addresses for connecting to your network. Of course this is not a 100% secure feature as you can spoof a MAC address with simple software now. After locking down your access point by MAC address you can add in all of those RADIUS servers we talked about. The WNDAP360 has slots for two RADIUS authentication servers and two RADIUS accounting servers. Although these can be the same server they are not always setup this way. Often you might have an authentication server and a separate server to do all of the accounting (this is just a fancy name for logging server).
 |
 |
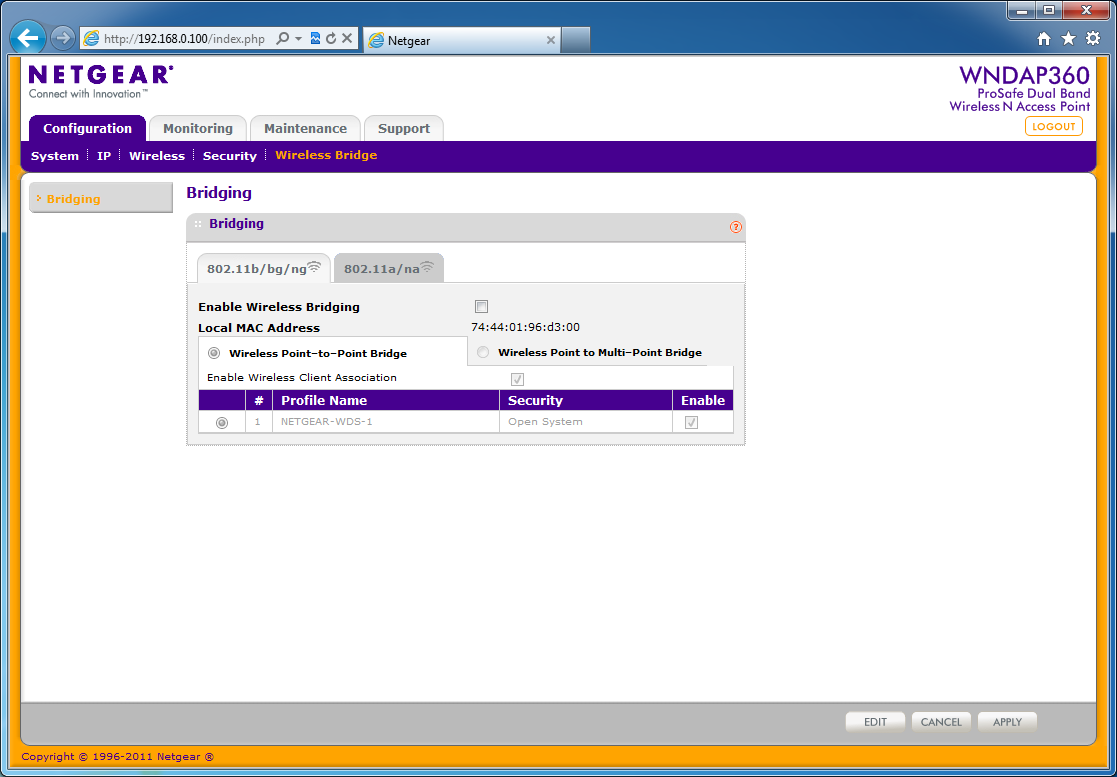 |
One of the last pages for configuring your new WNDAP360 is the wireless bridge. Here you can configure the 360 to act as a bridge between one or more wireless access points without the need to have them connected via Ethernet cables. While this sounds like a great idea it is very important to remember that you are going to lose about ½ of your bandwidth when you set this up.
 |
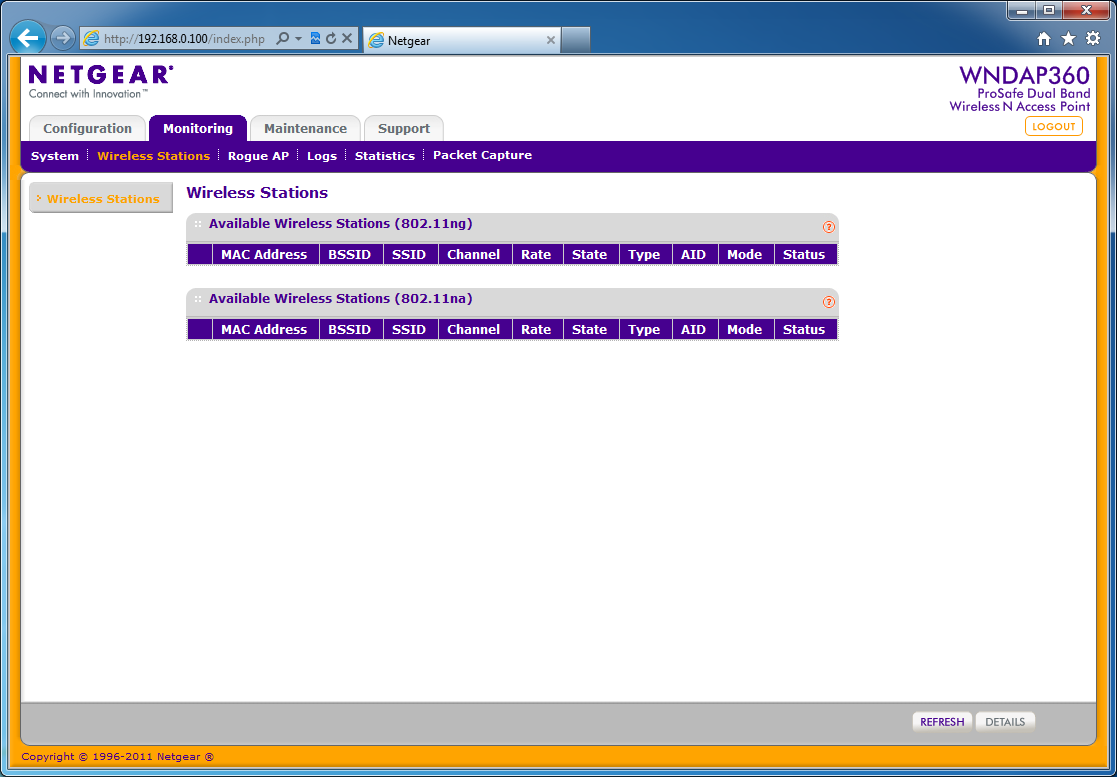 |
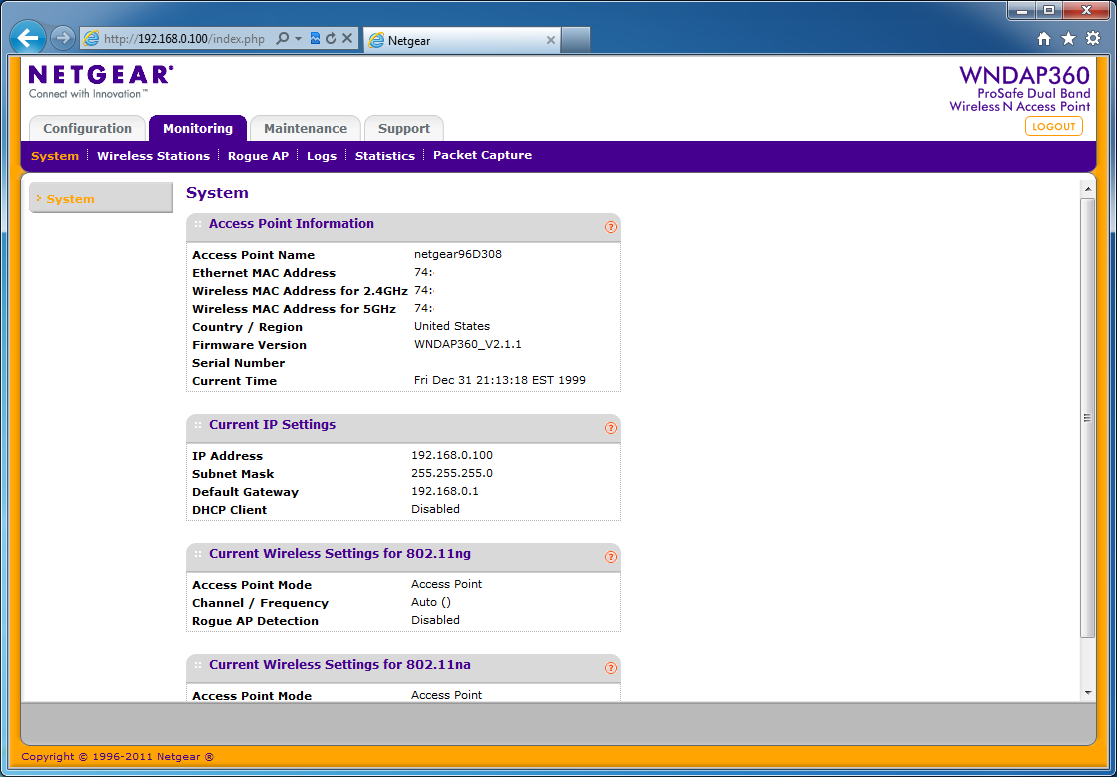
After that the rest of the WebUI is more about maintaining and monitoring the connections than anything else. You have some decent tools for monitoring the different features of the WNDAP360 including rouge Aps and a packet capture feature to make sure all of your traffic is flowing (or not) properly.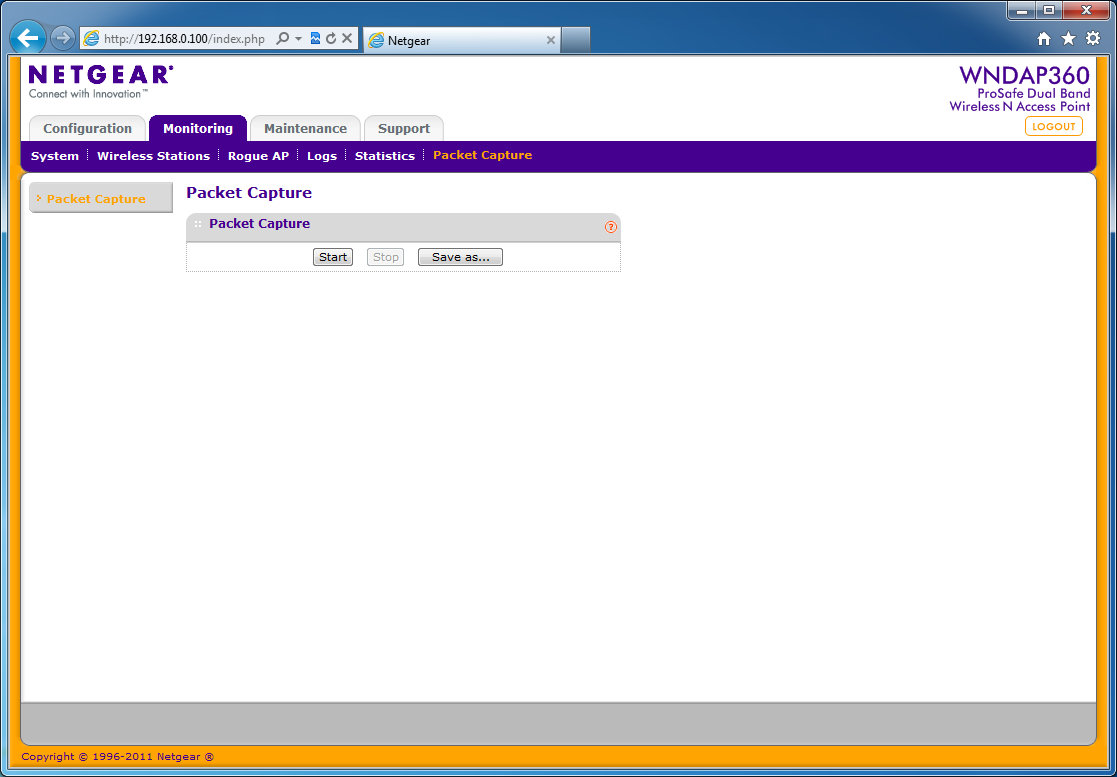
The maintenance page is simple and really does not need much of an explanation.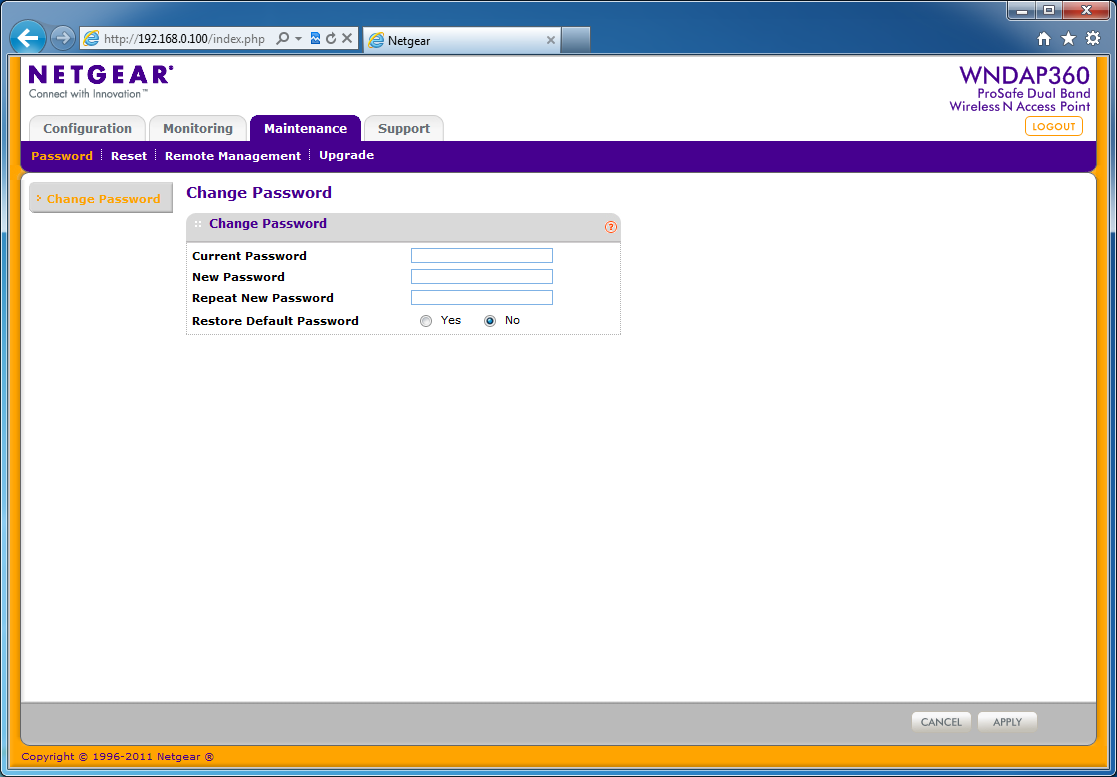
That is about all there is to the WebUI; like we said it is a lot and while it is very complete, to the average user it might be too much.
Performance -
The performance of any wireless adapter is going to have multiple parts, just like any type of hardware. We are going to take a look at the ones we feel are the most important to consumers. The first is simply raw performance. For our testing we are still going to pit the business oriented WNDAP360 against some residential wireless routers, but we do want to point out that the residential routers are not in the same class. The NETGEAR WNDAP360 is designed to last longer, have better reception and also to provide better security than the average home router. This is often a mistake that small business owners will make when buying networking hardware, but more on that later.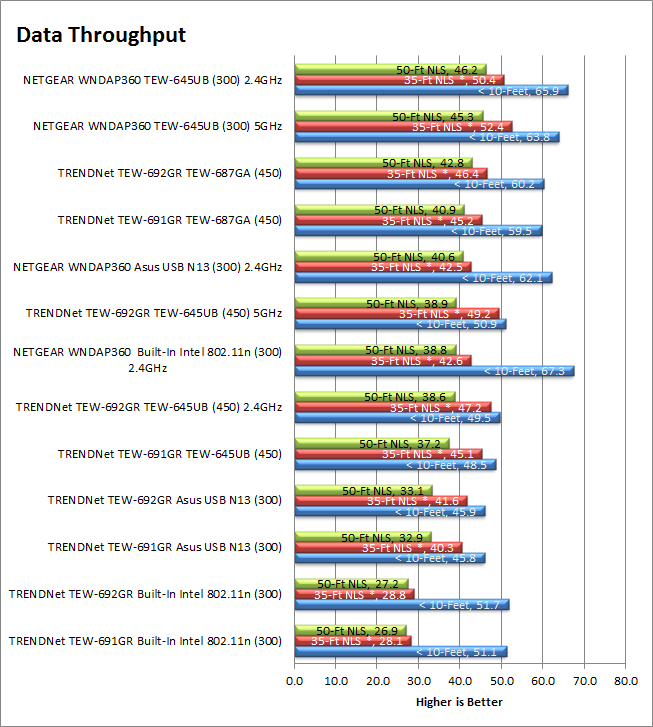
As you can see the better wireless antenna gives us much better wireless throughput. Even at long ranges and through our electrical/wet wall. We were very impressed and have to wonder how well this would do if mounted to the ceiling where it would have a less obstructed path.
Reception -
As you can see from the data performance above the NETGEAR WNDAP360 has very good range. We found that it was able to pick up strong signal from more than 75-feet from its location inside our lab. We were still able to get a strong signal and good data throughput at up to 90 feet.
Link Speed -
Link speed gives you an idea of what your max data transfer will be. If you are connected at 45Mbps then you are not going to have a very fast connection. The downside of wireless is that this connection can vary even if you are stationary. This is because almost anything electrical (and not shielded) can interfere with your reception. For all but the extreme in our range testing all of our wireless adapters connected showing the full 300Mbps connection. We were very happy to see this as most routers we have tested start to drop off on the connection speed once we get around the corner from them.
Real World Traffic -
Our real world testing consists of things like streaming movies (from Netflix and a NAS device), moving large files (a folder with 20GB of pictures) and a video file, web browsing and of course some gaming. Our real world testing was also impressive. We had no issues running multiple video streams on this network including watching Netflix while running YouTube and music. All of this was under both Windows 8 and on Windows 7 systems. We also connected our Asus Transformer (original), an iPad2, and our EVO 3D without any problems.
Value -
Value is another very subjective topic. What is expensive to some might be a deal to others. You can look at this topic in multiple ways. One is raw price and the other is what you get for the money. Each is accurate and both are correct ways to look at price/value. We tend to look at features, performance and real-property when we discuss value. However, we also take into account the raw cash cost of the item. When you first see the price of the NETGEAR WNDAP360 you might be in for a shock. As we told you above it is around $290 from most online e-tailers. This might seem very expensive when you see combination router/access points on sale for $60, but in reality those are not intended for the same uses that the WNDAP360 is. You average $60 wireless router is not going to have the same range, performance, features or security that you will find by default on the NETGEAR WNDAP360. You simple cannot replace a product like this with a $60 home device.
Conclusion -
The NETGEAR WNDAP360 is a very sturdy product. Although it is not the best looking access point that we have seen it is hands down one of the best we have worked with performance wise. The WebUI is a little clunky and we feel that NETGEAR relies a little too much on Java to pass commands to the system (many webUIs run all the commands in Java Applets for ease of management). We ran into a couple of times when the UI would not finish loading and we had to refresh the page. However, you can always connect with an RJ-45 to RS-232 cable and open up a secure shell to run commands through the CLI. This will give you quite a bit of flexibility and to be honest many of the CLI commands are more powerful. Aside from the UI we found the NETGEAR WNDAP360 to have excellent range, and performance. The scheduling features combined with the PoE connectivity will really give you some great options for using this where you want it. Overall we can highly recommend the NETGEAR WNDAP360 to any small or medium sized business that is looking to add fast secure (relatively) wireless to their office.
With its combination of performance, features and yes price we are happy to award the NETGEAR WNDAP360 our Silver Key award.
Discuss this on our Forum


