The WebUI -
As we mentioned above in the Setup section the WNDAP360 has a very complete webUI for you to use in configuring this device (if you are using a wireless controller you would do the configuration there). As we have already covered the General tab we will kick things off with the IP tab and move forward from there.
 |
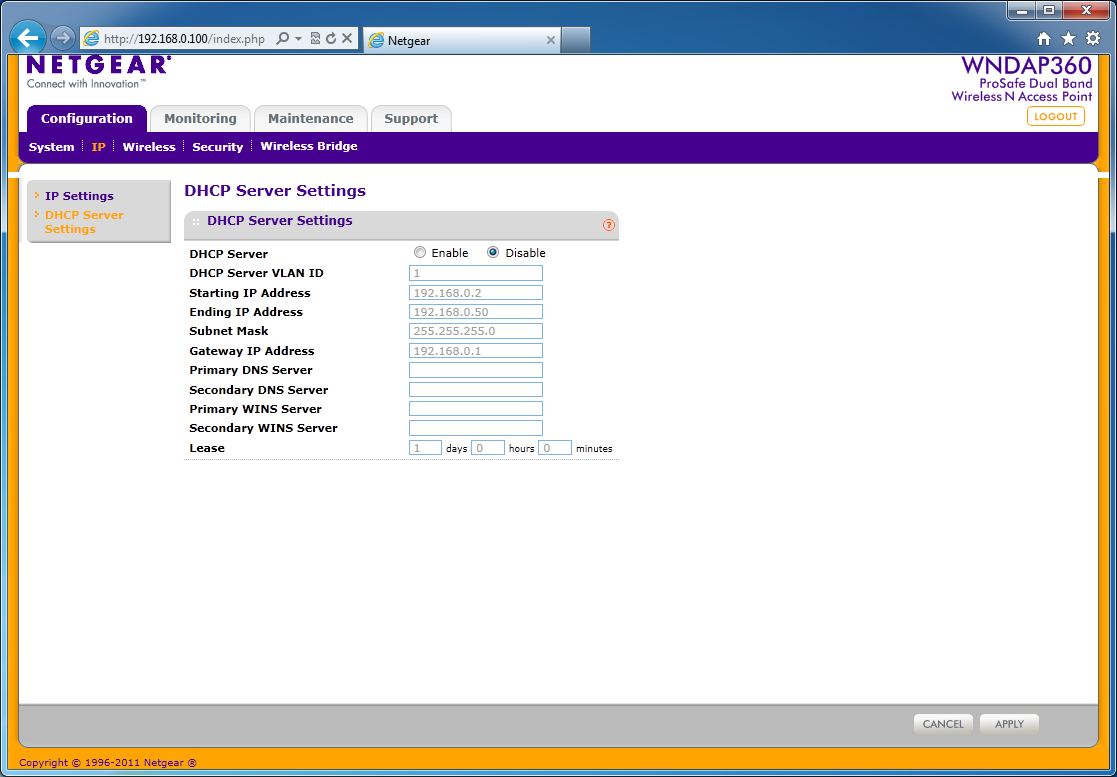 |
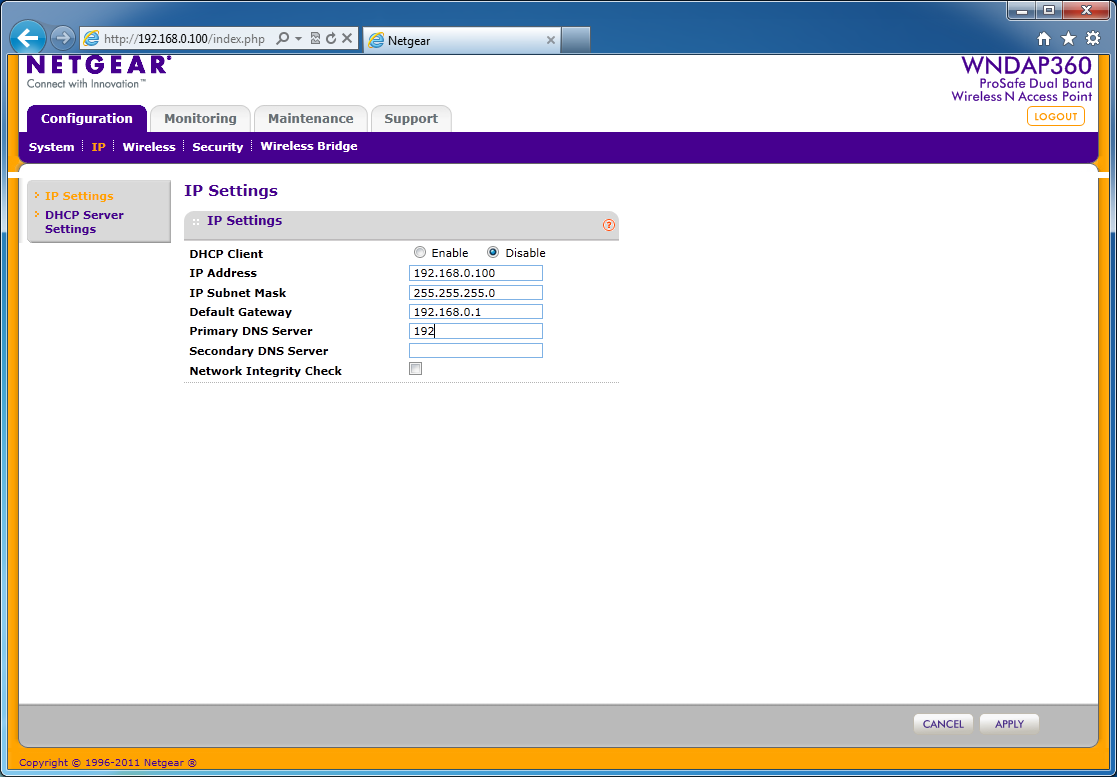
As you might expect on the IP configuration page you can set the IP address of the device including subnet mask, gateway, and DNS servers. You can also setup a DHCP server to address clients connecting to the access point (this is great if you are using this for a guest network or you do not already have a DHCP server in your existing network (most businesses will have this though).
 |
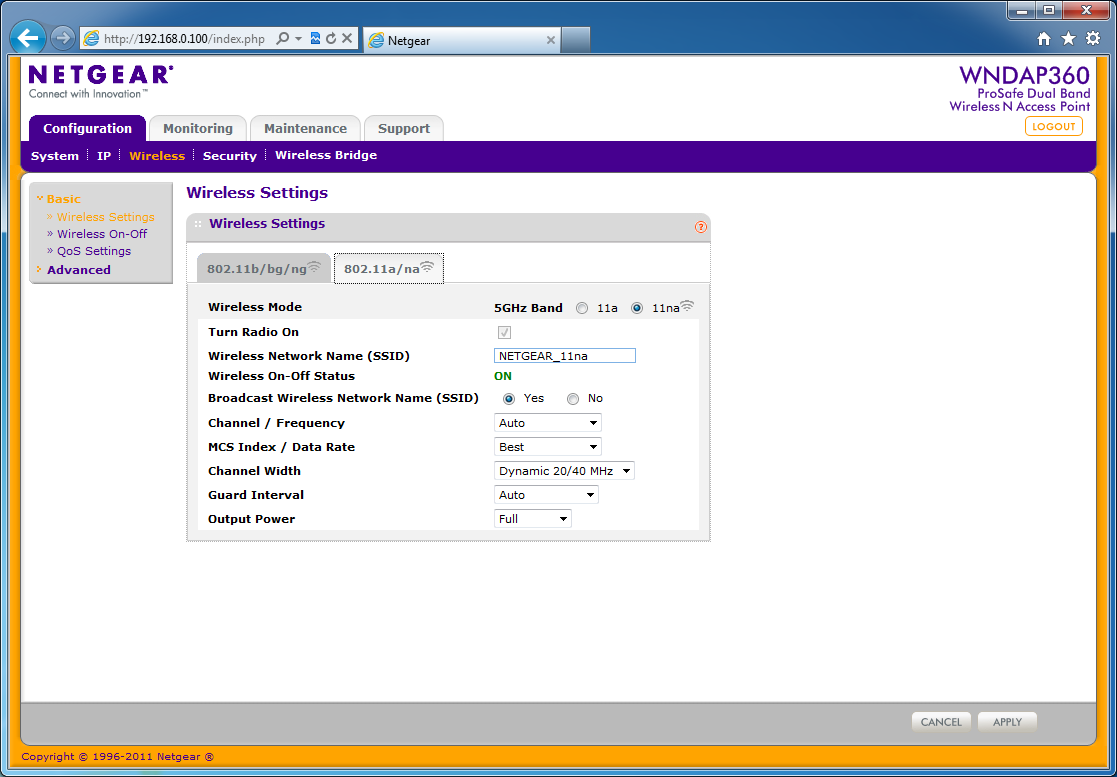 |
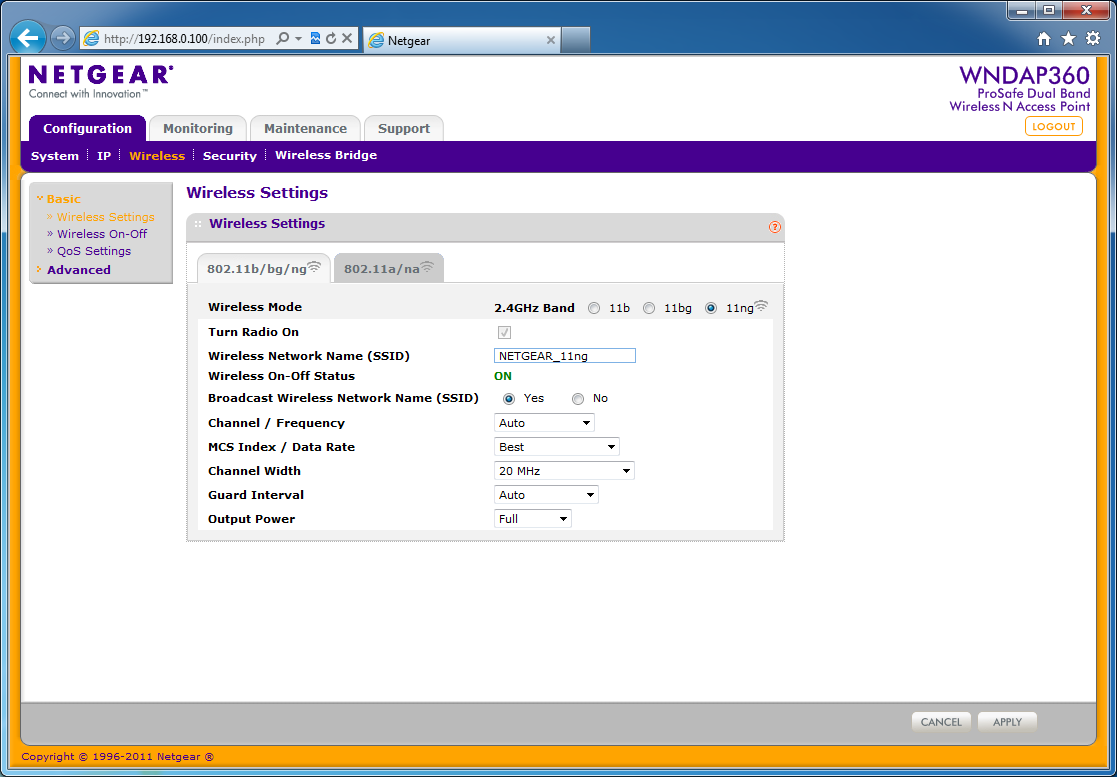
After the IP configuration we can move on to the Wireless setup. You have options for both the 2.4 GHz band and the 5 GHz band. With the 2.4 GHz band you can configure the WNDAP360 to operate with 802.11b b/g and n/g. There is no option for a here although there is on the 5 GHz page. 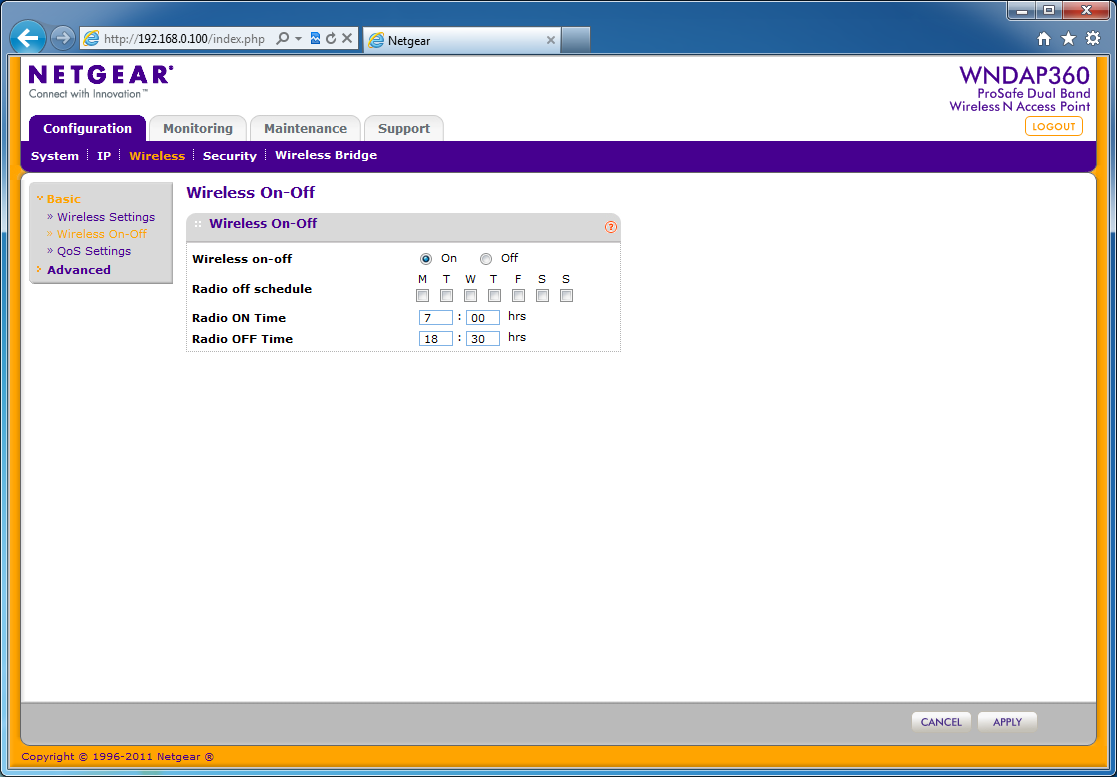
In keeping with its placement in the business market you also have the option to turn the wireless off during certain hours and on certain days (this would also be good for parents trying to keep their kids off the internet all day long). 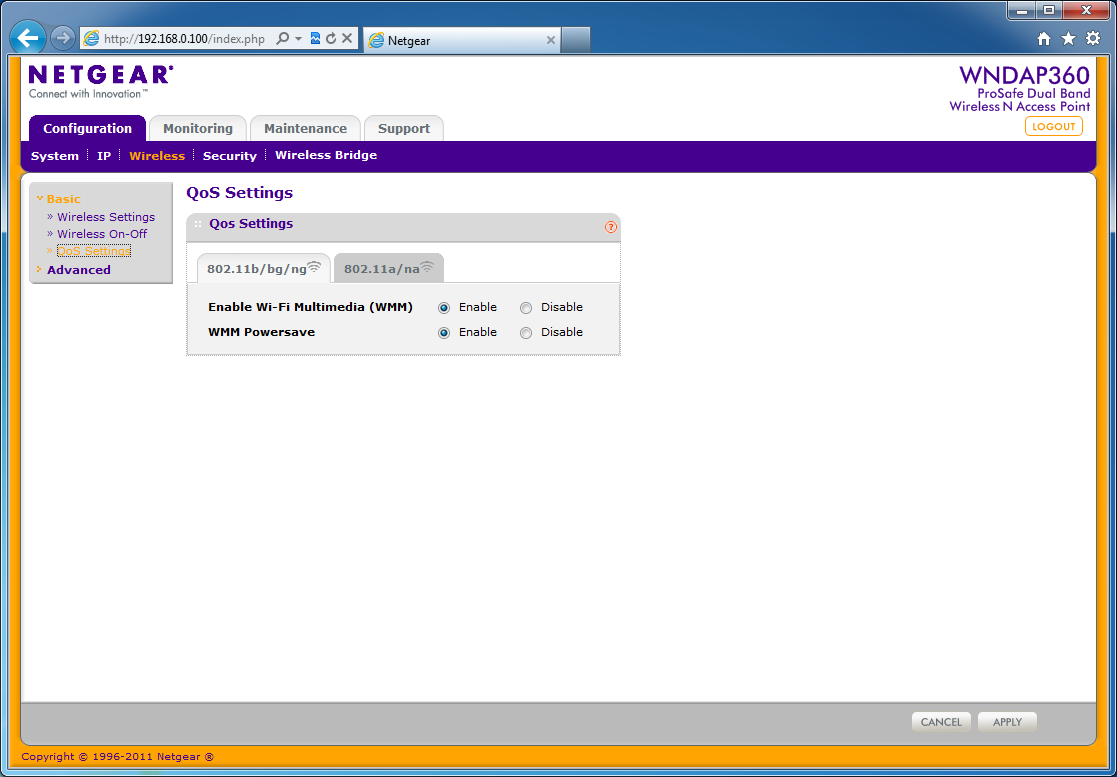
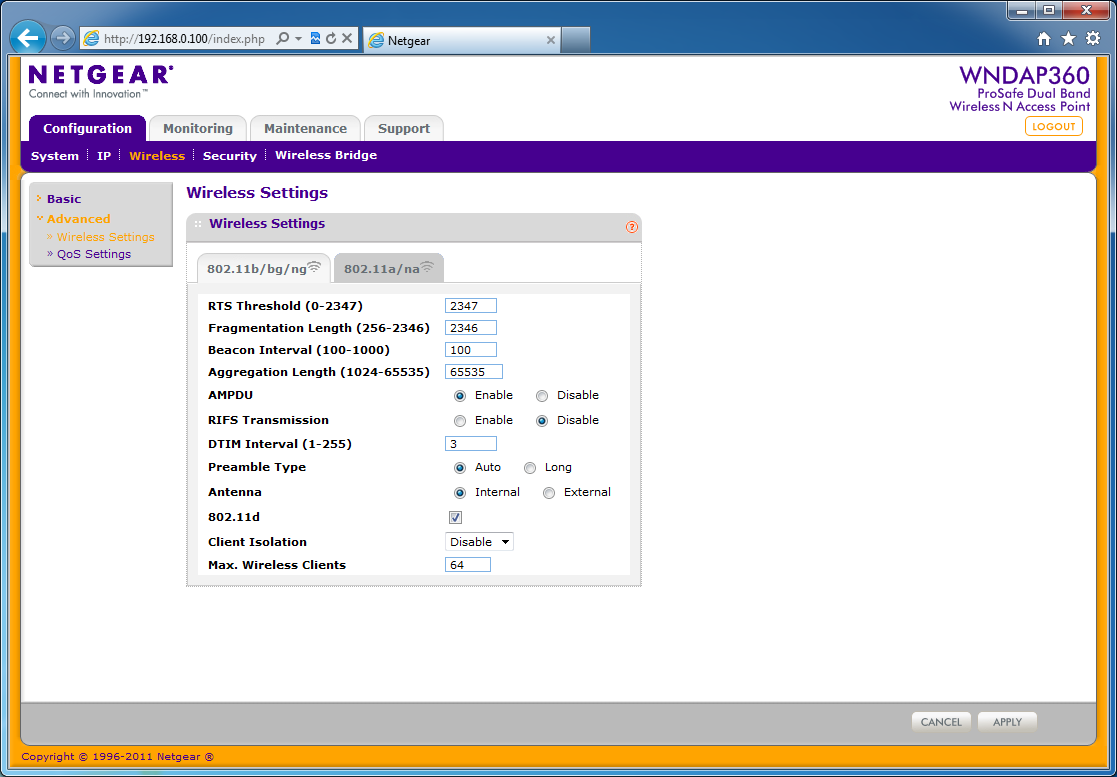
The WNDAP360 also has some basic controls for Quality of Service. You can enable WiFi Multimedia which will allow the WNDAP360 to prioritize multimedia traffic (for all of those YouTube videos). You can also set the system to reduce power when it does not need to handle multimedia traffic. Under the advanced settings you can really get in and adjust the settings; you can also really screw things up so we actually recommend that you leave these settings alone. We will talk about one of these really quickly though. There is an option to isolate wireless clients. This is a great feature to use if you want multiple people using the wireless but you do not want them to be able to see or talk to each other on the network. By isolating them each will have its own independent connection and will not be visible to others connected. This will limit the number of connections per access point, but can still be a big benefit for security.
 |
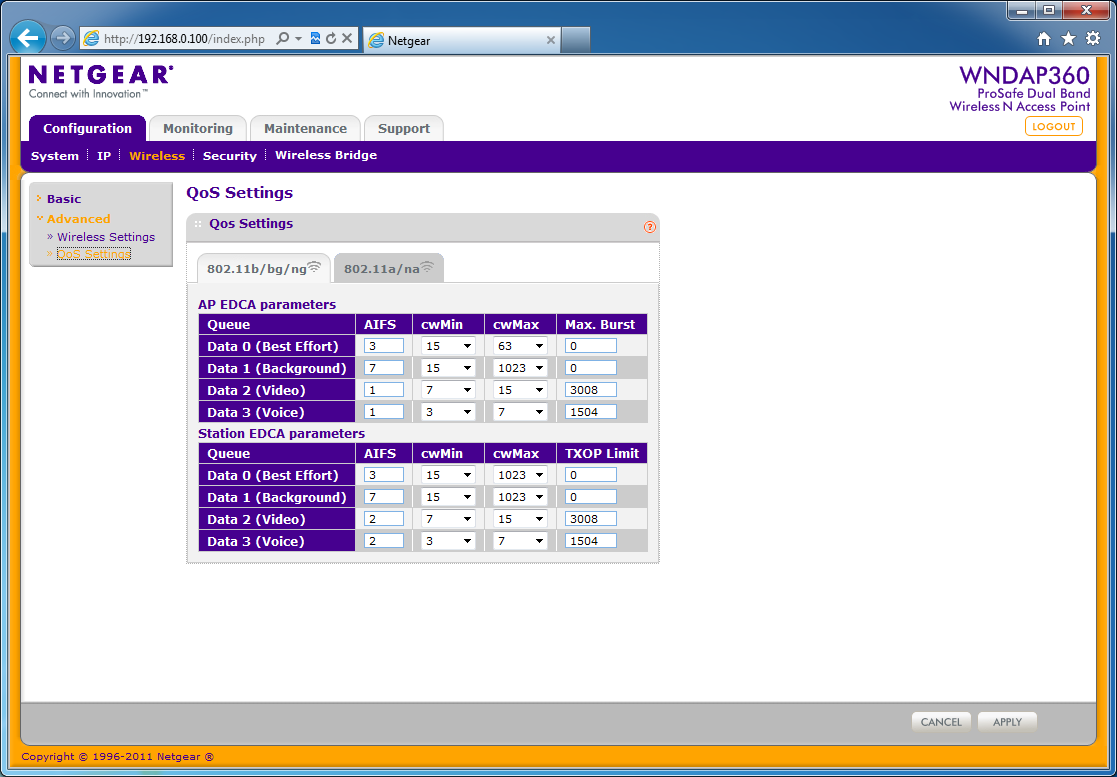 |
The QoS Settings are also another area where most people will not need to tinker. Here you can set up your different queues for servicing different types of traffic. You have options for both radios (2.4 GHz and 5 GHz). 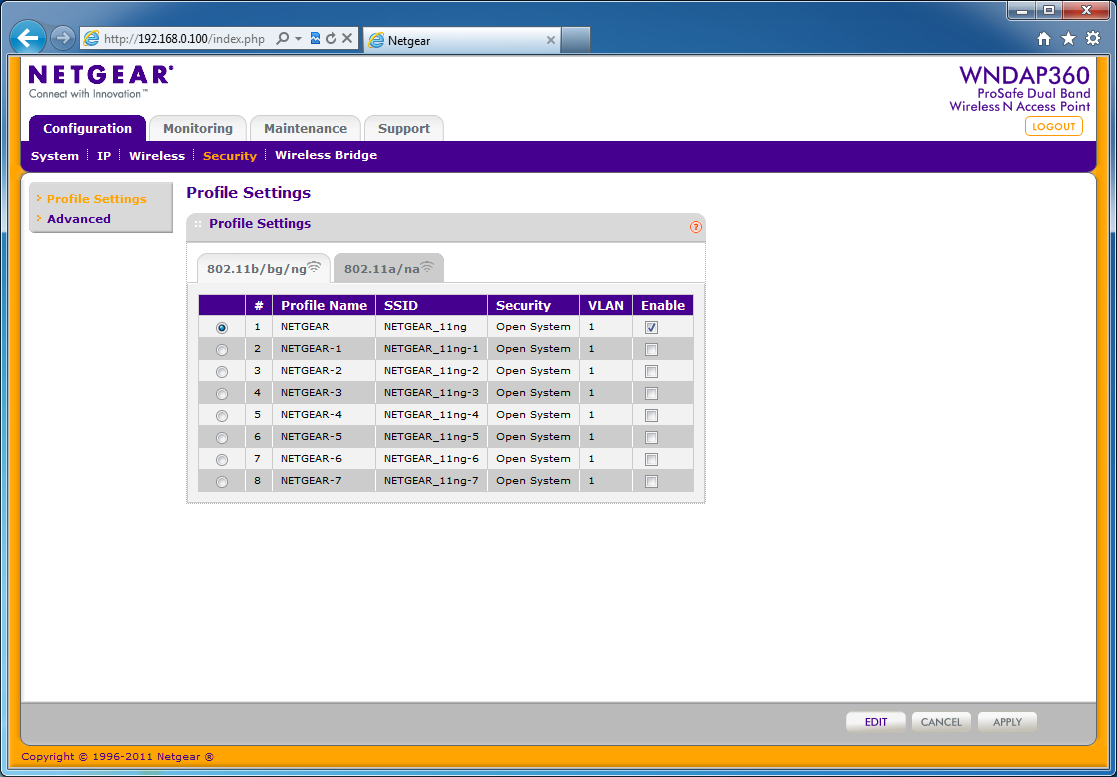
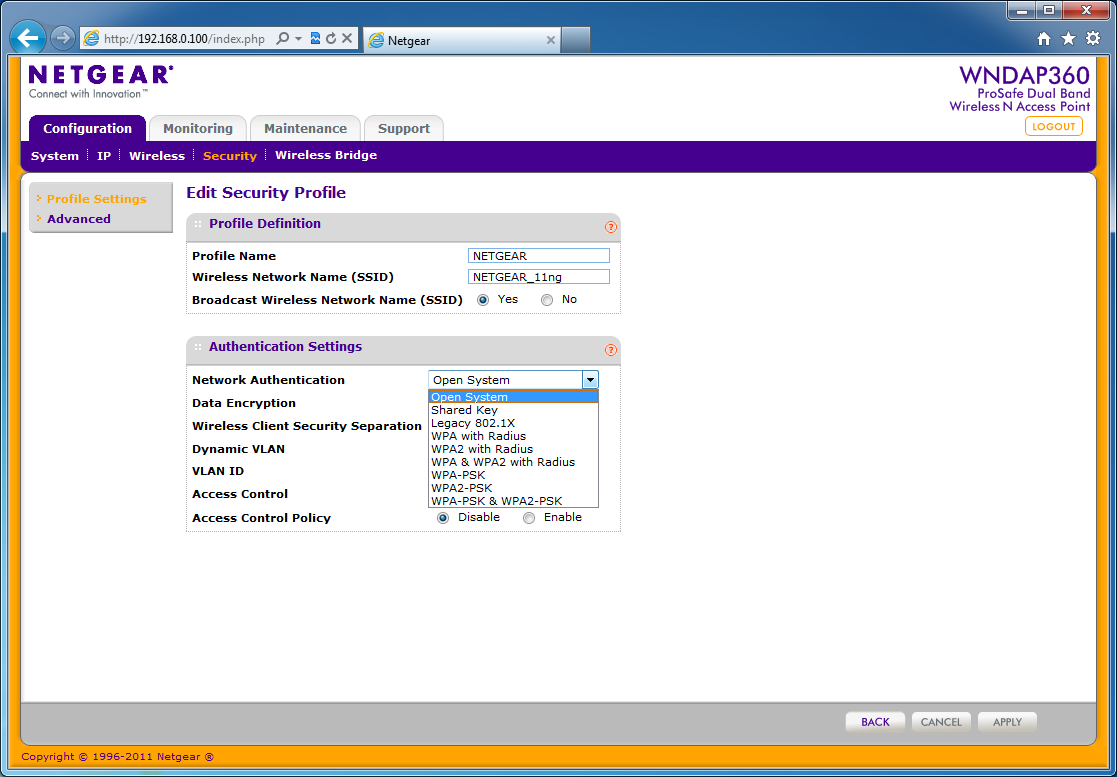
Moving on to the security tab we find a pleasant surprise. There are eight different security profiles you can setup for each of the radios. To change these you only need to select the radio button and then click on the edit button at the bottom of the page. Once that is out of the way you can choose quite a few different network authentication/encryption routines. For most people the best one is going to be WPA2-PSK. This stands for WiFi Protected Access - 2 with a Pre-Shared Key. If you are looking for something a little more secure you can also setup WPA2 with a RADIUS (Remote Authentication Dial-In User Service). RAIDUS allows you to specify a group of users and/or systems that are allowed access to your wireless network. You can setup a good deal of restrictions when using RADIUS including requiring a password and/or machine certificate just to get on the network.
 |
 |
To keep the traffic flowing you can also run each security profile into its own VLAN. This way you can have multiple SSIDs all running on their own internal VLANs to keep everyone separate and happy.
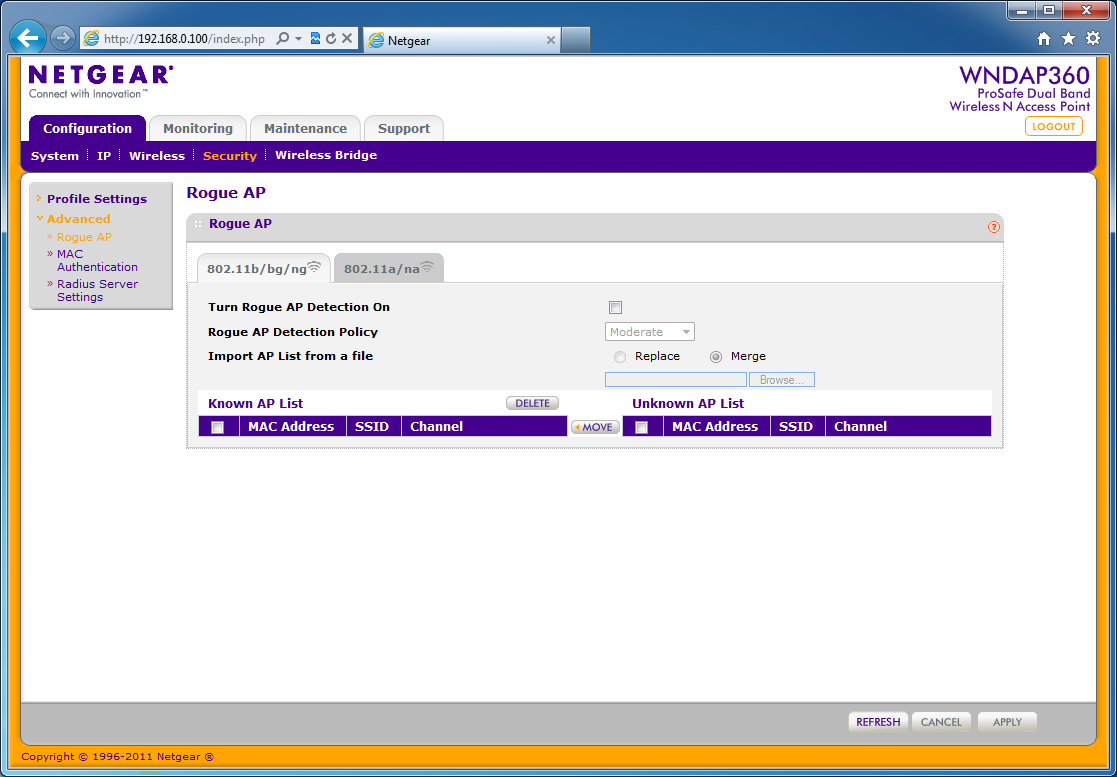
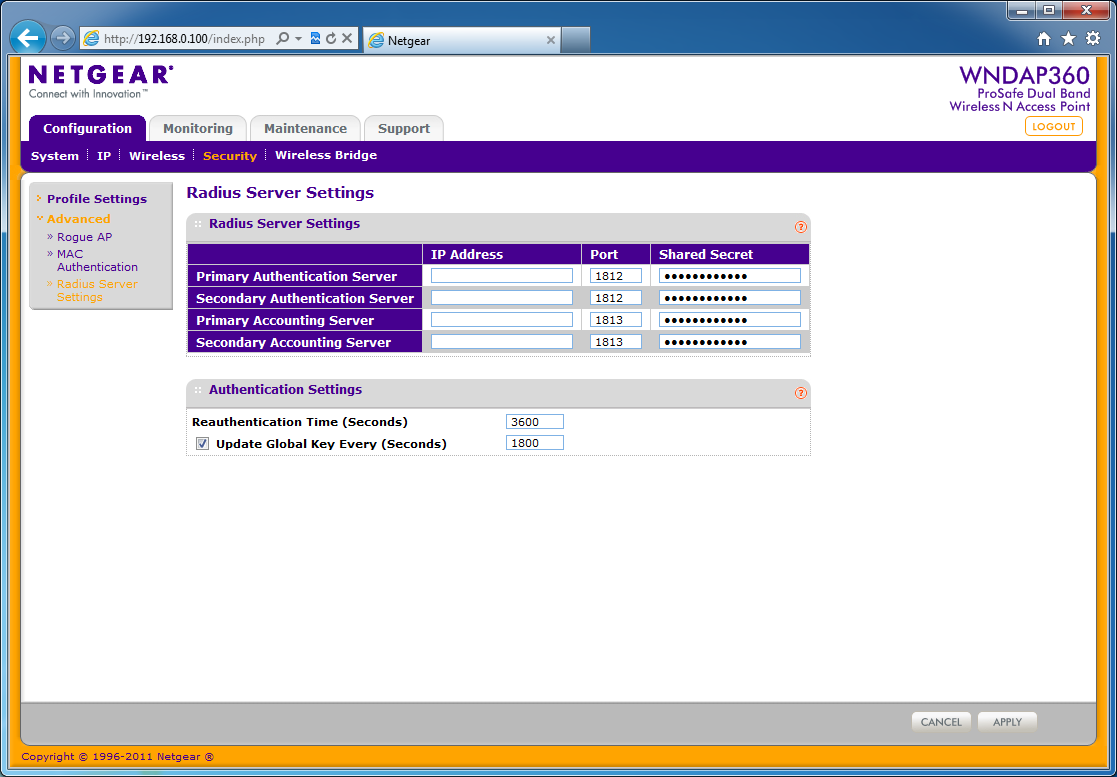
After setting up your security you can also enable a feature that will allow you to block rouge access points. If the WNDAP360 detects one it can notify you so that you can block it from your network. For the truly paranoid you can also setup a listing of allowed MAC addresses for connecting to your network. Of course this is not a 100% secure feature as you can spoof a MAC address with simple software now. After locking down your access point by MAC address you can add in all of those RADIUS servers we talked about. The WNDAP360 has slots for two RADIUS authentication servers and two RADIUS accounting servers. Although these can be the same server they are not always setup this way. Often you might have an authentication server and a separate server to do all of the accounting (this is just a fancy name for logging server).
 |
 |
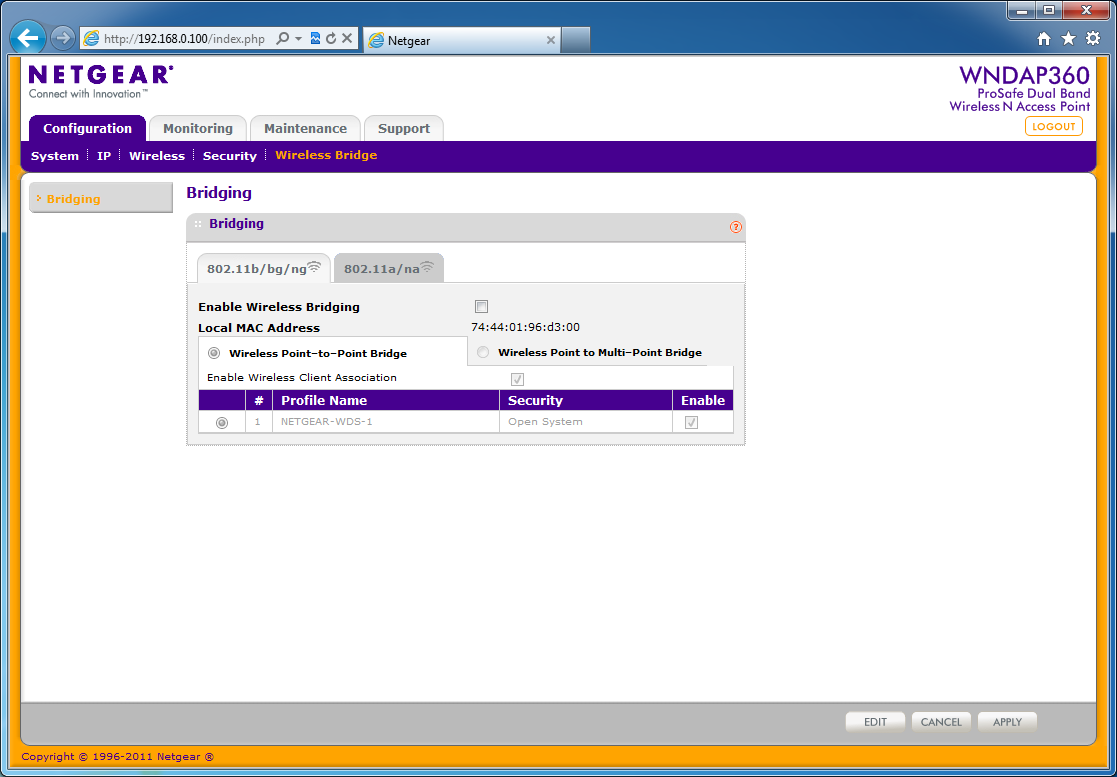 |
One of the last pages for configuring your new WNDAP360 is the wireless bridge. Here you can configure the 360 to act as a bridge between one or more wireless access points without the need to have them connected via Ethernet cables. While this sounds like a great idea it is very important to remember that you are going to lose about ½ of your bandwidth when you set this up.
 |
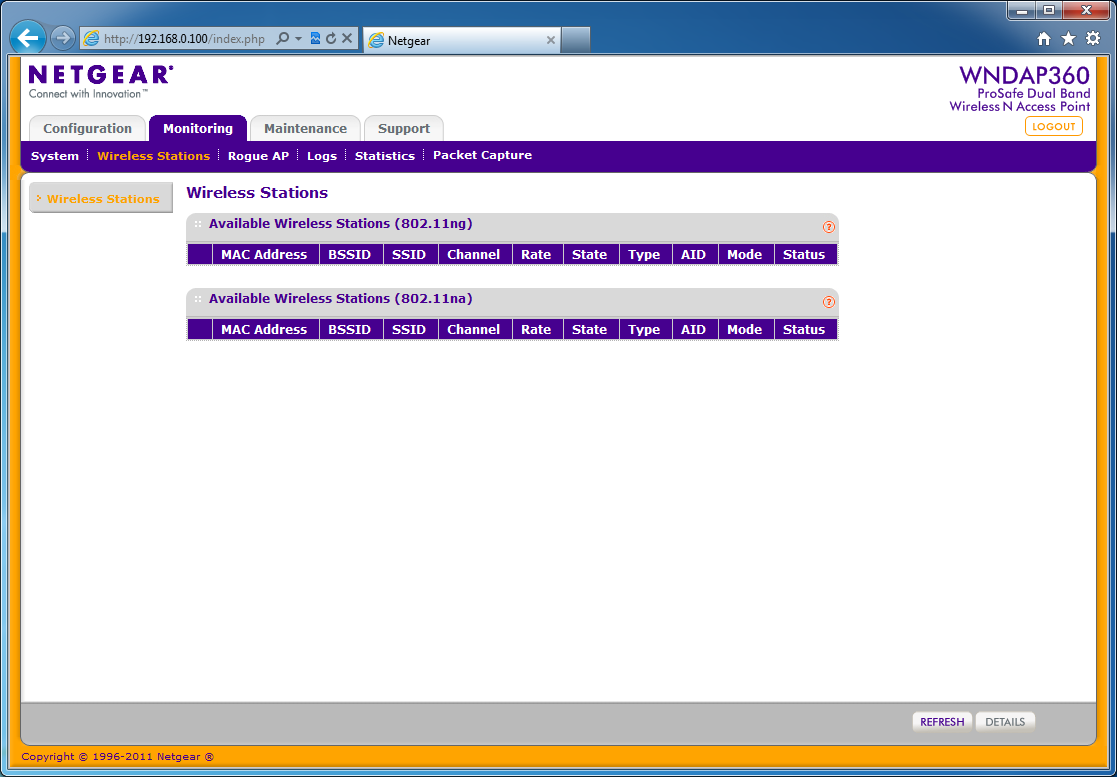 |
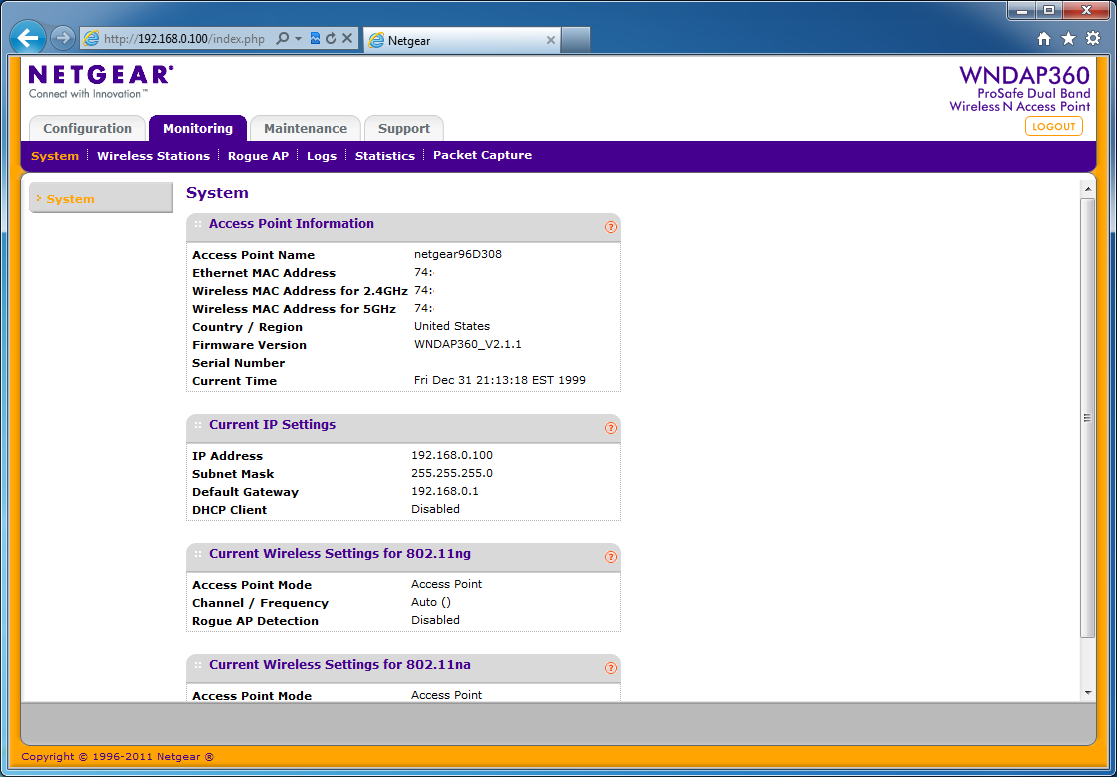
After that the rest of the WebUI is more about maintaining and monitoring the connections than anything else. You have some decent tools for monitoring the different features of the WNDAP360 including rouge Aps and a packet capture feature to make sure all of your traffic is flowing (or not) properly.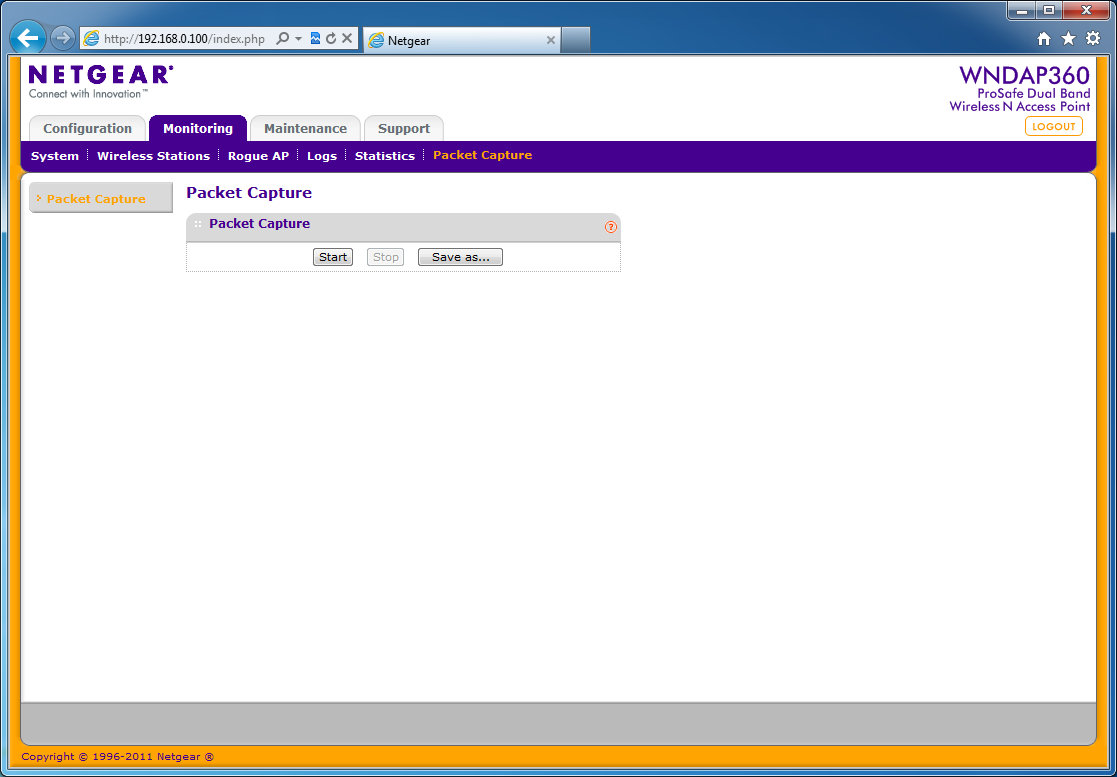
The maintenance page is simple and really does not need much of an explanation.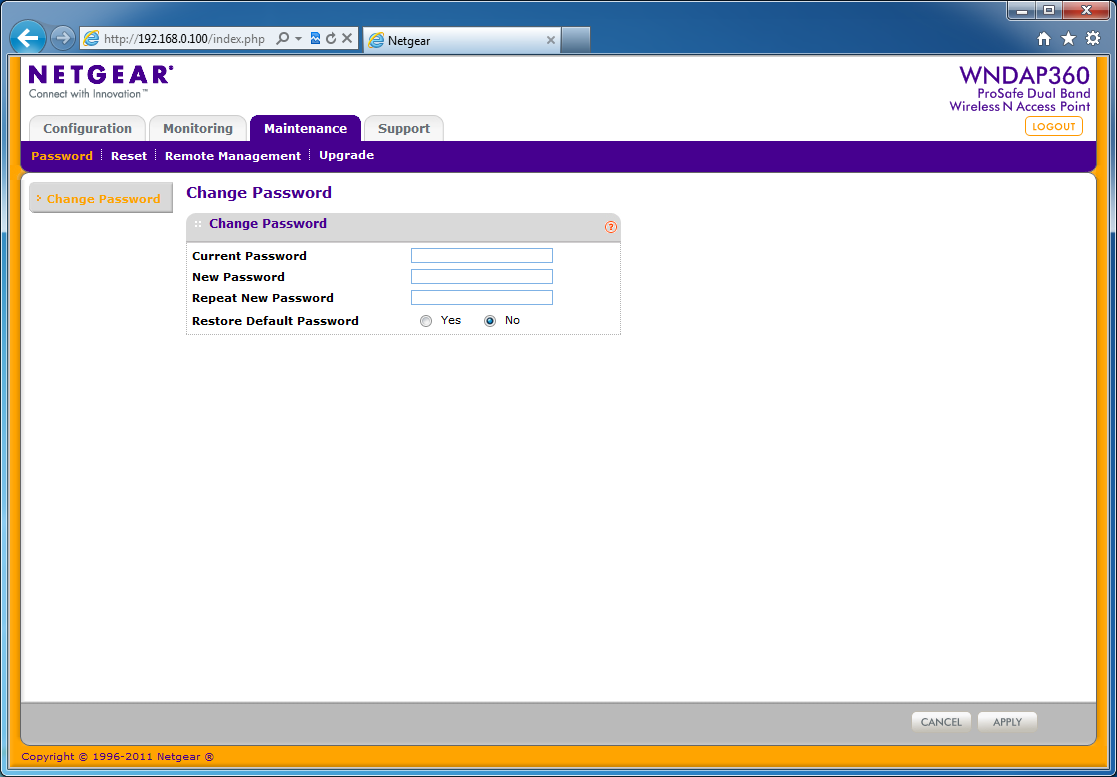
That is about all there is to the WebUI; like we said it is a lot and while it is very complete, to the average user it might be too much.

 In my time in IT I have worked with a number of wireless devices for the consumer and for businesses. These have ranged everywhere from simple $40 products that are only meant to get you online (not fast, but online) to multi-component wireless systems costing thousands of dollars. All of these still use the same basic technology to get you connected and to pass traffic between your device and the internet. At their heart is going to be a wireless radio, but this does not mean that all wireless products are the same; quite the opposite in fact. There is a clear line between wireless for the average home and wireless for the average business. The factors are mostly in the software used and the features that you have at your disposal, but you also will often have more advanced hardware under the hood as well. Today we will be taking a look at standalone wireless access point that is aimed at the business market (although there are many things that consumers will like about as well). This is the NETGEAR WNDAP360 ProSafe Dual Band Wireless Access Point; let’s see if worth the $290 it will cost to put one of these in your office.

