 In my time in IT I have worked with a number of wireless devices for the consumer and for businesses. These have ranged everywhere from simple $40 products that are only meant to get you online (not fast, but online) to multi-component wireless systems costing thousands of dollars. All of these still use the same basic technology to get you connected and to pass traffic between your device and the internet. At their heart is going to be a wireless radio, but this does not mean that all wireless products are the same; quite the opposite in fact. There is a clear line between wireless for the average home and wireless for the average business. The factors are mostly in the software used and the features that you have at your disposal, but you also will often have more advanced hardware under the hood as well. Today we will be taking a look at standalone wireless access point that is aimed at the business market (although there are many things that consumers will like about as well). This is the NETGEAR WNDAP360 ProSafe Dual Band Wireless Access Point; let’s see if worth the $290 it will cost to put one of these in your office.
The Setup -
To setup the WNDAP360 you might need to make a few adjustments to your network. As the WNDAP360 comes with its IP (Internet Protocol Address) hard coded to 192.168.0.100 you may need to set up a system to match that IP range (192.168.0.x with a subnet mask of 255.255.255.0). Fortunately the quick start guide will get you through all of this if you need to do it. As we setup out testing network on an independent line for segregated traffic we were able to use any IP scheme that we needed.
 |
 |
 |
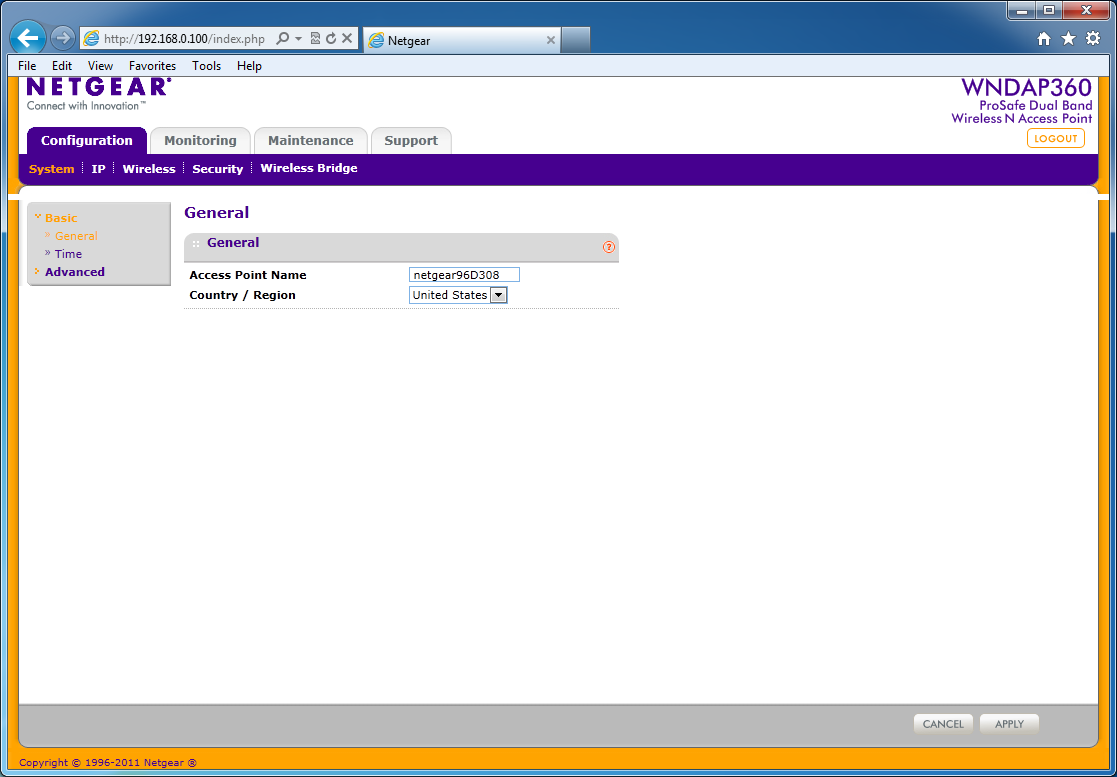
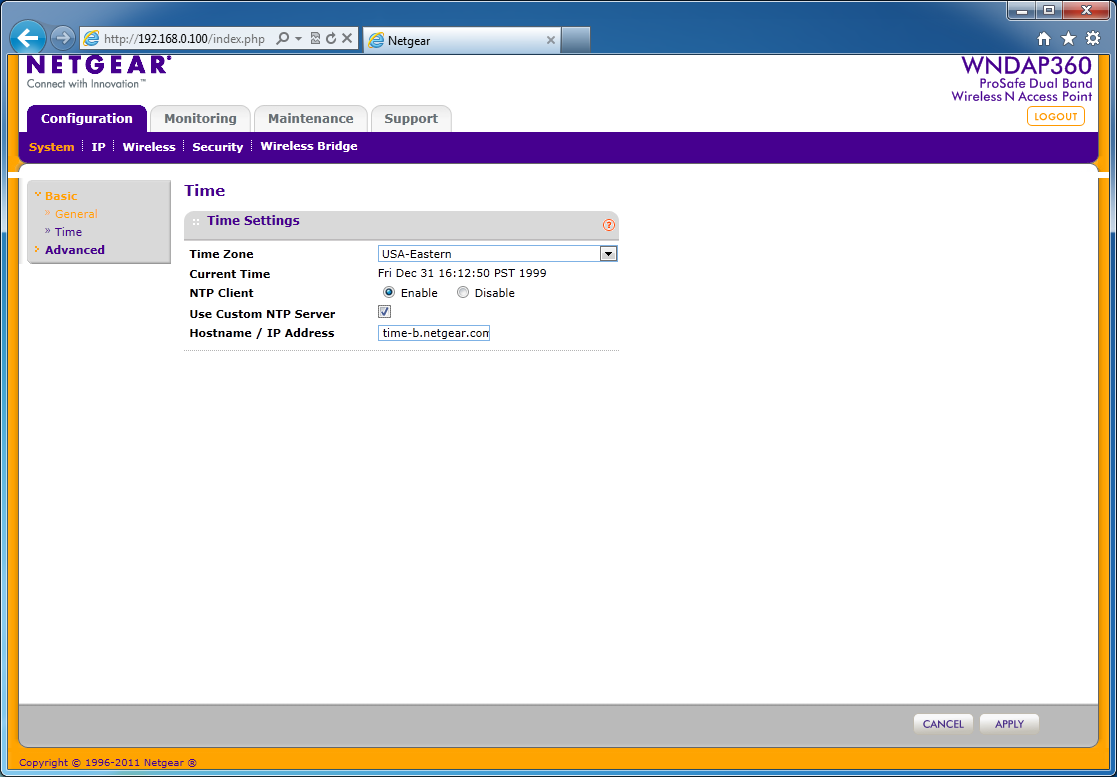
Once you are on the same network (or if you already were) all you need to do is open your favorite browser and type in http://192.168.0.100. This will get you to the login page and start you on the road to getting everything configured for your new access point. When you first login you will be on the System Tab/Basic page under the general heading. Here you can set the region you are in as well as set up the name of the access point. From there you are going to want to make sure you setup the time on the access point. We recommend using a time server to keep accurate time on the WNDAP360. This will help to prevent any sync errors due to time discrepancies.
 |
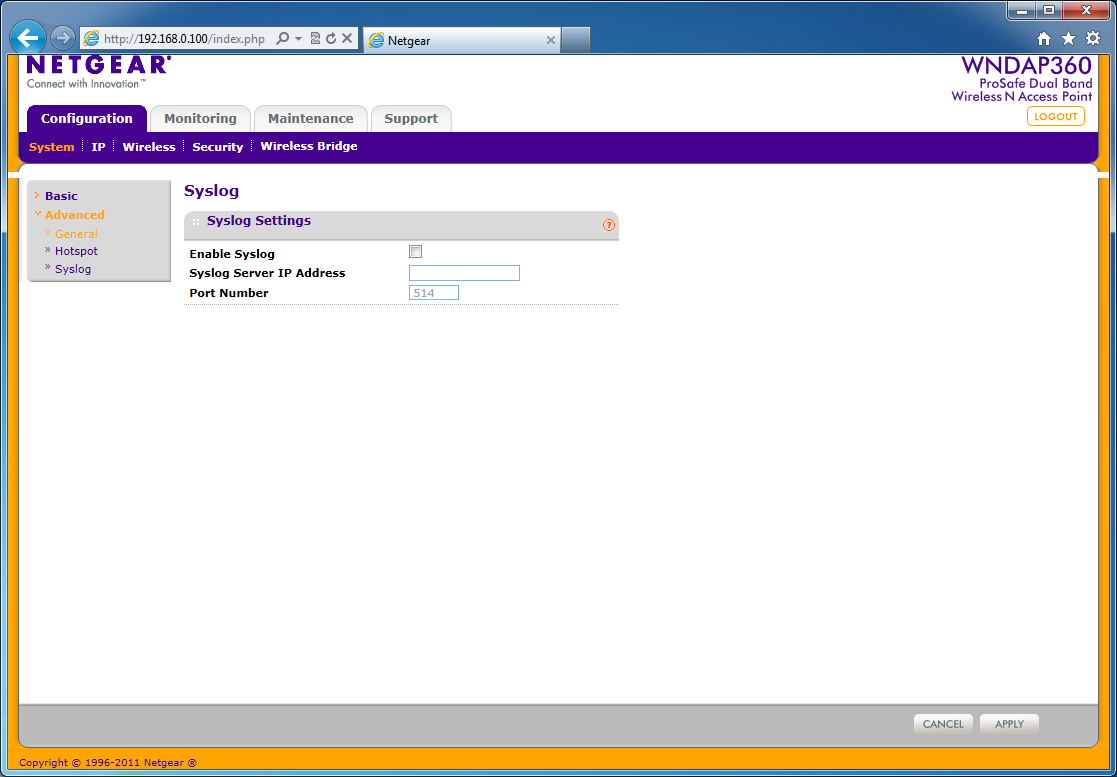 |
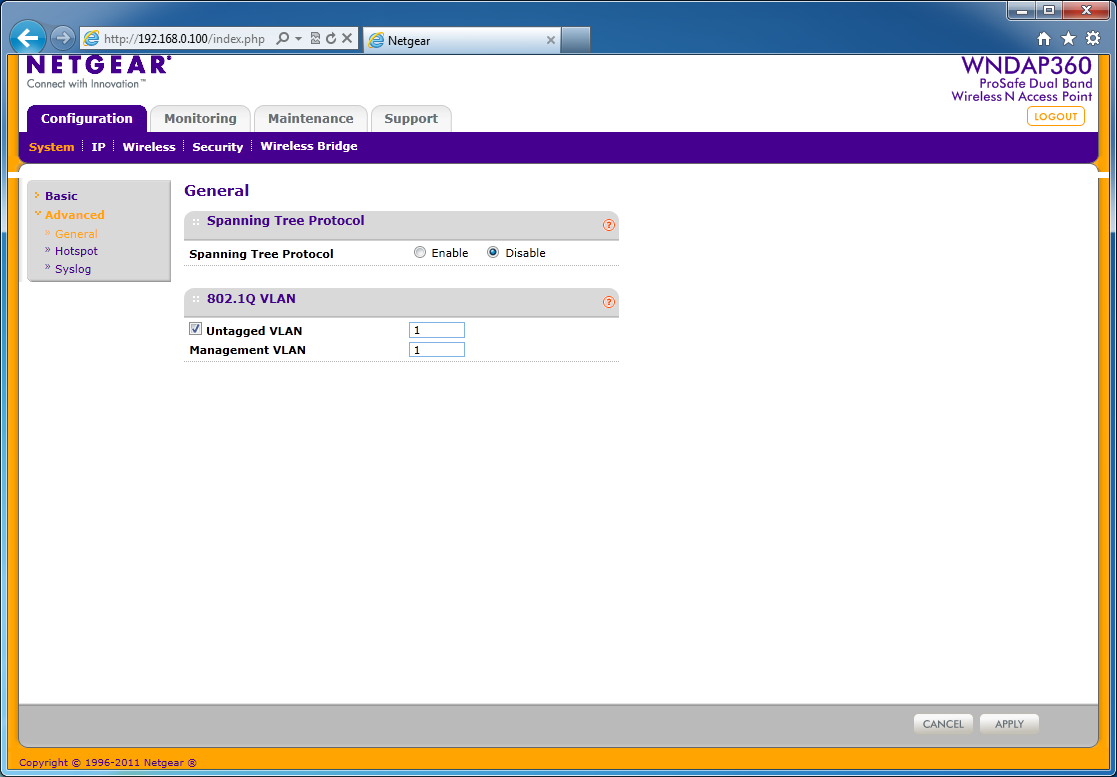
After you setup these items there are some advanced settings that you might want to configure depending on your particular network. As this is a business product we are going to setup a few of these and test the access point as if it were being used as a guest network. Here your options are to setup the WNDAP360 to use the spanning tree protocol. This protocol allows the devices on your network to quickly adjust for changes in topology. The 802.1Q VLAN settings are also very often used with wireless networks (if they are being setup for guest traffic). Using a VLAN (or virtual LAN) will allow you to segregate this traffic even if you are using the same switches (your switches and router must support VLANs to use this). Under this same tab you can also setup a hotspot acknowledgment page as well as a syslog server.
After setting these items up (or not) then you will want to move on to the IP page followed by the wireless and security tabs. We will cover these under the WebUI below as they do have quite a few options for you to configure.
